
It all started because we discovered that one of the bedroom doors had a fist-sized hole on one side. We could have just replaced that door, but we wouldn’t have wanted to pick that same style one since we weren’t into it, and then having one door different from the rest of the ones in the house seemed silly so we might as well just change all of them to what we want. How hard could it be? It’s just a rectangular piece of wood that fits into a rectangular hole (foreshadowing).
My original idea was plain, solid doors with no door casings. In my head the doors would be flush with the walls on the one side that standard hinge knuckles would be on, so to make the doors look more continuous with the wall the dream was to install hidden or “invisible” door hinges. These hinges are drilled inside the door and door jamb so they remain completely unseen when the door is closed.
I think I contacted somewhere around 12 door specialists asking for invisible hinge installation on interior doors, and all of them said they couldn’t do it or didn’t respond at all, even after I changed the inquiry to regular hinge installation. That was the first clear sign that we needed to go back to the drawing board. Only one guy said he worked with invisible hinges on cabinets in the past and would try, but when he came to take an initial look at our door jambs he said no way.
The general thing about old houses is that there are no level surfaces or right angles, things that make it much easier to create the minimal modern canvas we want but not having them makes it hard to achieve clean lines without a bunch of extra work. There will surely be bumps and curves and warps and other imperfections that will get in the way. What I wanted for our doors takes the most precision and door jambs that are solid and level enough, which we didn’t have.
The door guy said if we really wanted to make this happen, he could only try if we install new door jambs. In a brief conversation with Oleg, he feared that once we rip out the door jambs who knows what other issues might arise and before we know it we might be tearing up the whole house, and besides the extra cost this would be that we didn’t budget for it was easy to quickly agree that we don’t want this project to grow, so the new game plan was to install the doors the standard way.
Oh but our old door jambs would continue to fail us!
With age, the foundation of the house settles, wood changes, and things like door jamb evenness don’t remain. The doors that were already here settled in with the house, too. To remove the old doors and try to fit in near perfectly rectangular new doors… it’s clear now why it might not go smoothly.
The door guy advised again that new door jambs would be the right way to do this, and in response to our stance on not spending more time and money on this, the alternative he offered was to cut the doors crooked to fit into the existing crooked jambs. This ended up being a lot of extra work for him, I was there, it was like he was performing surgery. Luckily it was only a couple door jambs that were pretty off, and the others weren’t as involved to cut and install the doors.
Our biggest mistake: We bought the doors first.
During our initial rushed timeline, we felt rushed to get doors so the painter could paint them, and no time was saved whatsoever when it took us so long to find someone available and willing to install our doors. Doors come in standard heights and widths, and we figured all we’d need to do is get the exact height we needed and widths close enough to each door opening so that all we’d have to do is shave off a little on the left and right sides of the doors.
Wrong!
All four sides needed to be cut since we’re dealing with a few wonky door jambs that have all different kinds of angles in addition to a floor that’s noticeably not level in some parts, which resulted in some doors now being slightly short. Luckily, this shouldn’t be a problem for long until we replace our floors. We anticipate new floors will add roughly about a 1/2 inch in height and then we’ll maybe have to shave a little more off the bottoms of the doors and all should be well.
What we should’ve done was had custom size doors ordered where necessary after having our door jambs assessed, especially since seeing that every door jamb in our house is a different height and width. Out of curiosity we asked our door guy how much custom doors would have cost if we had him order them for us, and it would’ve been marginally more expensive than what we paid for our standard sized solid core ones and would have been very worth it.
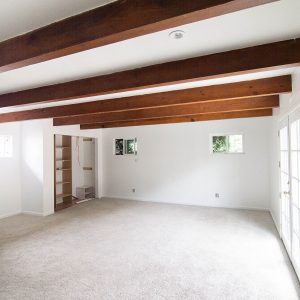
Another thing we didn’t know to consider is how the carpet in the red room is essentially a raised floor and needs a door height shorter than a room with wood floors. We opted to postpone putting in the door to that room until after we put in wood floors, but the bathroom in there would be awkward to not have a door for a while, so we went ahead and installed that door knowing we’ll either have to replace it later when we put in floors or just live with it possibly looking too short. It would’ve been ideal to have already installed new floors before moving in, but it didn’t fit our move-in timeline to do that first and I dunno, we thought we should be more leisurely about the bigger changes we want to make? We didn’t know what the best order of things to do were because this is our first time, ya know?
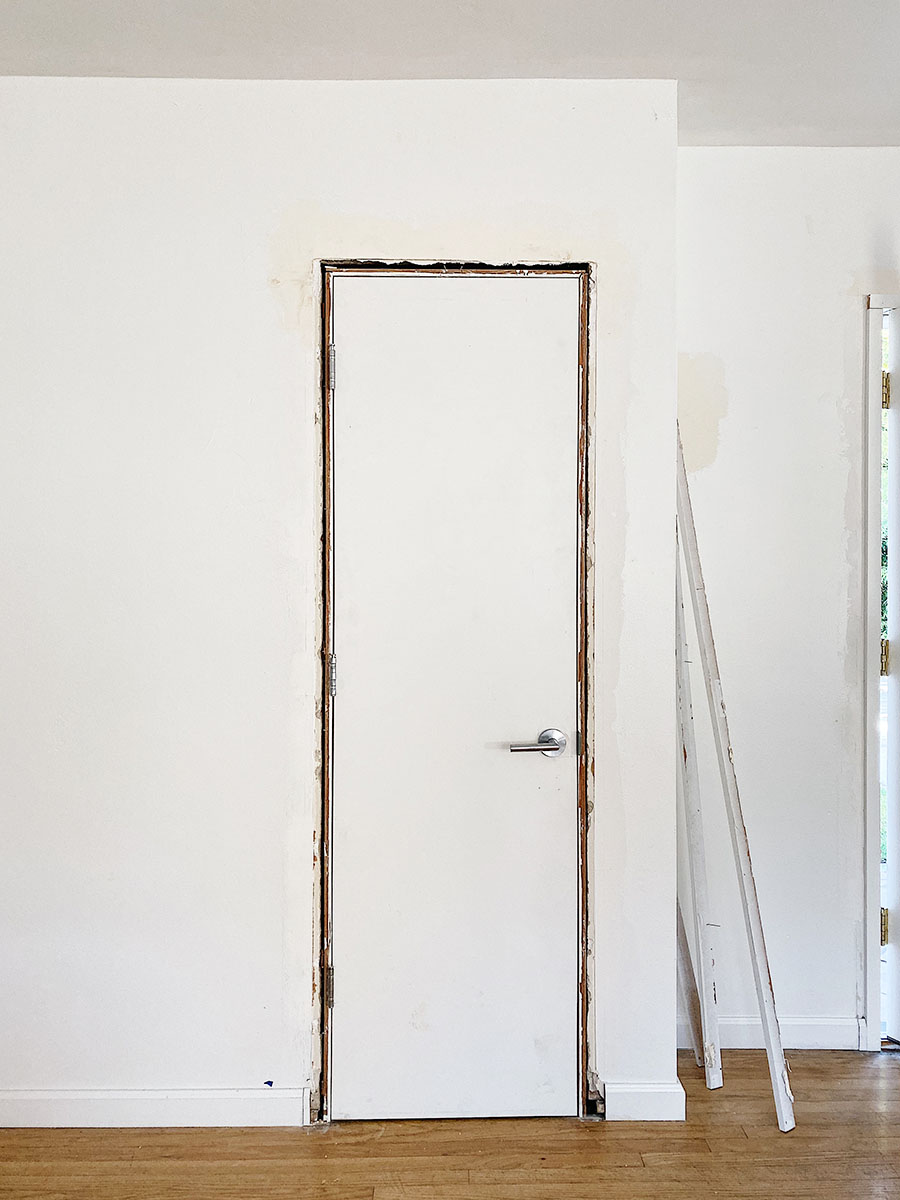
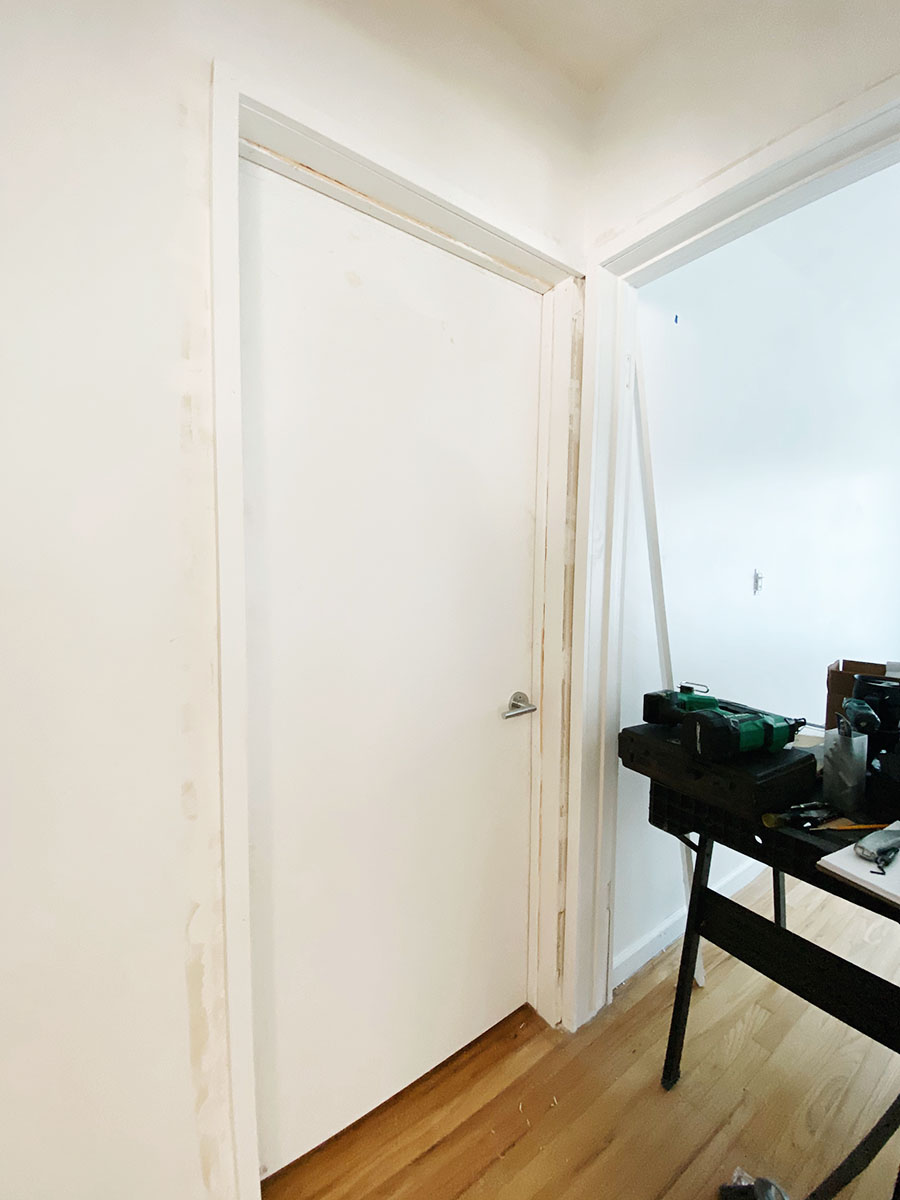
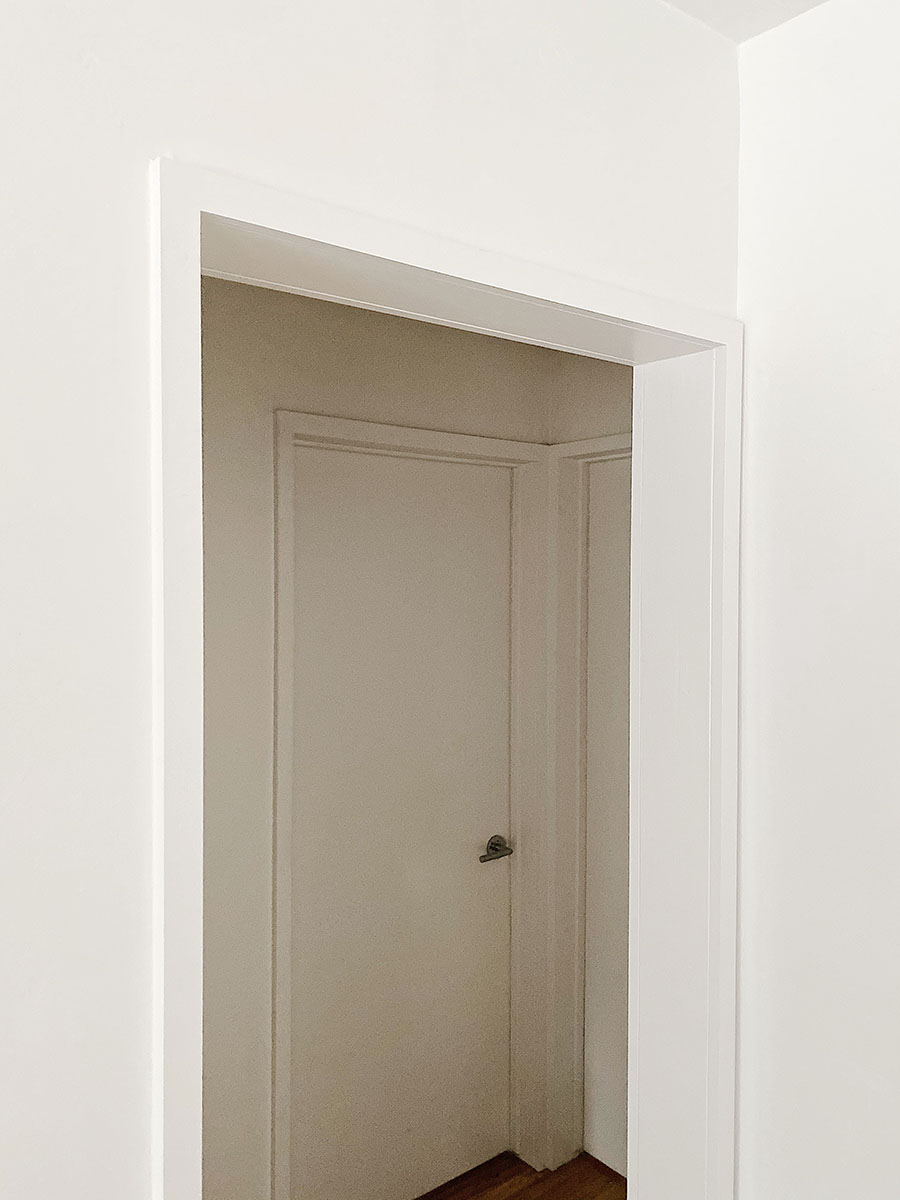
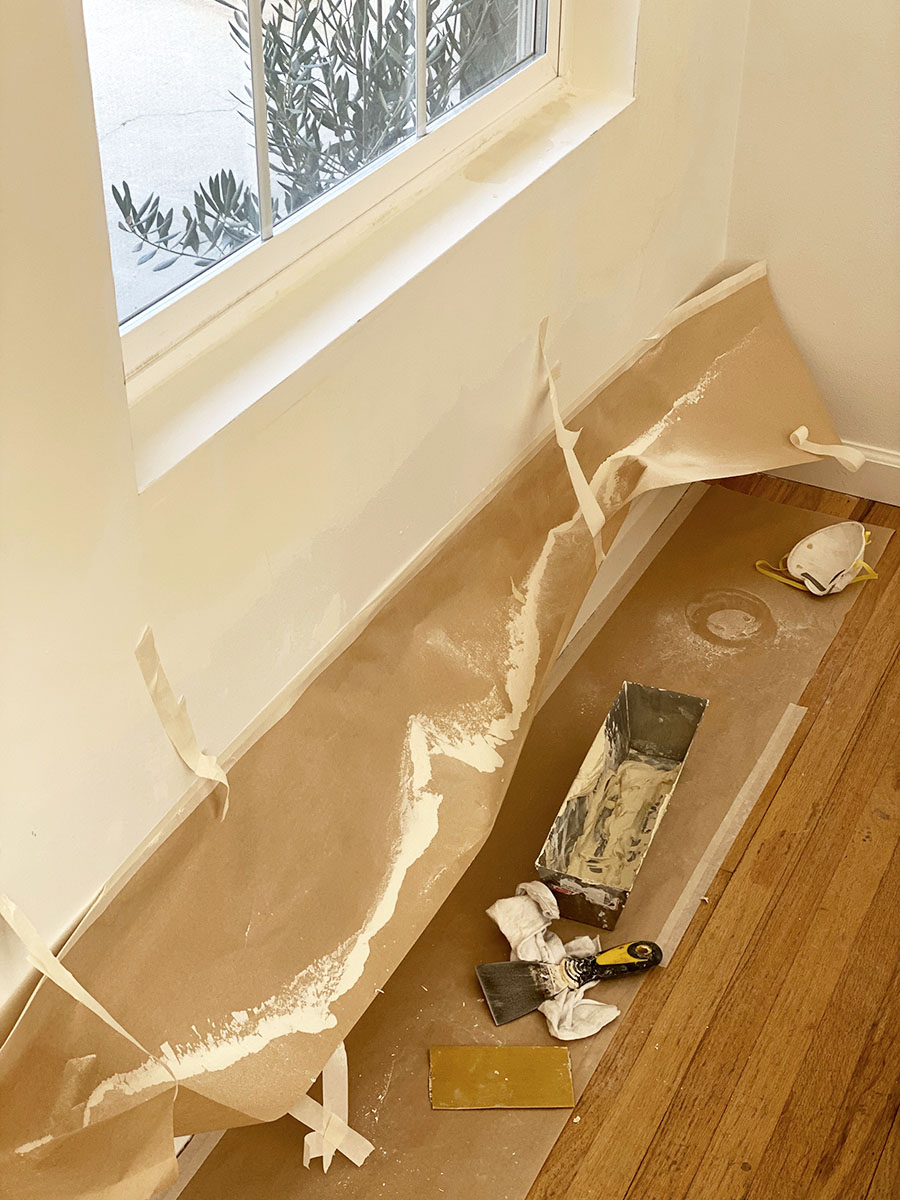
In addition to ditching our invisible hinge idea, we also ditched our no door casings idea and went back to adding them because it was going to be much easier than trying to completely even out the area between the door jambs and walls, seen above as a hole outlining the door. This included the doorways as well, which made it a total of 16 doors and doorways that needed casings redone (a lot for the size of our home I think!)
Against the advice of a contractor who told us not to choose a door casing thinner than the ones that were already in the house because it’ll be a lot more work to cover up the garbage going on underneath them, we went with a thinner door casing because it’s the look we wanted. With our thinner casings, holes like the one in the photo above were exposed around all of the doors and doorways that needed to be patched and sanded (more drywall dust). We made it even harder by picking a plain trim with squared off edges that will show the slightest misalignment between pieces if not perfectly installed.
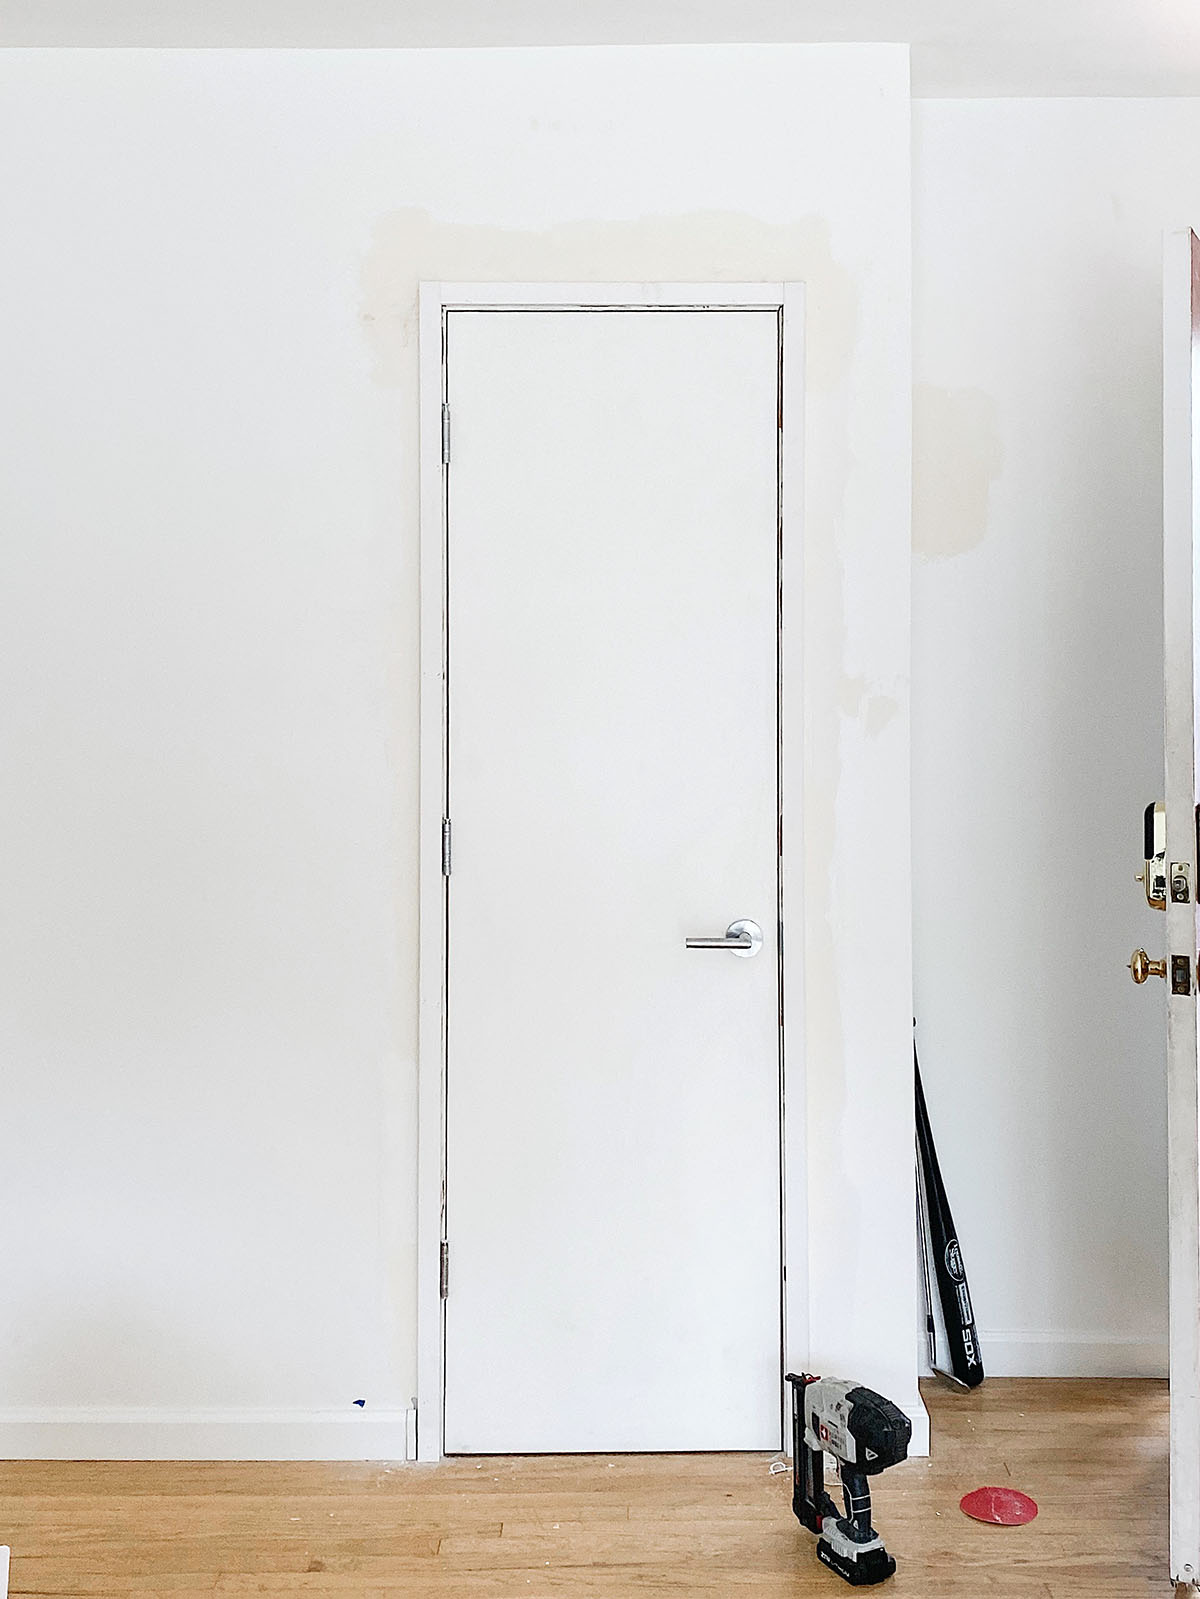
The first guy we hired was like yea no problem we’ll drywall around it and smooth it out, and it gave me a false sense of what to expect in terms of how long it would take and how messy it would be. It also revealed to us that we hired the wrong guy to do them because it wasn’t as simple as just nailing on each piece of trim around each door frame.
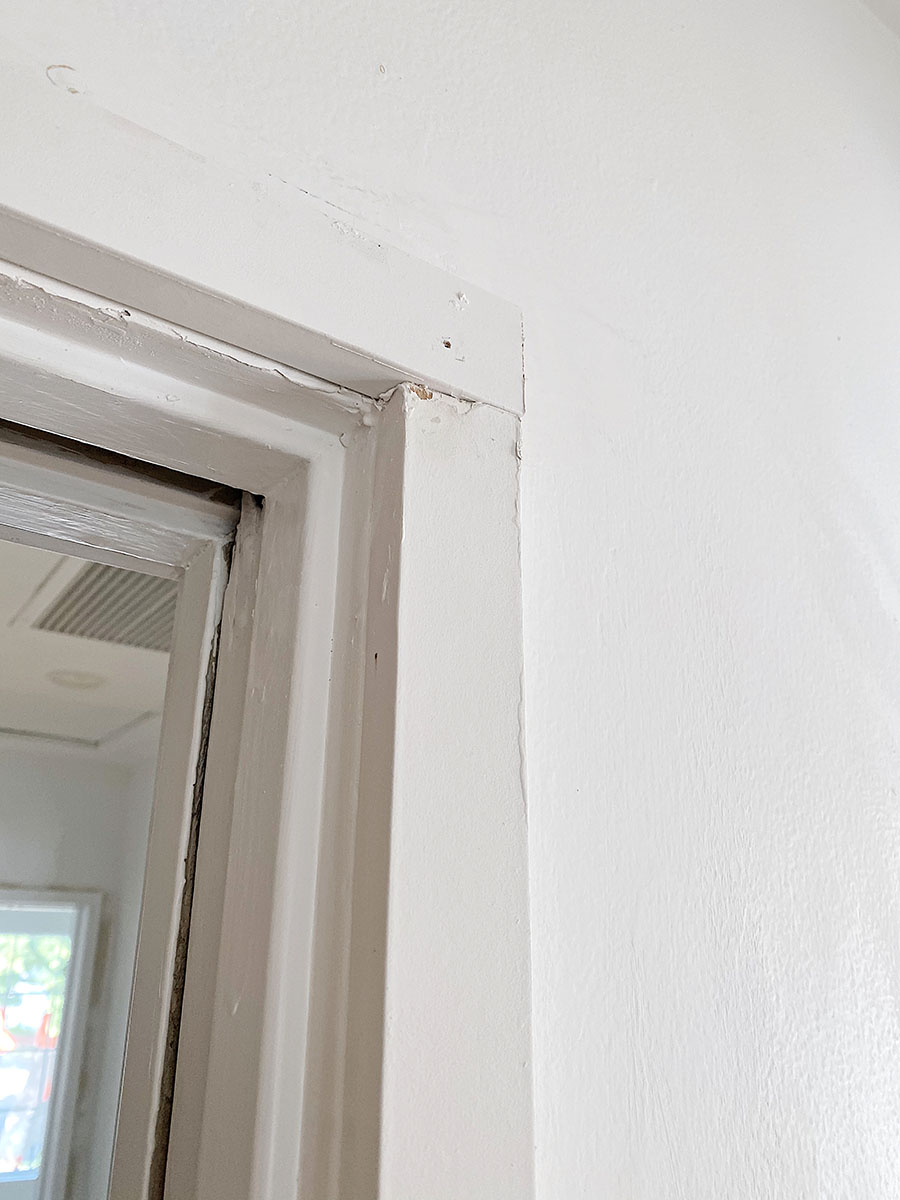
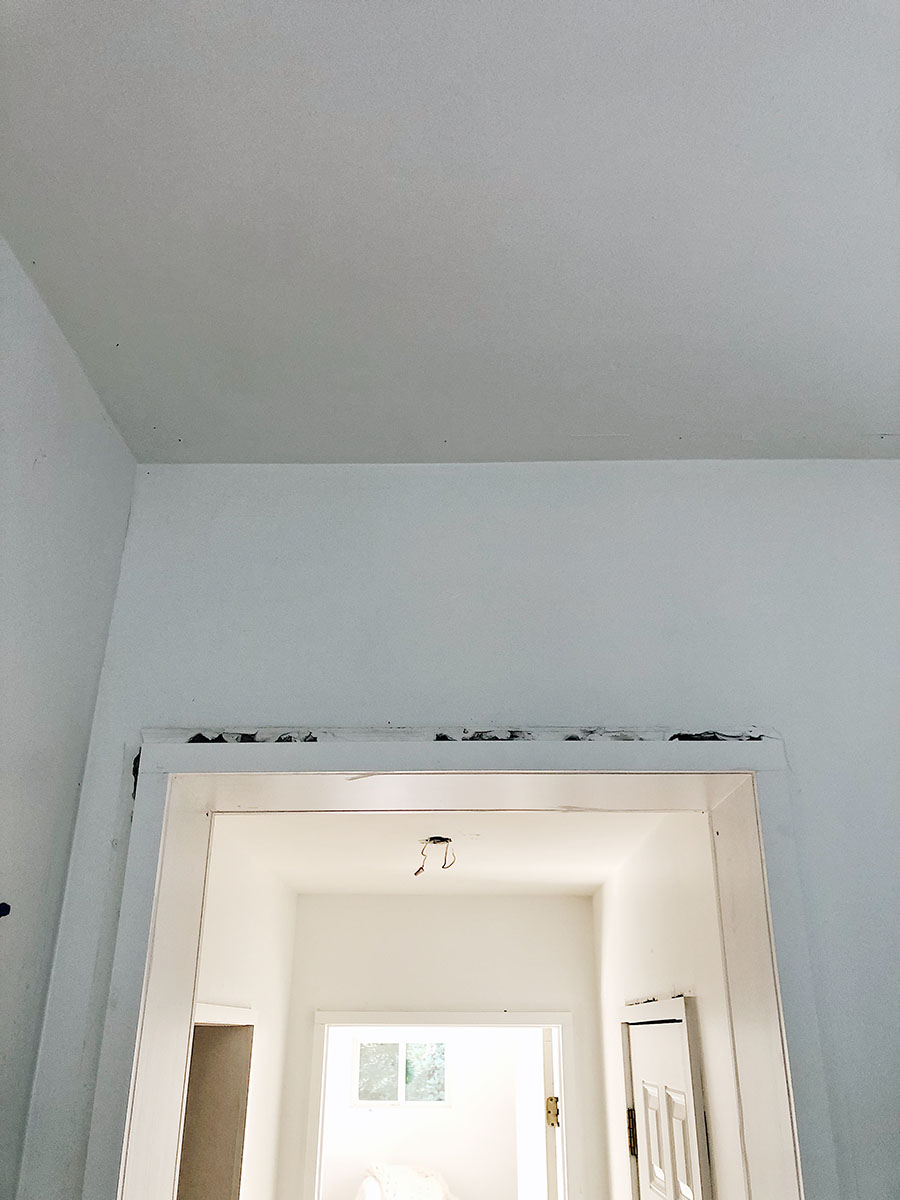
This is more or less how most of the casings looked the first time they were installed. If you have eyes, then I don’t need to explain to you why this looks bad, right?
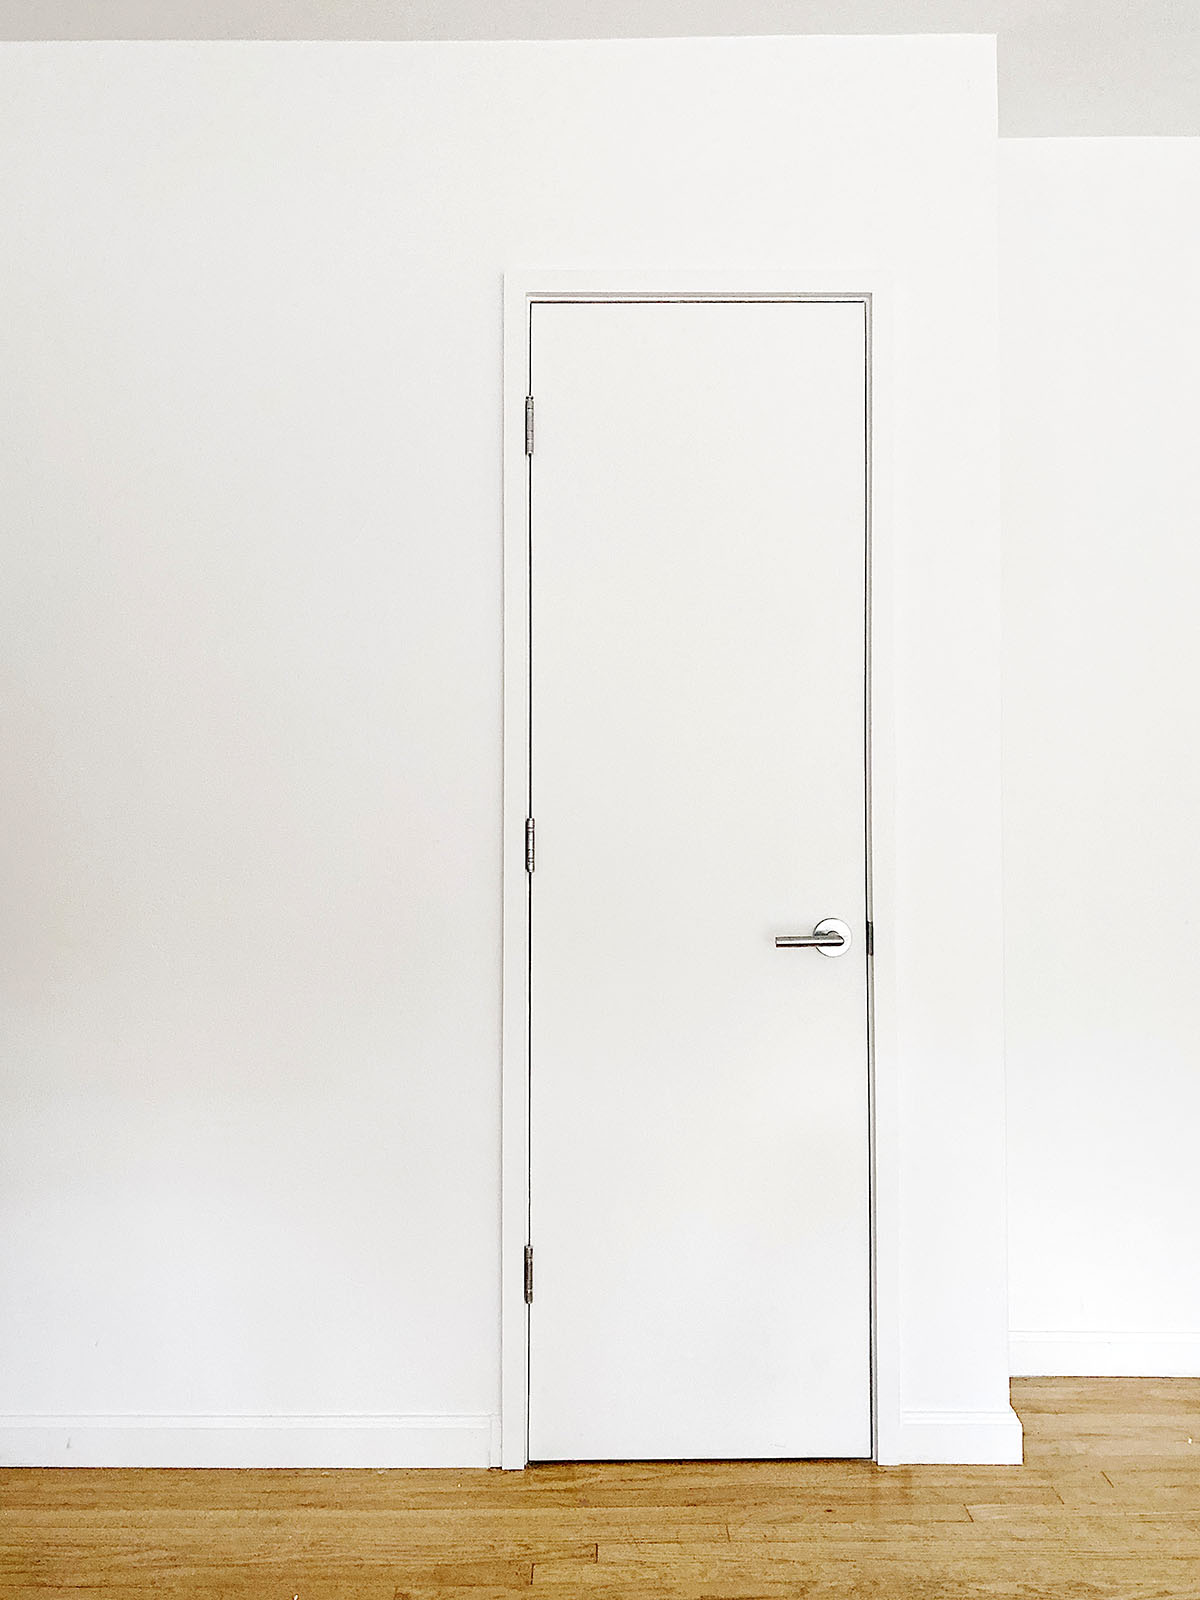
We learned that some walls are bowed and most of the door jambs are not flush with the walls, meaning we needed someone who could do much more precise work for this so that the casings looked straight from every angle vs wonky like the door jambs. This is where we hired a carpenter to redo all the door casings. He cut and connected the trim first like a frame, custom to each doorway, then nailed them in so that they would resist warping to the uneven walls and door jambs. He also cut shims to put behind parts where the walls and jambs were extra slanted and uneven. I watched him do a lot of this and appreciate that he took the time and care to do it right. Looks much better, yes??
Luckily casings weren’t too expensive to toss and buy again. Relatively speaking they were a drop in the bucket, but ripping out the first round of trim that didn’t go so well created damage around the door jambs again that needed to be patched and sanded. Read: more time and dust. This is about where I started to feel like I was losing it. Work that had been done had to be redone, drywall dust was replaced with more drywall dust, and it was all being dragged out over weeks for whatever availability issues the people working on our house were having. Surely a satisfying before and after would be consolation. Shall we see?
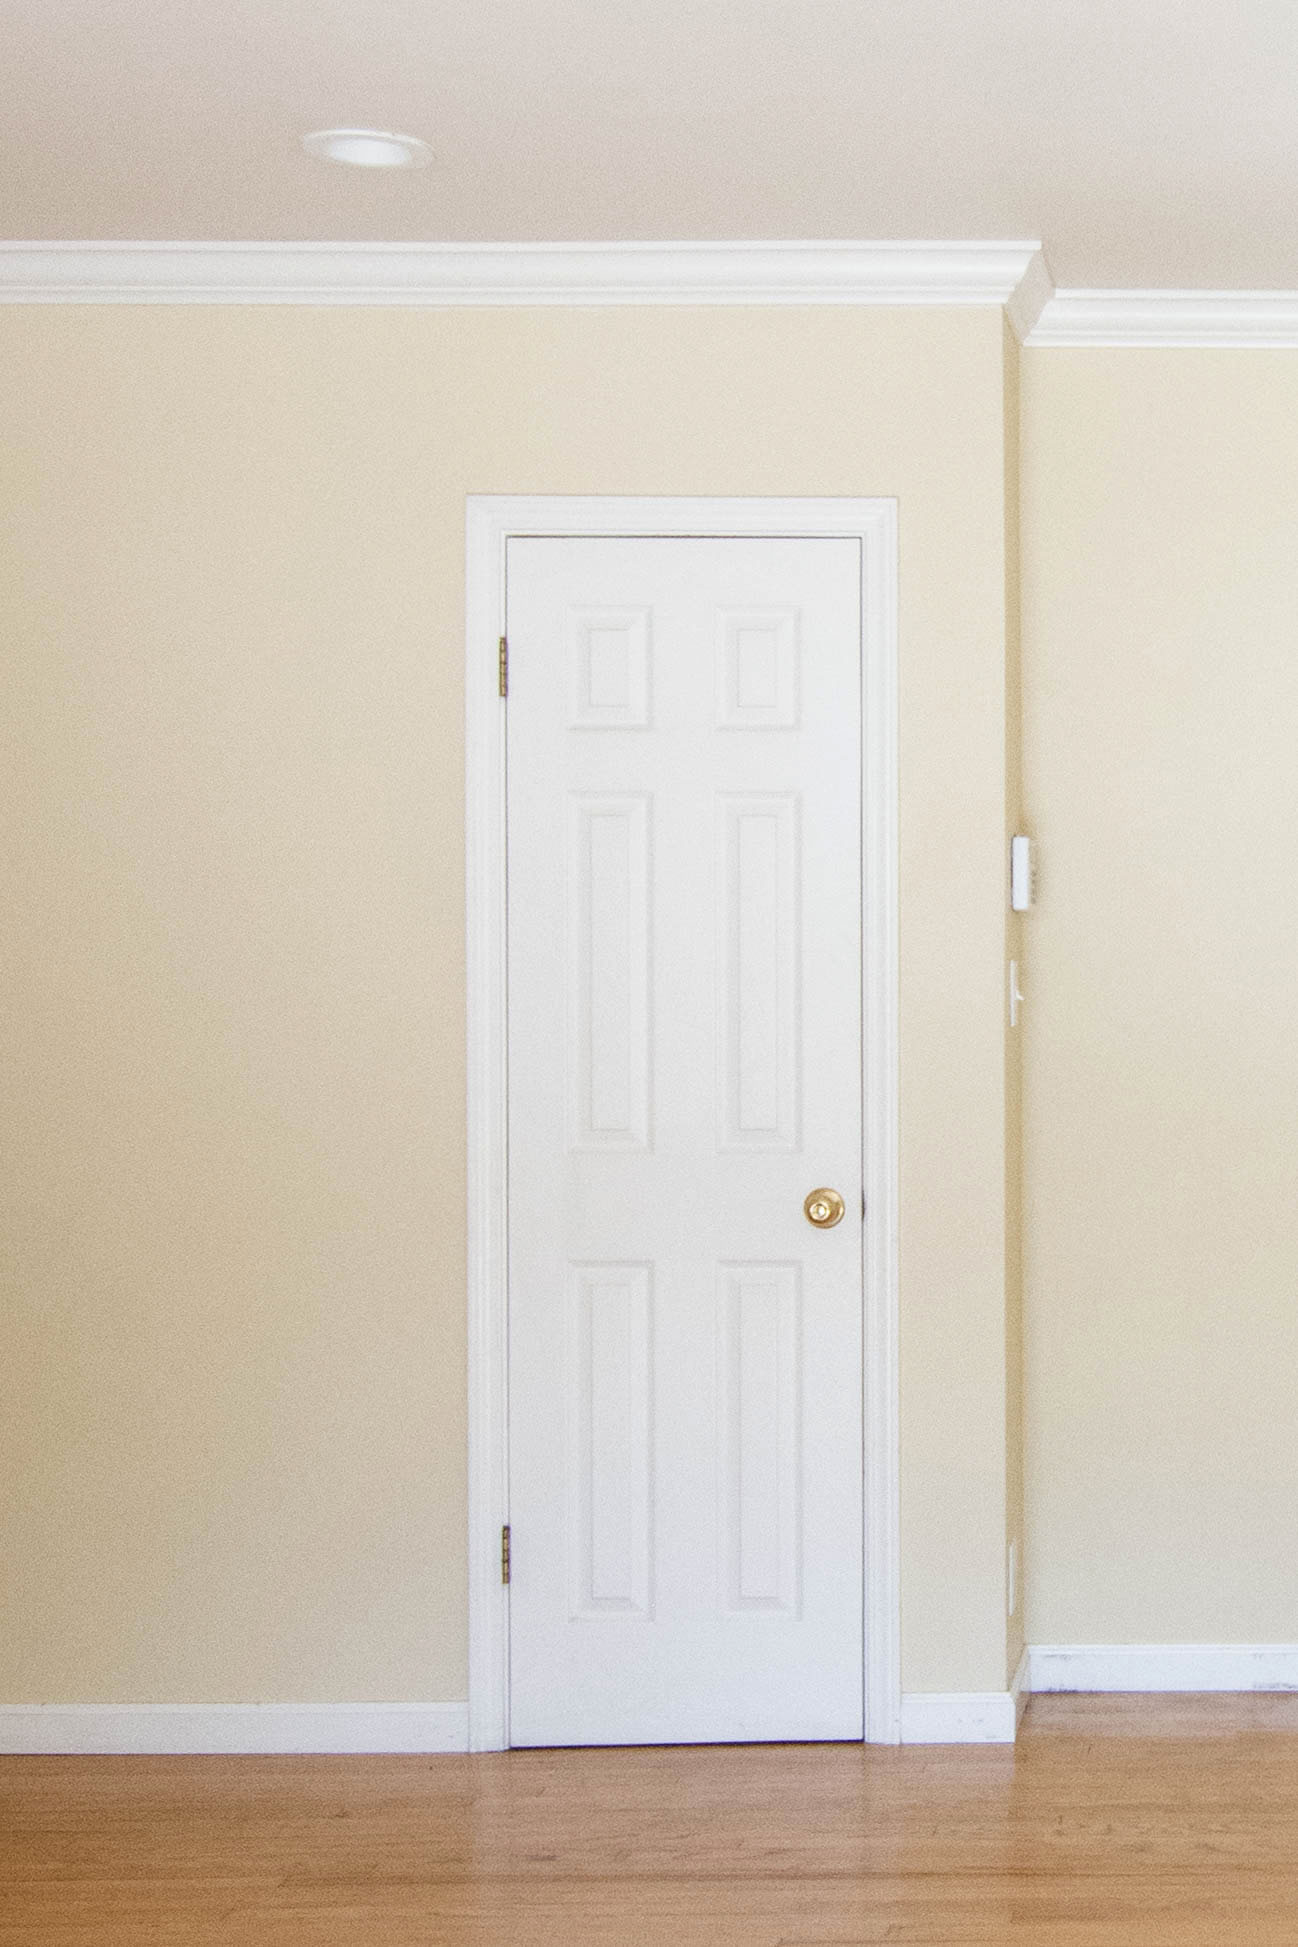
Looking at the before, now through the lens of everything we’ve been through, I truly think there’s nothing wrong with it and I would be more than fine living with it. The difference between the two is simply a matter of style and preference, and as much as I hated this frustrating process for something that I thought would be a quick and easy project, I can say that I’m glad we did it and am happy with the outcome. Calling it “worth it” is hard, ha, because it’s been a LOT for something that didn’t need actual fixing or improving (other than the door with the hole in it). It’s more like I’m relieved it turned out fine and that we did it before completely settling in!
Something that turned out like our original vision was removing all the plantation shutters and window trim. Again, once all the trim is removed you see why it’s even a thing. It hides any unevenness of the window frames, and now it’s not a surprise that smoothing it all out is a meticulous job that creates even more of that heinous drywall dust.
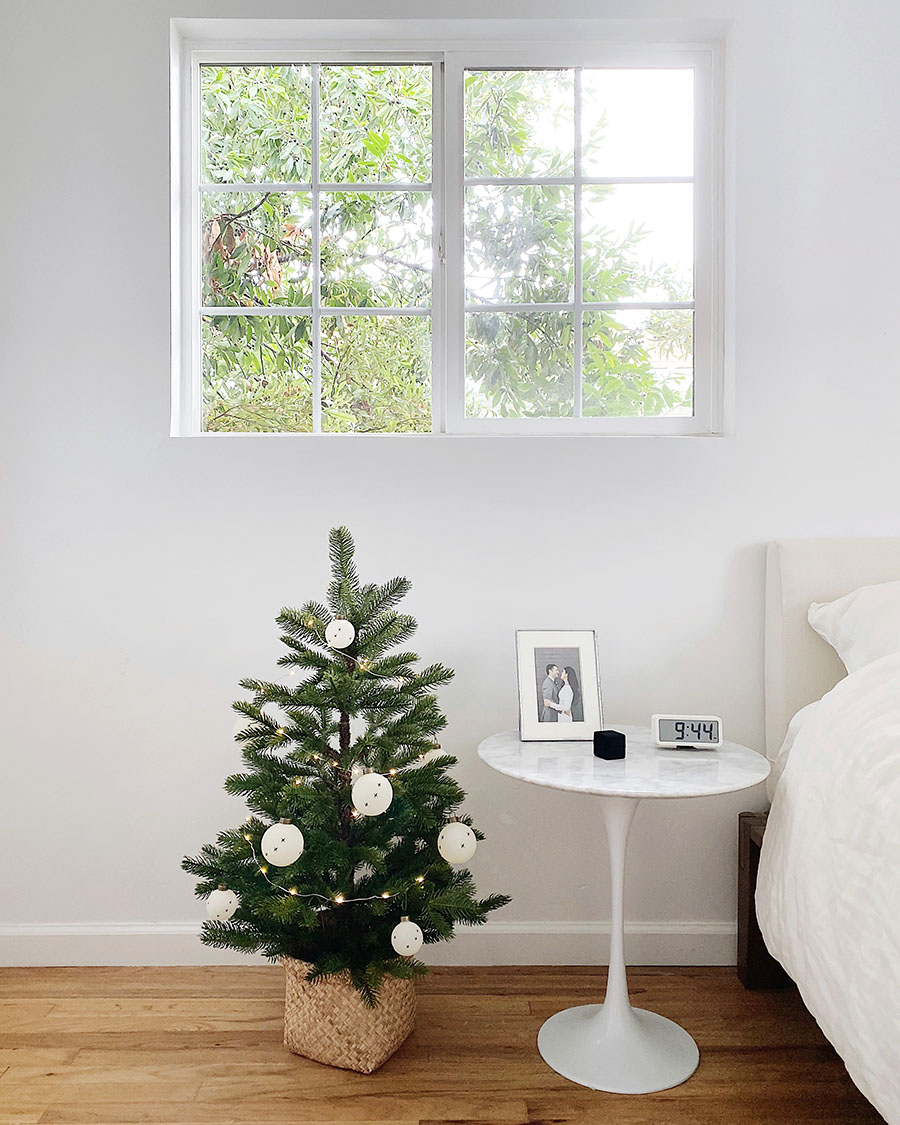
Luckily the windows didn’t present any further problems and I’m VERY happy we moved forward with this idea because I think they look so sleek and pretty, even though some of them understandably aren’t going to be close to perfect. There’s only so much you can do with the imperfect canvas that’s already there without trim to hide it, but who lives life at home inspecting the imperfections of their window frames? You’ll never notice it!
We still need a couple closet doors for the family room put in that I most hoped about sharing in this post because they’re not plain and solid (whaaat) but maybe that’ll happen next year. The closet doors have been made so low priority that I’m convinced they will be completely overlooked and never to be spoken of again until we hire different people who aren’t sick of us. All of this was supposed to be done within that initial 2 week time estimate and today it has been a little over two months and still ongoing because the people working on the house are now not responding aaghhh. At least the important doors for the rooms that need privacy are done. I will never ungratefully look at doors and door casings again.
I remember reading an article during our house hunt about less obvious things to look for in a house and one of the bullet points was windows and doors. Now I get it, deeply. If you already like the doors and windows of a house, and let’s throw casings in there too, that’s a pretty big plus. In my mind when I didn’t like small features like this in a house we were looking at I’d think oh we can just throw that on the list of changes to make, should be easy… What a rude awakening it’s been to see how everything so far has not turned out to be as simple as it looks. I will think thrice before opting to change the interior doors and trim in a house again!! We could potentially say that about anything on a never ending list though. Who wouldn’t want to move into a house that’s already completely done with every detail to their liking (does that even really exist for anyone?) That’s why house hunting is an ultimate lesson on compromises. I keep coming back to being grateful that we’re not in that stage anymore!

You are doing great in balancing perfection with reality and sense. You have made leaps and bounds maturing in home ownership. And so quickly. I think in a year or two, when you can catch your breath, you will look back and be surprise at how well you did!
Is it strange that your comment brought tears to my eyes? Thank you so much, Mia. With all the frustrations, we are truly loving all that we’re learning and taking pride in it <3
It all looks so much better!!!
Thank you Mimi! I’ll hopefully look back on all of this and laugh!!
Are you planning to lay new floor on top of the old one? So more work on baseboard?
I believe we’ll be ripping out the old floors, putting in subflooring, and then the new floors on top of that. Baseboards are going to be replaced!
A lot of work! Looking forward to reading the journey & best of luck! I am debating if I should rip out old flooring for the new floor because the cost & project will be quite big!
Yes it’s a huge project and very expensive. I still debate about just refinishing our old floors, but there are some parts that are chipped up, shrinking, and look like they were very hastily patched up previously. I think it will make the biggest, positive difference to get new floors!