We had a limited amount of time before we moved in to get some work done on the house, meaning we prioritized tasks that would be more convenient to do while none of our stuff was there yet, like painting. What seemed like a small task ended up being not small at all and is still going on today (we are estimated to finish this “pre-move-in” work by mid-end of November, which increases our original time estimate of 2 weeks up to 8-10 weeks!) It has been our first and thorough lesson on how projects can grow, complications happen, and budgets and timelines are merely suggestions.
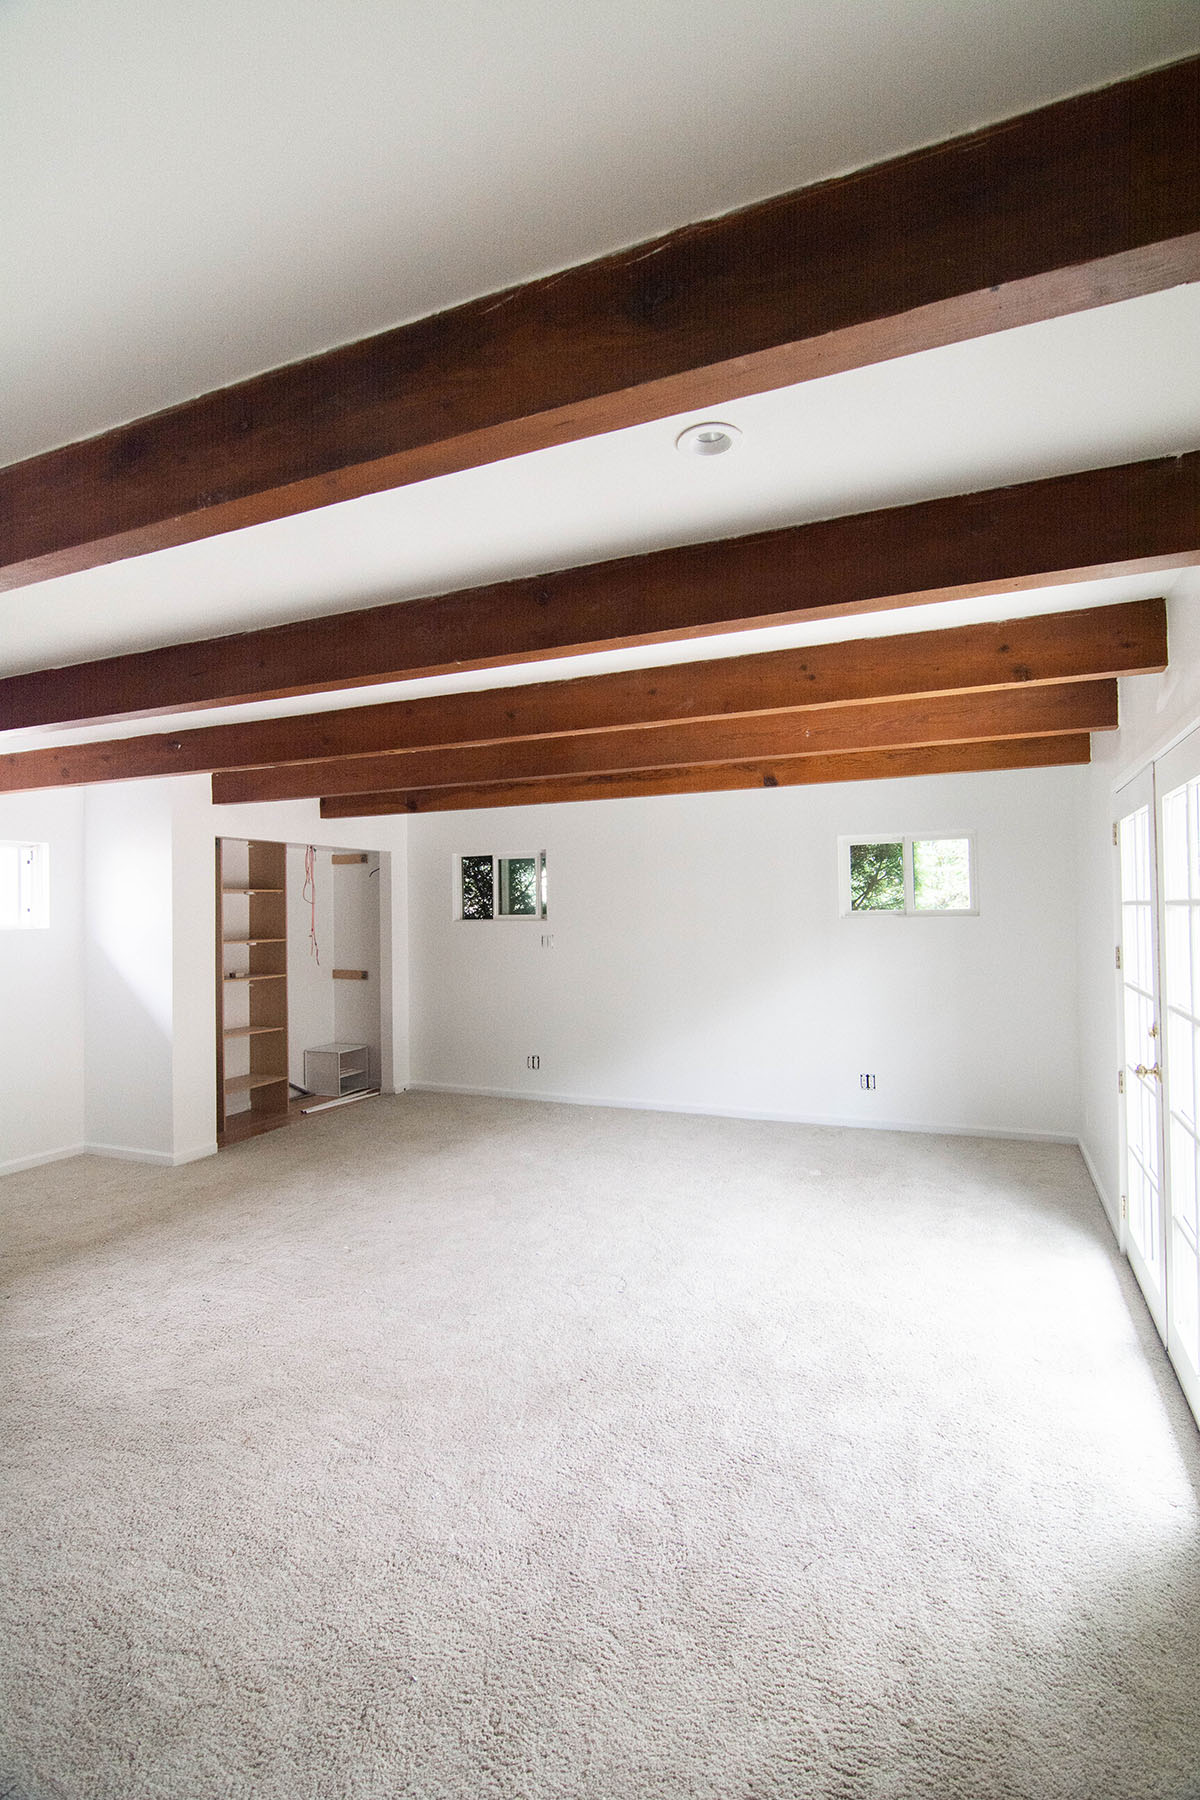
As you saw from the empty house tour, every room was painted a different color. I’d love to play with paint color in the future, but for now we wanted a blank slate and keep it easy by painting everything white. Because we’re painting every wall and ceiling in the house, we needed to look closer at prepping the canvas and this is where the project became bigger. From going around removing the myriad of Command strips all over the house with some causing damage to the walls, deciding on the light fixtures and built-in speakers we didn’t want to keep, removing a couple strangely out-of-place exhaust fans, and finding random holes and large openings that needed to be filled in, the project list kept growing to then include replacing interior doors (saving that for another post because it’s entirely its own disaster), putting in new door casings (saving that for the other post as well, DISASTER), removing plantation shutters and window casings (other post, too), and removing crown moulding.
I’m not generally against crown moulding, but for this house it didn’t feel right. My mom was upset with us for removing it because it’s “expensive to put in” and considered a desirable feature, but I didn’t think this particular moulding was going to make sense with the more modern style we want to bring to this home. What we gladly discovered after removing the crown moulding was that this is how the previous owners were able to hardwire speakers into almost every room.
All the rooms, including the garage, have random wires popping out of walls, floors, ceilings, and cabinets, and we found that a lot of the wiring was hidden behind the crown moulding. I felt relieved about discovering this so that we could remove all the wires and patch up the holes. It felt like a deep cleanse, and we solved the mystery of why there were wires poking out of every room and corner!
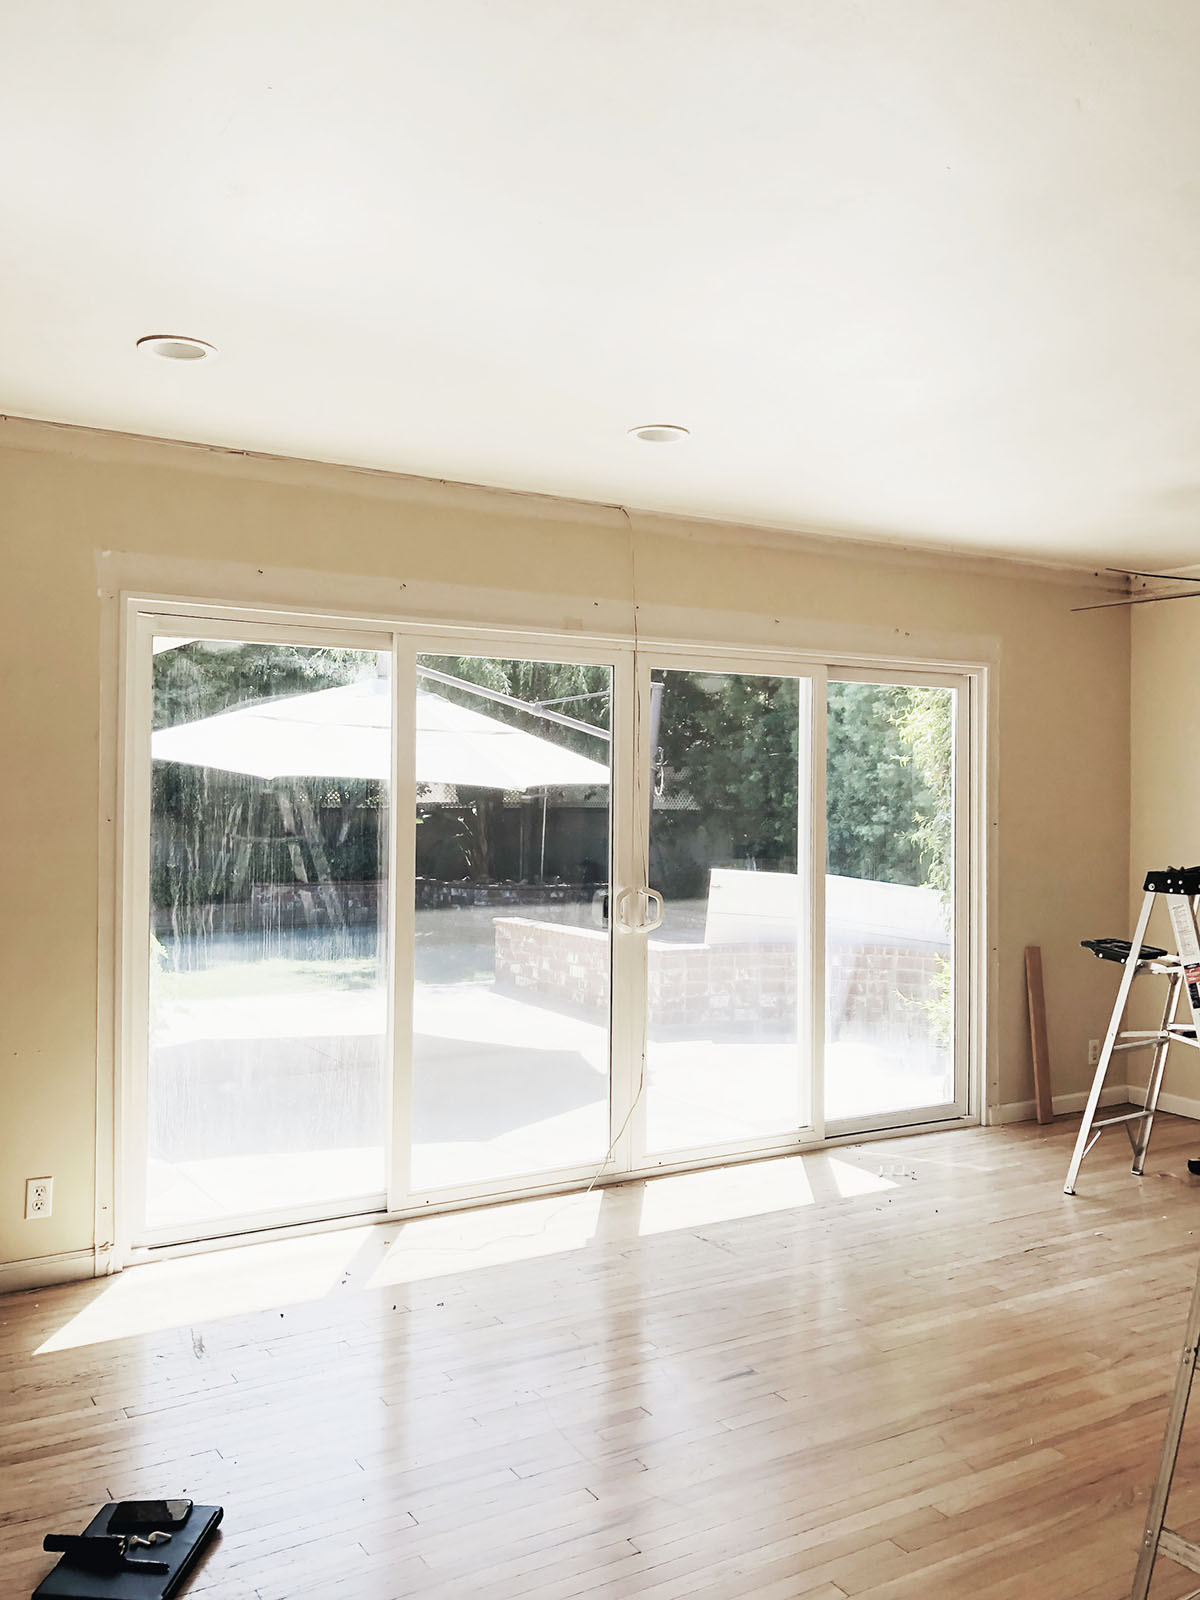
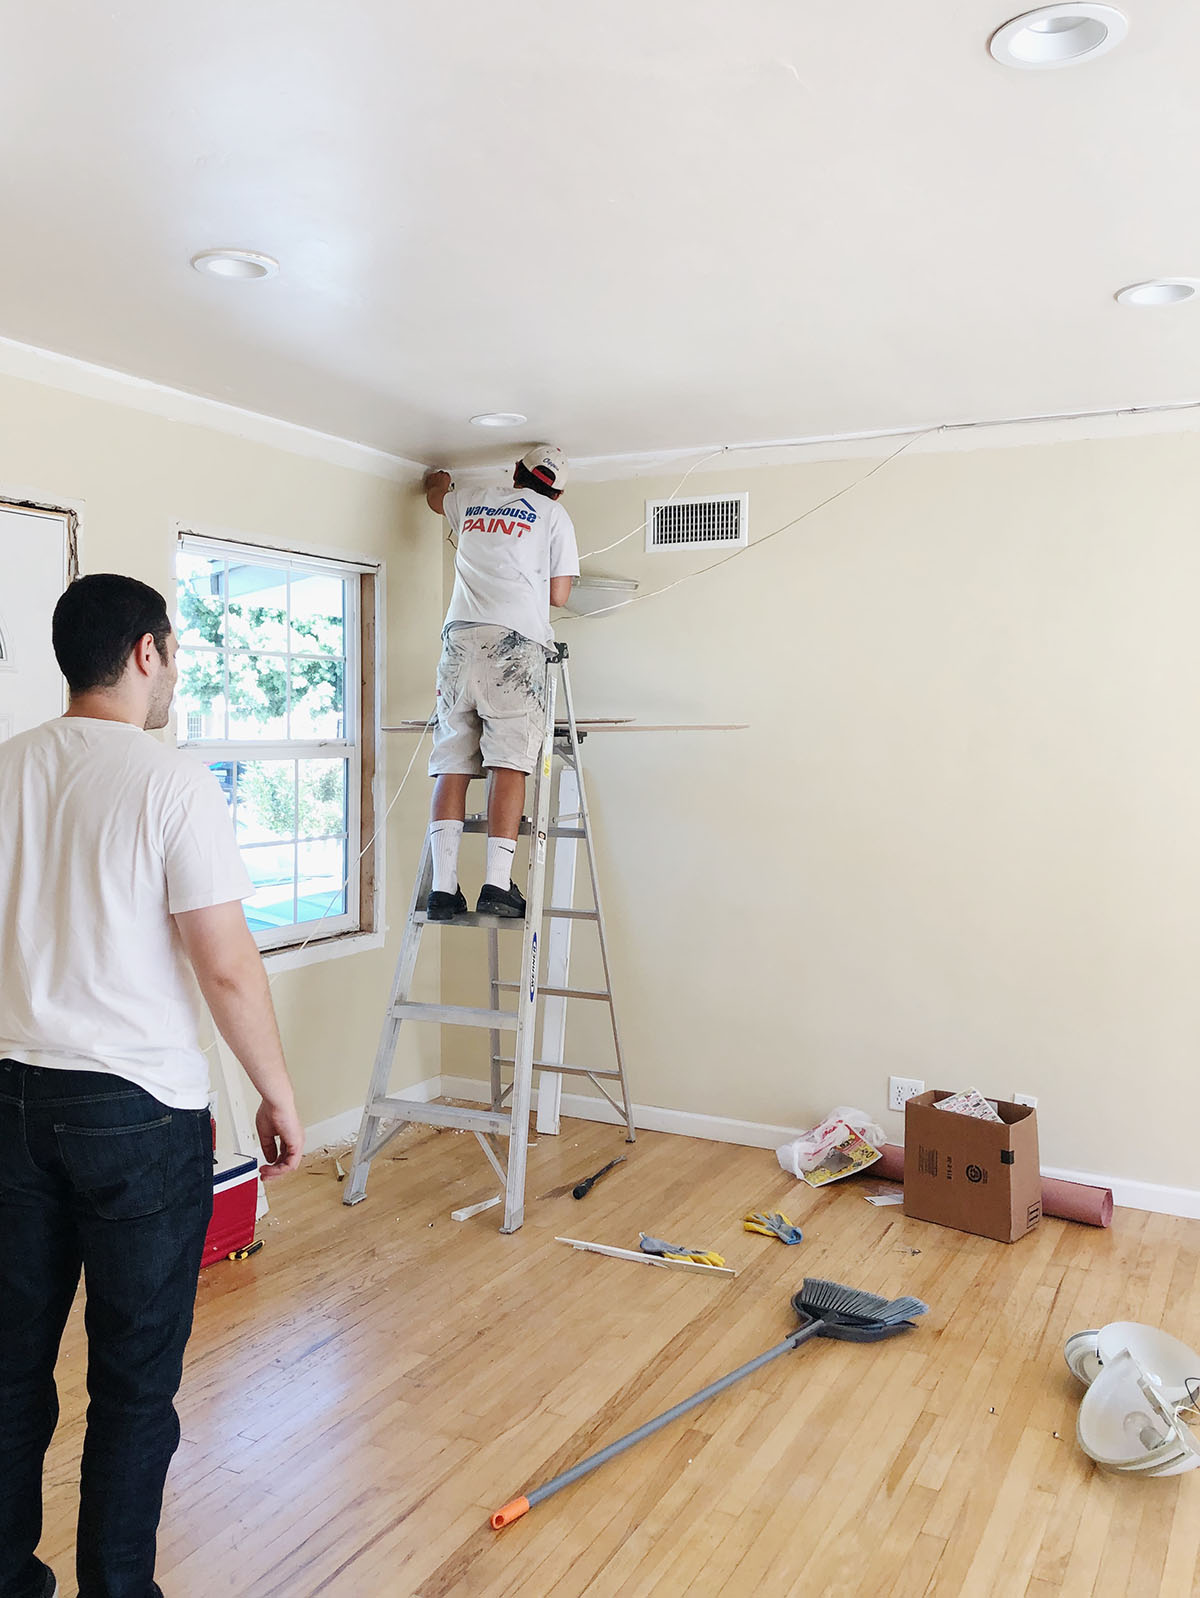
What I didn’t know was that patching up the holes and smoothing out the unevenness that the wires and crown moulding left behind is an involved job, one that introduced us to the catastrophe that is drywall dust, which would take over our lives as all the other drywalling and patching around doors and windows would continue to cover all our belongings in it. The thing about fixing the crown moulding issues is that it’s located high up, meaning all that sanding to smooth down the unevenness made it rain clouds of dust all over every surface. This area of a few inches where the the wall and ceilings meet ended up being one of the major things that put us behind schedule for paint.
HOW TO CLEAN DRYWALL DUST:
You can’t.
Ok you can, but it’s hard.
All of our clothes that were behind closed closet doors, everything behind cabinets and inside drawers like plates, cups, appliances, and utensils, and anything we had out on the floors in boxes were covered in drywall dust. It would have been ideal to move all our boxes to the garage beforehand, but the garage space was taken up by all the shutters and old trim that still needed to be dumped and the painted doors that had yet to be installed.
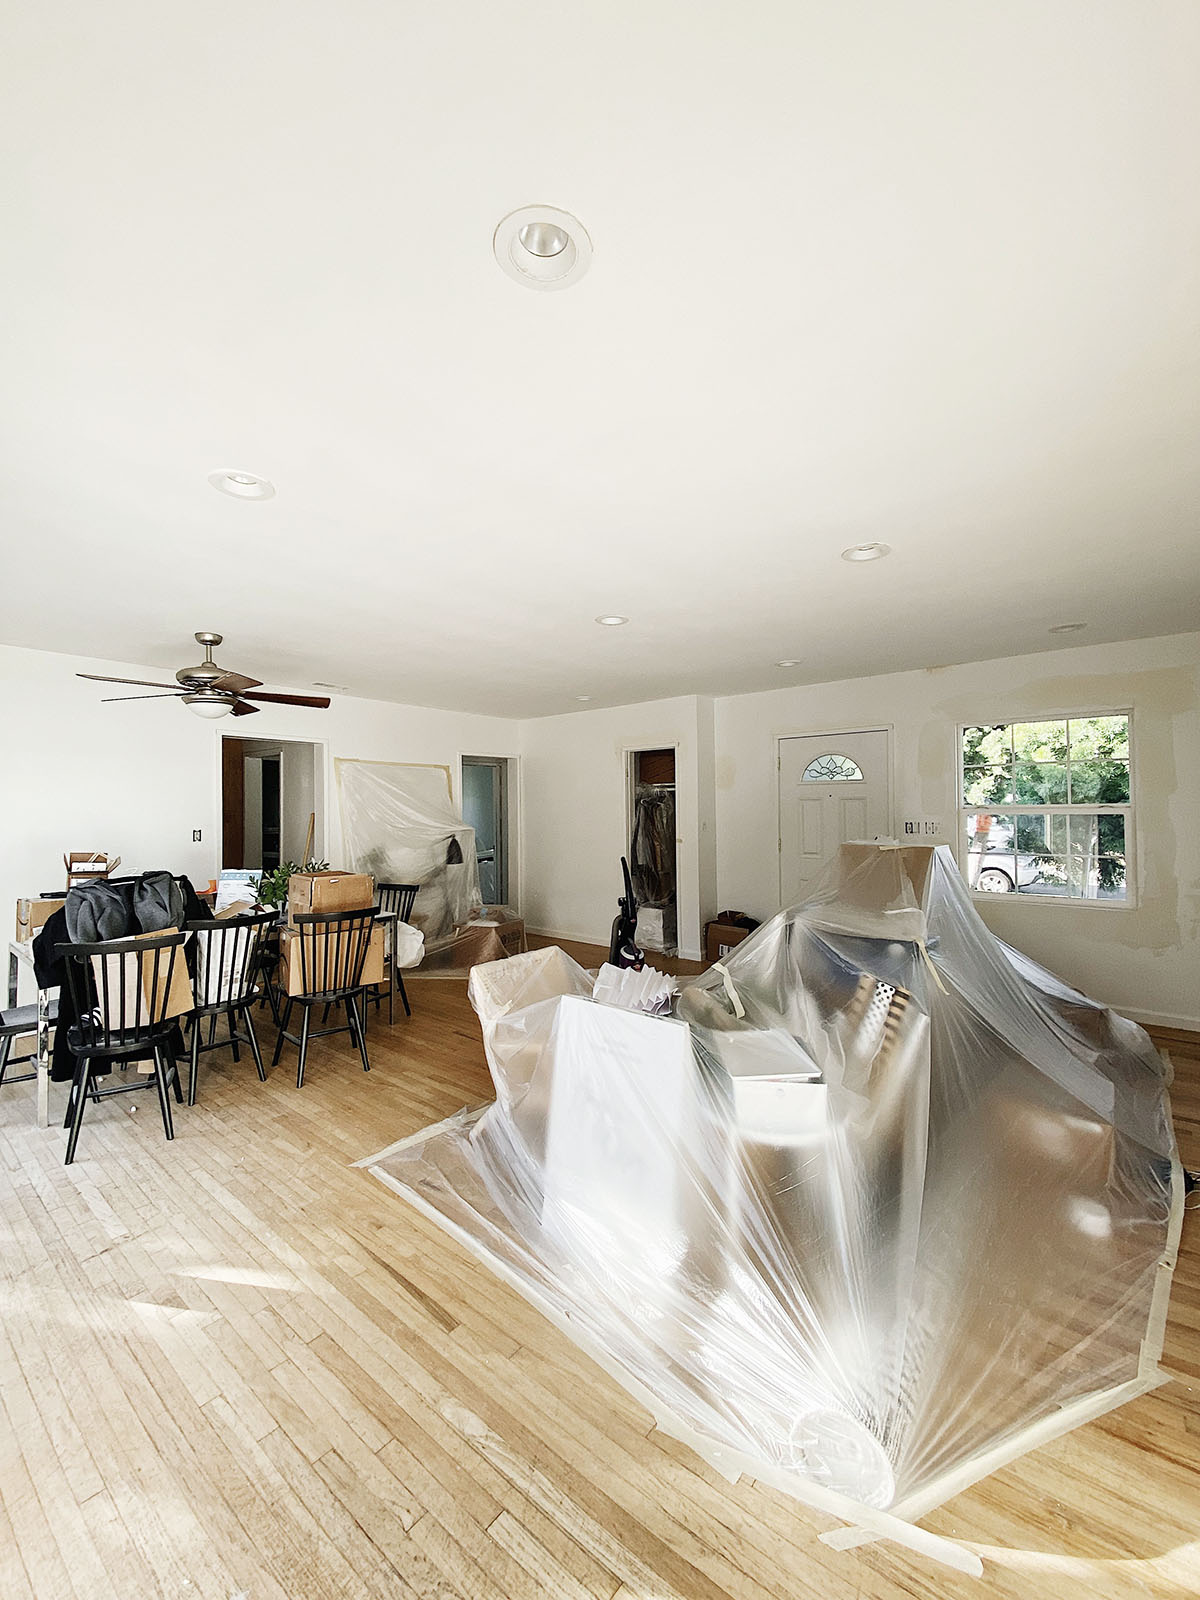
Ideally we’d fully depend on the people working on the house to be thorough about masking and protecting everything. What we unfortunately found was that their masking job wasn’t good at first, we complained, and then they did better about it, but the damage was already done. Even with masking though, the drywall dust still finds its way into and onto everything anyway. It’s unavoidably on the floors, gets kicked up when you walk on them, and travels in an invisible cloud to cake onto your things. I’d know it was on the walls when I’d accidentally brush up against them and see a bunch of dust on my shirt.
I talked about it in my last monthly favorites post and TRULY, getting a shop vac was the best decision and kept me from having a nervous breakdown. Sweeping is going to kick up the dust even more, using a mop or anything wet will turn a large enough amount of the dust into mud, and using a household vacuum is going to ruin it (the standard filter isn’t meant to handle fine particles like drywall dust and will suffocate the vacuum to death. I know this firsthand, ha.) Having a shop vac to go around after workers left to suck up the piles of drywall dust that got left behind made the mess infinitely more manageable. They do clean up after themselves, but not thoroughly, and I learned I can’t expect that.
The biggest thing I learned is that it’s best to work at cleaning up as regularly as possible instead of waiting until the job is completely done to clean it up all at once at the end. The longer drywall dust lingers, the more it will travel around and continue to get on everything. I’ve been going around with the shop vac at the end of the day after work has been done, wiping down any surfaces that look like they need it with a dusting cloth, also wiping down parts of the floors that look like they need it with a dusting cloth, and at the end when all of this is over I’m going to do a thorough, damp wipe-down of the floors after confirming most of the dust has been removed via dry methods.
What I would do differently if I could go back:
In terms of design, nothing. I’m happy with the choices we made even though it’s been a pain in the ass to implement them despite how simple they originally seemed to me. Every professional we’ve consulted about various aspects has told us about what’s popular these days or what’s easiest to do and what everyone else is doing and it’s tempting to want to follow that especially when thinking about making your house as appealing as possible to the next buyer, but we live here, and our ideas aren’t ridiculous. So despite being told our choices are questionable from a style point of view, we’re not wavering from our vision!
In hindsight it’s easy to say that I wish we pushed our move-in date later. It would have been very worth it to stay at our apartment while the work finished up, and to allow more time for the people working on our house to do the best job they could instead of being rushed to meet our short timeline. To be fair though, no one knew how much work this was going to be until the project started and the problems revealed themselves. Also considering this is our first time ever doing this, we didn’t know what it would take to hire the right people or how it would be to work with them.
A big part of this story is still missing (I’ll get to that in the next blog post that I mentioned earlier), which is doors, casings, and window trim, major contributors to the drywall dust blizzard, but besides all of the issues that came with those things, the biggest reason all of this has been taking so long is that this work on our house is considered small. What that means is people aren’t as willing to take the work (all I’ve been hearing from reaching out to businesses is that everyone is so busy right now and they don’t need to take on extra work if it’s small). So not only was it hard to find anyone with availability that wanted the job, it’s hard to have them keep showing up at the house if the project ends up taking longer than expected. Once the initial estimated 2 week time slot was up, we’ve gone days and weeks at a time with no one working on the house. Just one guy a few hours here and one day there, squeezing us in between their schedule of other clients. It’s a lot of waiting, and during that entire time we’ve been afraid to unpack because of the dust, so it’s waiting while being completely unsettled.
From your DMs, I got the sense that this is normal, despite not having paid for the jobs in full yet, and it’s to be expected with this kind of work. It’s been a learning curve of managing expectations and improving our communication.
I don’t ever want to sound negative, but the truth is that this has been so new and different from what I was expecting, and my expectations were WAY off. I figure it’s more helpful to share the reality of our experience vs. only sharing the pretty “after” results, because already I see there is a lot of ugly that goes into that- mistakes and returns to the drawing board at the cost of lost time and money. I’m so grateful for the excitement everyone has shared about seeing what we do with our home, but I want to be real about the not exciting and hard things about this process too!
Within the frustration, still there are exciting glimmers of validation that we’re doing the right thing. Though there are a lot of paint touch-ups that need to be done and as of writing this we still need to re-do our door casings, which will then require more paint touch-ups, most of the paint is done, and she is looking good!
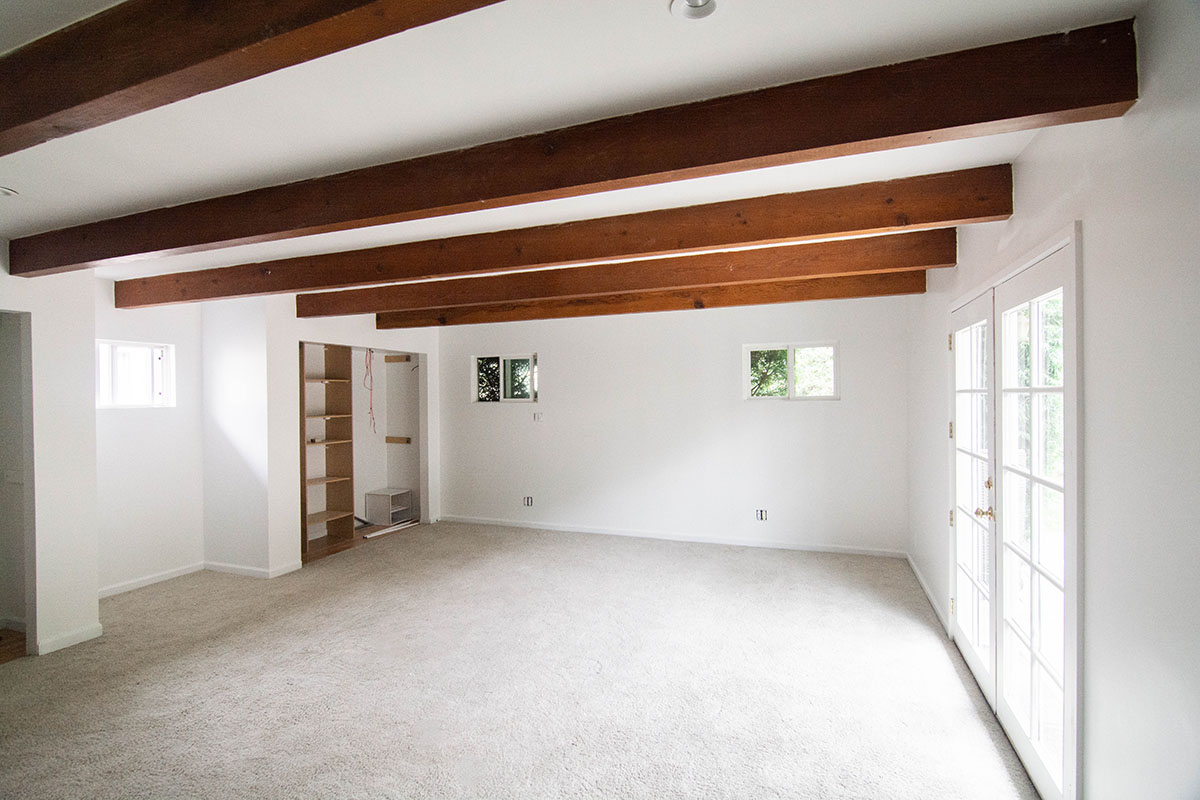
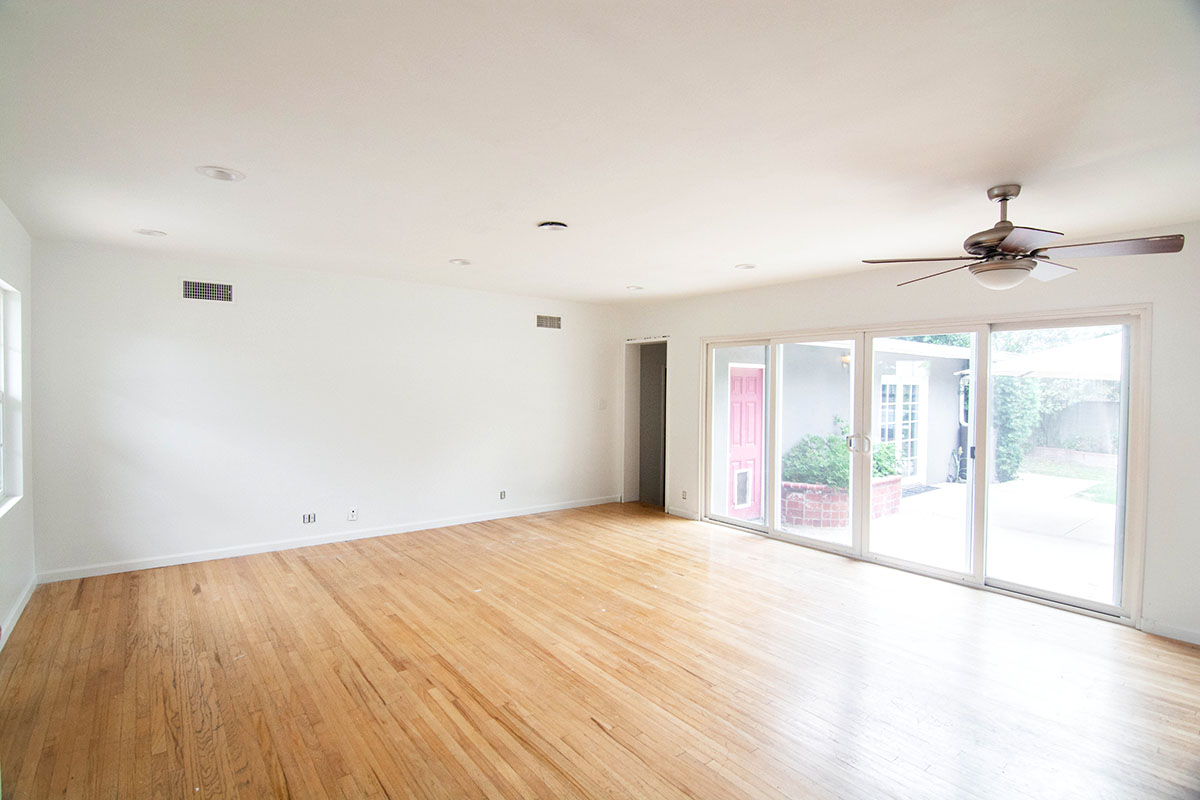
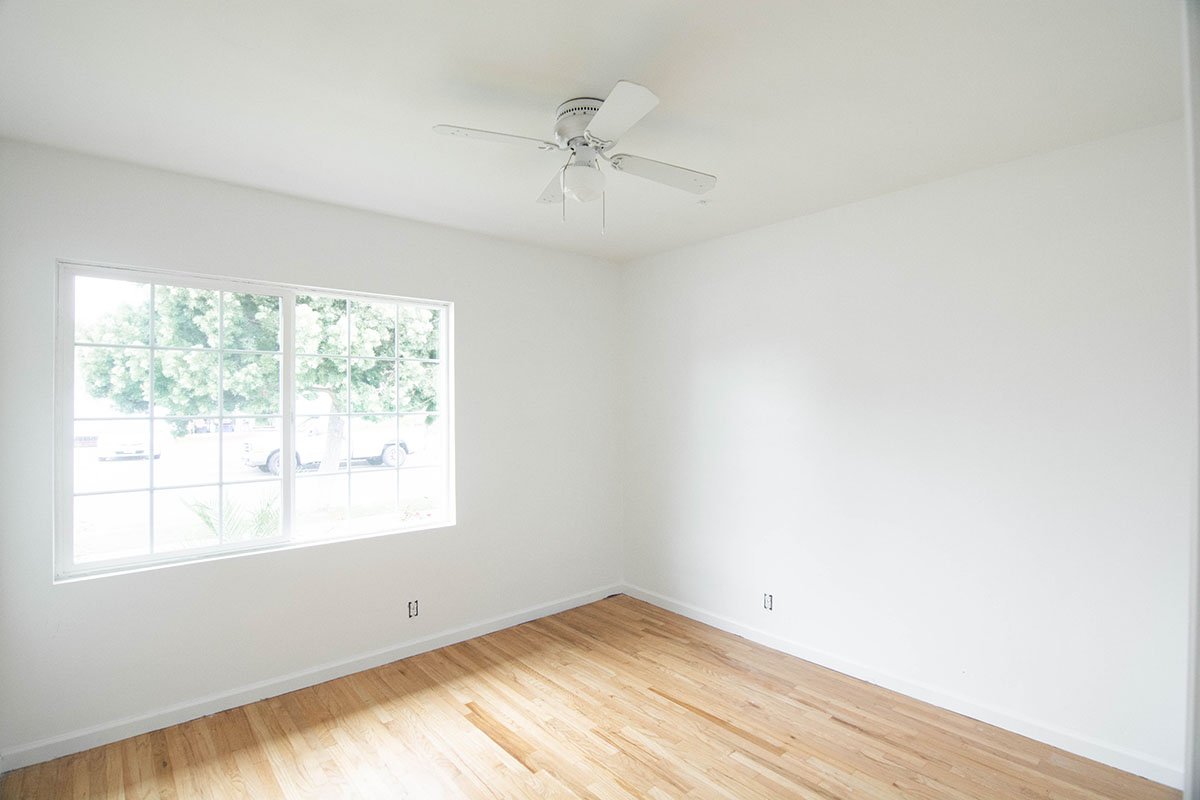
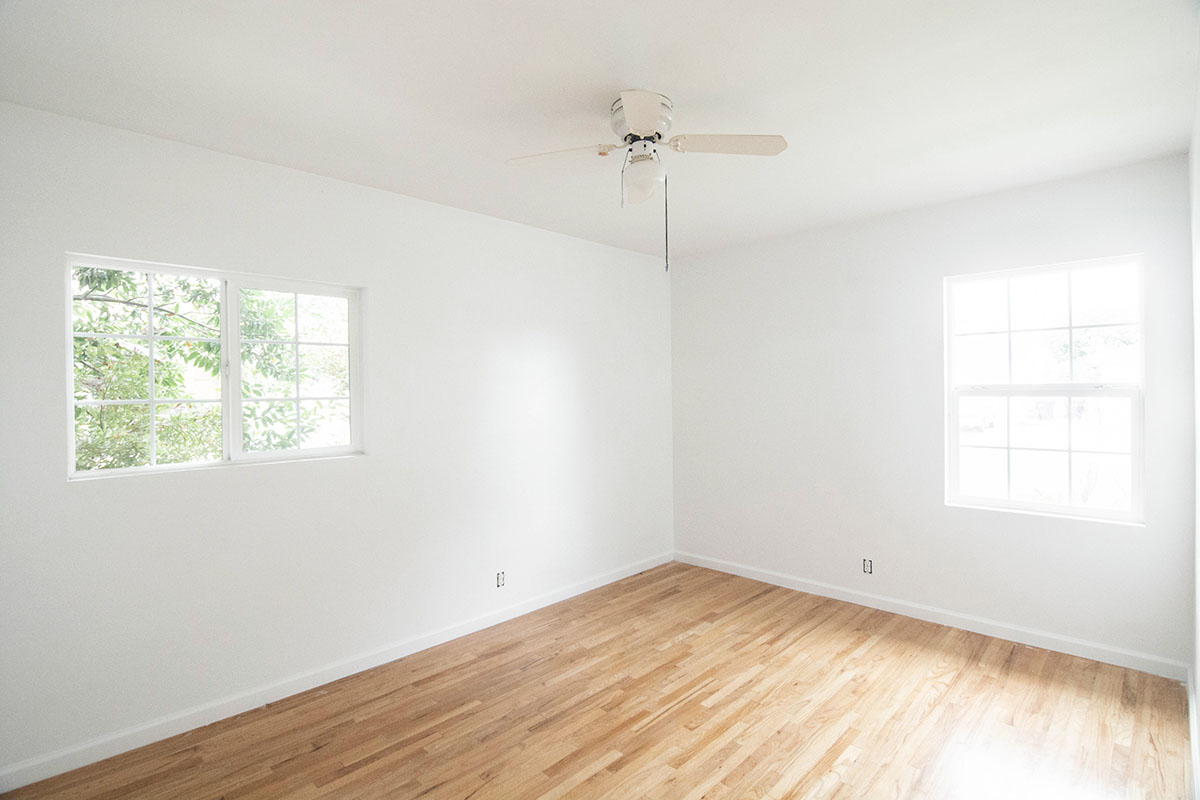
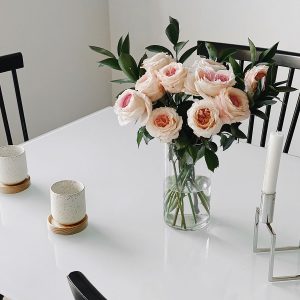
Forever amazed at how much paint can do. If you forgot what the walls looked like before, you can check out the photos in our empty house tour. We went with Sherwin-Williams Pure White, flat on the ceilings, eggshell on the walls, and satin on the casings, baseboards, kitchen, and bathrooms.
Right now all the doors are in and tomorrow the casings are being redone, which I think will take at least two days. Closet doors in the family room (we decided on family room!) still need to be put in and painted. Got rid of all the boob lights and need to pick fixtures to replace them and the ceiling fans. Unsure if I’ll be able to decide on those before final paint touch ups in a week, but the end of this is near! We should be unpacking our stuff soon!!


Looking bright! its not easy, but follow your vision so you don’t have regrets.
Thanks, Lisa!
IT LOOKS AMAZING!!!!!! My husband2be and I are in the planning stage of a total gut renovation in Long Beach, CA. We might just tear it down and start new. I will be following along! Thanks for sharing the process!
Tearing down and starting new, how exciting!! I fantasize about doing that one day, but also now have a glimpse at how crazy and hard that would be on me haha. Congrats on your home!
We are getting ready to move in with unpacked boxes and lots of white paint!!!!!!! in hand—we will be doing the same as you have done—-I guess a shop vac ins something to purchase ASAP!!!!! keep a sense of humor and a bottle of wine at the ready!!!!!!
Sense of humor is key!! Congrats on your new home!
Use veneer plaster not compound
There is no sanding,,no dust and it’s done in one coat because it doesn’t shrink
It’s far cleaner .faster, sturdier and gives a finish as smooth as glass
But there is a higher skill level to applying this
Wish I knew this before. Thanks for the insight.
It already looks amazing–so much progress. When it becomes overwhelming, think that these are home problems, NOT house hunting problems! (At least that part is over)
True! I also think house hunting would be a lot different now that I have a deeper perspective on what to look for haha. Still would rather be here at home though <3
We are redoing several rooms at one time! Why? Because I can’t stick to one project and I can’t pick colors! I hired a design lady. 6 months later? Still no flooring down, no carpeting., no backsplash or cabinets painted! That’s on top of my daughter and my 3 grandkids moving out of my house after 16 months living here. So I started with kitchen, then they moved and I want to repaint all 3 upstairs rooms now and redo the jack and Jill bathroom, all by myself! I’m leerni g but by bit by watching ALOT of YouTube and hiring out for drywall repairs, measuring for flooring etc. I find myself sanding walls at 100:00 at night cuz I can’t sleep knowing I just want to get them painted! I’m reading your blog about the dust! OMG! I bought an electric sander and what a mess! I paid for my popcorn ceiling to be taken down in the kitchen and painted and I’ll tell ya, it’s well worth the money rather than have to deal with dust from head to toe, or ceiling to floor! Sending the sander back and hiring someone! I’ll have to do a little before and after photos here as I think slot of people do what I did, piecemeal due to time and financing of projects.
I completely relate with the staying up late at night from being antsy over wanting everything done, except I’m not really doing anything productive other than standing around trying to envision everything lol. Hang in there! It will all be worth it!
Your new home is already looking so much better. The power of paint is remarkable!! Great news on your decision to make the large room your family room. I voted in favor for the ‘family room’ use. looking forward to following your new home journey.
Oh. I have heard that dry wall dust is the worst. We are getting ready to do a renovation so I love hearing about what to expect. Thanks for sharing!
Congratulations on all your stellar progress. We love when homeowners take time to invest in their home. It really shows and there’s nothing like the feeling of satisfaction after it’s all said and done. When we first started our drywall company it was the same feeling of antsyness :) but passion and persistence helped us through. Hang in there! Best.
Check us out if you’re ever in the area!
drywall services Hunterdon