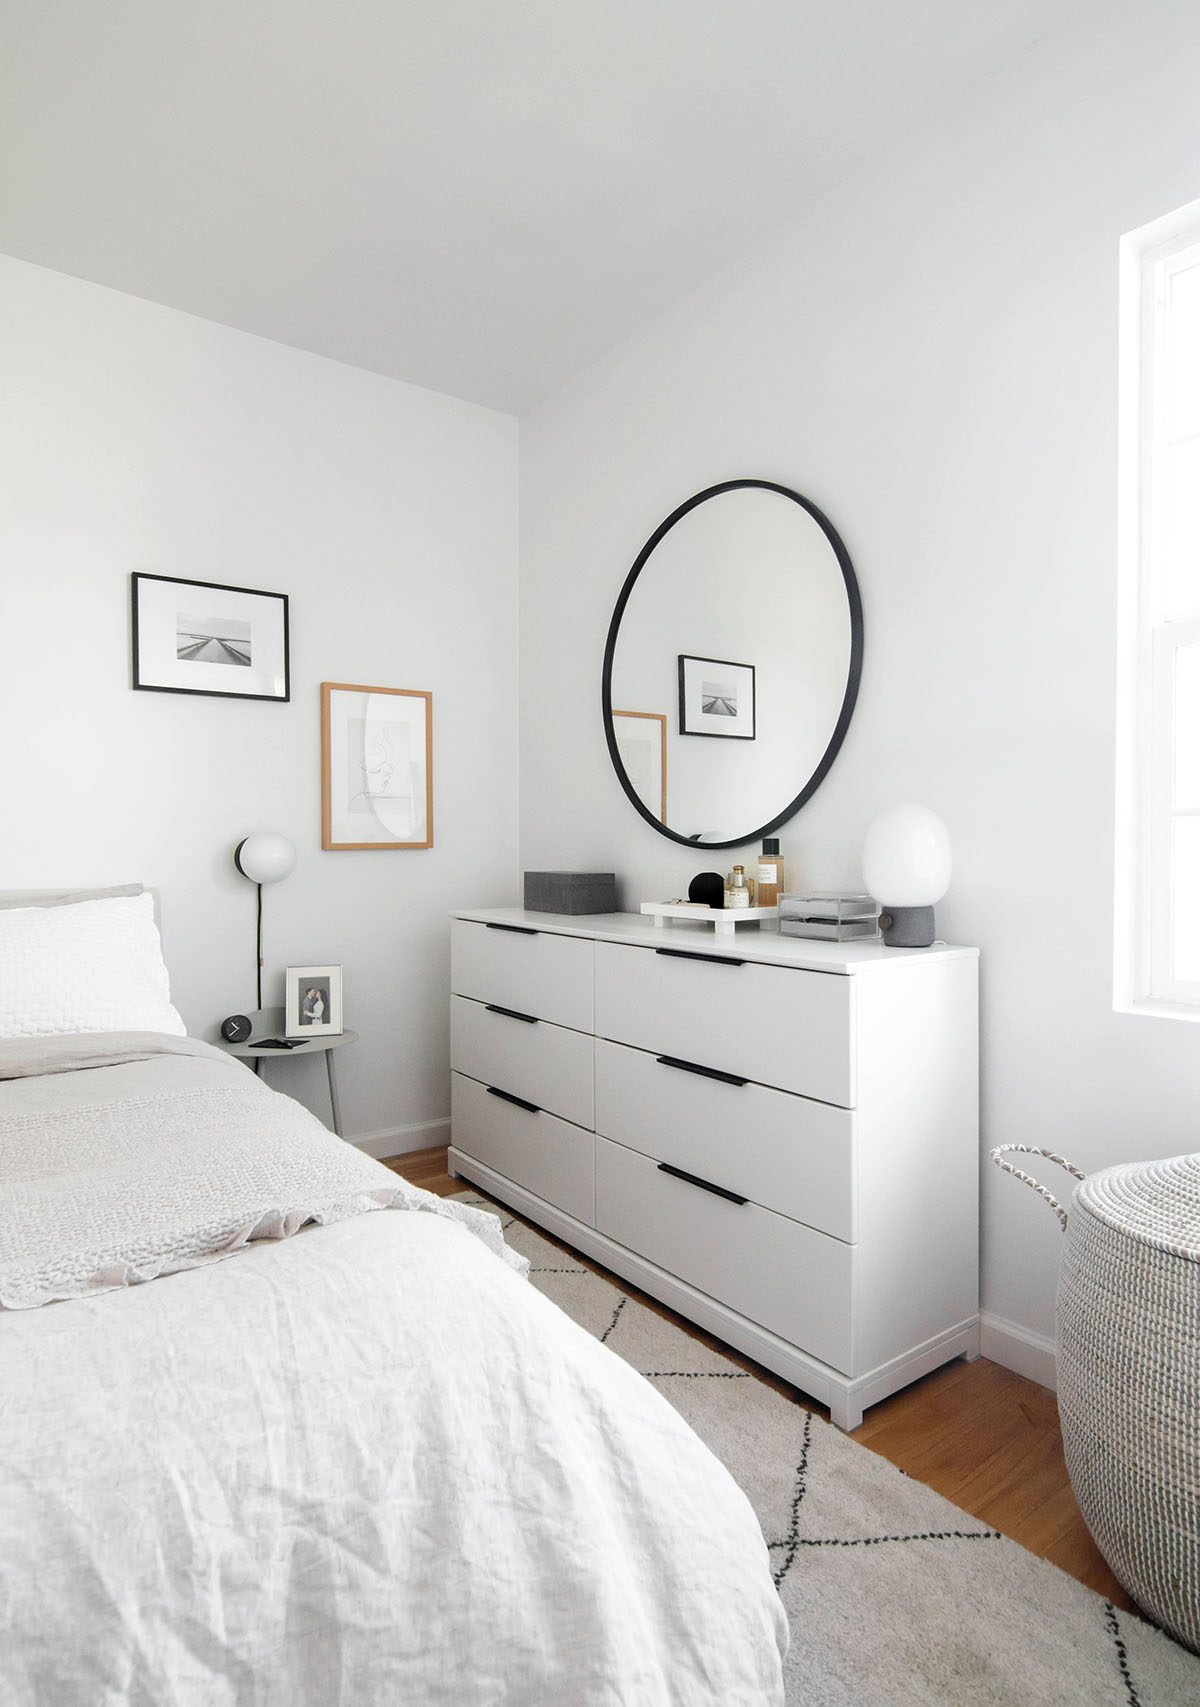
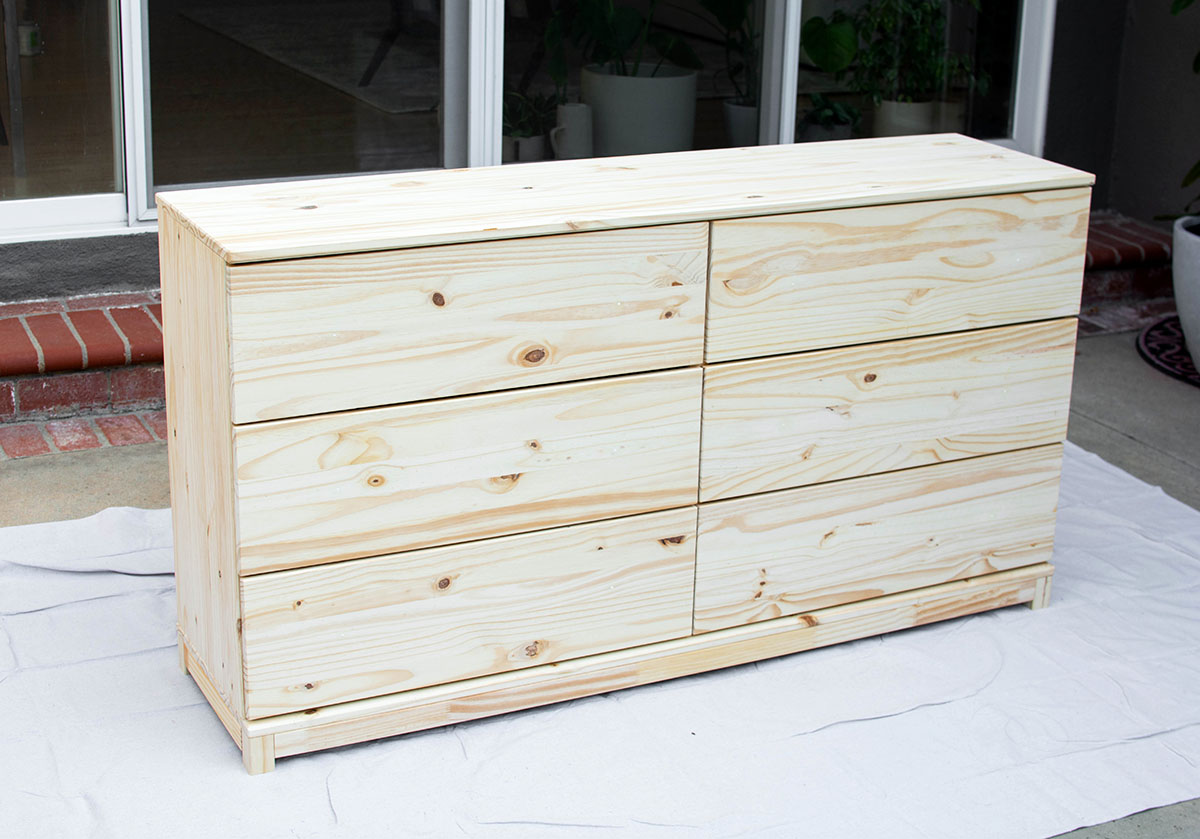
As you know from following along with the progress on our house, we decided to repurpose the master suite into a family room, meaning we’d take one of the smaller bedrooms for ourselves. This was only going to work comfortably if we could fit a dresser in here, because despite the closet in this room being a decent size, it’s a tad tight for two people’s wardrobes. After measuring out the rug and bed placement, we concluded that the ideal dresser depth for this room would be 16″ or less. With most standard dressers hovering around 20-22″ and dipping to 18″ at best, this was a challenging quest.
I searched for months looking not only for that shallow depth, but something that had enough width and number of drawers to still be useful for the amount of storage it could provide while also not being ugly. We landed on the IKEA TARVA, coming in at a svelte 15 3/4″ depth with great bones similar to our previous MALM dresser that I still love so much but it’s too big for this room. The reason I didn’t initially end my search here was because the TARVA only comes in an untreated wood intended for DIY customization and truthfully, with the stress of the move and work going on in our house the thought of spending days working on this felt like it was going to kill me. Being unable to find an alternative with these perfect dimensions or resist the affordable price however, I called off the search and accepted the task to make the TARVA our own. Here’s how I gave it a makeover.
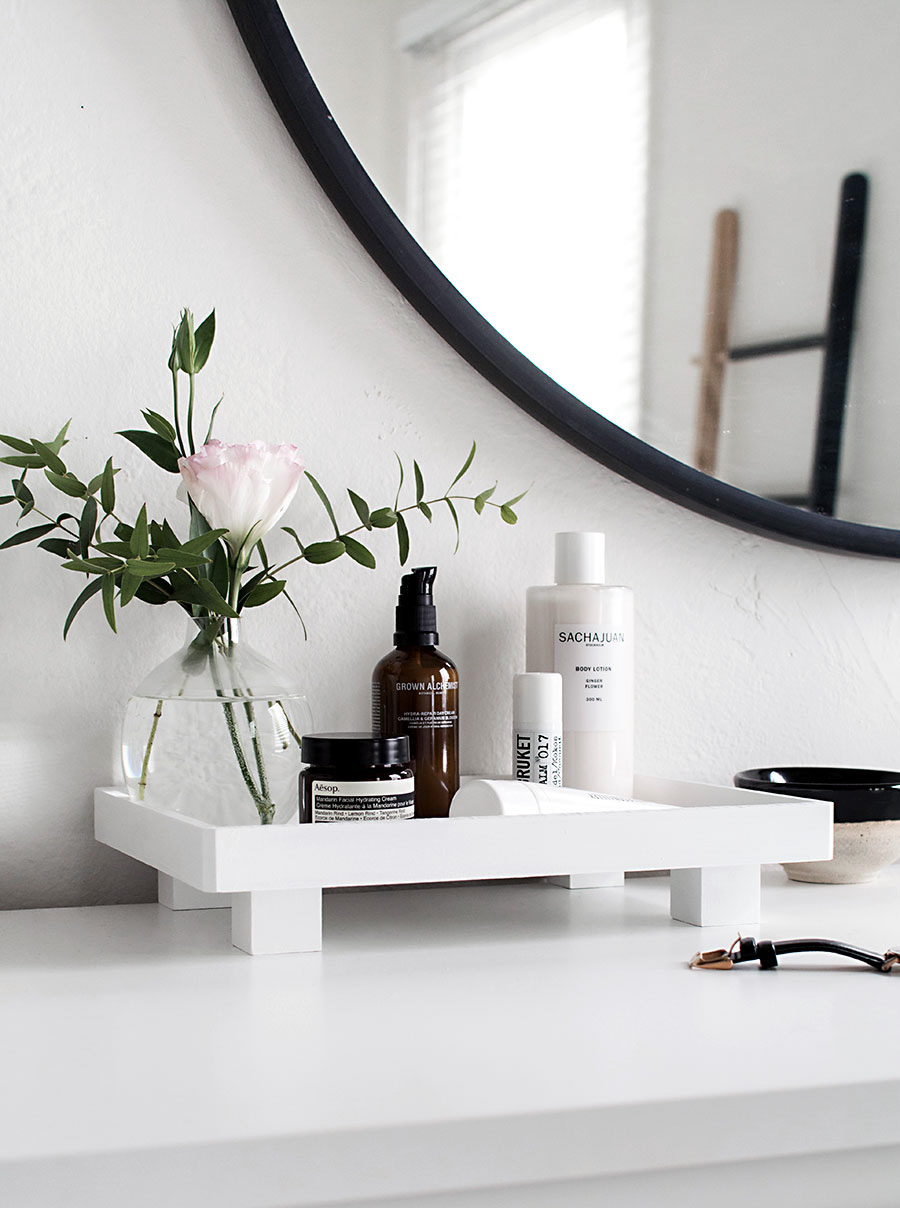
MATERIALS:
–IKEA TARVA
–spackling
–putty knife
-fine grit sanding sponge (I used 180 grit and 220 grit)
–paint roller
–paint primer
-latex paint (I used Sherwin Williams Extra White)
–tack cloth
–Polycrylic in clear matte
–paint brush
–drawer pulls
First thing I did was build the dresser. Once you put it together you can see what surfaces are visible and therefore what surfaces you have to paint. I only painted the surfaces that were visible because who has time for more than that after spending hours building the dresser?
Once the dresser is built you’ll see which pieces are the drawer fronts and how each of them has two holes for the knobs the dresser came with. Since I wanted to add different hardware I filled the holes in with spackling paste using a spackling knife. Once dried, I sanded over each hole to make sure the surface was smooth and even with the rest of the wood.
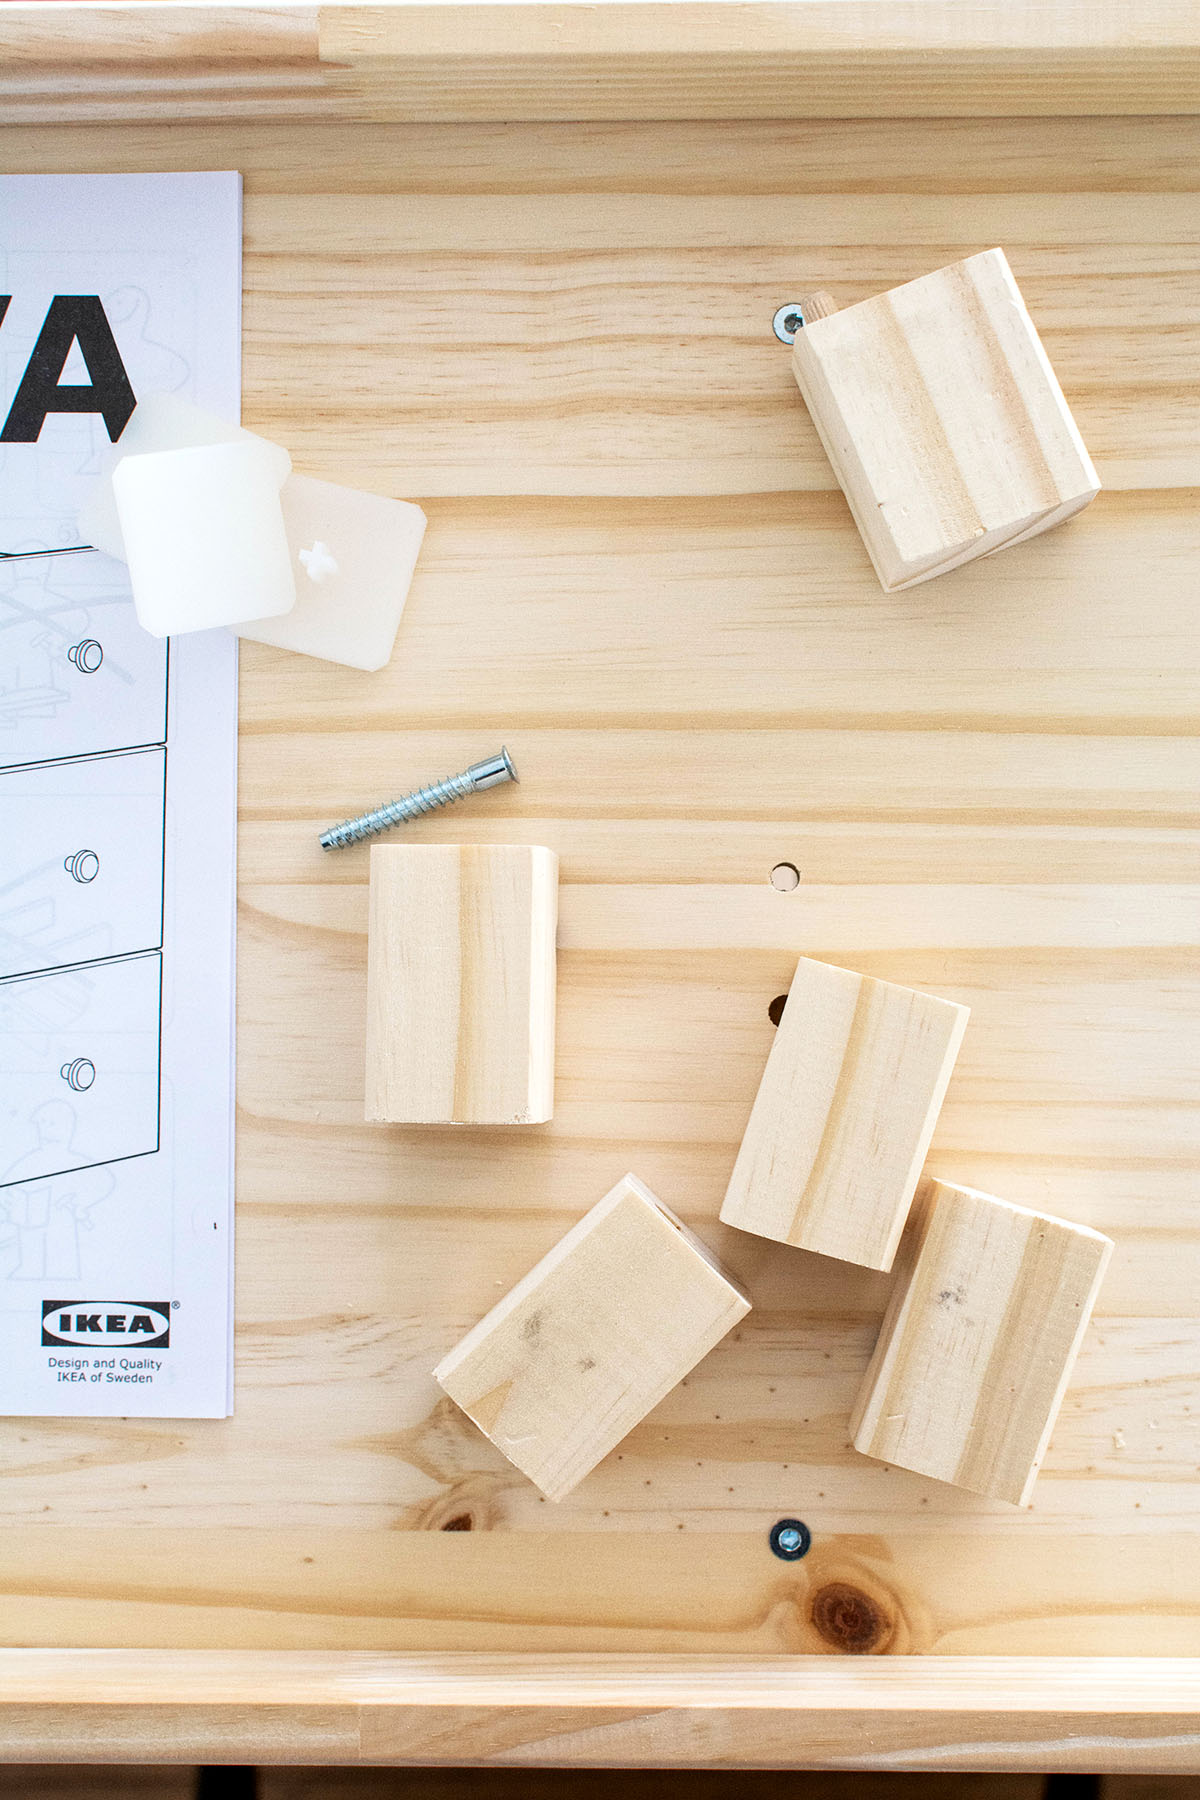
I had Oleg cut down the legs by about four inches (these are the pieces he cut off) since I felt like the dresser was too tall in proportion to our bed. Note: if you want to shorten the legs on your TARVA, cut from the bottom since the tops have holes on the side that make it possible for them to attach to the dresser. This means the holes on the bottom for inserting the protective sliders that the dresser comes with will need to be drilled in again.
The dresser then looks like this. I gave it a light sanding since I noticed some rough patches but I wasn’t terribly detailed about it, just enough to knock off some of the roughness.
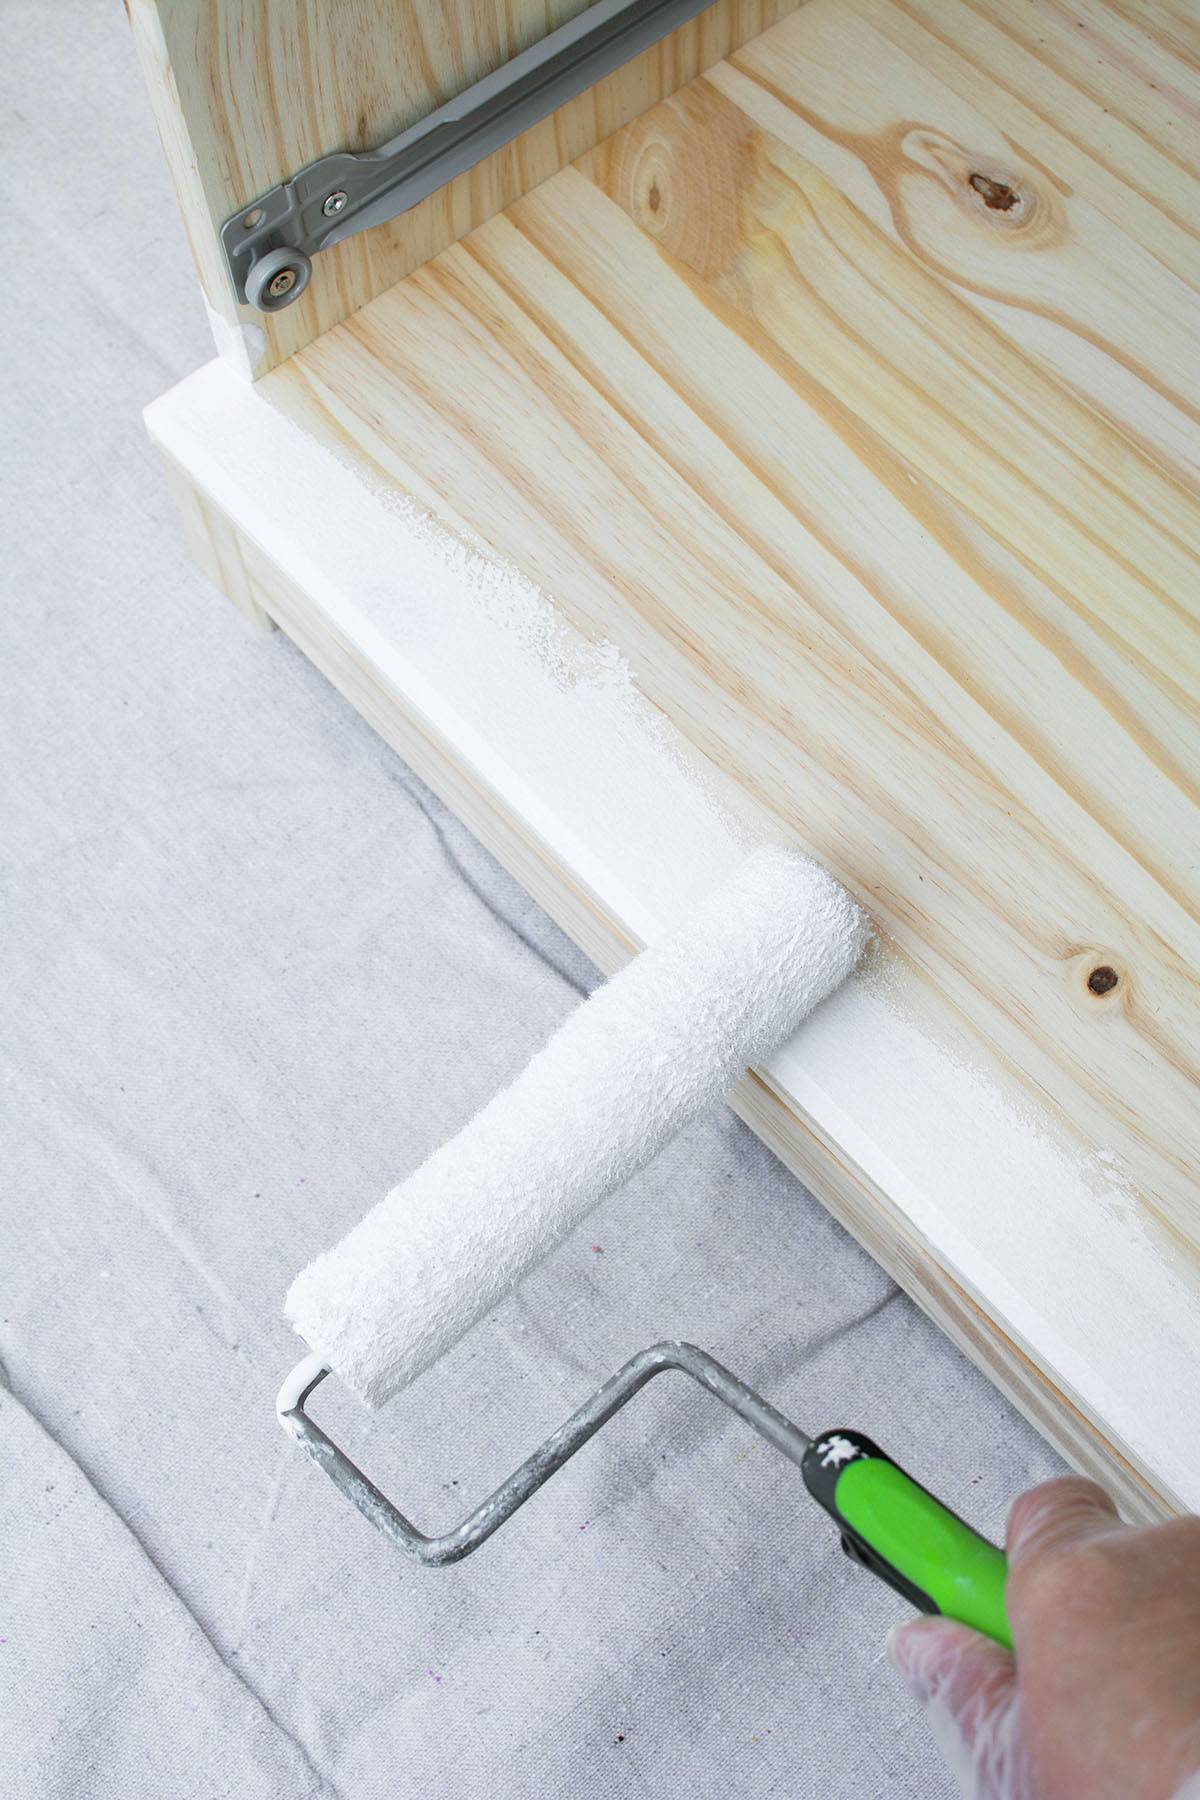
I applied one coat of primer and about an hour later applied two coats of paint about 4 hours apart mostly because I was running errands in between on a Sunday. It is always always best to apply many thin coats with thorough drying time in between rather than one thick coat that will take forever to dry and possibly drip.
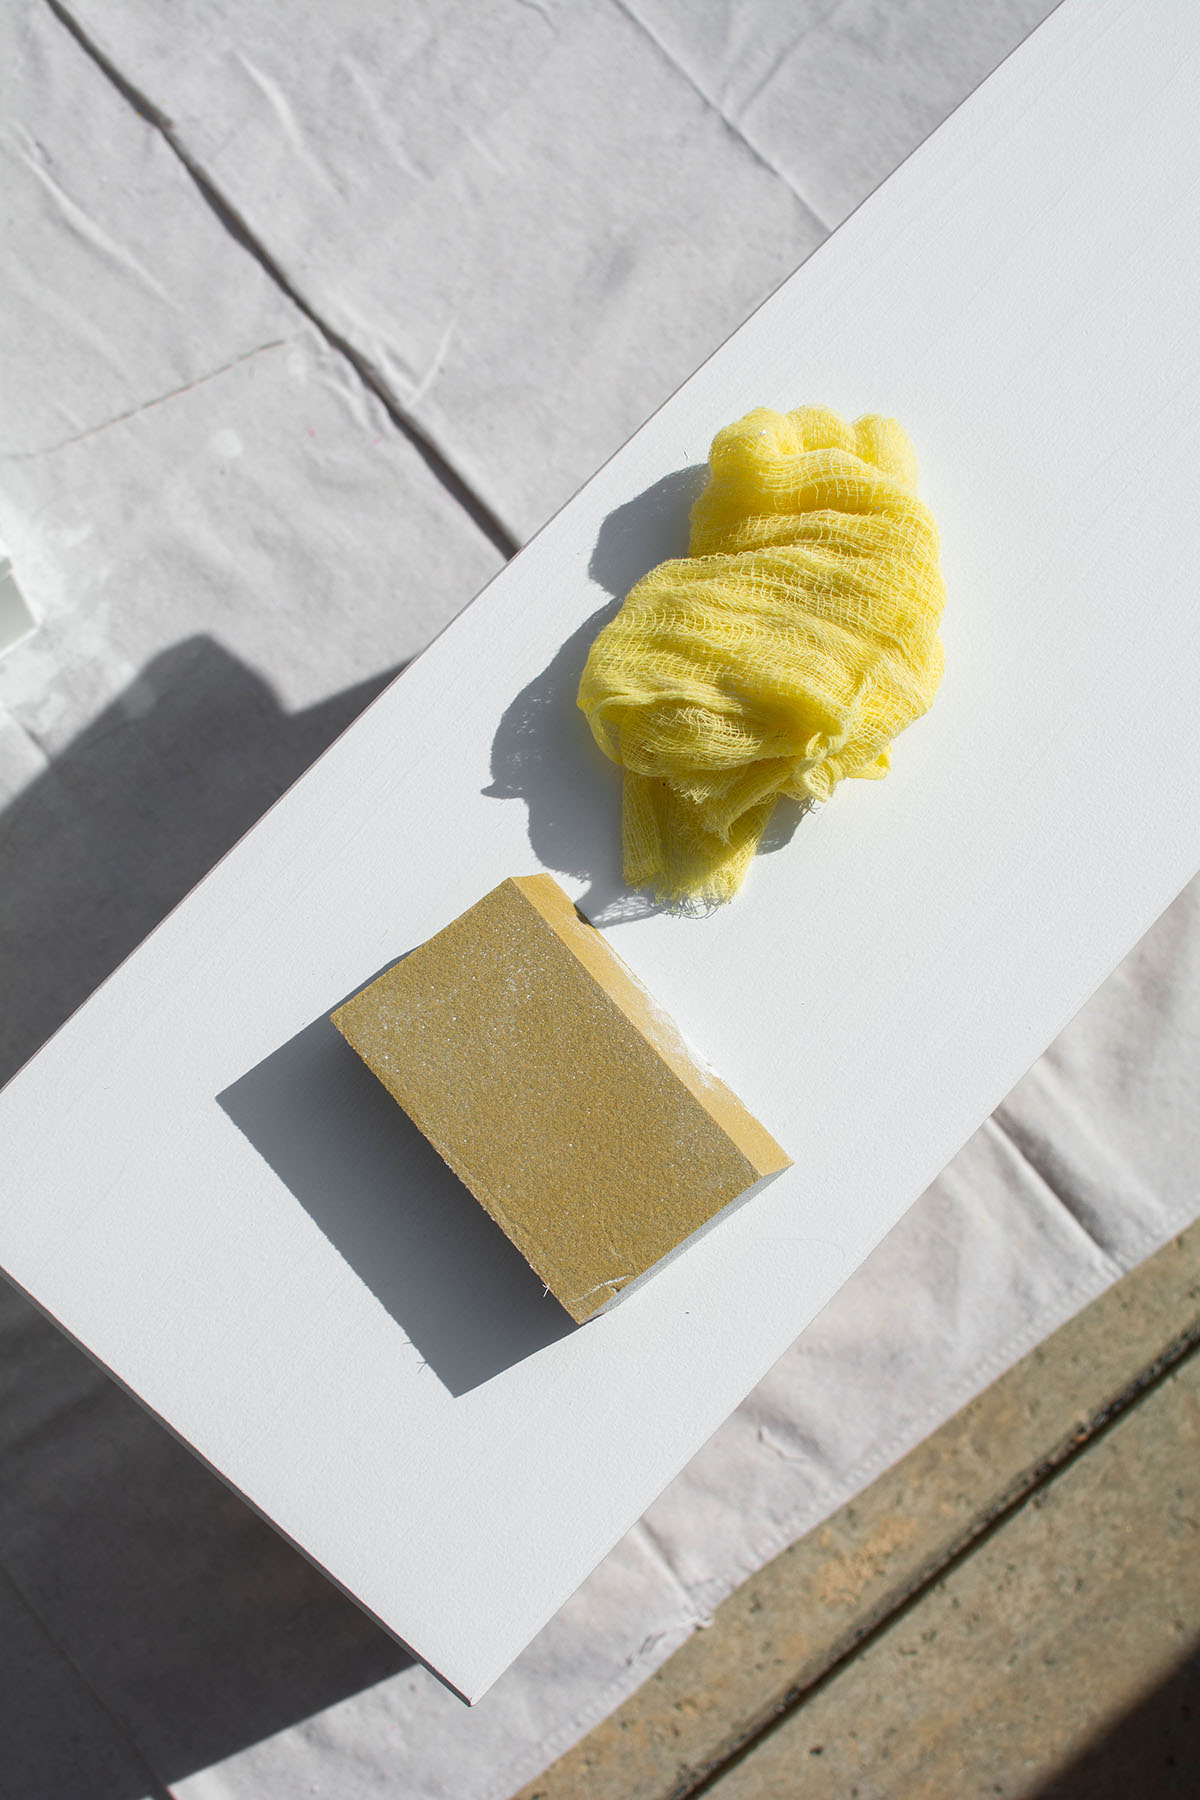
I sanded in between coats of primer and paint to ensure a smoother finish, knocking off any of the more obvious bumps and wiping down any residue with a tack cloth. A tack cloth is slightly sticky and picks up any residue really really well.

After the final coat of paint, I let the dresser dry overnight. I worked on this outside since our garage was still filled with boxes and items we needed to dump, which reminded me that birds will shit on your stuff if you leave it outside and potentially require you to repaint, so if you have a covered area to work in that is where you want to do this. I ended up moving everything into our family room since there was extra space in there.
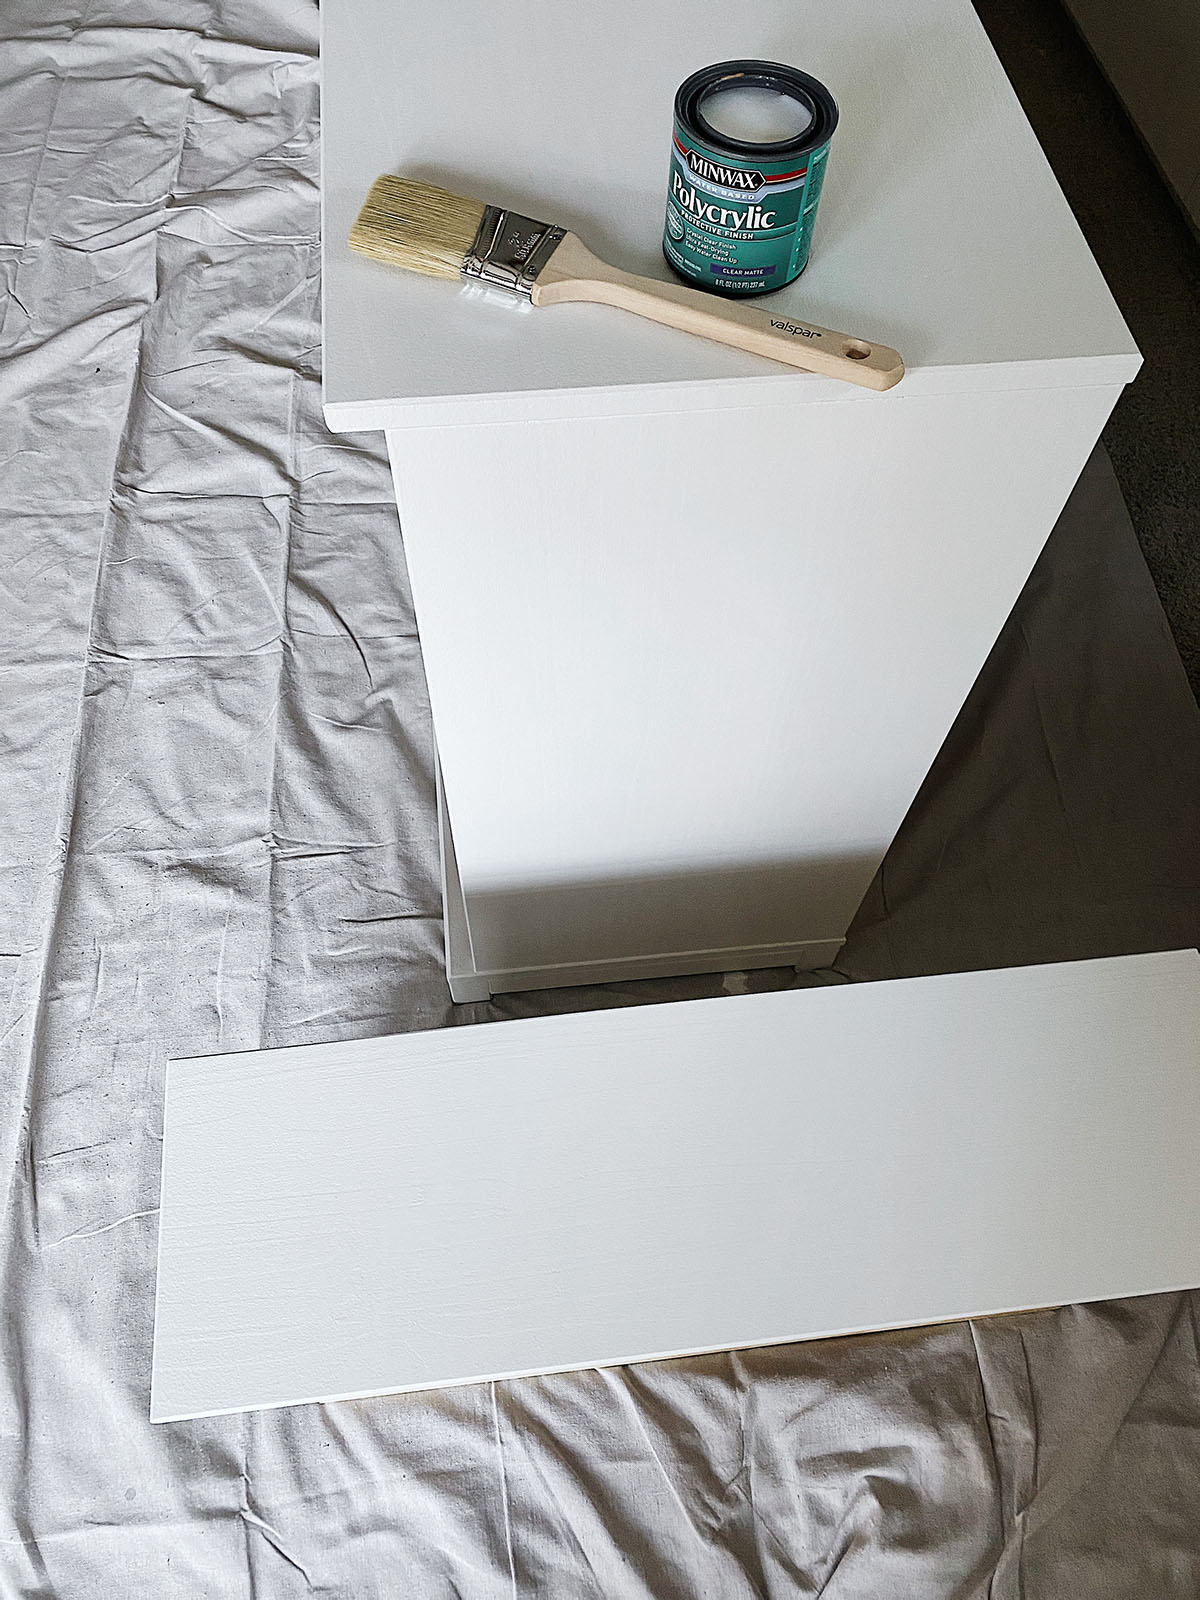
I considered not applying a protective topcoat because it’s a bit of a meticulous job and the paint is probably sturdy enough. If anything, the top surface of the dresser would need it the most since it will see the most action, but I went ahead and applied it to the drawer fronts too. The thought of the paint chipping or staining after all the work I did was enough to motivate me to move forward with this step, though again, I think the dresser probably would’ve survived fine without it.
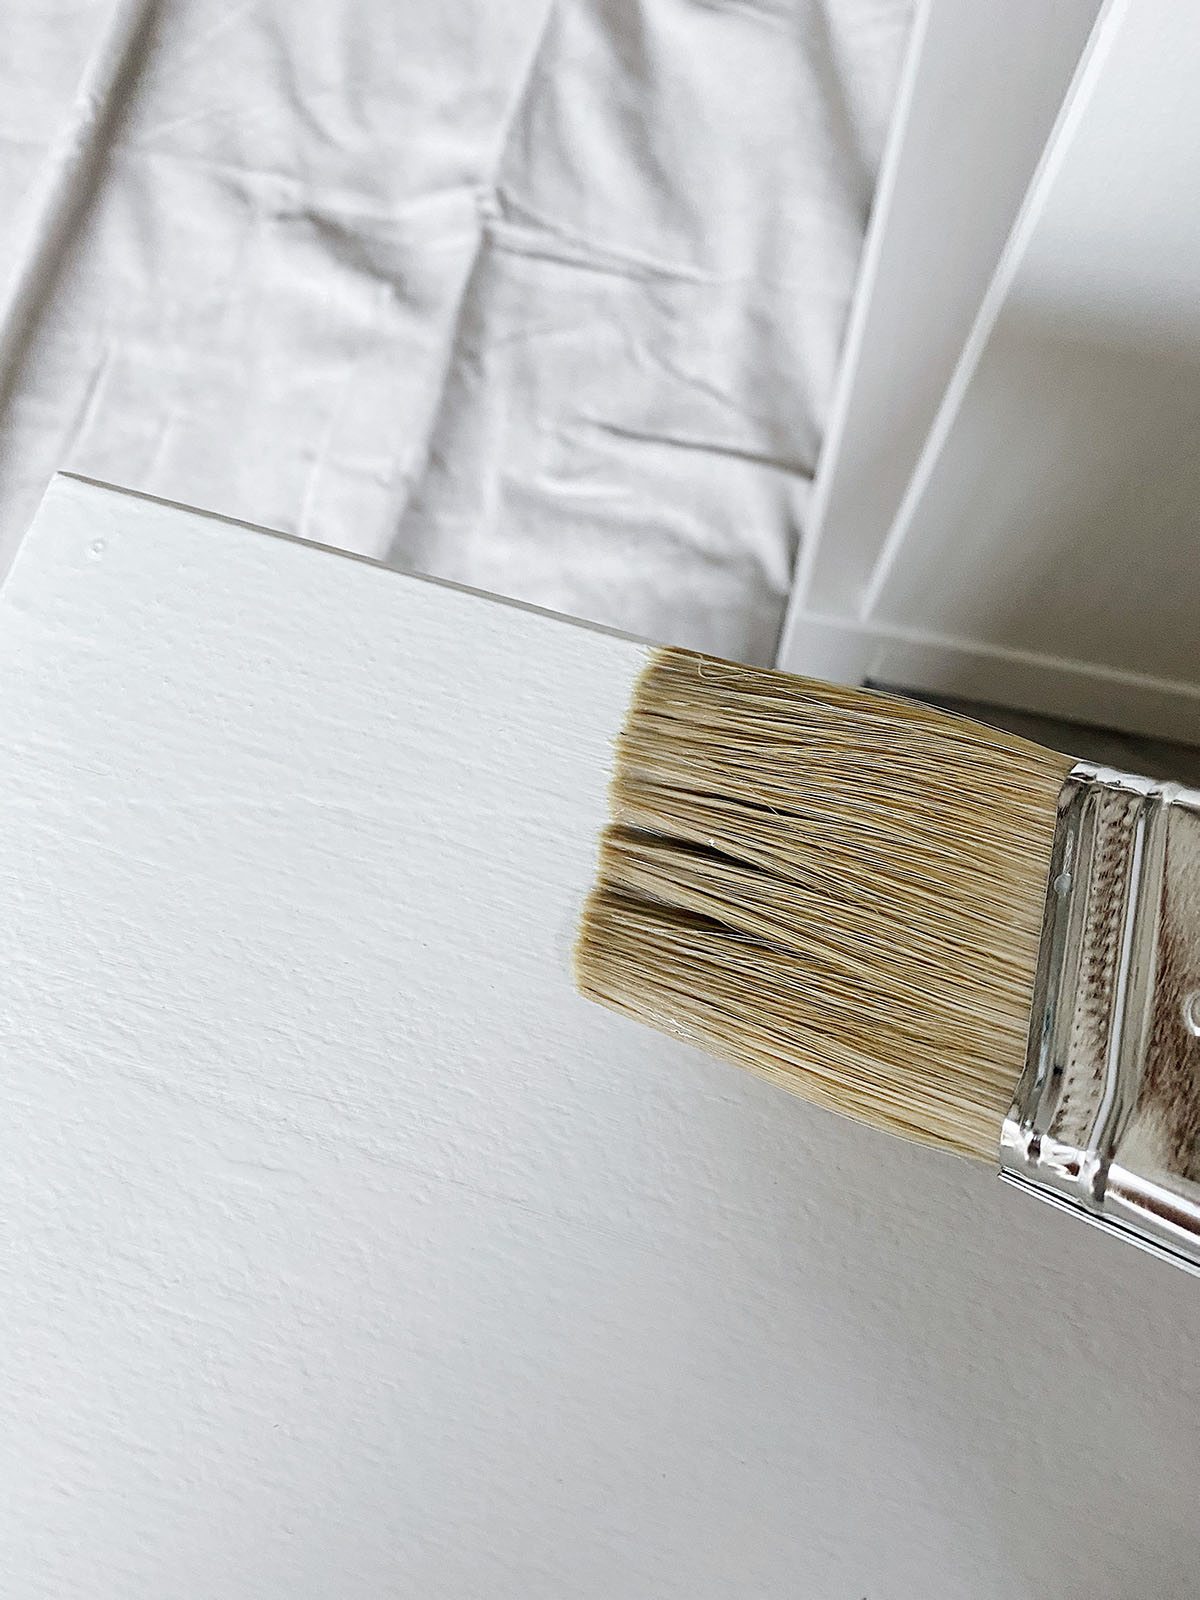
Applying polycrylic right takes some practice, especially with the glossier finishes, but I find the matte finish is much more forgiving in terms of showing your brush strokes. I started off using a paint brush but then later switched to a foam brush because I personally think it’s easier to use and less streaky. It comes down to your preference and again, practice. For beginners, brush steadily and not too fast to avoid air bubbles, and resist working the polycrylic too much. You can go over your strokes again to brush out air bubbles and cover unevenness but only within somewhere less than a minute since this stuff dries quick. Try to make long continuous strokes vs short and broken up ones. Keep layers thin and lightly sand in between coats (I used 220-grit for this) with a minimum drying time of an hour. I ended up applying three coats, and I let the final coat dry for 24 hours before handling.
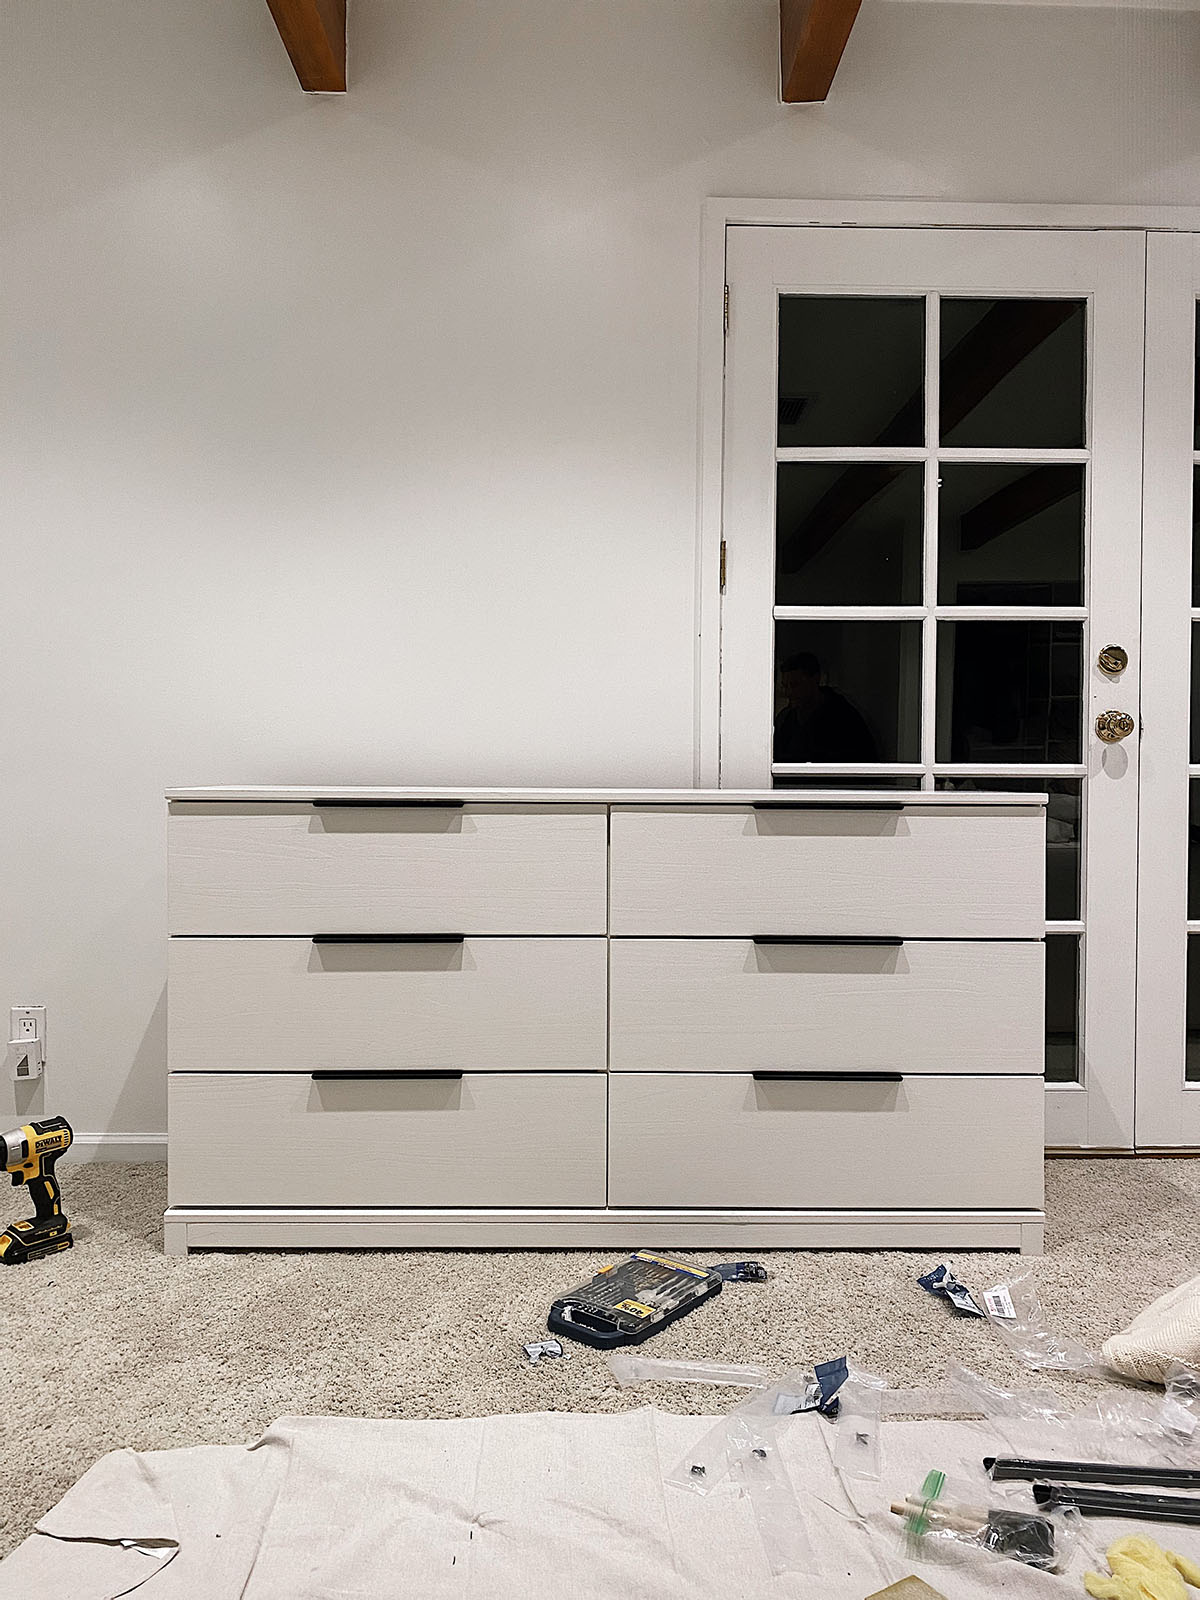
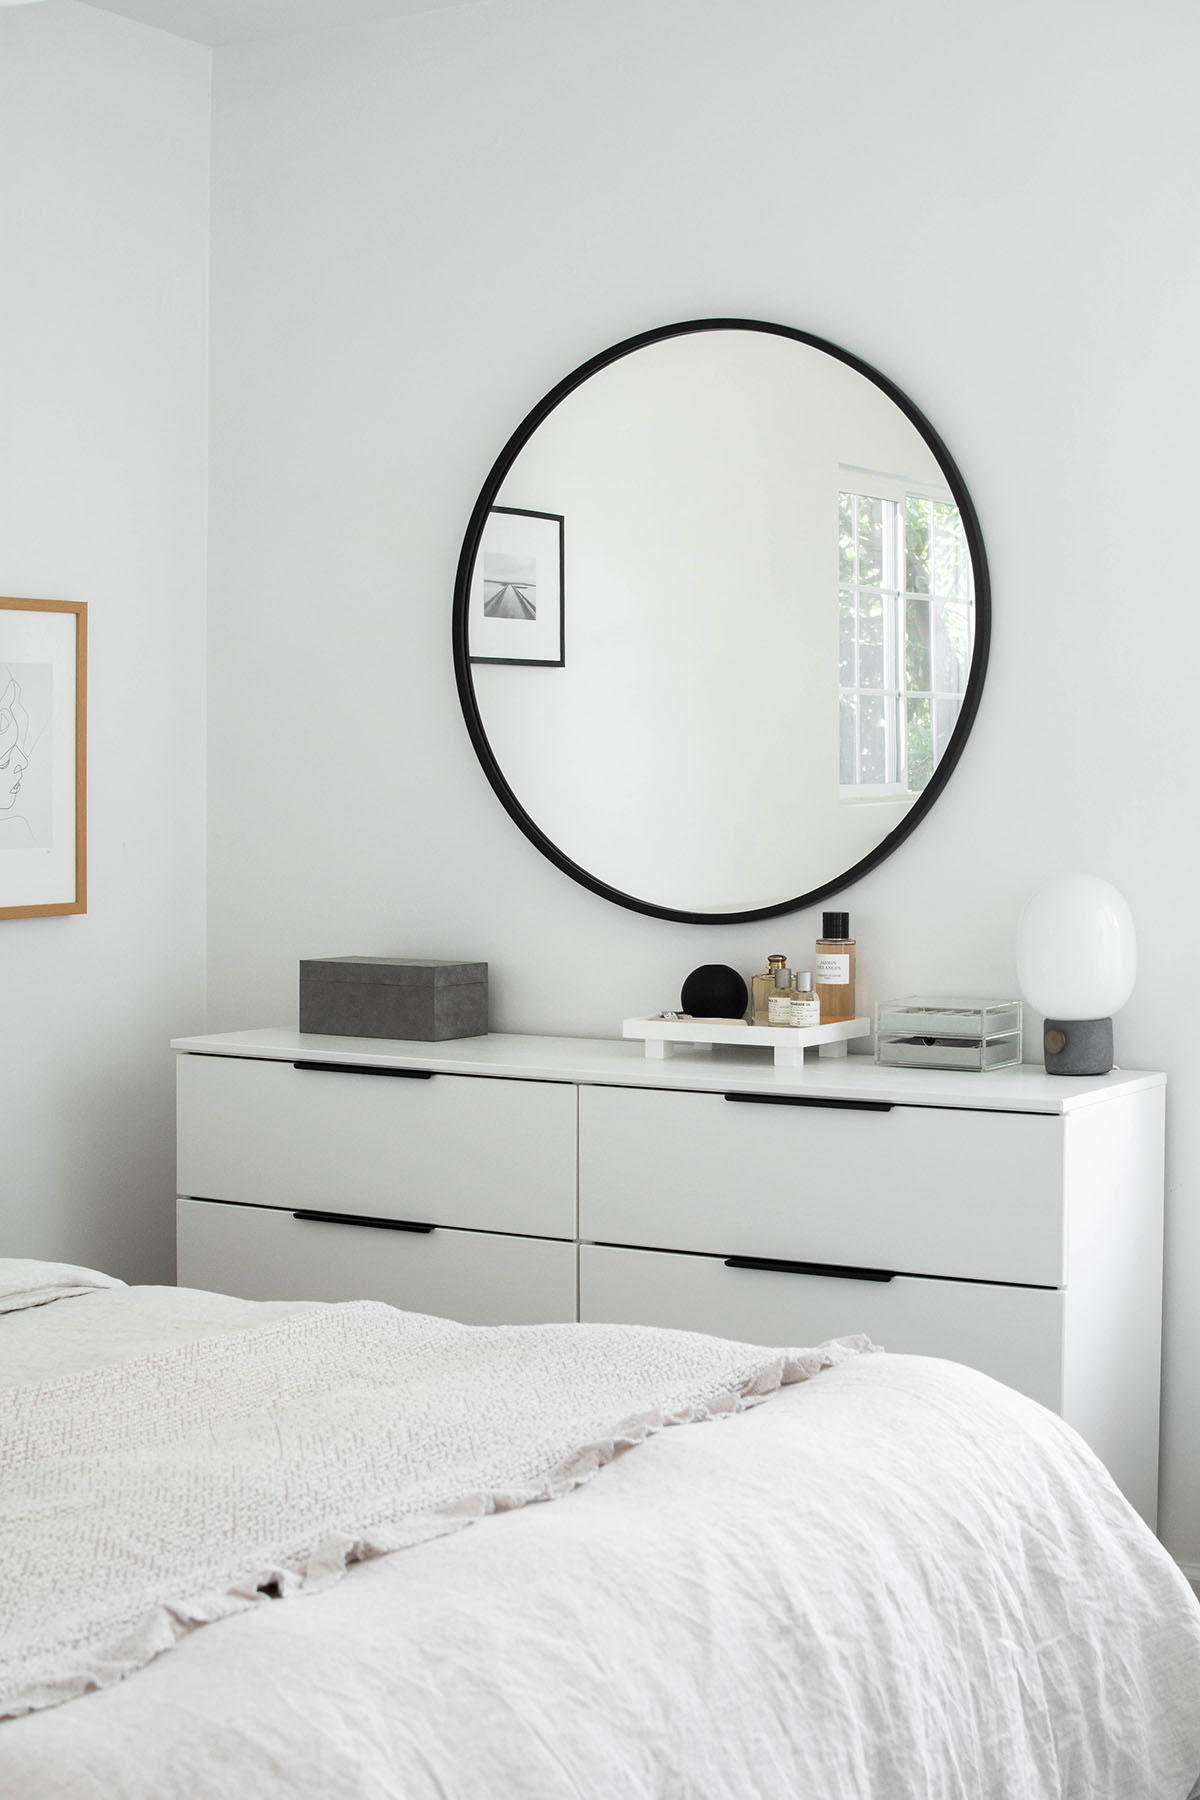
The final step is adding the hardware. I went with these black edge pulls that sit on top of the drawer faces and get drilled in from behind. They’re an incredibly simple detail that completely make this dresser! Forget all the paint, it’s all about the hardware.

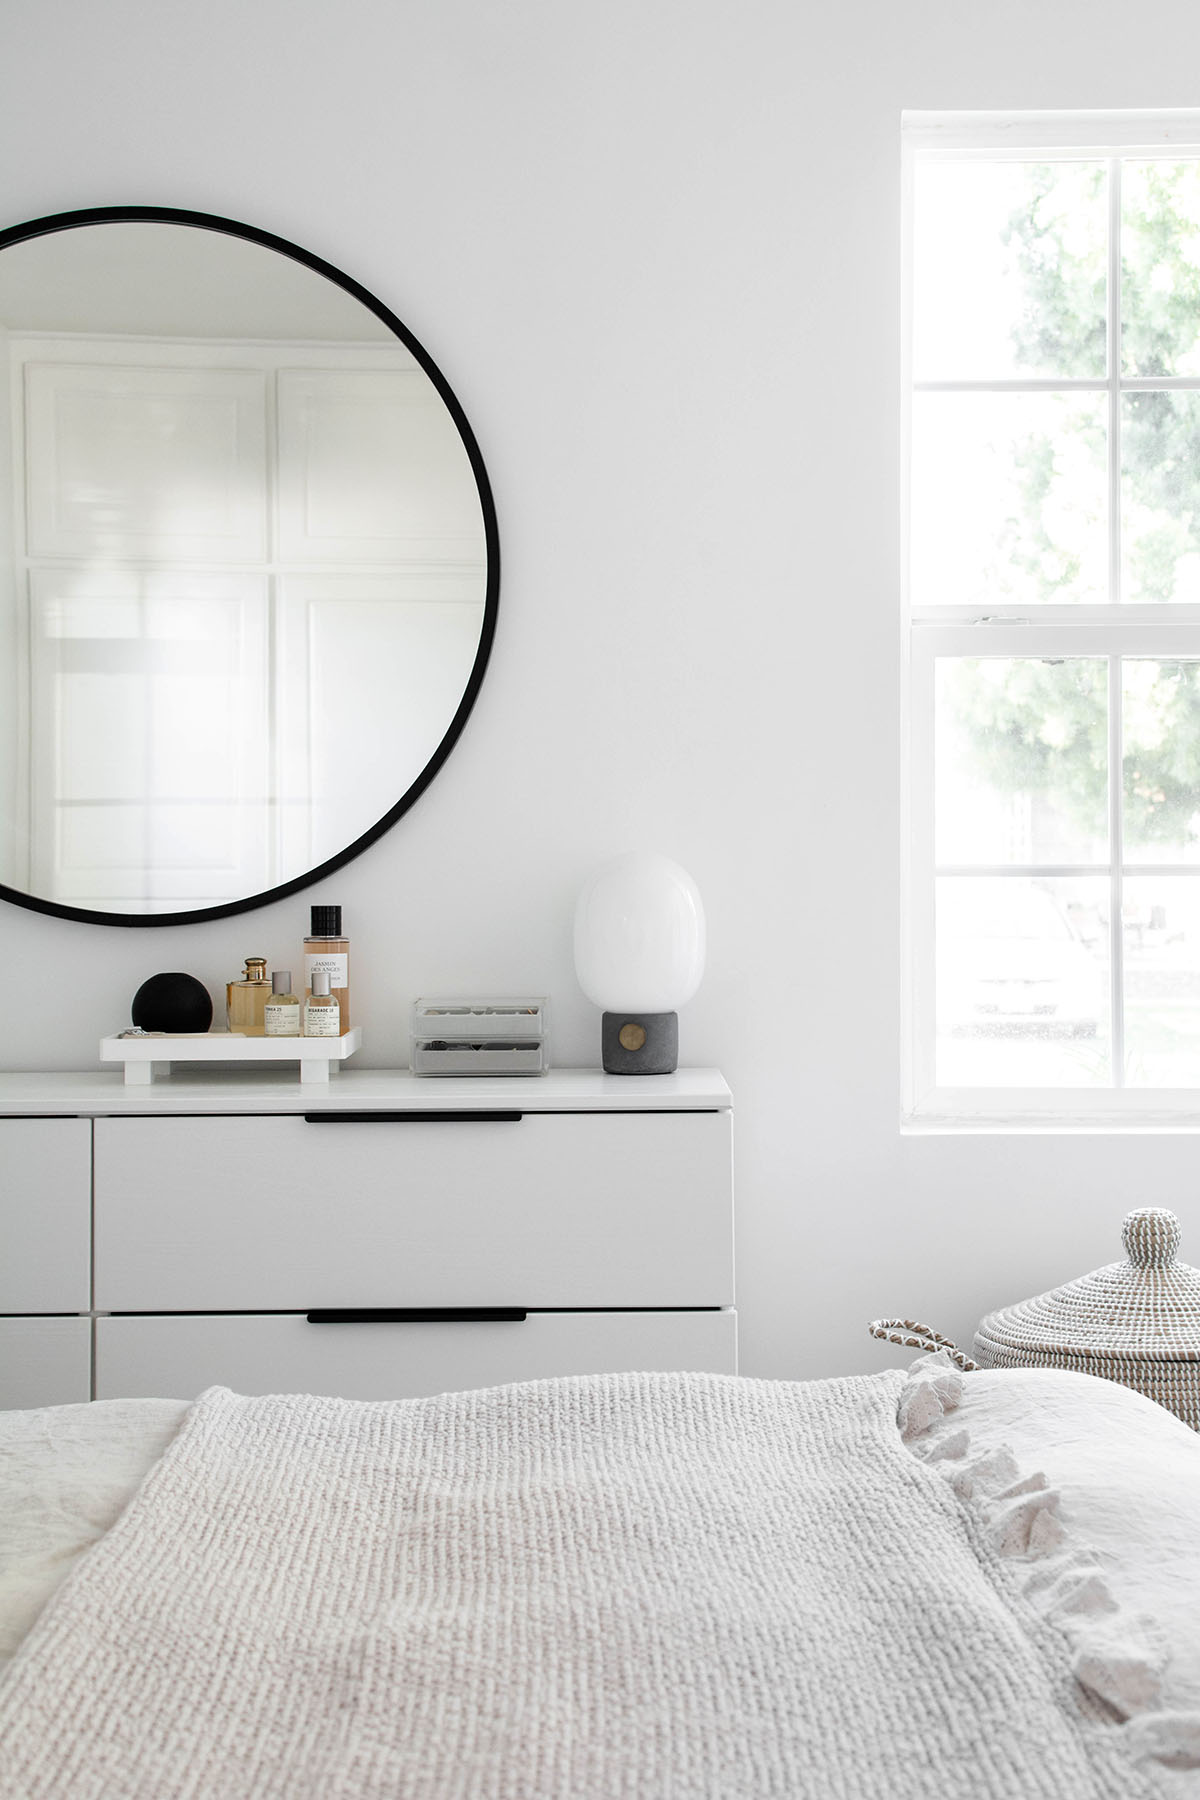
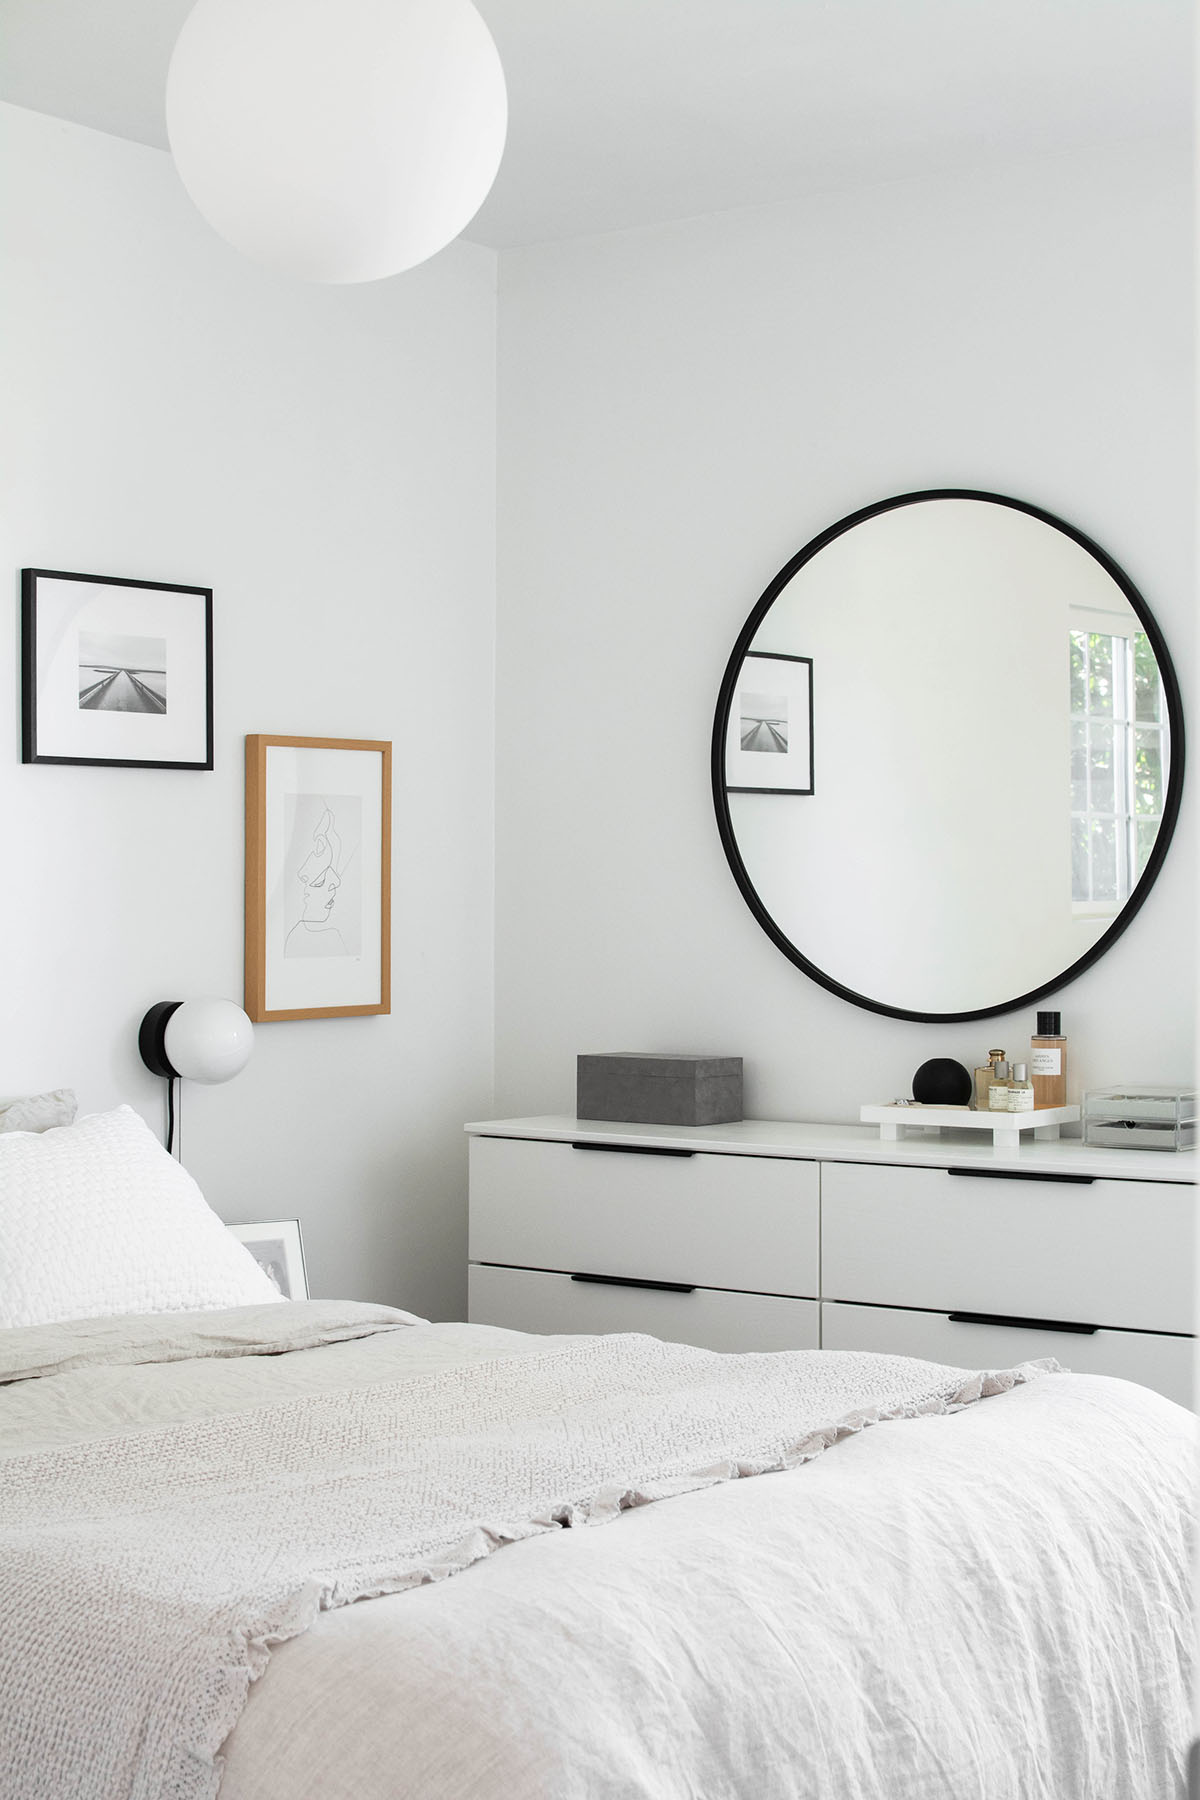
It fits so perfectly in this littler corner, and the extra drawer space was truly needed for the clothes we fold and our personal knick knacks, especially to make up for his tiny night stand that’s only there to hold his alarm clock and journal. How nice of me to give him the side of the bed that allows him to use the dresser like an extra night stand, am I right? That also means I’m sleeping on the murder side (the side closest to the door. You have these kind of thoughts too, I’m sure.)
LOVE how it turned out. Also excited to see the family room!!
Can you link the sources to everything when you share a room? I find myself wanting to know where all the pieces you style with are from!
Yes! I will post sources at the end of the post! Thanks for your feedback.
Great job! Yes I’m going to paint my pine wardrobe soon and design it with shaped mirrors. Yes I agree with you about the murder side of the bed😂 . Look forward to seeing more of your painted projects.
hate the murder side!
Timely find; our IKEA dresser is in shambles after our last move. Approximately how long did the entire process take you? Thanks.
It took about 3 days including drying time.
Nice job. I love your homes color palette. For the dresser, do you think that 3 coats of polycrylic is needed or will one light coat over high gloss paint due?
Hi Lizza! If you’re going to apply polycrylic at all I’d apply at least 2 coats of it since it’s tough to get an even application in one light coat.
What is the brand of primer and white paint?
Hi, all that info is listed under “materials” in this blog post.
Hello! Lovely work! I was wondering if you could do me a favour and tell me the length and height of the drawer fronts? All the best.
Hi Jo, and thank you! The drawer fronts are roughly 29.5 x 8.75″
I just bought this dresser with the intention to paint it, so glad I came across this post. I love how much you changed the look of it with the top tab style hardware pulls — I might have to give that a try! What finish did you go with for the paint? I’ve read satin or semi-gloss are both good options for painting furniture but curious to see which you used! Thanks!
Hi! I used satin. It’s mostly a style preference for me, though the glossier the paint the more durable/wipeable it will be!
Thanks so much for sharing this! Out of curiosity, did you put clear stoppers on the drawers or do anything special to soften the closing?
Hi! What is the height of your dresser after shaving off the legs please?
Thanks in advance!!