
This post is sponsored by OXO.
Once upon a time I’d order iced coffee at coffee shops and nod ‘yes’ when the barista would ask “cold brew?” because I figured the terms were interchangeable. Soon I learned these are not the same thing. Iced coffee is coffee extracted with hot water that has been cooled and iced, whereas cold brew is coffee extracted with room temp or cold water. The difference is significant, resulting in a smoother, less acidic brew that saves you from dealing with extra heat you can’t be bothered with during these summer months. Having learned how easy it is to make cold brew coffee at home, this is the only coffee I’ve been making and drinking lately and I’ve partnered with OXO to share how you can make cold brew coffee at home too.
This is what makes my daily cold brew at home possible. The OXO Cold Brew Coffee Maker is so simple to use with all the parts you need in one easy-to-take-apart-and-put-together contraption. You will need to plan ahead since brewing time takes anywhere between 12-24 hours, but the setup is quick and you can sleep through much of that brewing time. Plus, this makes a large batch of concentrate that can yield up to 14 servings, so you’re making this once and enjoying it for the rest of the week!
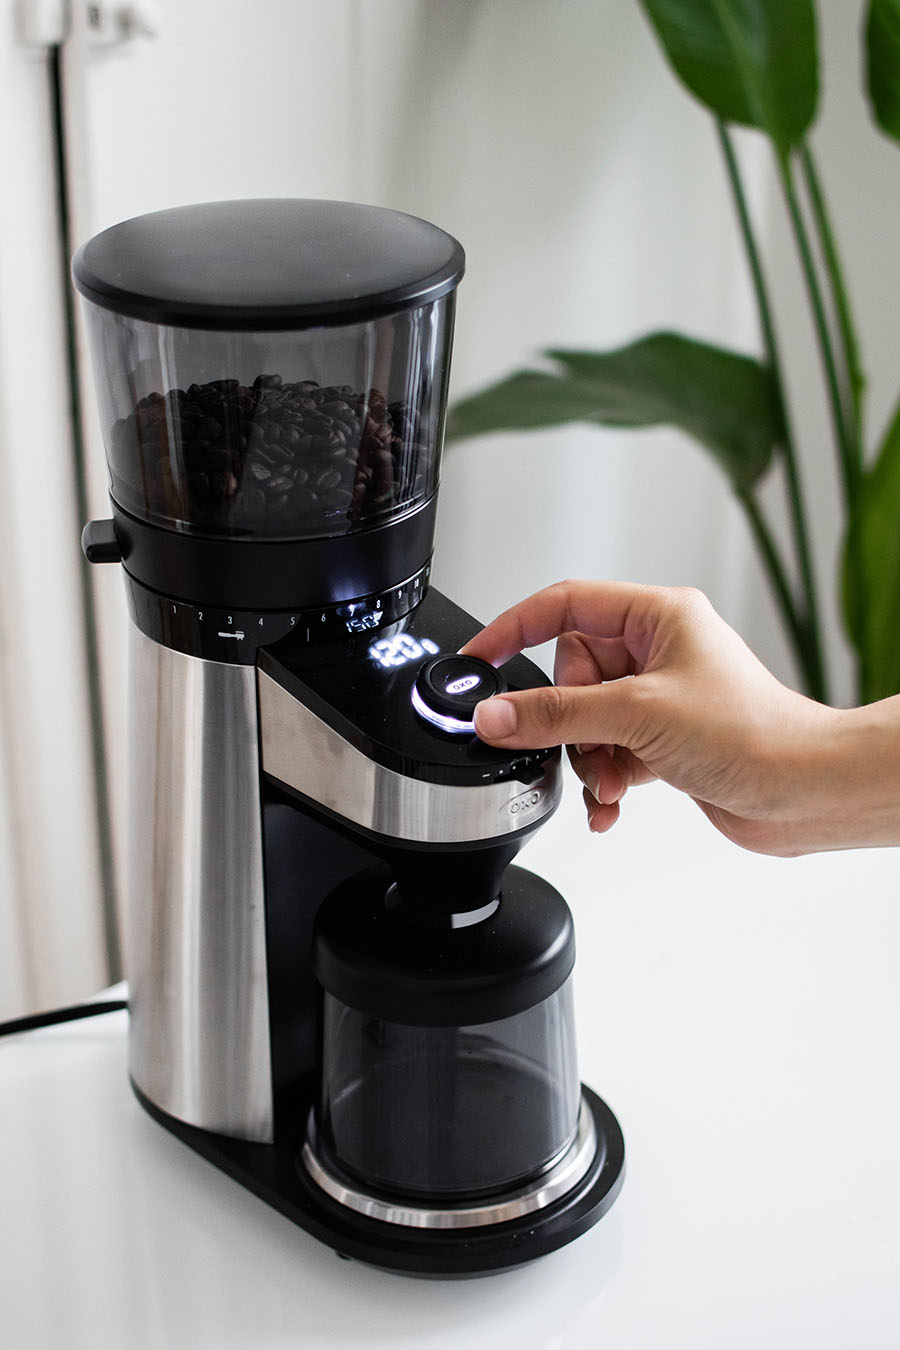
First, the grind. Coffee grounds should be course like you would make them for a french press. I use the OXO Brew Conical Burr Coffee Grinder with Integrated Scale on setting 13 (for grind size). The integrated scale does so much to simplify the process because it grinds only the amount you specify it to do. No measuring beans or scoops or weighing anything on another scale. All you do is keep your beans in the top compartment, turn the knob to set the amount of grounds you want in grams, then push the button in the center of the knob to start grinding. The max is 120 g and since I wanted 140 g for this batch, I set the grinder to 120 g and then 20 g right after.
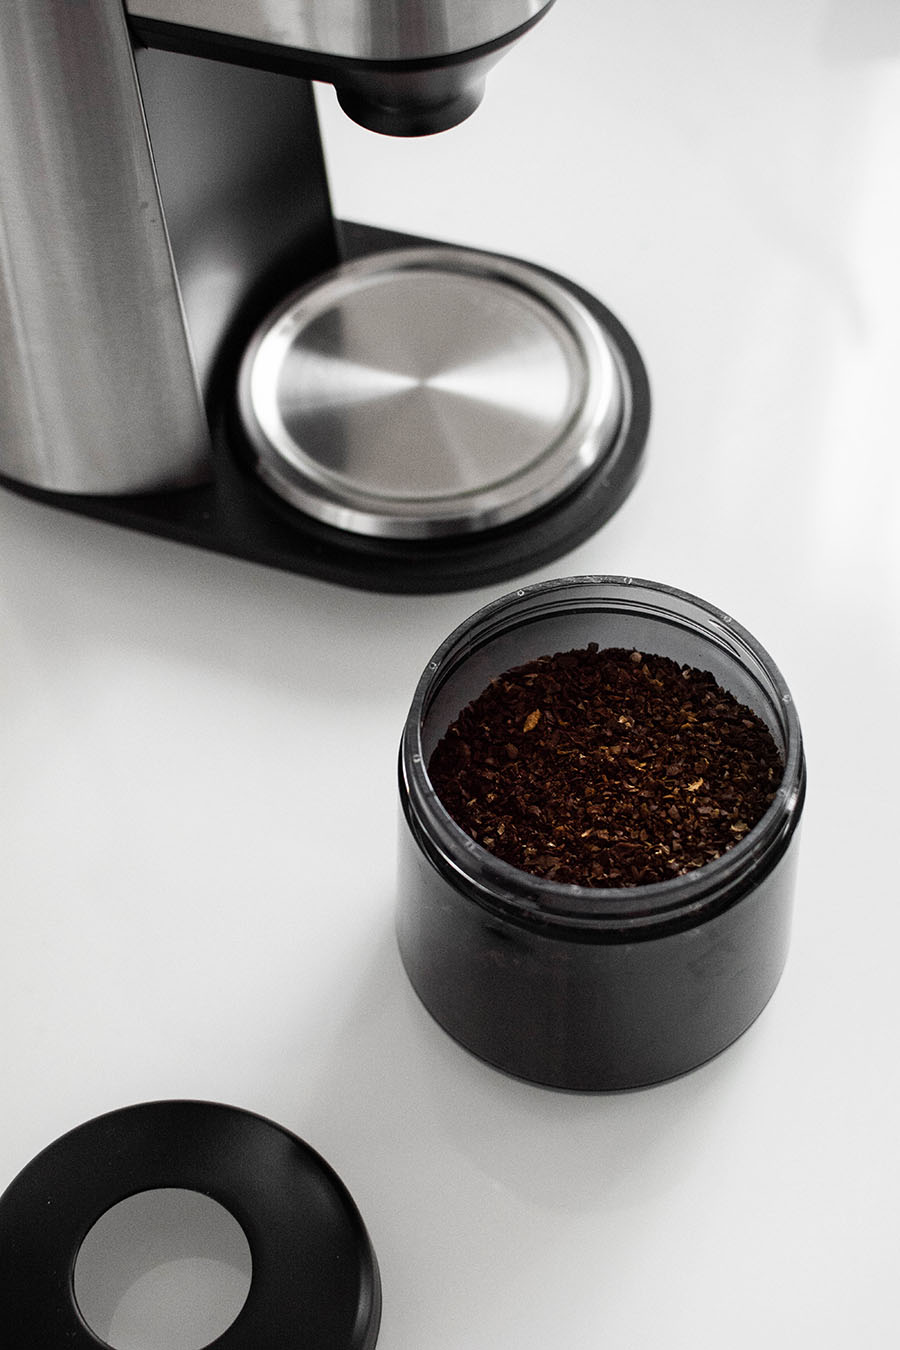
This is 140 g of course ground coffee and will roughly yield 6 servings depending on how you prep the coffee for serving, which I’ll get to soon.
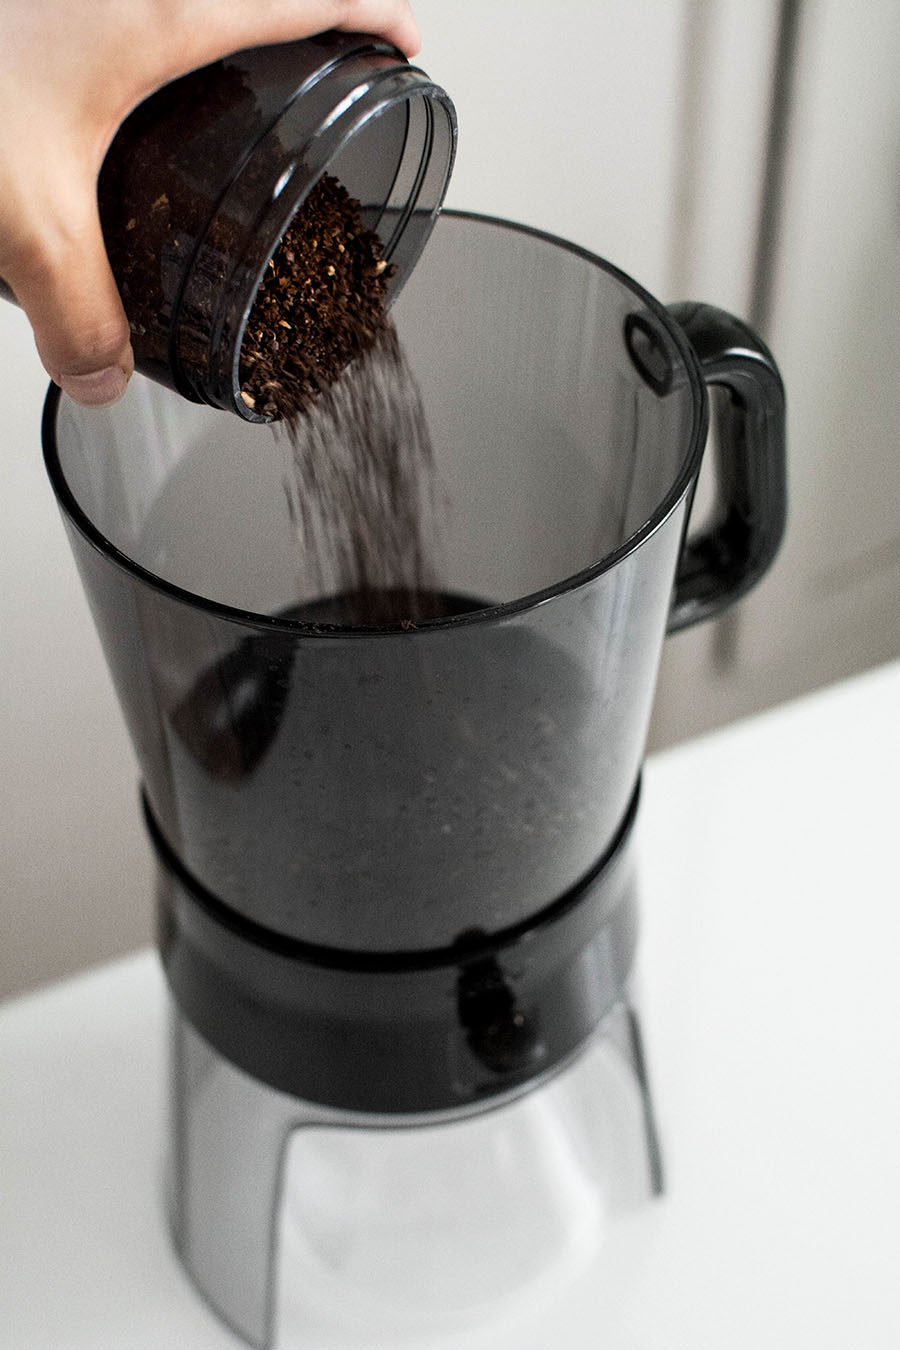
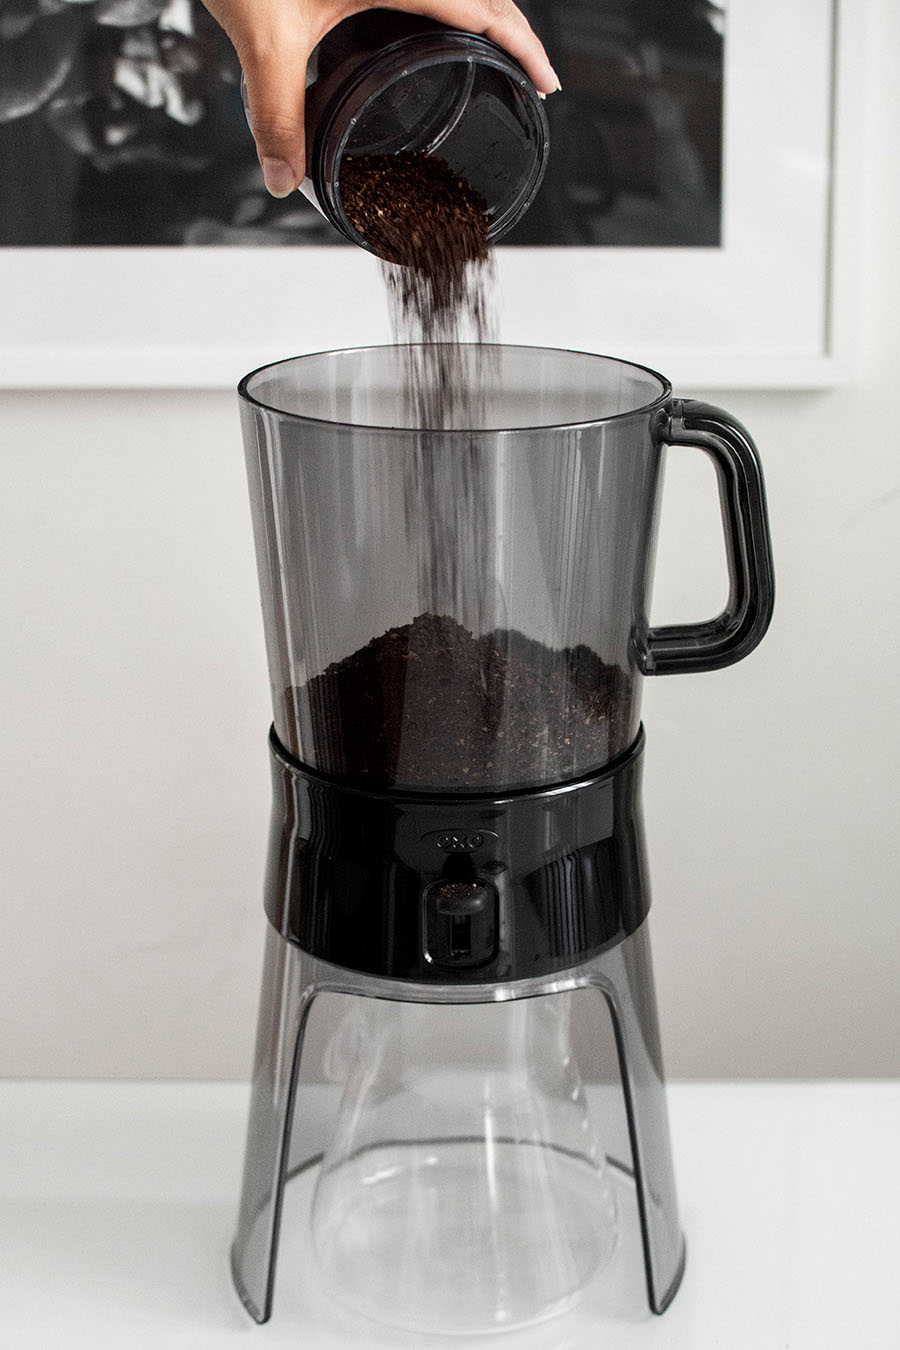
Pour the grounds into the brewing container, then place the rainmaker on top.
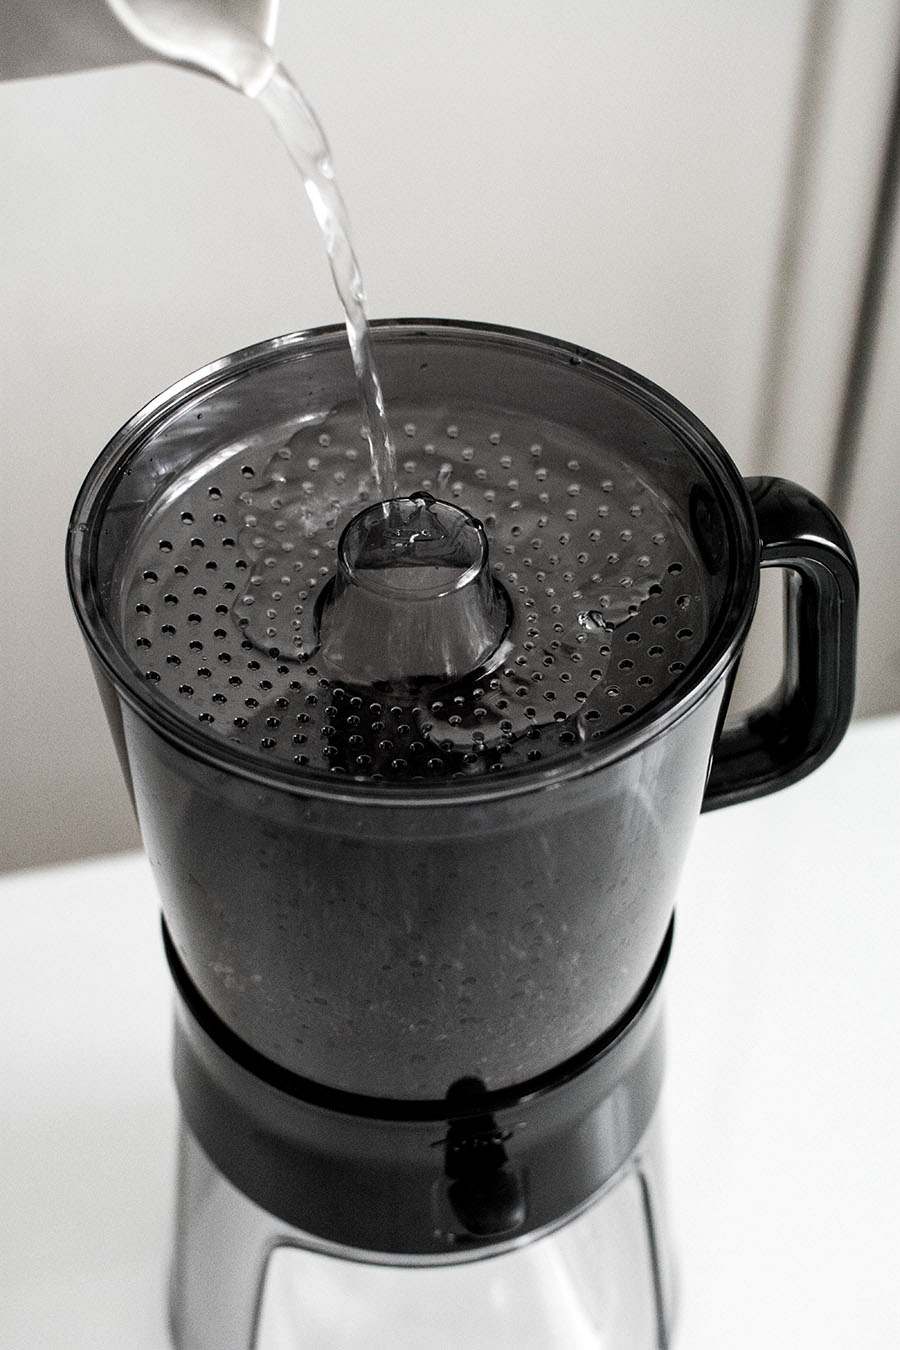
For the 140 g of grounds, pour 20 oz of filtered room temp water through the rainmaker in a circular motion over all the holes. The rainmaker helps the water disperse evenly amongst the grounds as it falls through the tiny holes.
This ratio of grounds to coffee is based on the instructions that came with the cold brew maker and is meant to be a starting point. Adjust and experiment according to the roast and how you like your brew.
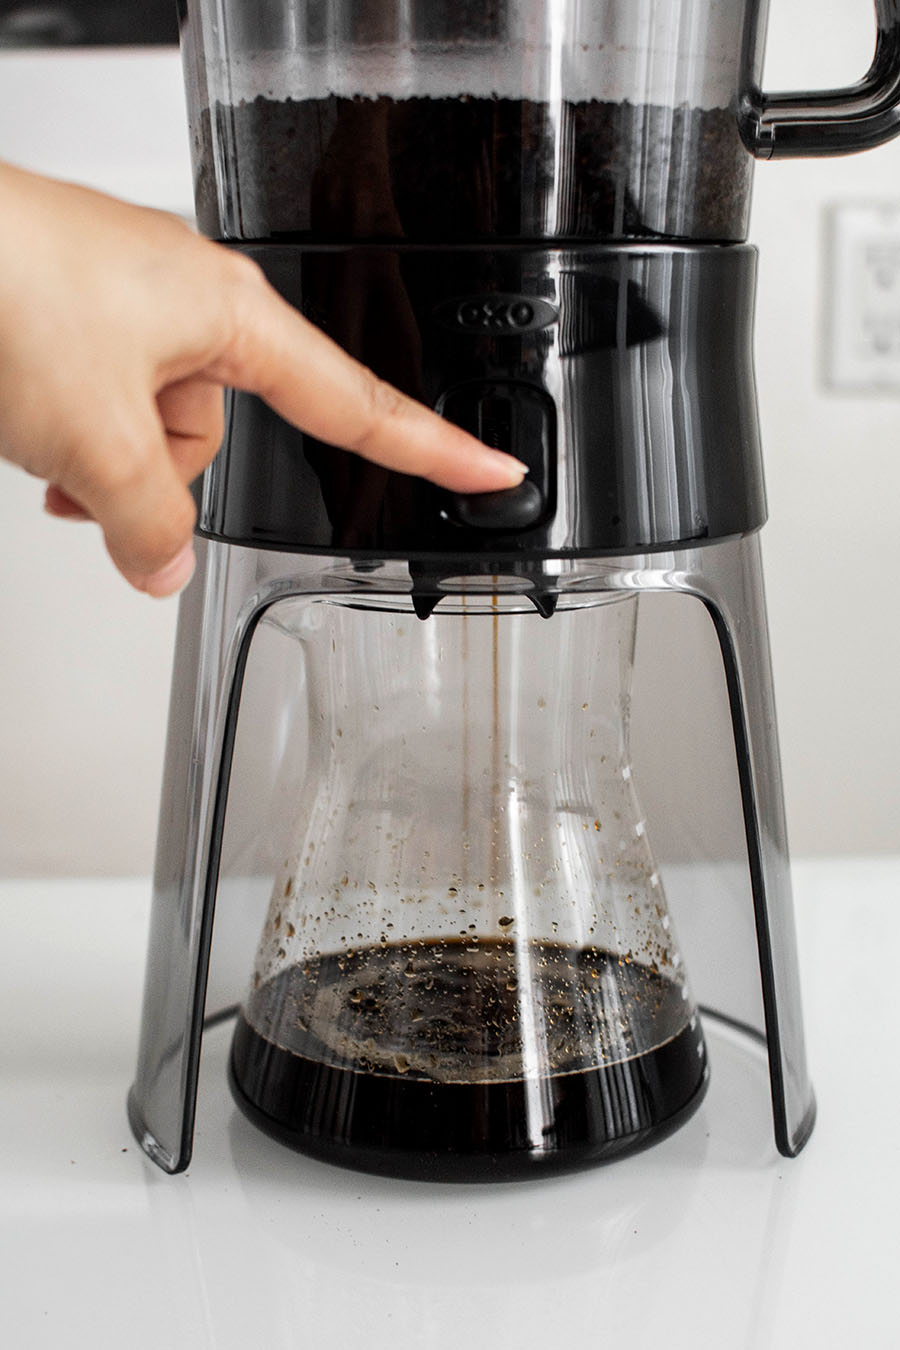
The suggested brewing time is 12-24 hours and I like to go for at least 18 hours because I prefer a stronger brew. All you do is let it sit on your counter and when you’re ready, push down the brew-release switch and the coffee concentrate will drip down into the glass carafe.
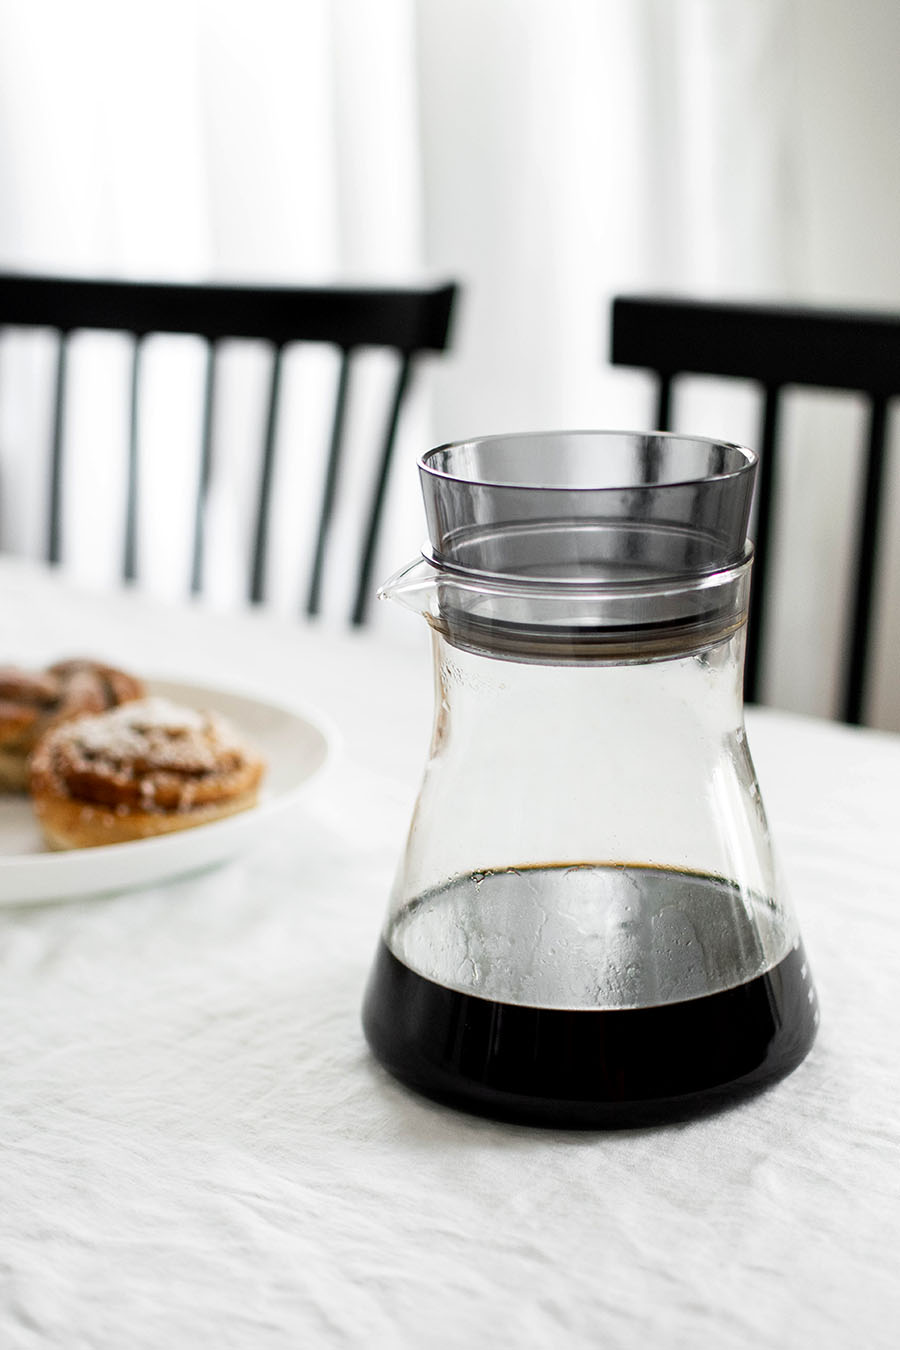
Place the stopper on top of the carafe and you can keep this in your fridge until ready to consume. I like to use a 1:2 ratio of concentrate to water, for example 2 oz of concentrate with 4 oz of water (or milk if you prefer), but again this is up to your preference. I’d start with a 1:2 or 1:3 ratio and go from there.
I add the water to the individual serving of concentrate right before I drink it. I’d avoid adding the water to the entire batch of concentrate because this decreases the shelf life. Coffee concentrate kept refrigerated should stay good for a week.
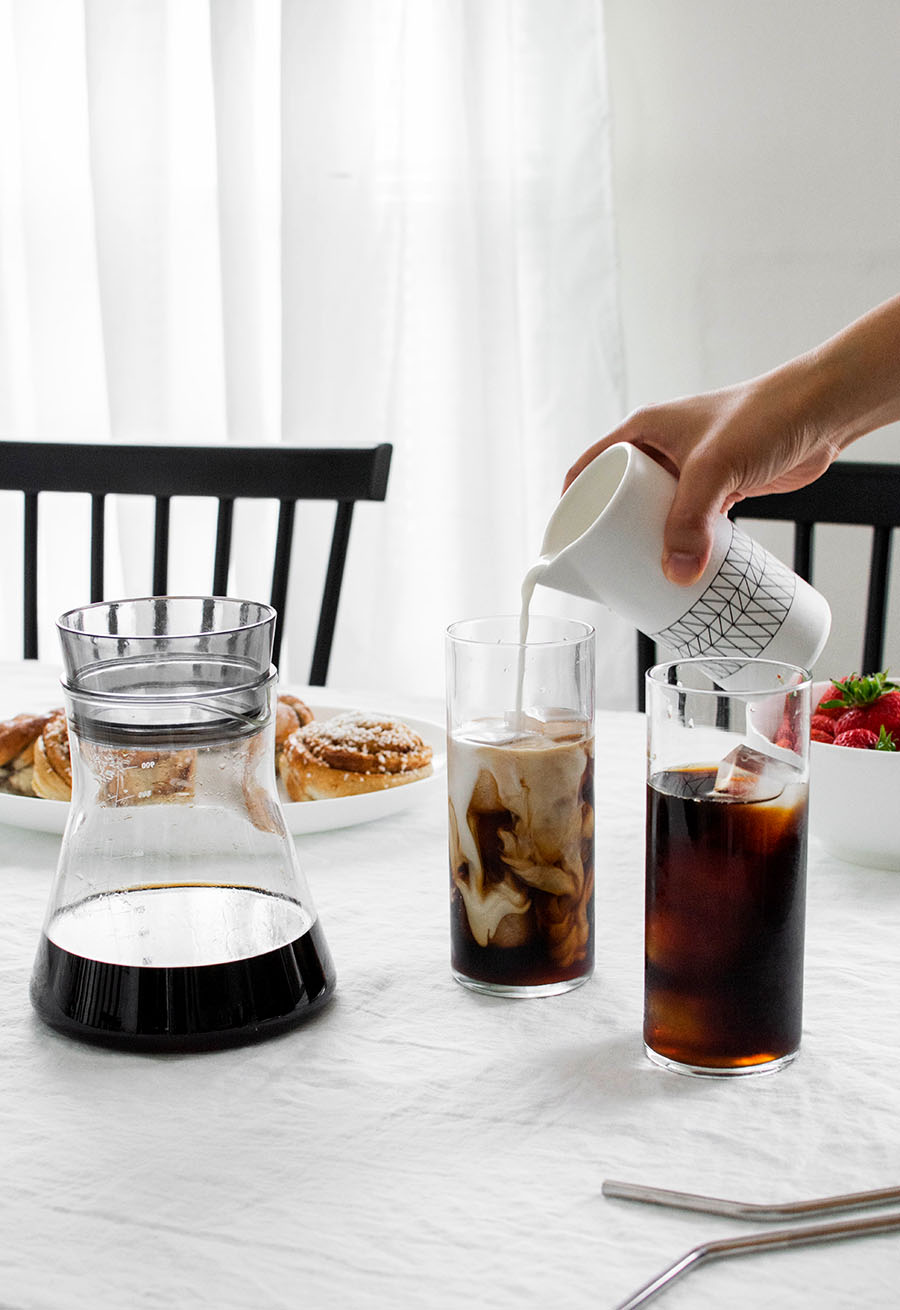
I normally take my hot coffee with nothing in it, but with cold brew I will almost always add a little bit of oat milk. That creaminess makes this an even more addicting treat and goes really well with pastries, which I also have with almost every cup of cold brew.
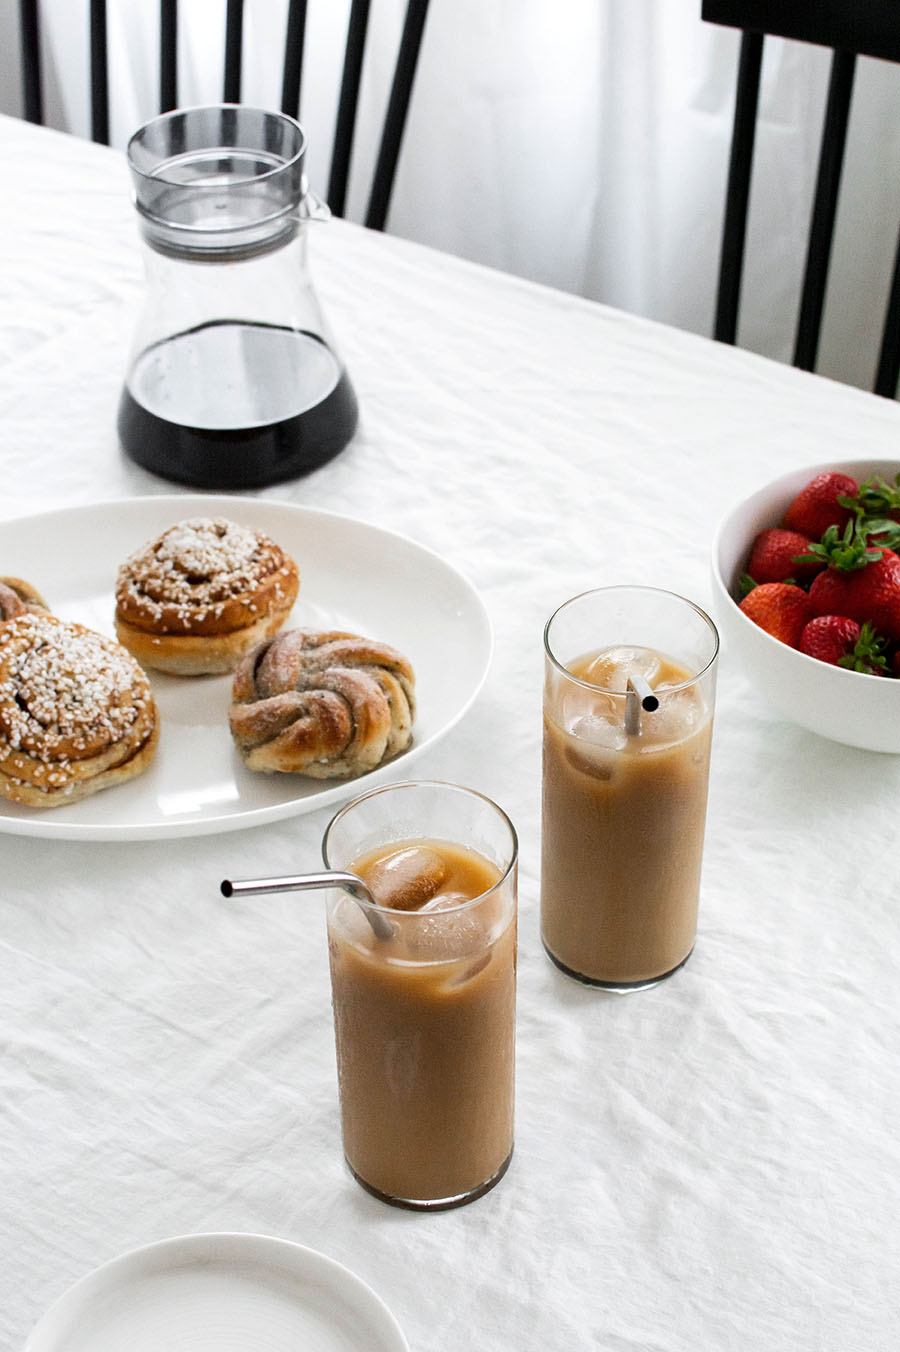
We recently had our cold brew with Swedish cinnamon buns and cardamom buns, which I ate everyday for fika when I visited Stockholm. Fika is a daily Swedish tradition of enjoying coffee or tea with friends or family, often with a sweet treat, and experiencing it in Stockholm made it undeniable that it’s the life I always knew I was meant to live. I can’t think of another simple pleasure I enjoy more for slowing down and enjoying life than relaxing with coffee and pastries in good company. Makes it all the more exciting how easy it is to make our own cold brew to have on hand and pour straight from the fridge with no fuss.
Writing out the instructions again below in case you want a more compact cold brew recipe to refer to:
Step 1: Grind 140 g of course coffee grounds
Step 2: Pour grounds into the cold brew maker and place rainmaker on top.
Step 3: Pour 20 oz of filtered room temp water in a circular motion through the rainmaker.
Step 4: Leave brew on counter for 12-24 hours.
Step 5: Press down the brew-release switch to drain the coffee concentrate into the carafe.
Step 6: Keep concentrate in carafe and refrigerated up to a week. When ready to serve, mix a 1:2 or 1:3 ratio of coffee concentrate and water or milk (ex. 2 oz of concentrate with 4 oz of water).
Again, adjust ratios and brewing time to what you prefer or the type of beans you’re using. This can be as simple or technical as you want it to be. Either way, enjoy the experimentation!
This post is sponsored by OXO. Thank you for supporting brands that help
HOM continually bring you original content.


I love love love cold brew coffee, seriously nothing better for a hot day! You’ve got me craving this now!
Shannon | https://shannonmichelle1.blogspot.com
I love cold brew coffee! I just use a large Mason jar to brew the coffee and strain the finished coffee through a filter – that works, too :)
Cold brew is just the best. I used to buy those cold brew bags and do it that way but it was really expensive! This seems like such a money saver. Thanks for sharing!
I love iced coffee and never gave cold brew a try. I feel like I won’t like it as much but maybe I’ll need to try out different types of milk to find that sweet spot! I did hear oat milk is sooooo good!
Instagram | HappilyEverAlanis.com | Youtube
It is SO GOOD! It’s creamy but tastes light and isn’t too sweet. It has quickly spread all over the town where I live. Highly recommended! Also, canned coconut milk (not low-fat) is almost the exact same consistency of half and half, but I think tastes better and is SO MUCH better for you!
I really want to try this. Making coffee in weekend for the whole week is a great idea to save some time and money.