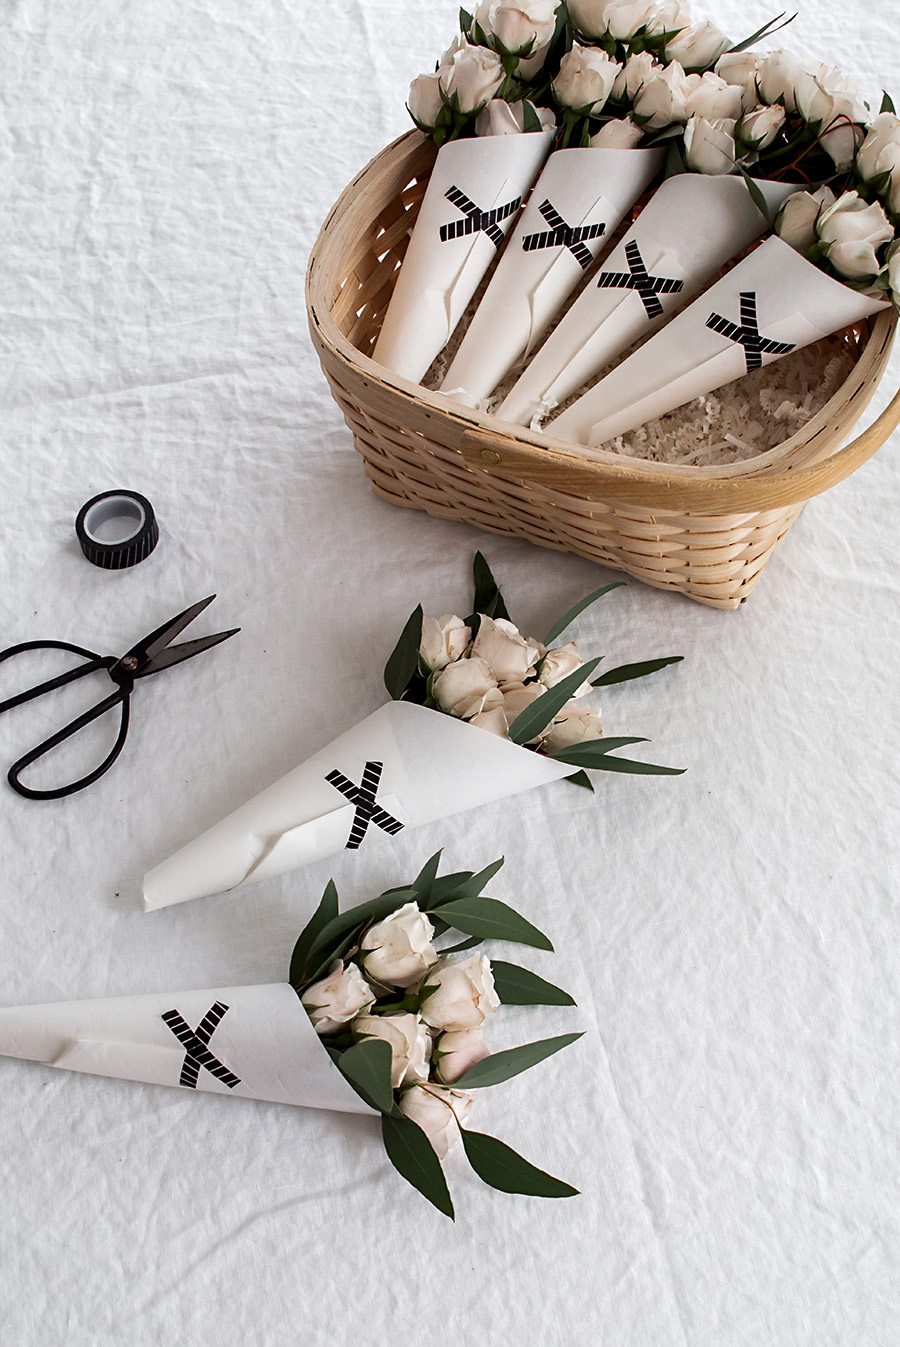
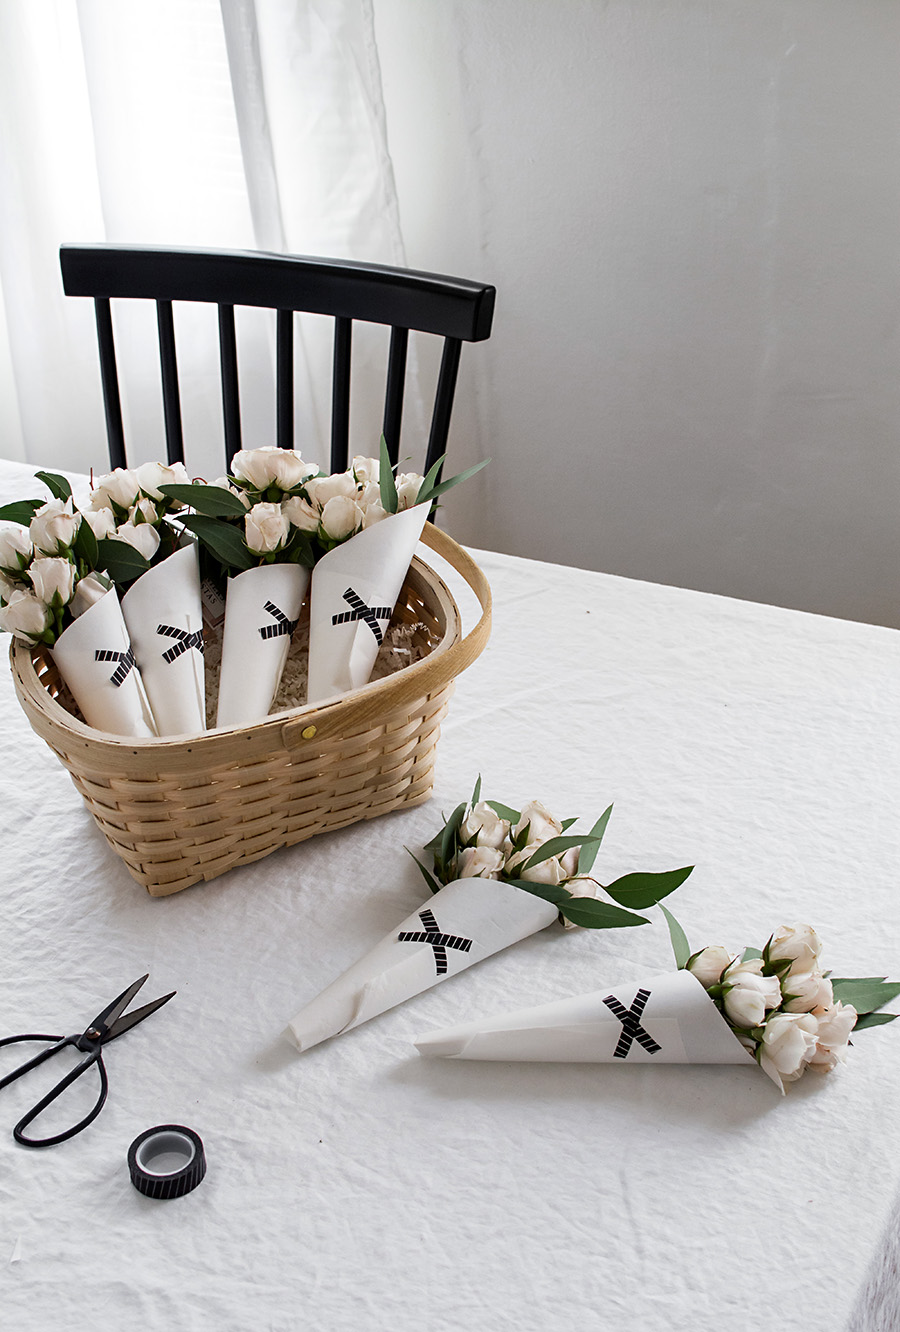
It’s clear that we agree on mini versions of things being irresistible. Simply reducing the size somehow makes it feel really special, in addition to the benefit of being easier to make more of and spread around if there are lots of people we want to show love to. This makes mini flower bouquets a very cute small gift for the many mothers you might be celebrating this Mother’s Day, or as a party favor for whatever other occasion where there will be people who love flowers. Either way, they’re easy and simple to put together with the following steps.
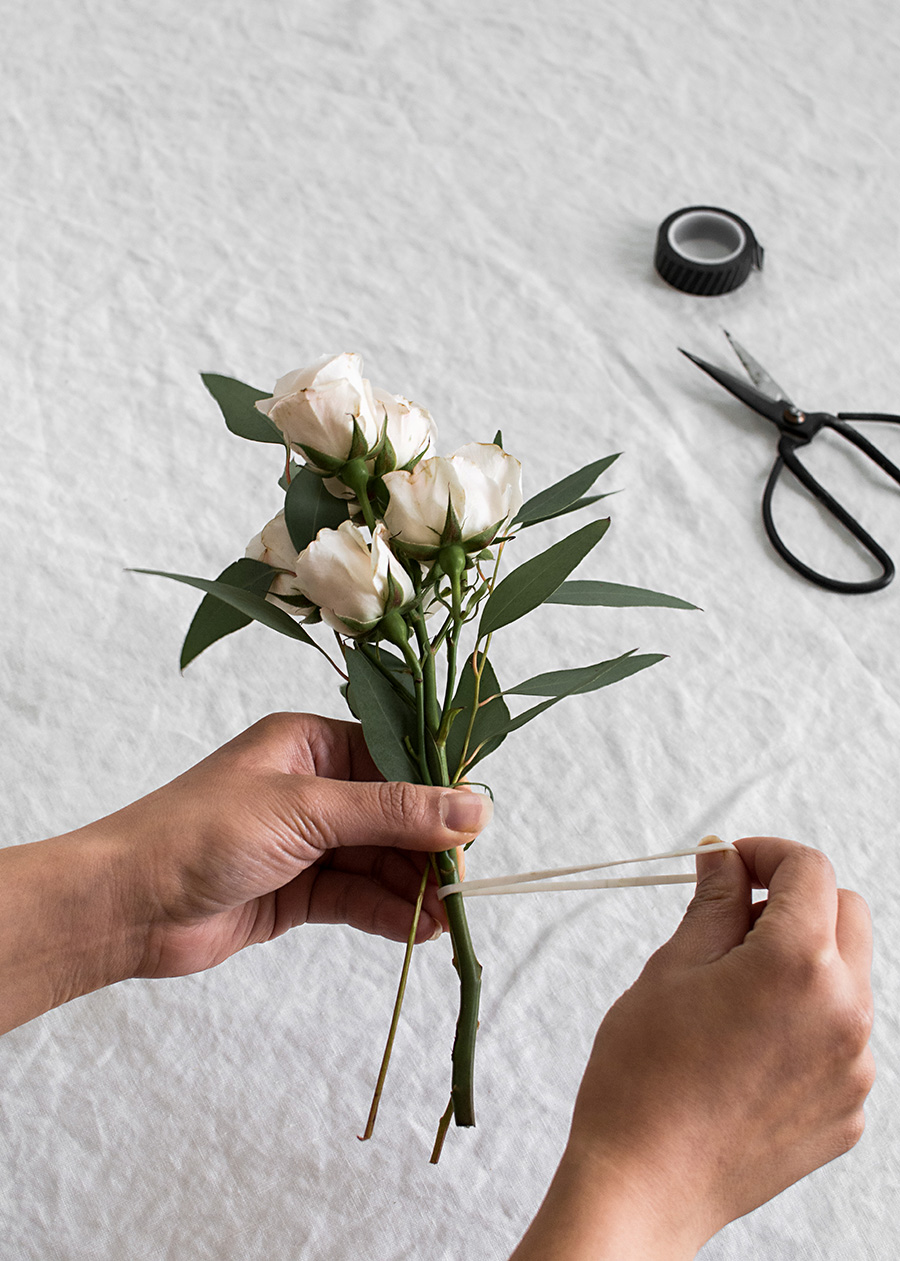
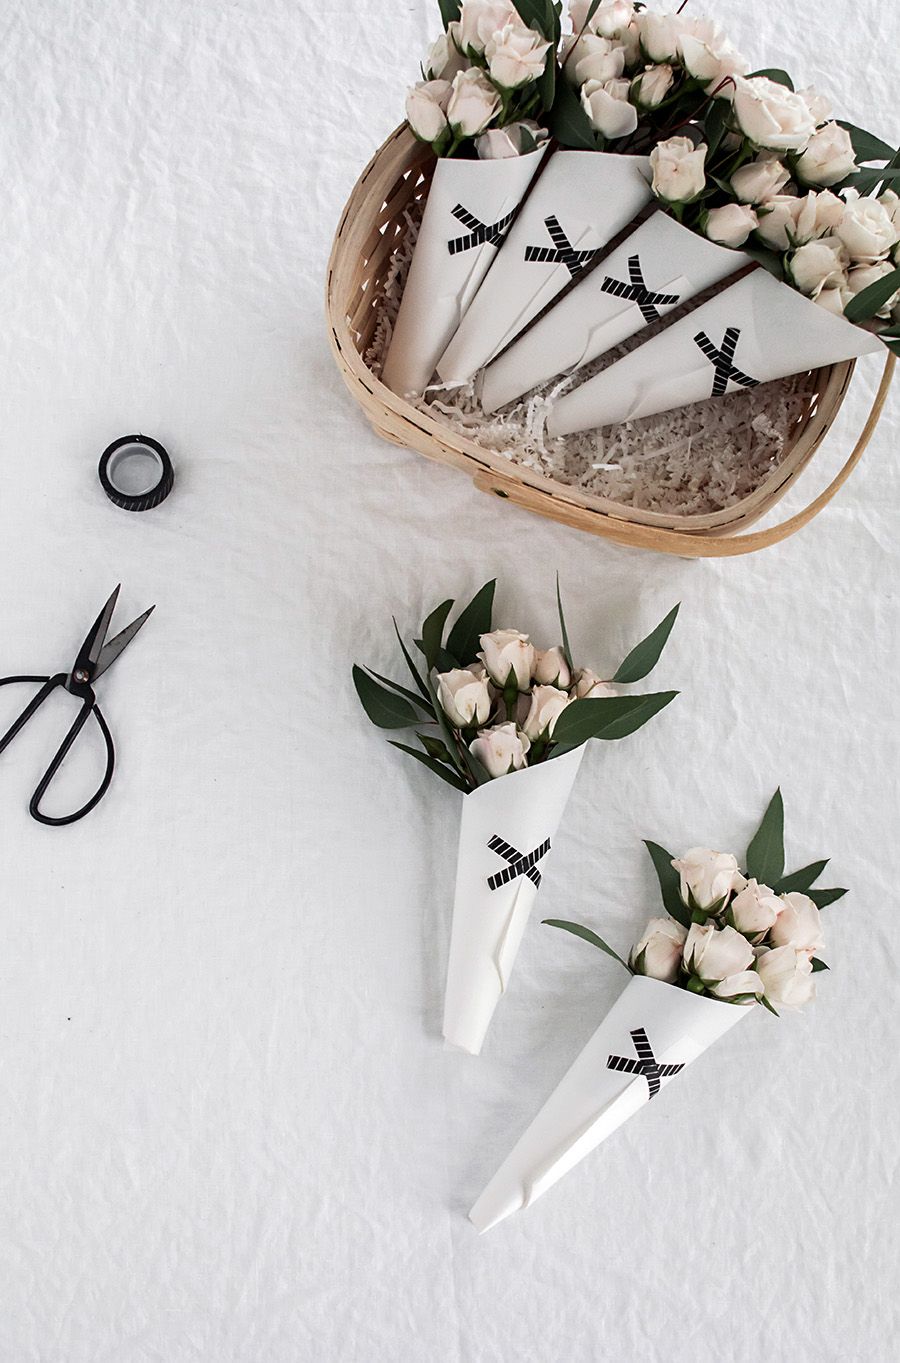
Bunch your flowers together, cut down the stems to desired length, and place a rubber band around one of the stems like so. A note on picking flowers: I like keeping the variety simple so that there isn’t as much guess work on how to arrange them, which can get muddy and quickly crowded at this mini size if there are too many types of flowers. Here I used spray roses, which are great because there are a lot of heads per stem which makes it easier to create a fuller looking bouquet, and eucalyptus as filler greens.
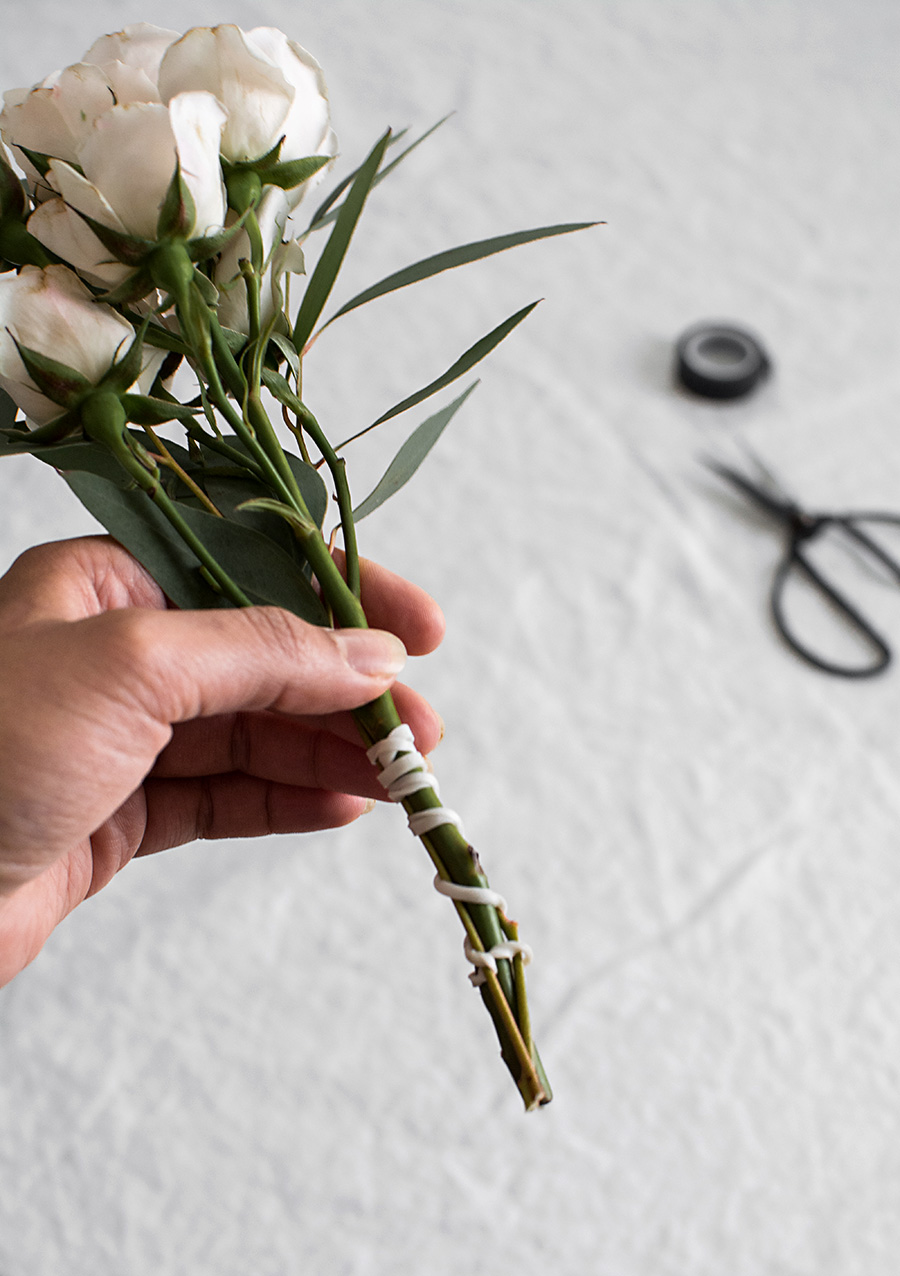
Wrap the rubber band around the length of all of the stems and when you reach the bottom, hook it back onto one of the stems to secure it in place.
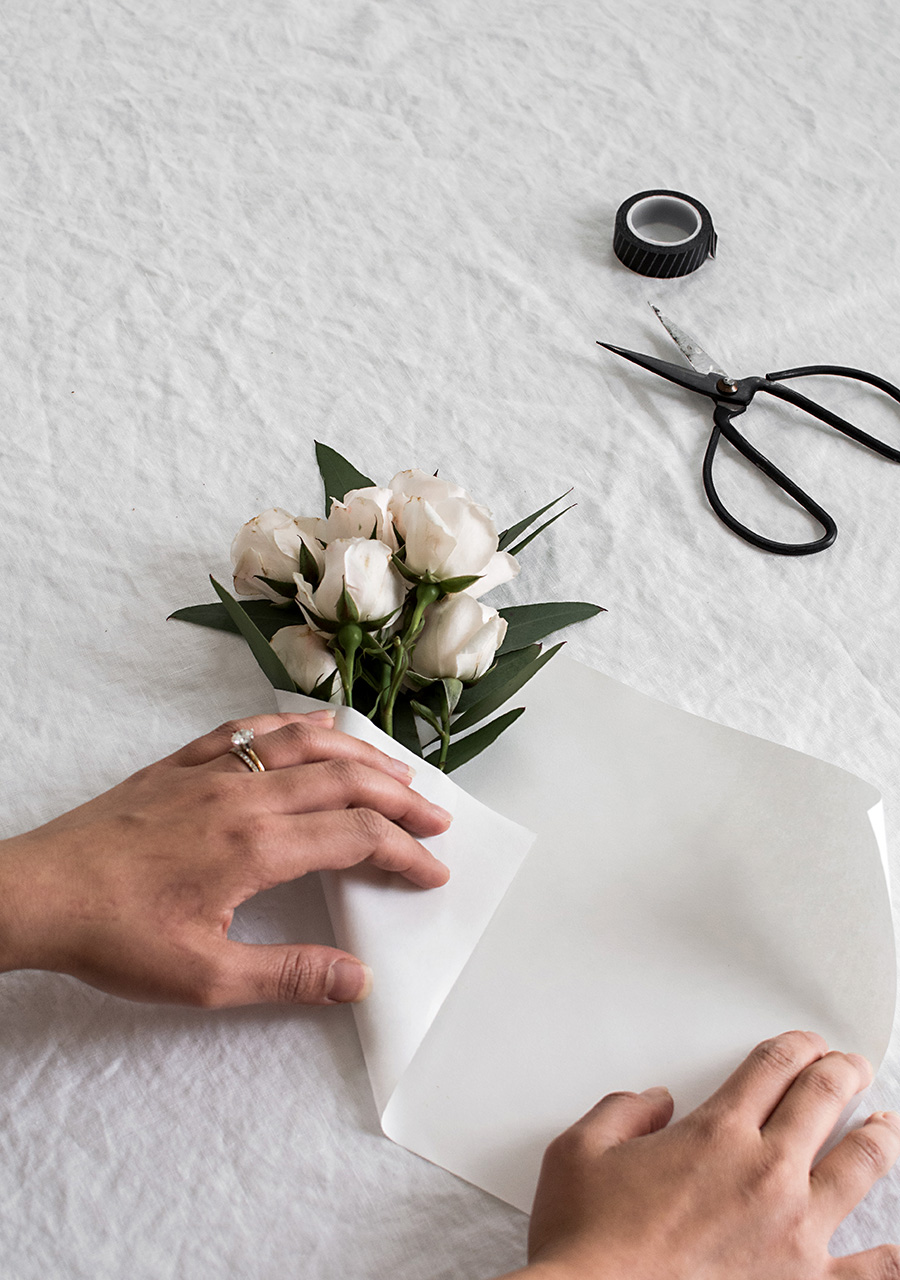
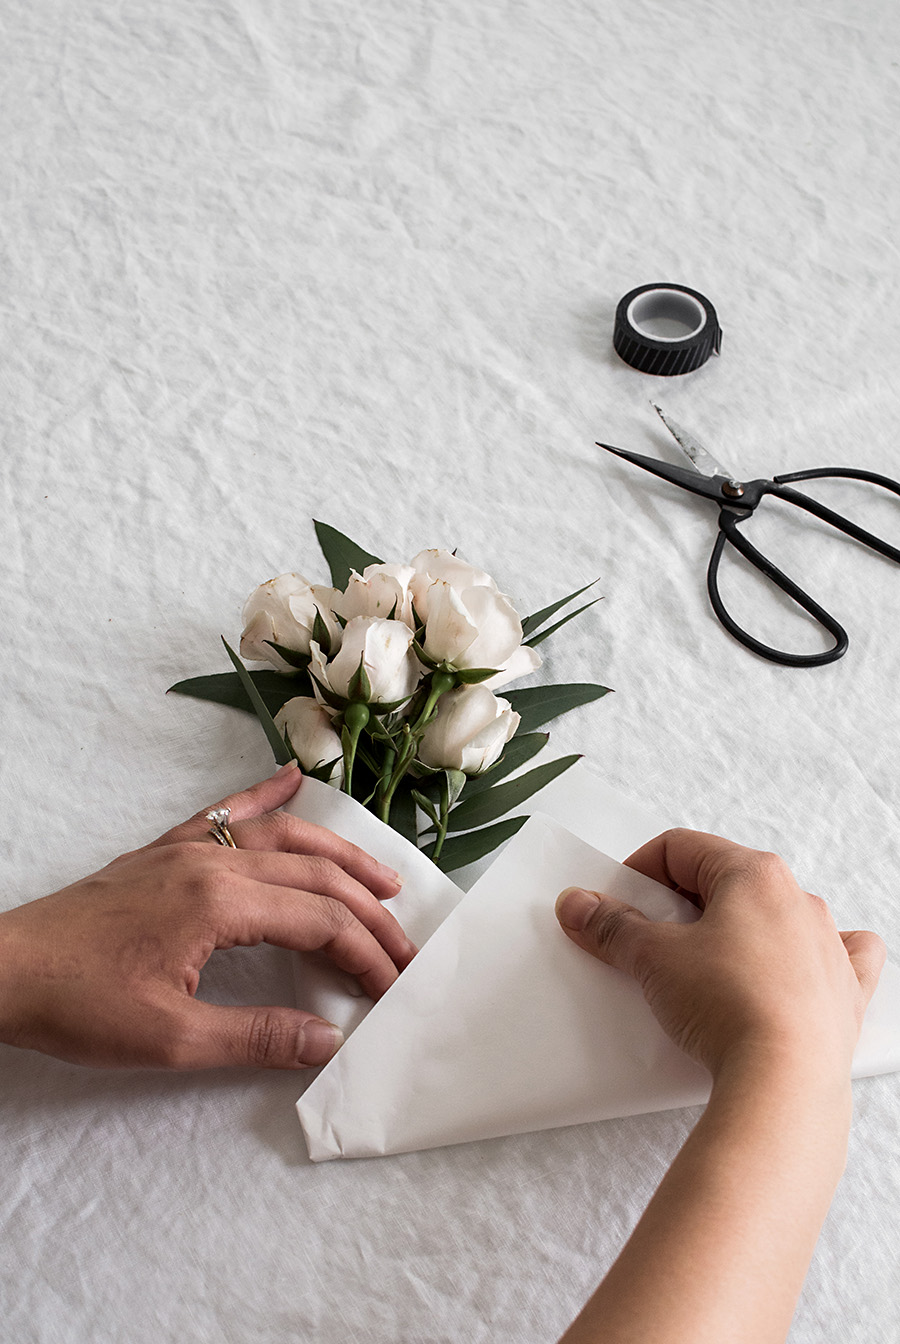
Lay your bouquet diagonally on kraft wrapping paper (I used white!) and cut to the appropriate rectangular size. The very rough measurements of my paper was around 8.5 x 10.5 but I recommend measuring based on how tall/wide your bouquet. This might take a couple tries to figure out. Once this is done, wrap the left side over the bouquet as shown above.
Next fold the paper from the bottom over to the top so that it tightly hugs the bottom of the stems.
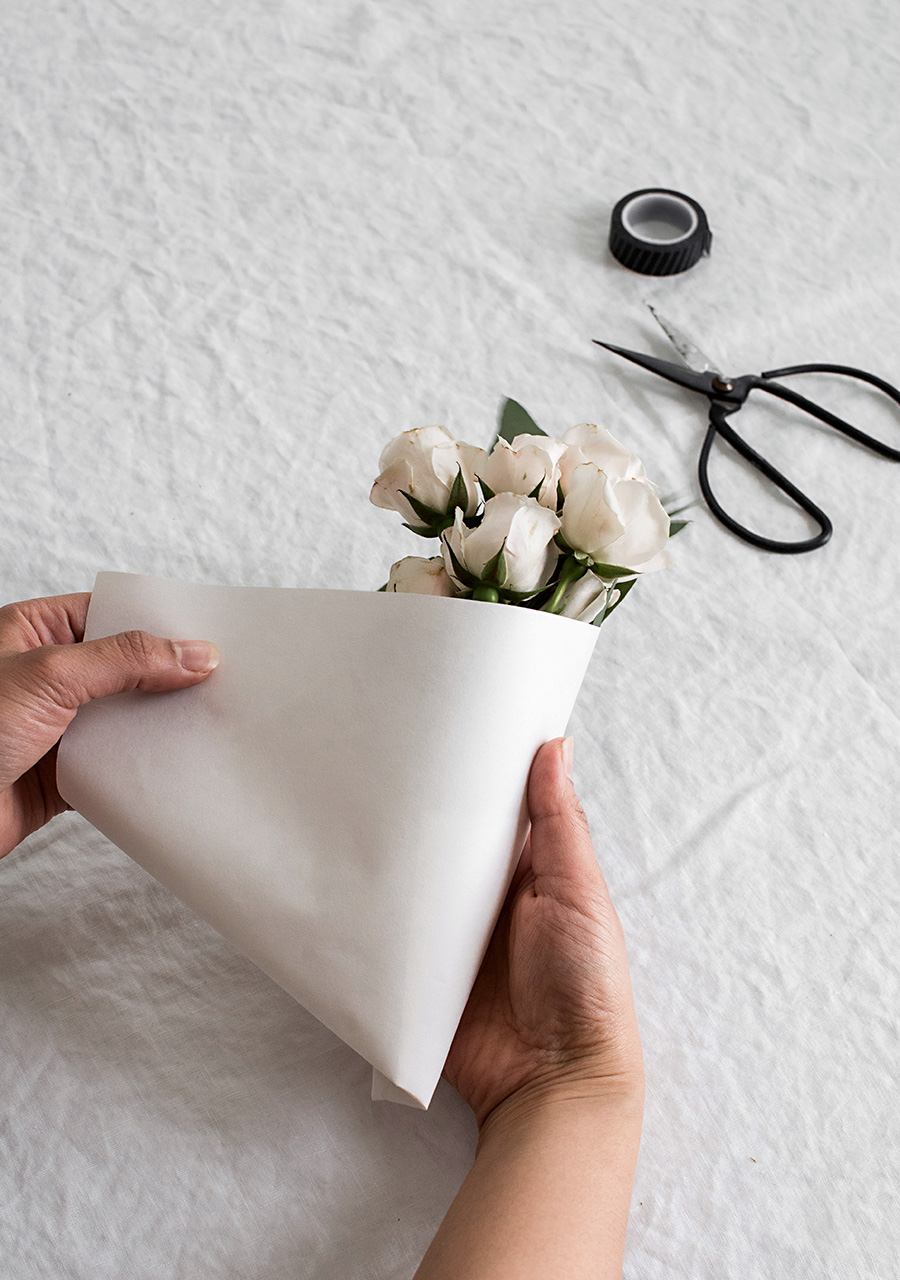
Pull the right side of the paper over to the left and wrap it all the way around so that the paper becomes a cone around the bouquet.
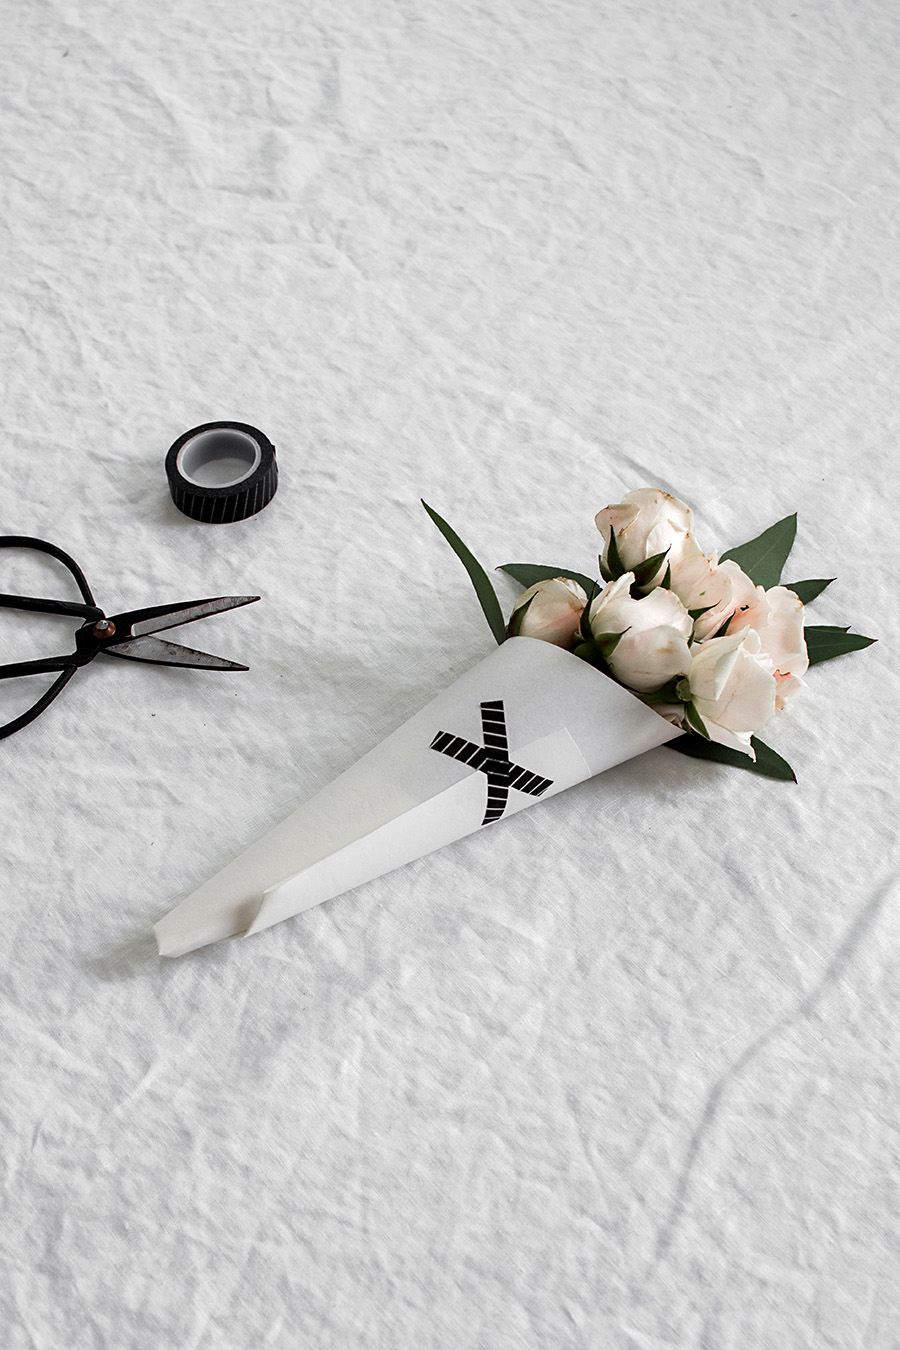
Secure the paper with washi tape. You might need to cut down the paper flap to sit at the right side alignment like this one does. I cut my washi tape in half lengthwise and arranged it in an “x” shape to double as a unique embellishment. Stickers in other shapes are definitely welcome.
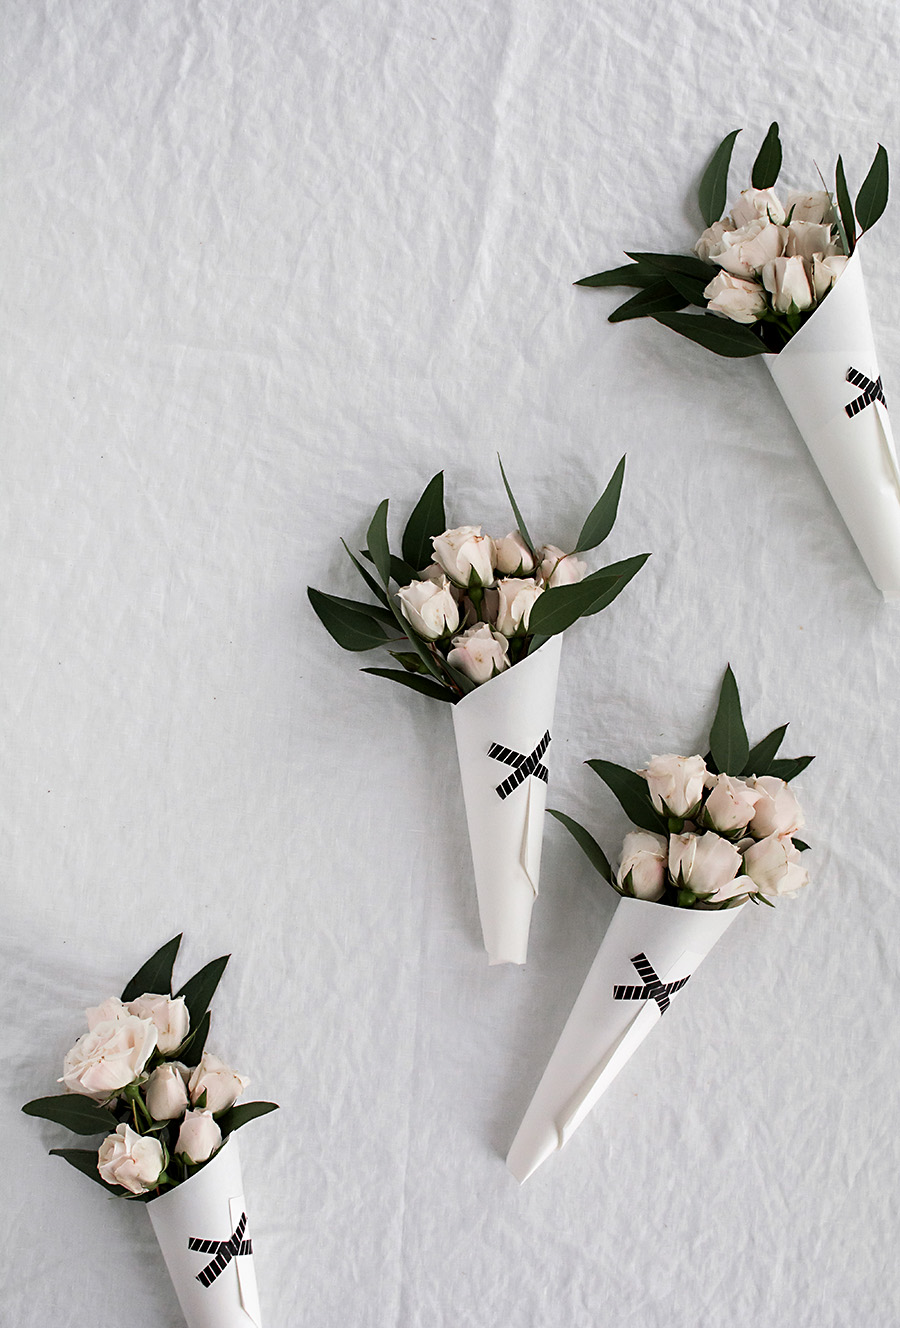
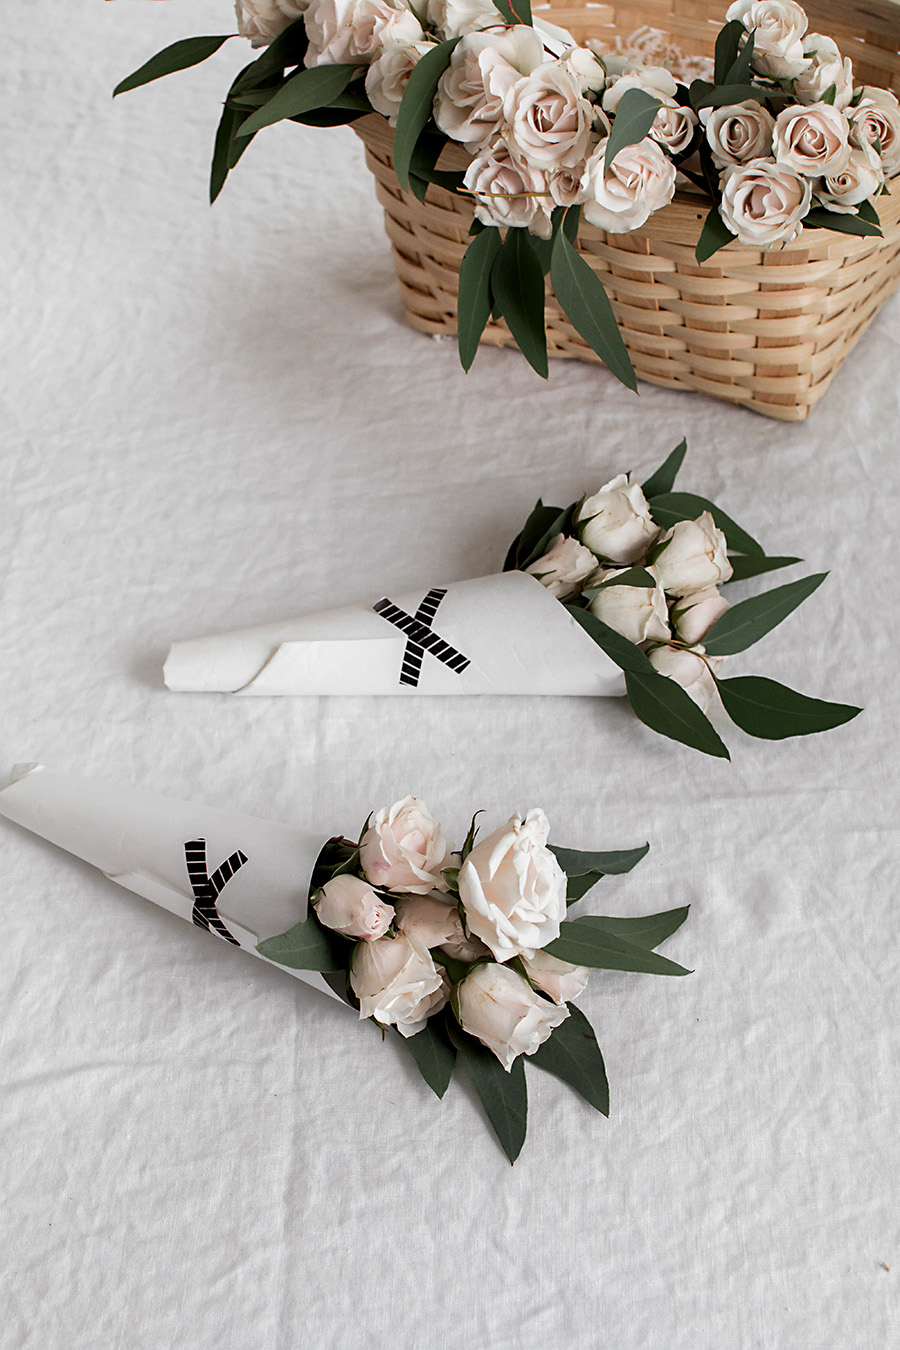
Yes mini is special but it’s in the wrapping too. I’ll often think about the wrapping before the gift because that’s where a lot of the fun is, where you can inject so much personalization with things as simple as white paper and black washi tape. No surprise that I love the minimal modern look of these, but you can go so many different ways with the materials, colors, or patterns you use!
Other notes: It’s best to make these as close to when you’re giving them out as possible. In order to make these ahead of time, you’ll need to stick the bouquets in floral water tubes and store them in the fridge to maintain freshness, but even then I wouldn’t make these more than a day in advance.
So where do you buy washi tape? Never heard of it!!
Michaels! Any craft store should have it. Amazon has a bunch too!
Thanks, Amy. I was just telling a friend of mine to follow you. Love your blog!
That means the world to me, thank you <3
I love the idea, the roses are so beautiful!
https://www.makeandmess.com/
Thank you Michelle!
Love the idea of using washi tape to wrap bouquets! Genius!
Washi is life. Thanks Erika!
Elegant. Anyone would love to receive this as a gift.
This is so cute! I will be making a bunch of these for my boys’ teachers for Valentine’s Day tomorrow. Thank you!!
That’s a great idea! They will love these!
wonderful post !! cutest lil bouquets i’ve seen… will surely try my hand at this diy!!