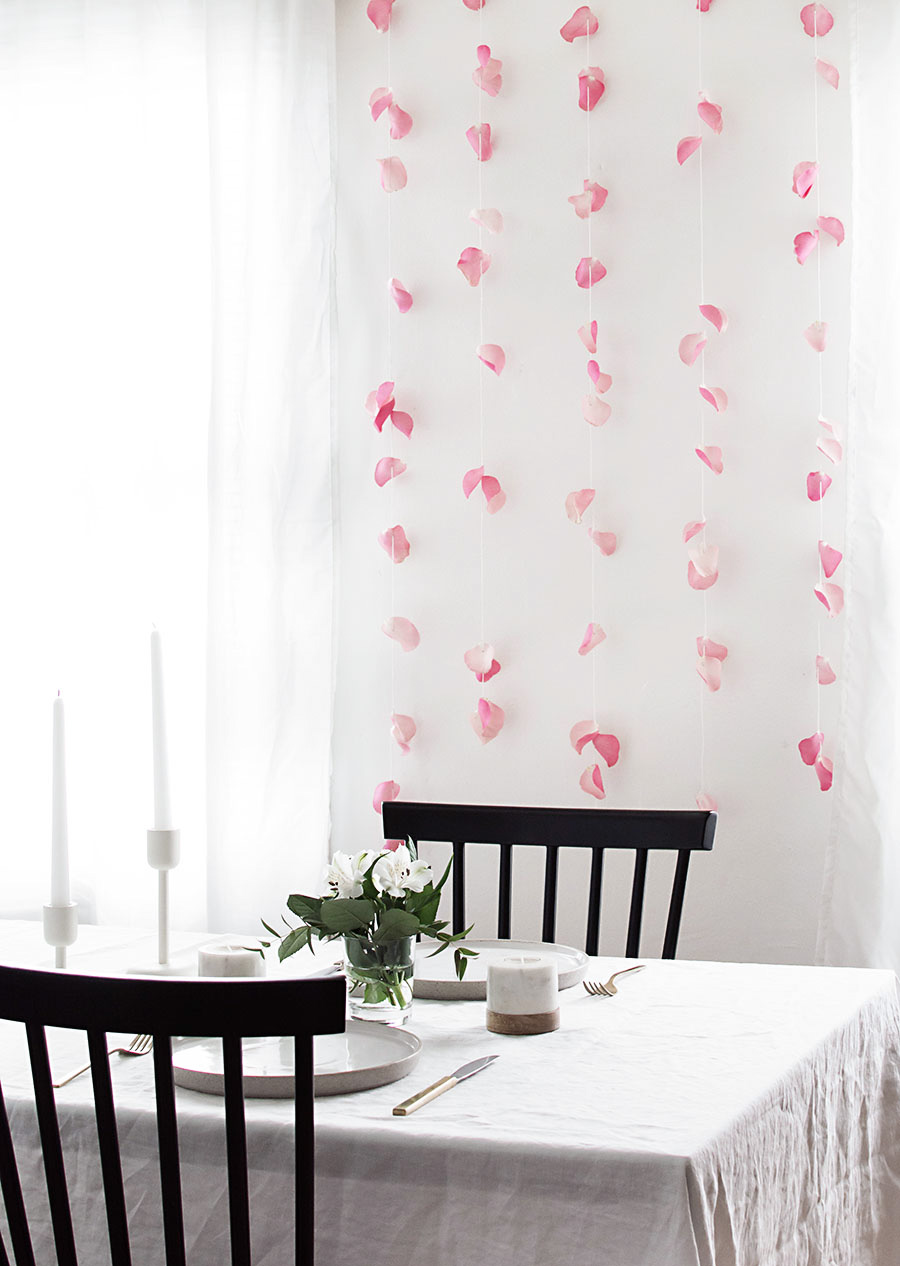
I strongly believe there doesn’t need to be an occasion for flowers, but the first day of Spring is a pretty good excuse to celebrate with more- that would be today! I also believe that like with most things related to style, there’s really no wrong way to arrange florals. There are sometimes however those moments when you might think something looks off or weird to you about your arrangement but you can’t figure out exactly why (I feel you). In that case, here are some simple and easy tips to help you get started or get you out of a jam with your flower arranging.
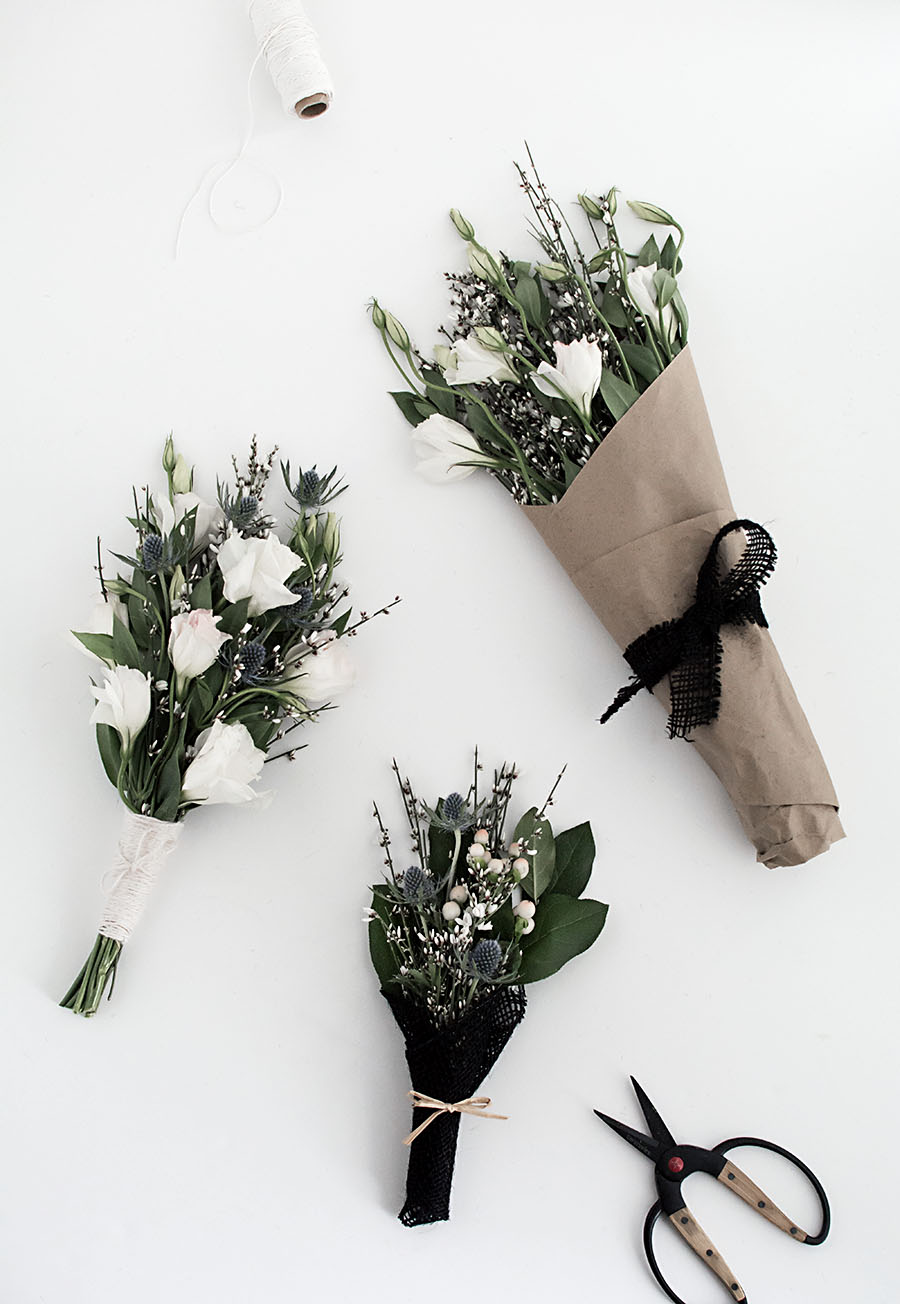
Tip 1: A simple variety that still looks interesting is greens + focal flowers.
By focal flowers, I mean any flowers with a larger face, different from filler flowers which are smaller and generally used to fill space in between focal flowers, but we won’t get into those this time.
Actually, I’ll get into it a tiny bit to explain my usual choice for greens. I love using seeded eucalyptus because the seedy parts act like filler flowers, filling in gaps with the leaves while adding a lot of interesting texture, all without having to get a bunch of other flowers. It’s a two birds one stone situation, I like this a lot.
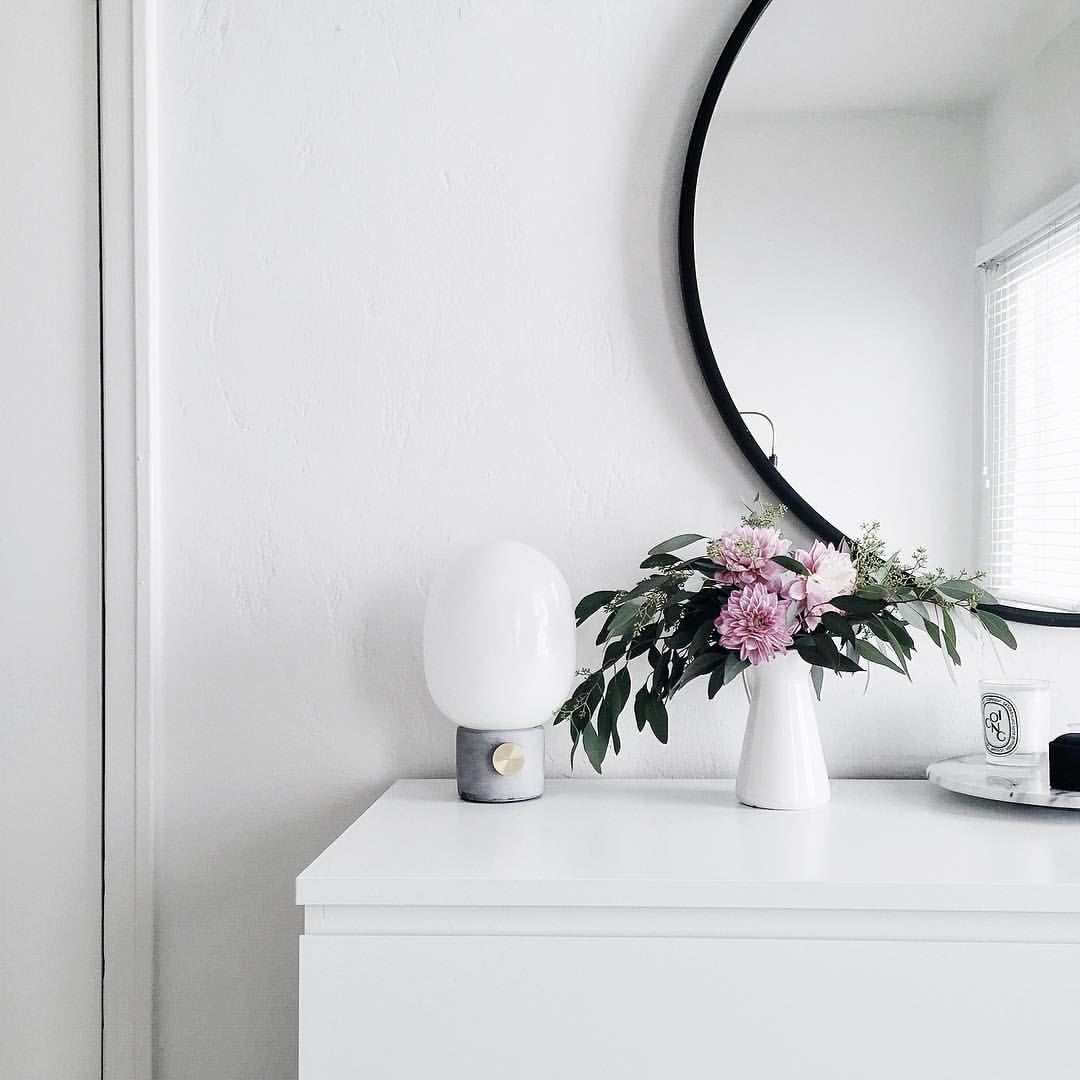
My case for using greens also lies in the fact that they really do make things more interesting. For this arrangement, the dahlias alone would’ve been perfectly fine and pretty, but the seeded eucalyptus takes it to another level by bringing in a lot more shape and dimension.
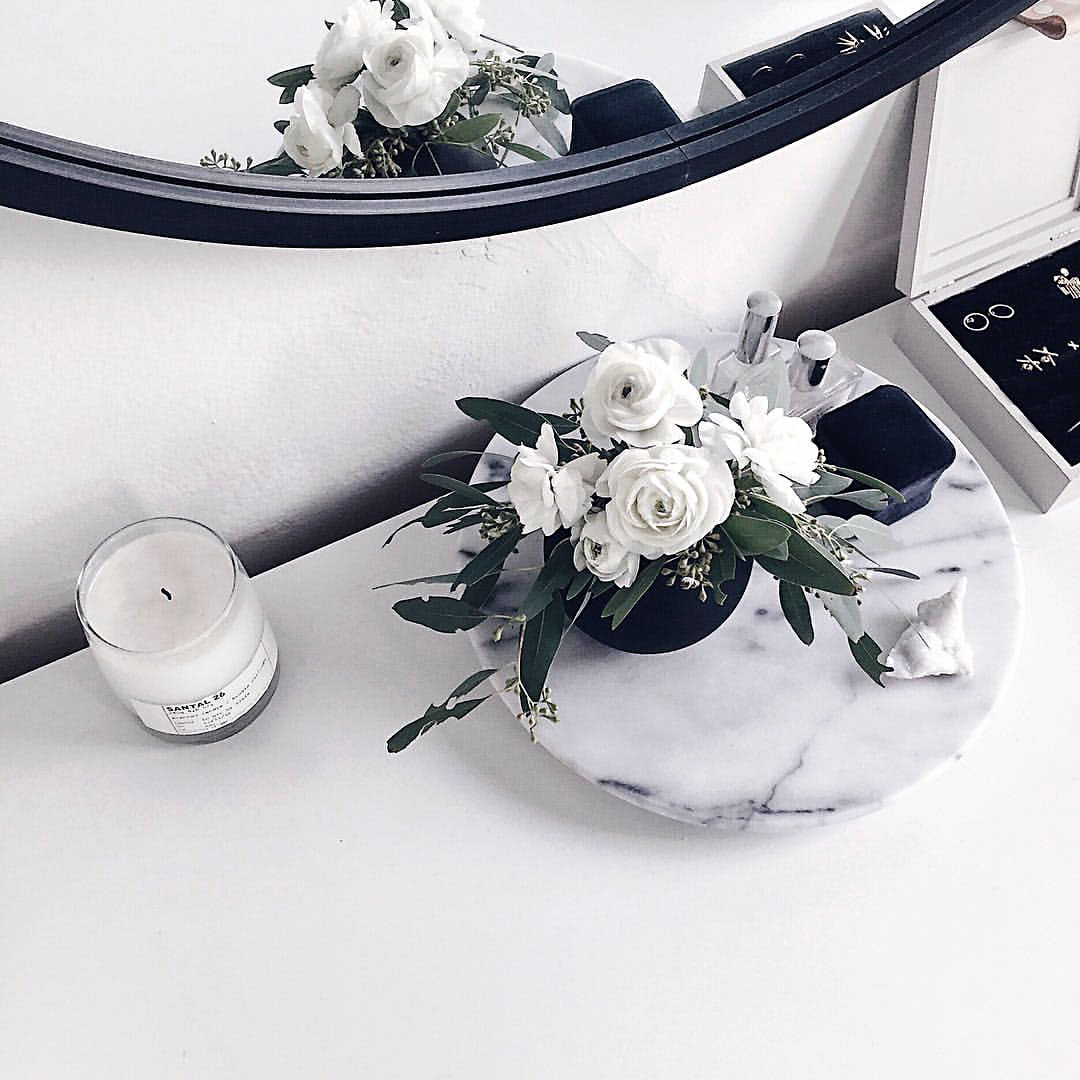
Same here, the white ranunculus would’ve been beautiful alone, but the greens give it that extra something that looks like you spent more time on it than you actually did.
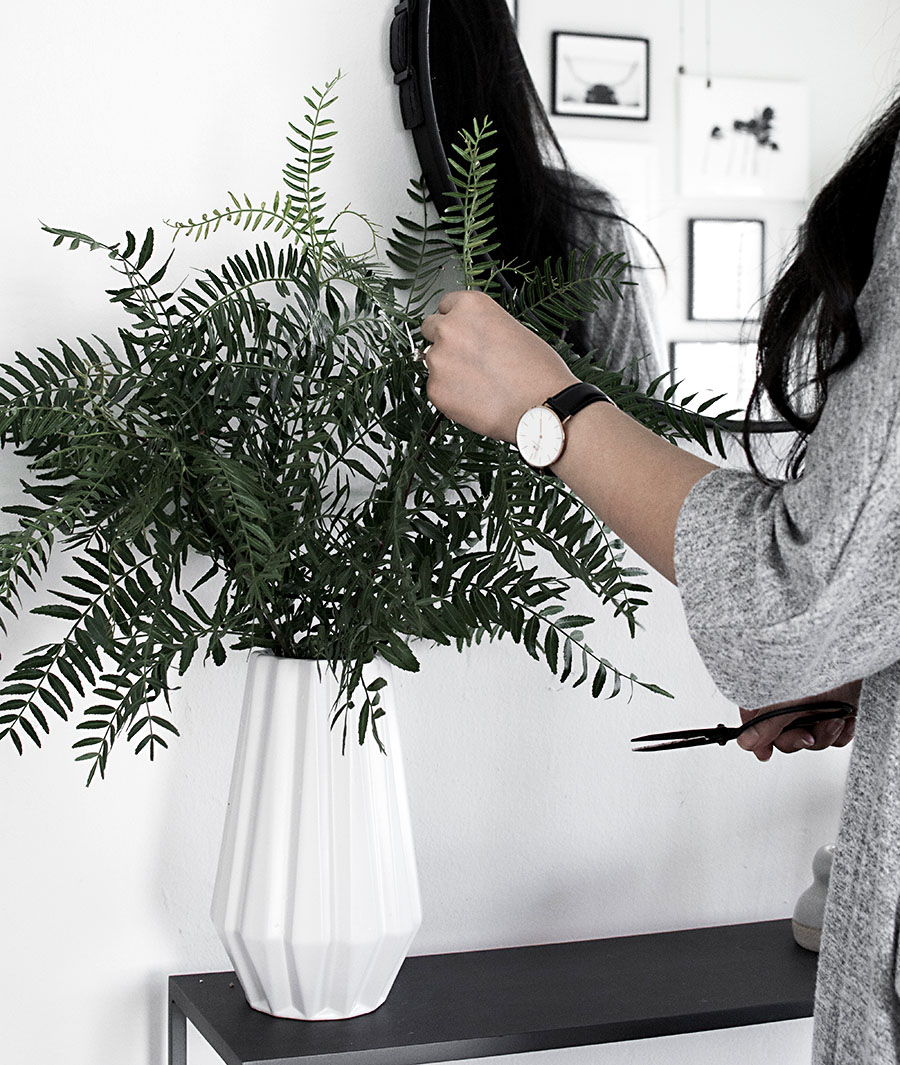
Tip 2: Use the greens as support and structure for your arrangement.
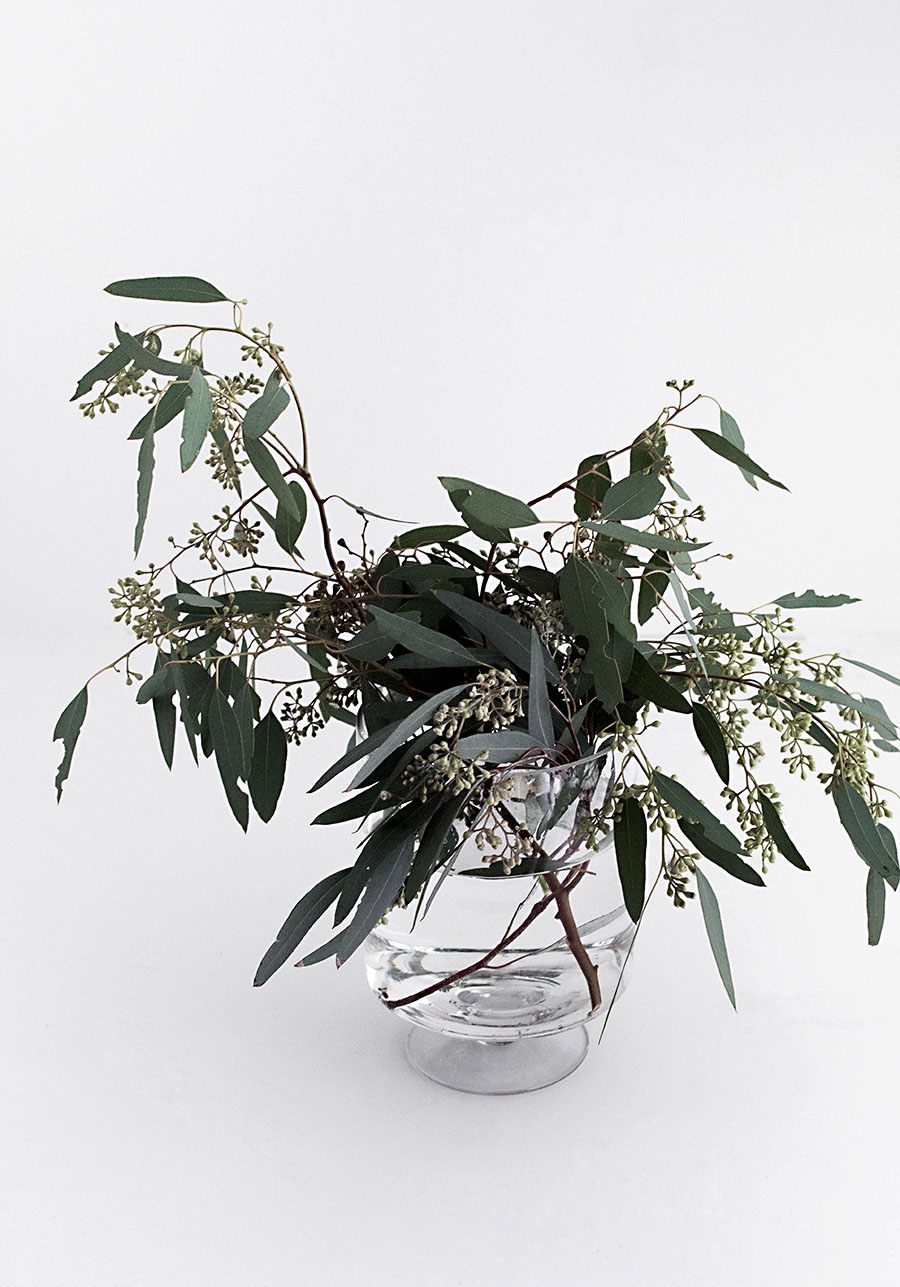
Yet another case for seeded eucalyptus is that all the branches make it really good for supporting the arrangement without needing to use too much of it. Single stemmed greens wouldn’t work as well so stick with greens that have branches and width.
Tip 3: Criss-cross the stems rather than putting them straight in side by side.
When arranging the greens first in the vase, this adds to the support they’re able to provide for the flowers.
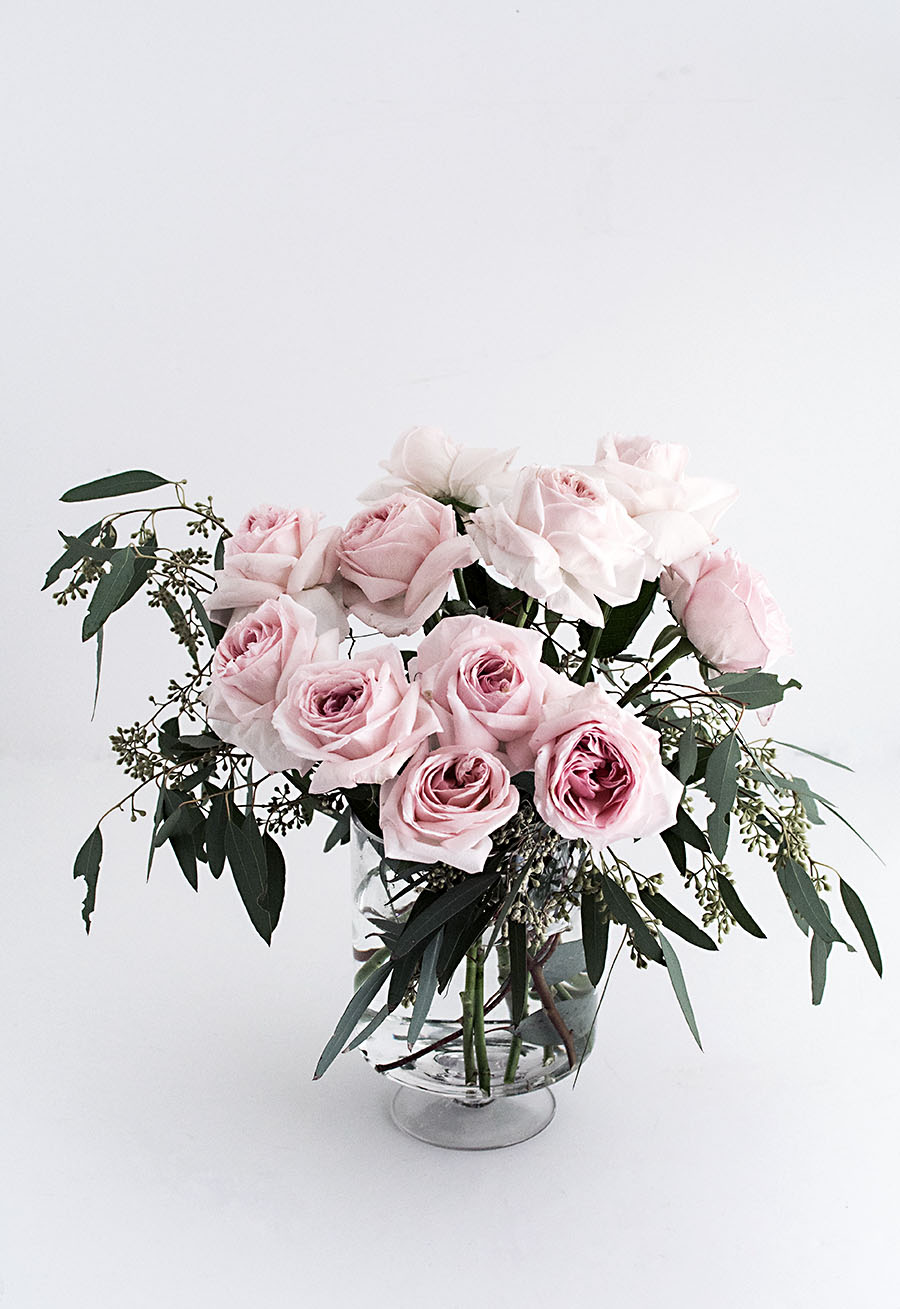
Same with the flowers, arrange them so that the stems criss-cross with each other and/or through the stems of the greens to help keep them in place. There’s a trick for wider vases like this that involves taping thin clear tape across the opening of the vase in a grid pattern to help keep flowers in place, but I personally haven’t found this any more helpful. Criss-crossing does the job for me, but it takes practice to get the feel for it!
If more support is needed or more space needs to be filled, add in more greens after or as you go with the flowers.
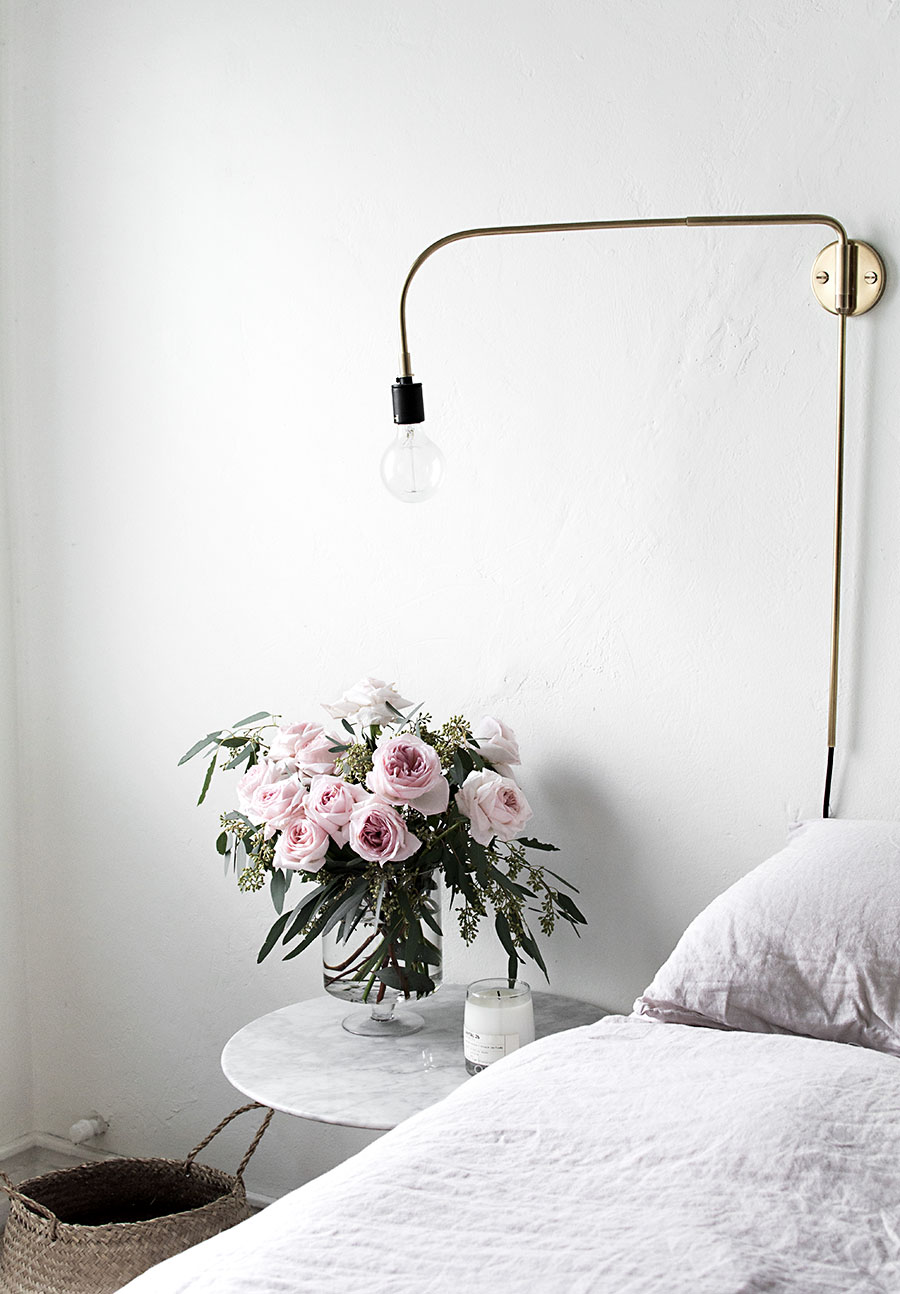
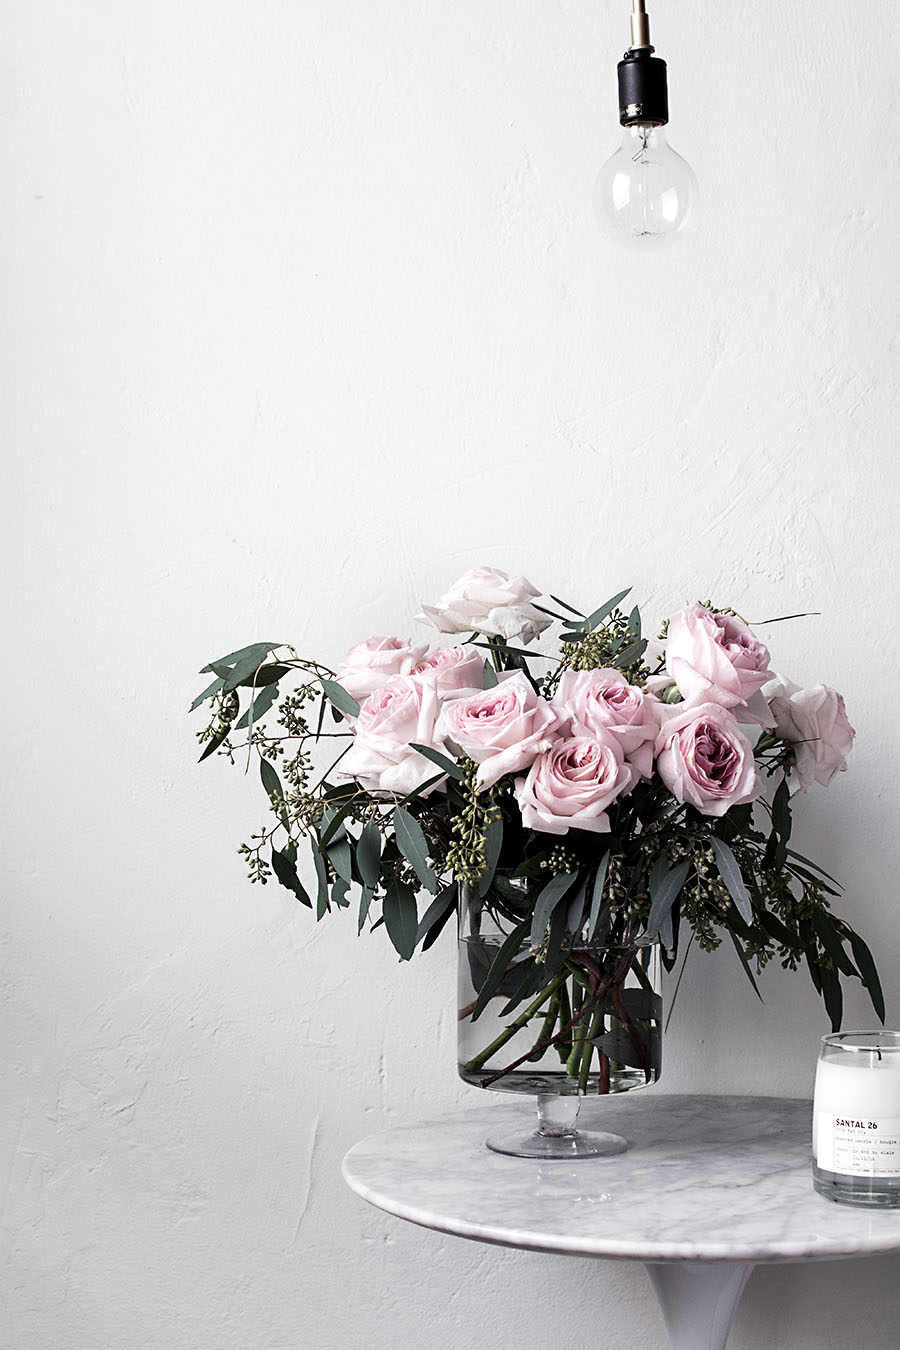
Tip 4: As a general rule of thumb, have the vase make up 1/2-2/3 of the entire arrangement height.
This is not at all a strict rule but rather a guideline. The most common reason I see for why an arrangement looks weird is that the flowers are too tall for the vase. Hold each flower up to the vase at the desired height to eyeball first how much to cut off, then work from there to vary the stem lengths as needed. Plenty of awesome arrangements punch this guideline in the face, but as a beginner it helps a lot to follow.
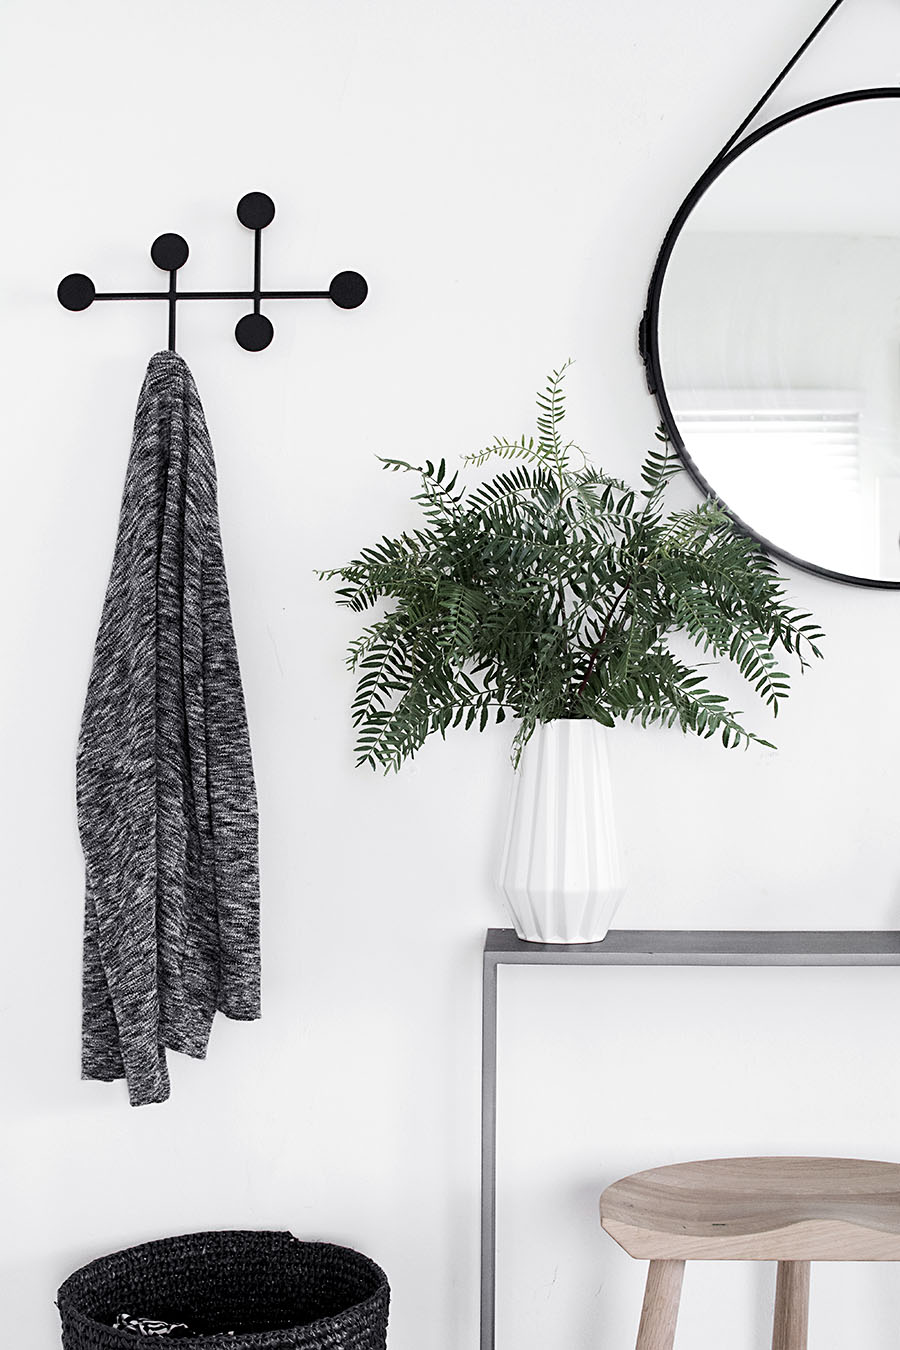
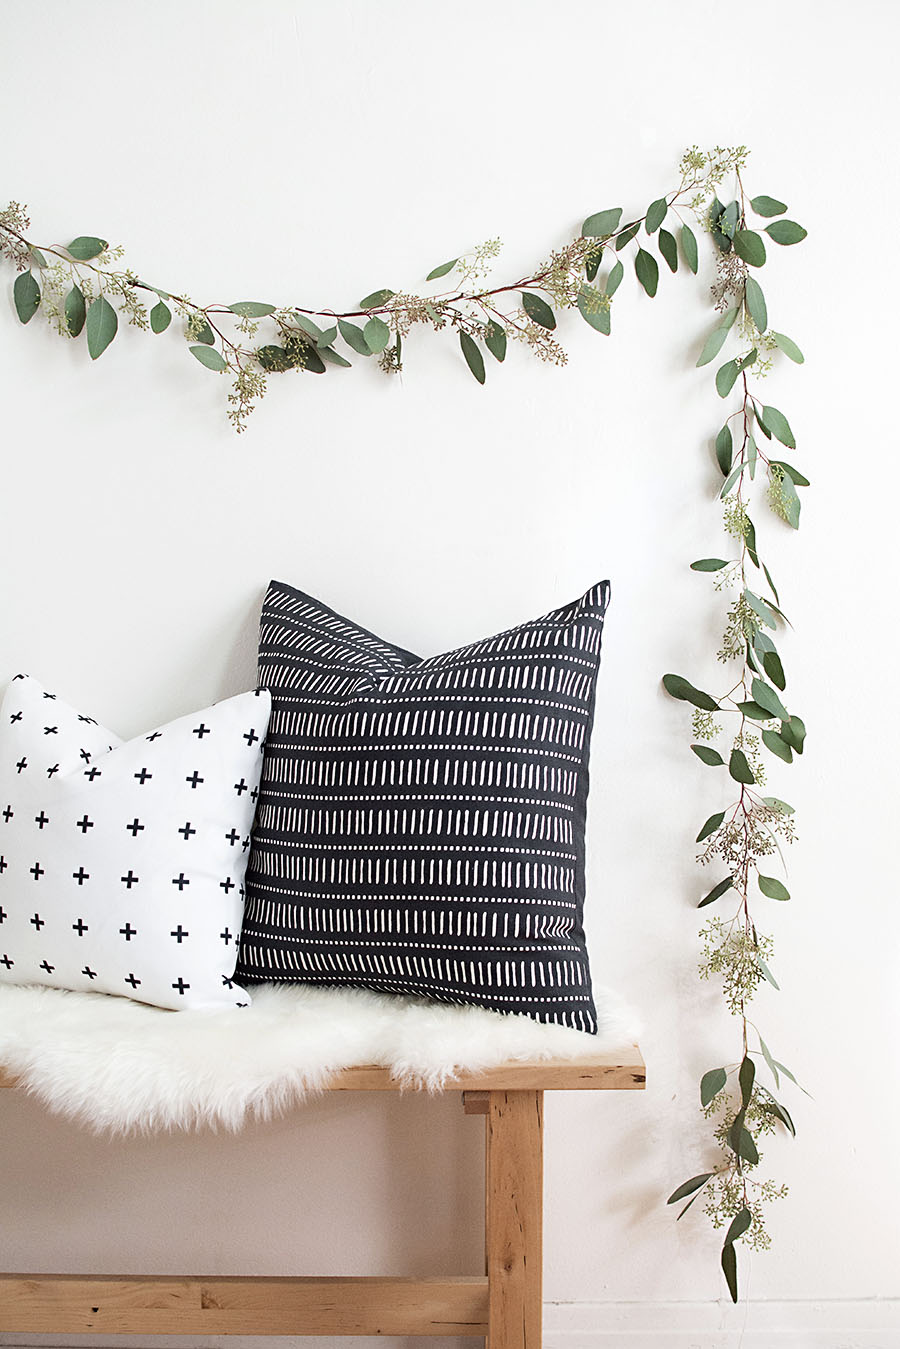
Tip 5: Try using only greens for a fuller, larger arrangement that’s less fuss and less cost.
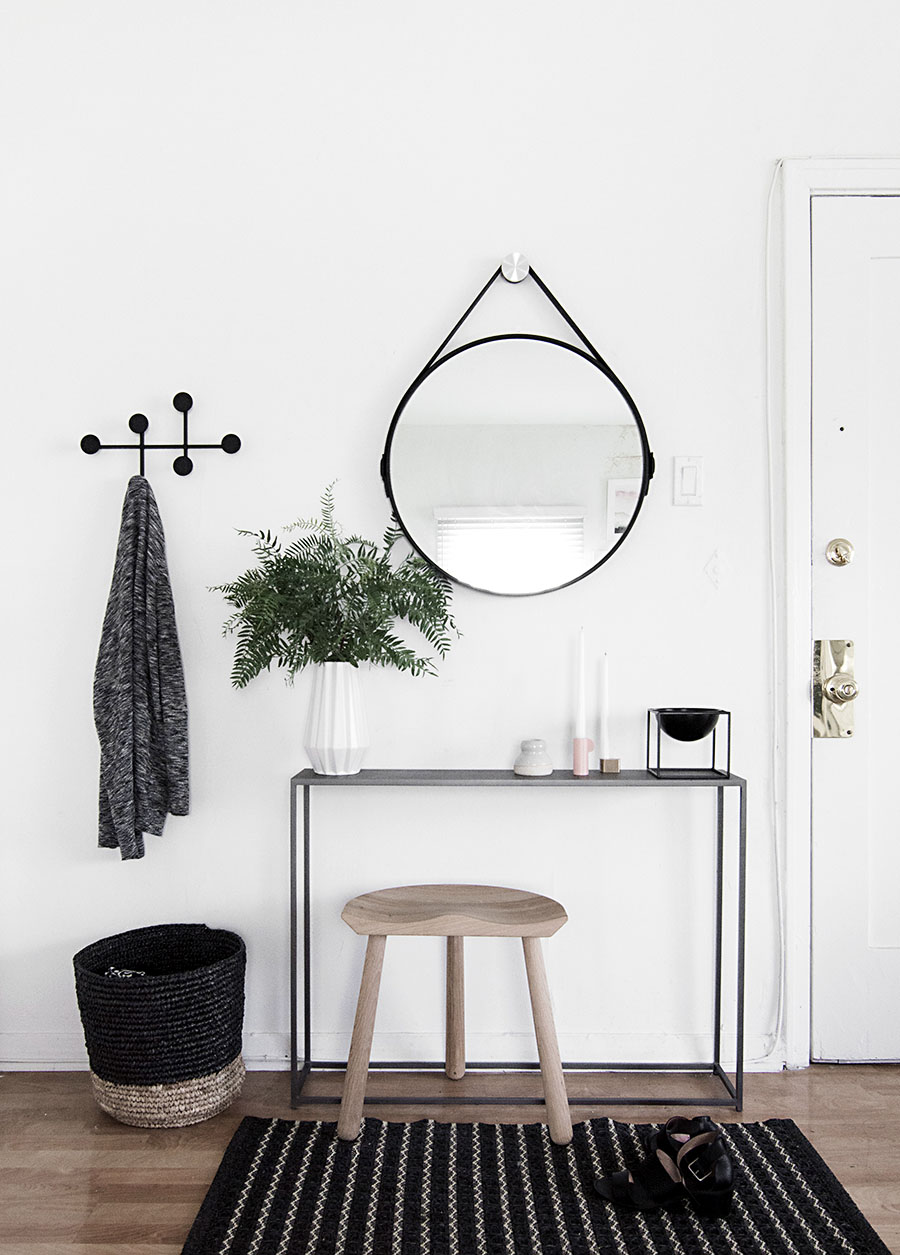
Especially for this area by the entryway where I love regularly replacing what’s in that vase, greens are my go-to for being the most cost-efficient option for the size of the arrangement I need in this space. They last a lot longer, too. Greens are also generally way easier to arrange especially if a taller height is desired. Stick to leafy and branchy types that have width for more shape and effortless styling with less stems. A common go-to green for this kind of arrangement is silver dollar eucalyptus. The ones I have here are pepperberry leaves. They smell like pepper!
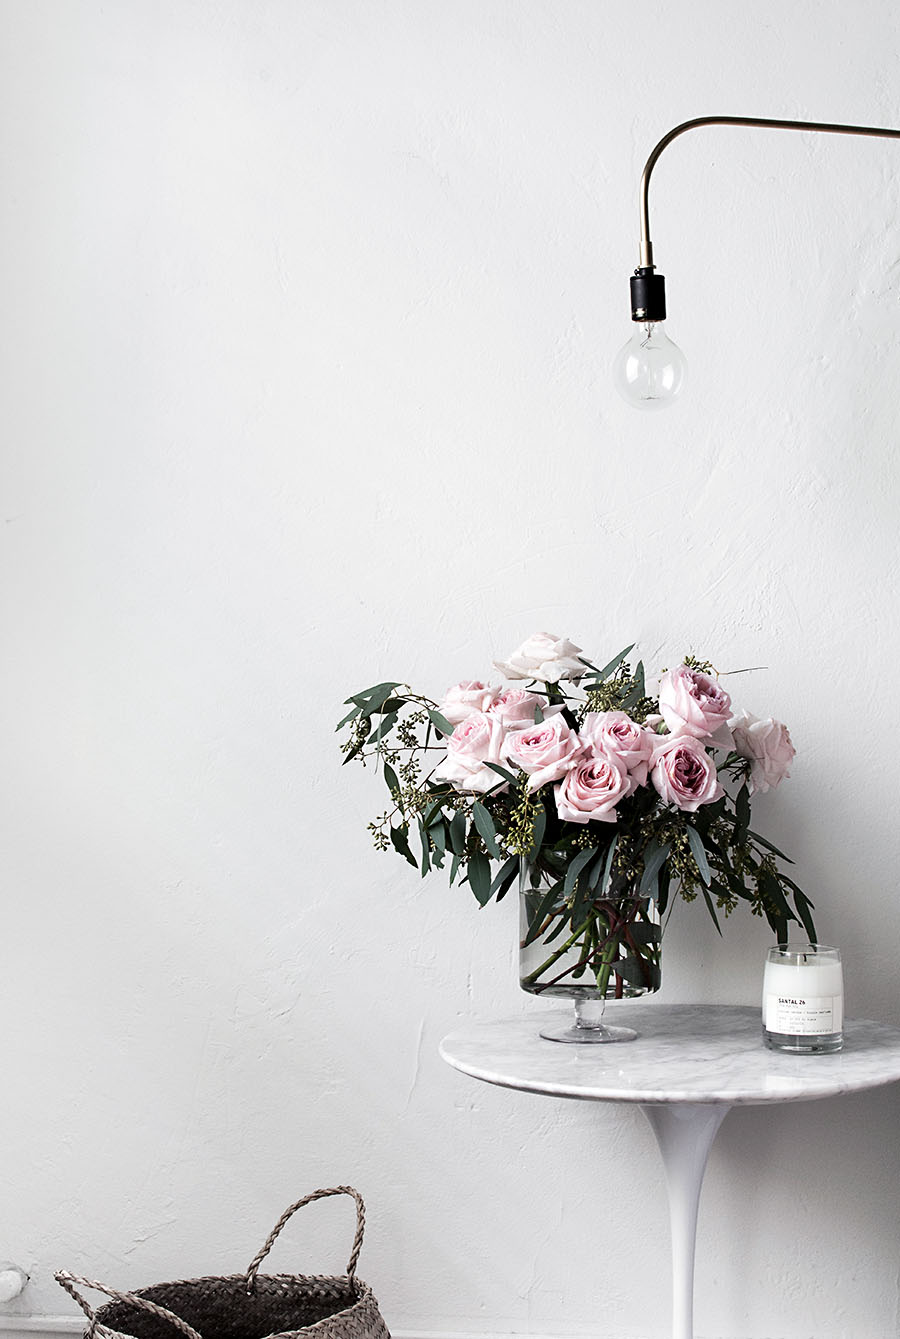
Tip 6: Style and arrange the florals in the space where the arrangement will be.
What usually happens for me is that I’ll arrange the florals in the kitchen and then when I bring the arrangement over to where I want it to be, I make more adjustments. Sometimes once seeing the arrangement in place at a distance, I’ll notice that maybe it’s too tall or too full or that branch hanging to the left would actually look better hanging to the right. It would probably be best to arrange in the space from the get-go except that a mess of some sort is to be expected, so whatever the case consider adjusting the arrangement later once it’s in place.
Tip 7: Pick the right vase.
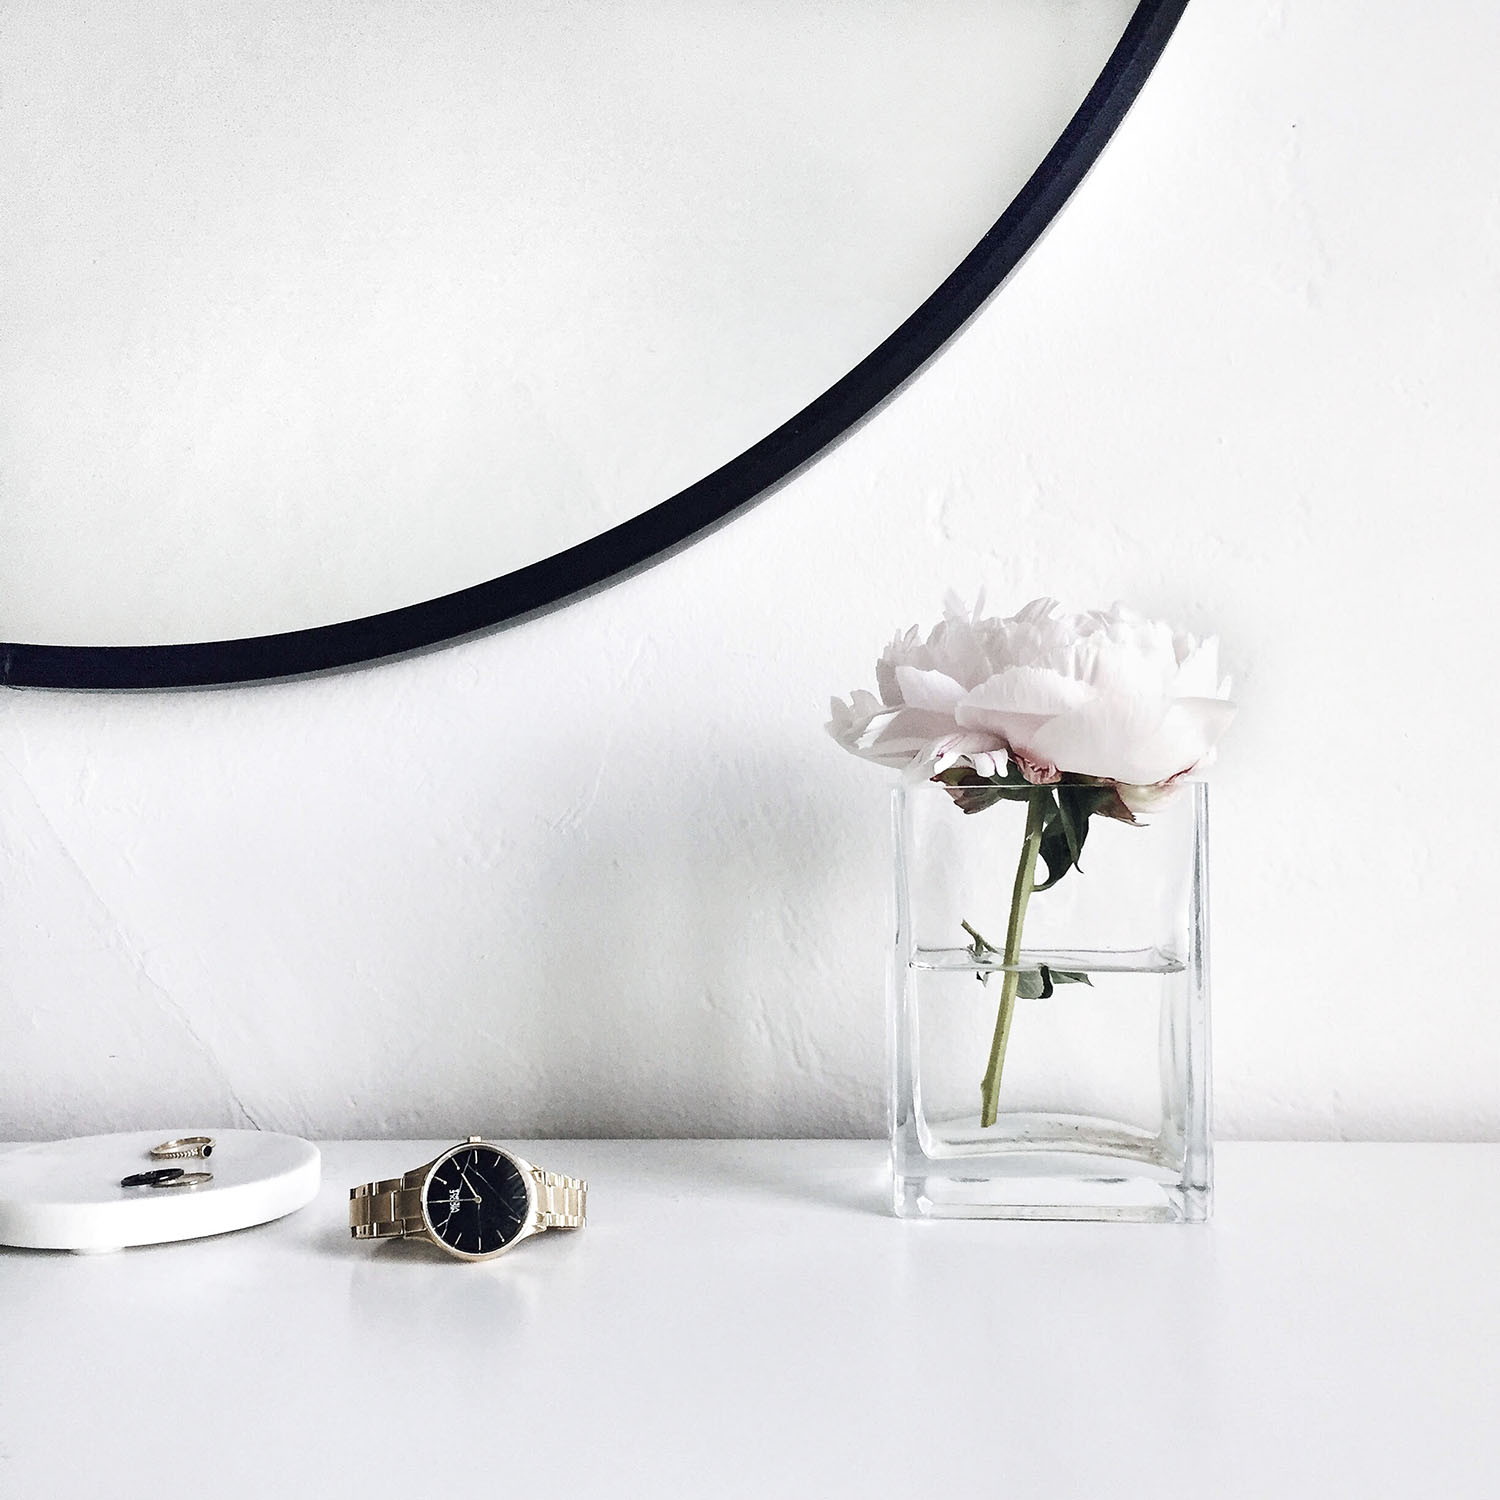
Picking the right vase can be both the problem and solution. Be mindful of the shape, length, and amount of your flowers to pick a complementing vase. This can get really personal to one’s style, but in general it’s easiest to say that the less flowers you have, the smaller the vase opening should be and the more you have, the bigger it should be. There are plenty of examples that don’t follow this, one of my favorites being putting a single flower in a rectangular vase, but you need to play around in order to figure out what you like! Challenge your vase choices and see how they can elevate even the simplest arrangements.
Are you into playing with flowers? Care to share your favs?
love this! I’m a beginner flower arranger, loving filling up my home with cheap blooms ;) I live near a trader joe’s and they have a really excellent selection of cheap seasonal flowers… I can usually walk away with a focal point and filler for under 10 dollars!
Trader Joe’s never disappoints! Love regularly picking up blooms from there with my groceries ;)
I love this! Floral arrangement is one thing I’ve never been able to do to my satisfaction, but it never occurred to me to look up tips on it! I also love the trifle-bowl-as-vase! I bought a trifle bowl solely for a party that I was bringing a trifle to and haven’t used it since. Might be buying myself some more flowers in the future :)
Yes, use the bowl! This one is a hurricane I used for a fall shoot I think 2 years ago and have since used it as a vase for large arrangements. Pretty much any vessel I no longer use for its original purpose has turned into a vase!
Nice post, I love each example, with the exception of the last. I think the flower is drowning and would benefit from a longer stem, or some glass pebbles in the bottom, or something else. I love using eucalyptus too, and have used silver dollar branches above a gauzy white curtain for a natural looking “cornice.”
Ah, I’m not into using pebbles or beads! I agree the stem could be a little bit longer but I wanted the edges of the vase to hold the flower up centered rather than have the flower hang off to the side, then have the waterline visually act like the height of the vase. The cornice idea sounds beautiful, I love hanging up greens.
Flower arranging is one of my all time favourite hobbies!
http://www.petiteelliee
Ellie xx
You and me both, girl.
Yes! Agree with all your tips, as those are some of the ones I’ve used myself. I’ve slowly gotten somewhat better at arranging but it took time (i.e. buying practice bouquets from Trader Joe’s) to get there! I always love your arrangements. And those pepperberry leaves are so cool! Where did you find them?
Trader Joe’s is such a solid source, love getting flowers from there. The pepperberry leaves are from the LA Flower Mart. It’s a bit of a pain for me to get there but I’ll go when I’m looking for something very specific!
Hello!
These days I’m going to buy my first plants ever! I was thinking of buying some flowers too, because I want to start having them around in my house! You can tell that I’m in spring mood!
Your tips will be really helpful in the following days!
P.s. These photos are superb too! Totally loving them!
Lots of love,
Angelina
http://www.obsessedmaker.com
Yes very much in a Spring mood! Thank you for the lovely comment, Angelina.
Such a beautiful post and taking lots of inspiration! Side question, really love the light you have in the first photos. Where is it from?
Thanks, Lucy! You can find the light here