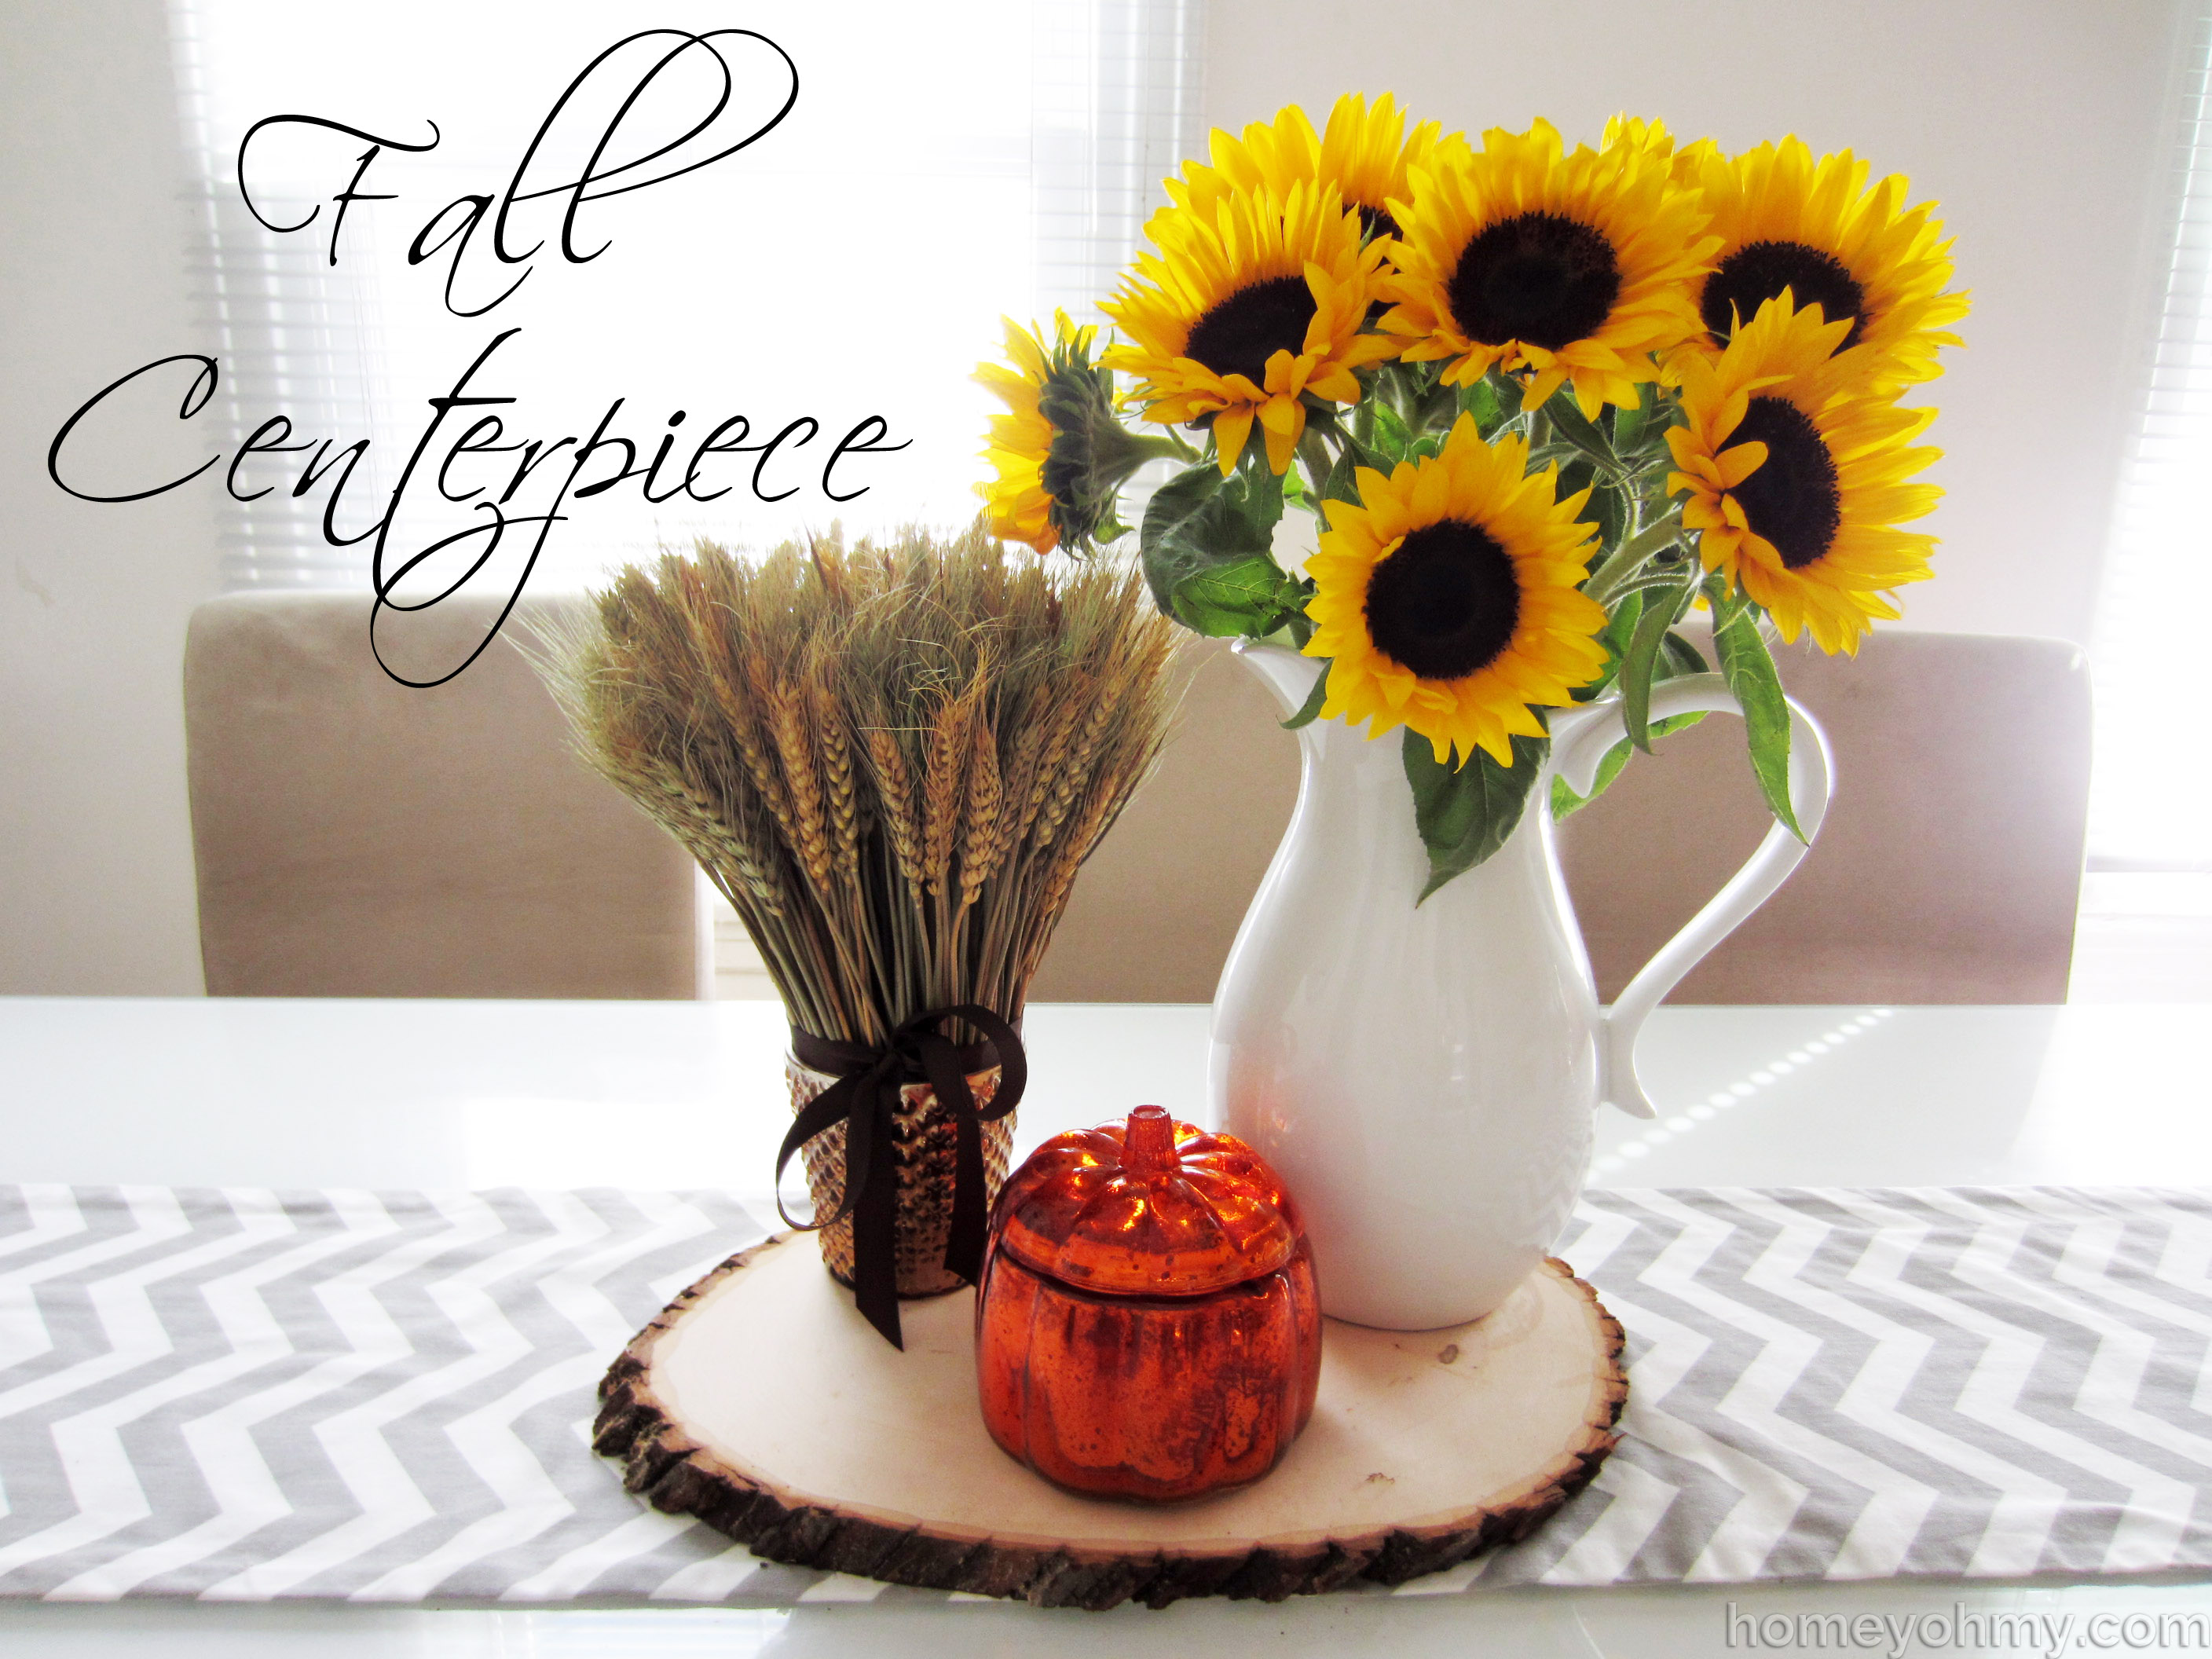
October is here already?!?! It’s amazing how fast this year has gone by, which is what I say every year, and October marks the start to a whirlwind of holidays, spending more time with loved ones, and gaining weight! I decided to welcome in this time of year with a fall centerpiece to bring in the warmth of the season’s festivities.
Starting with the flowers.
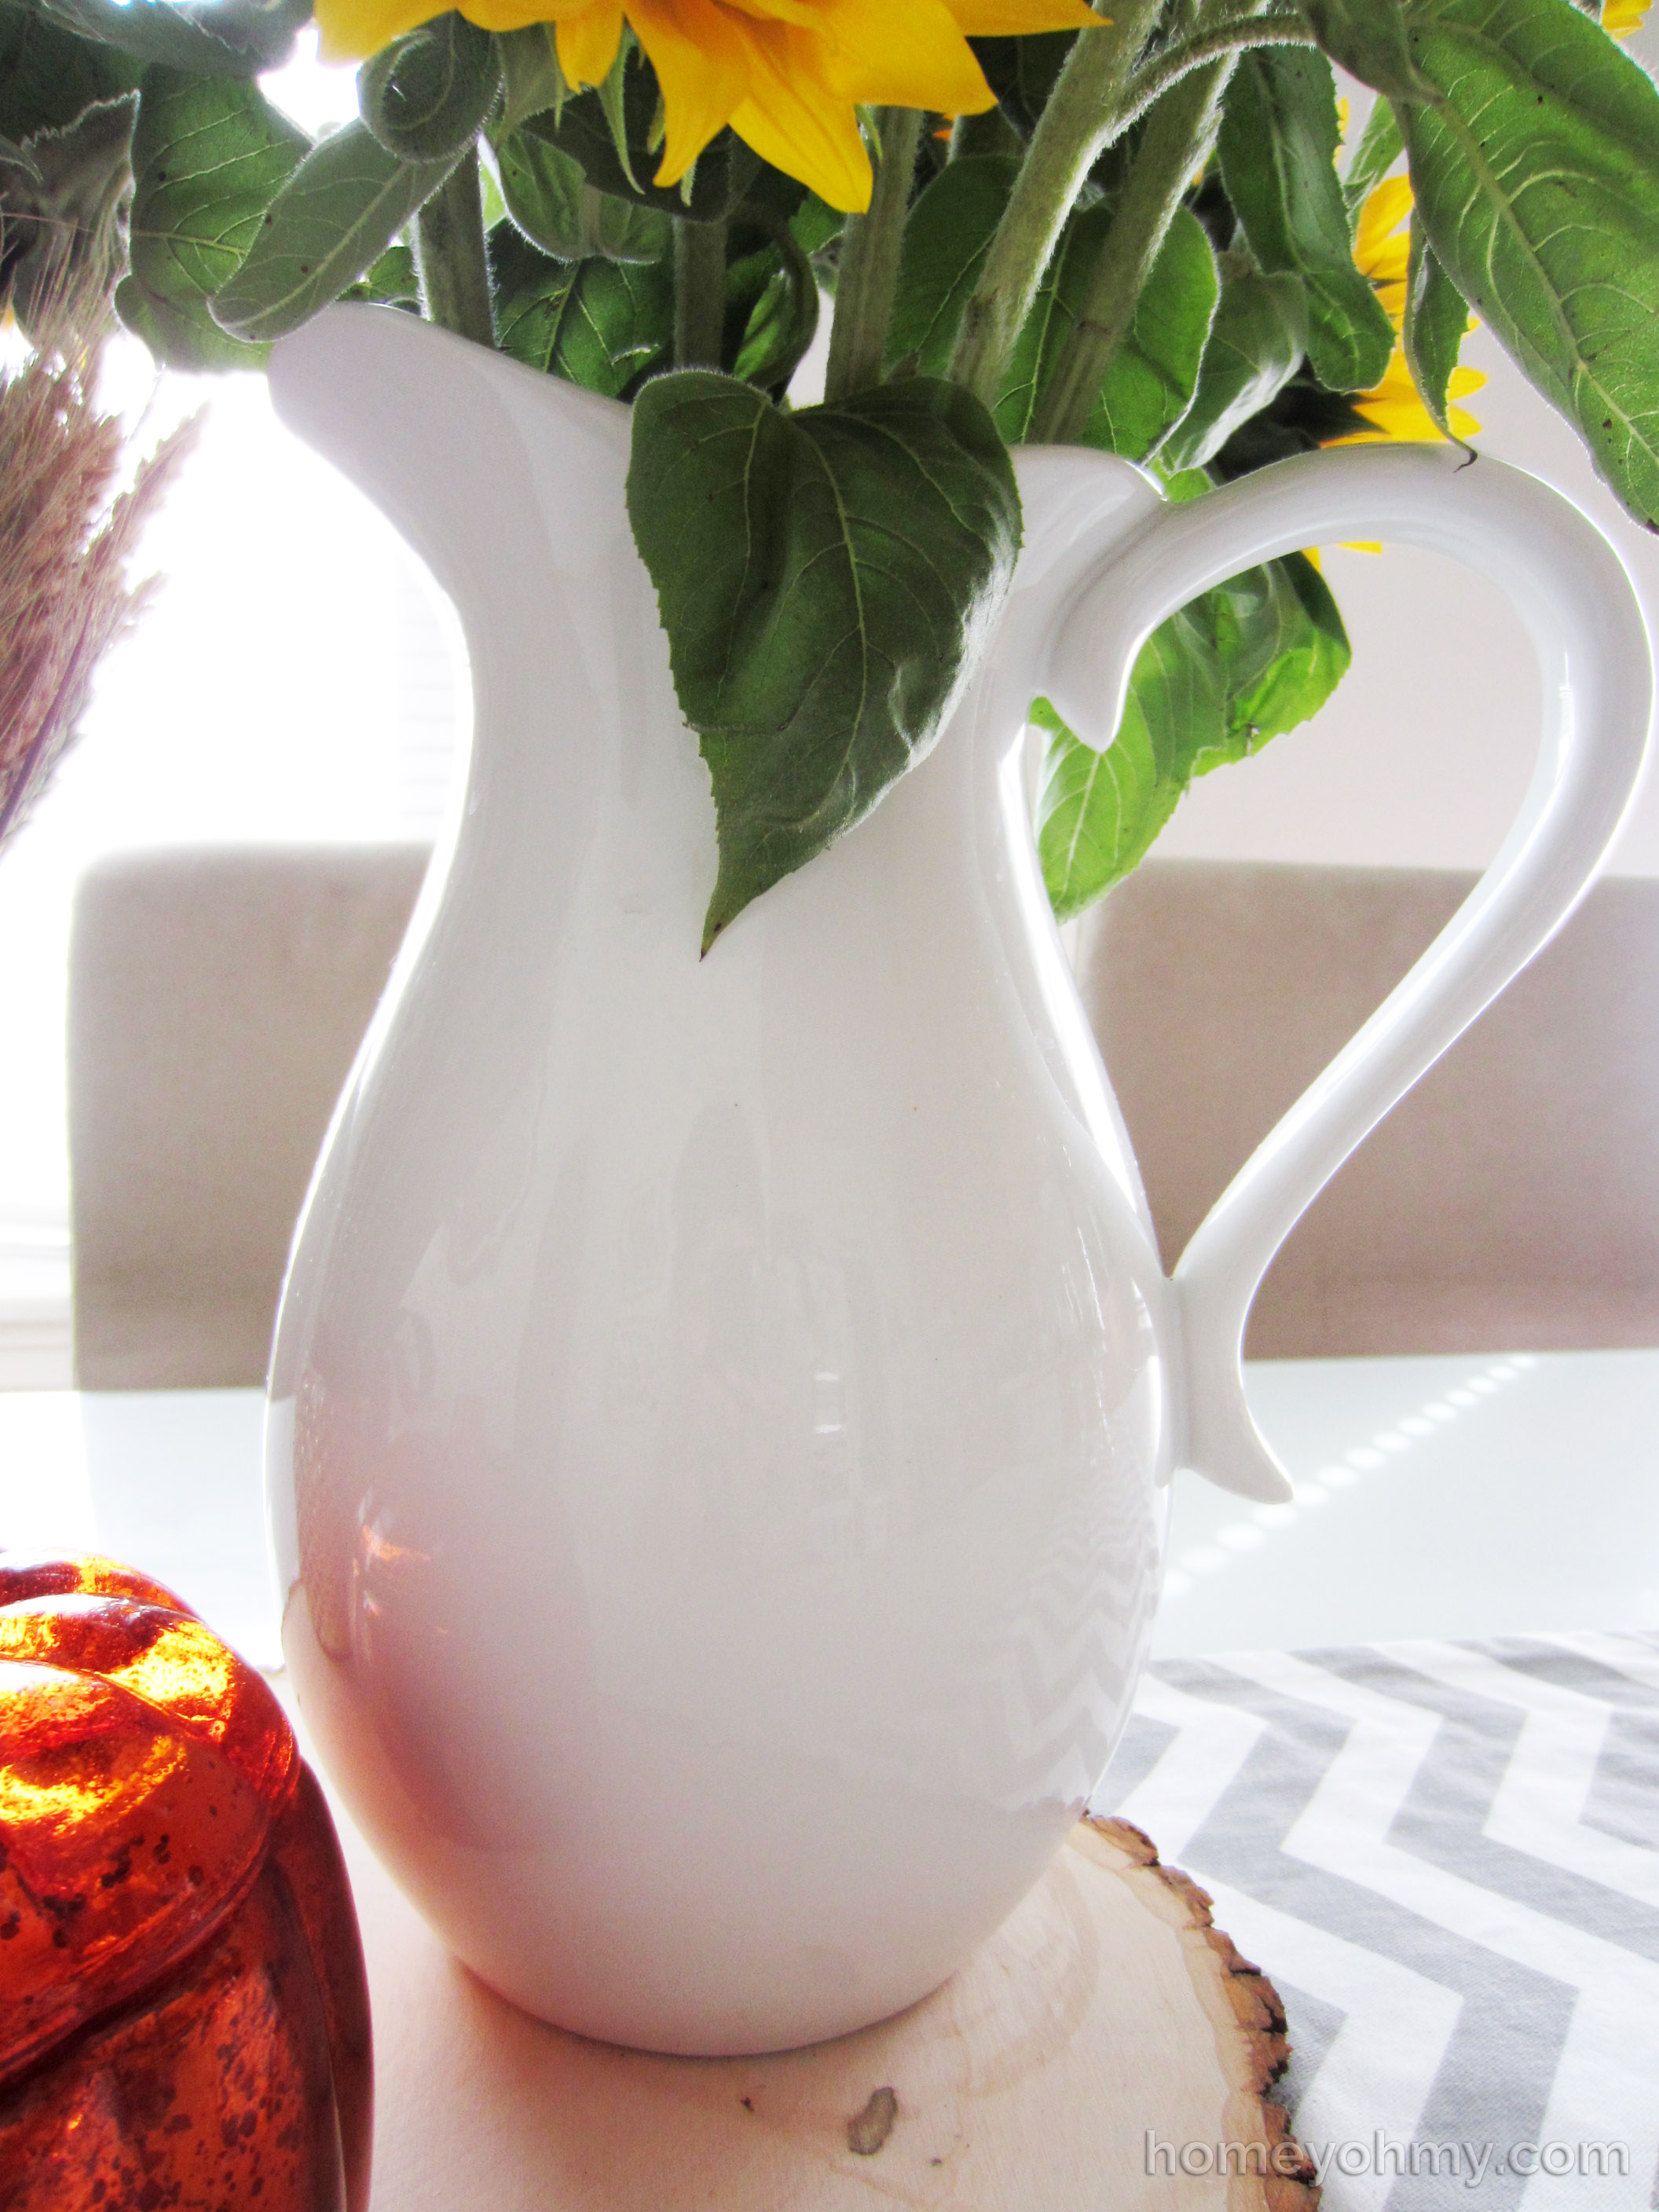
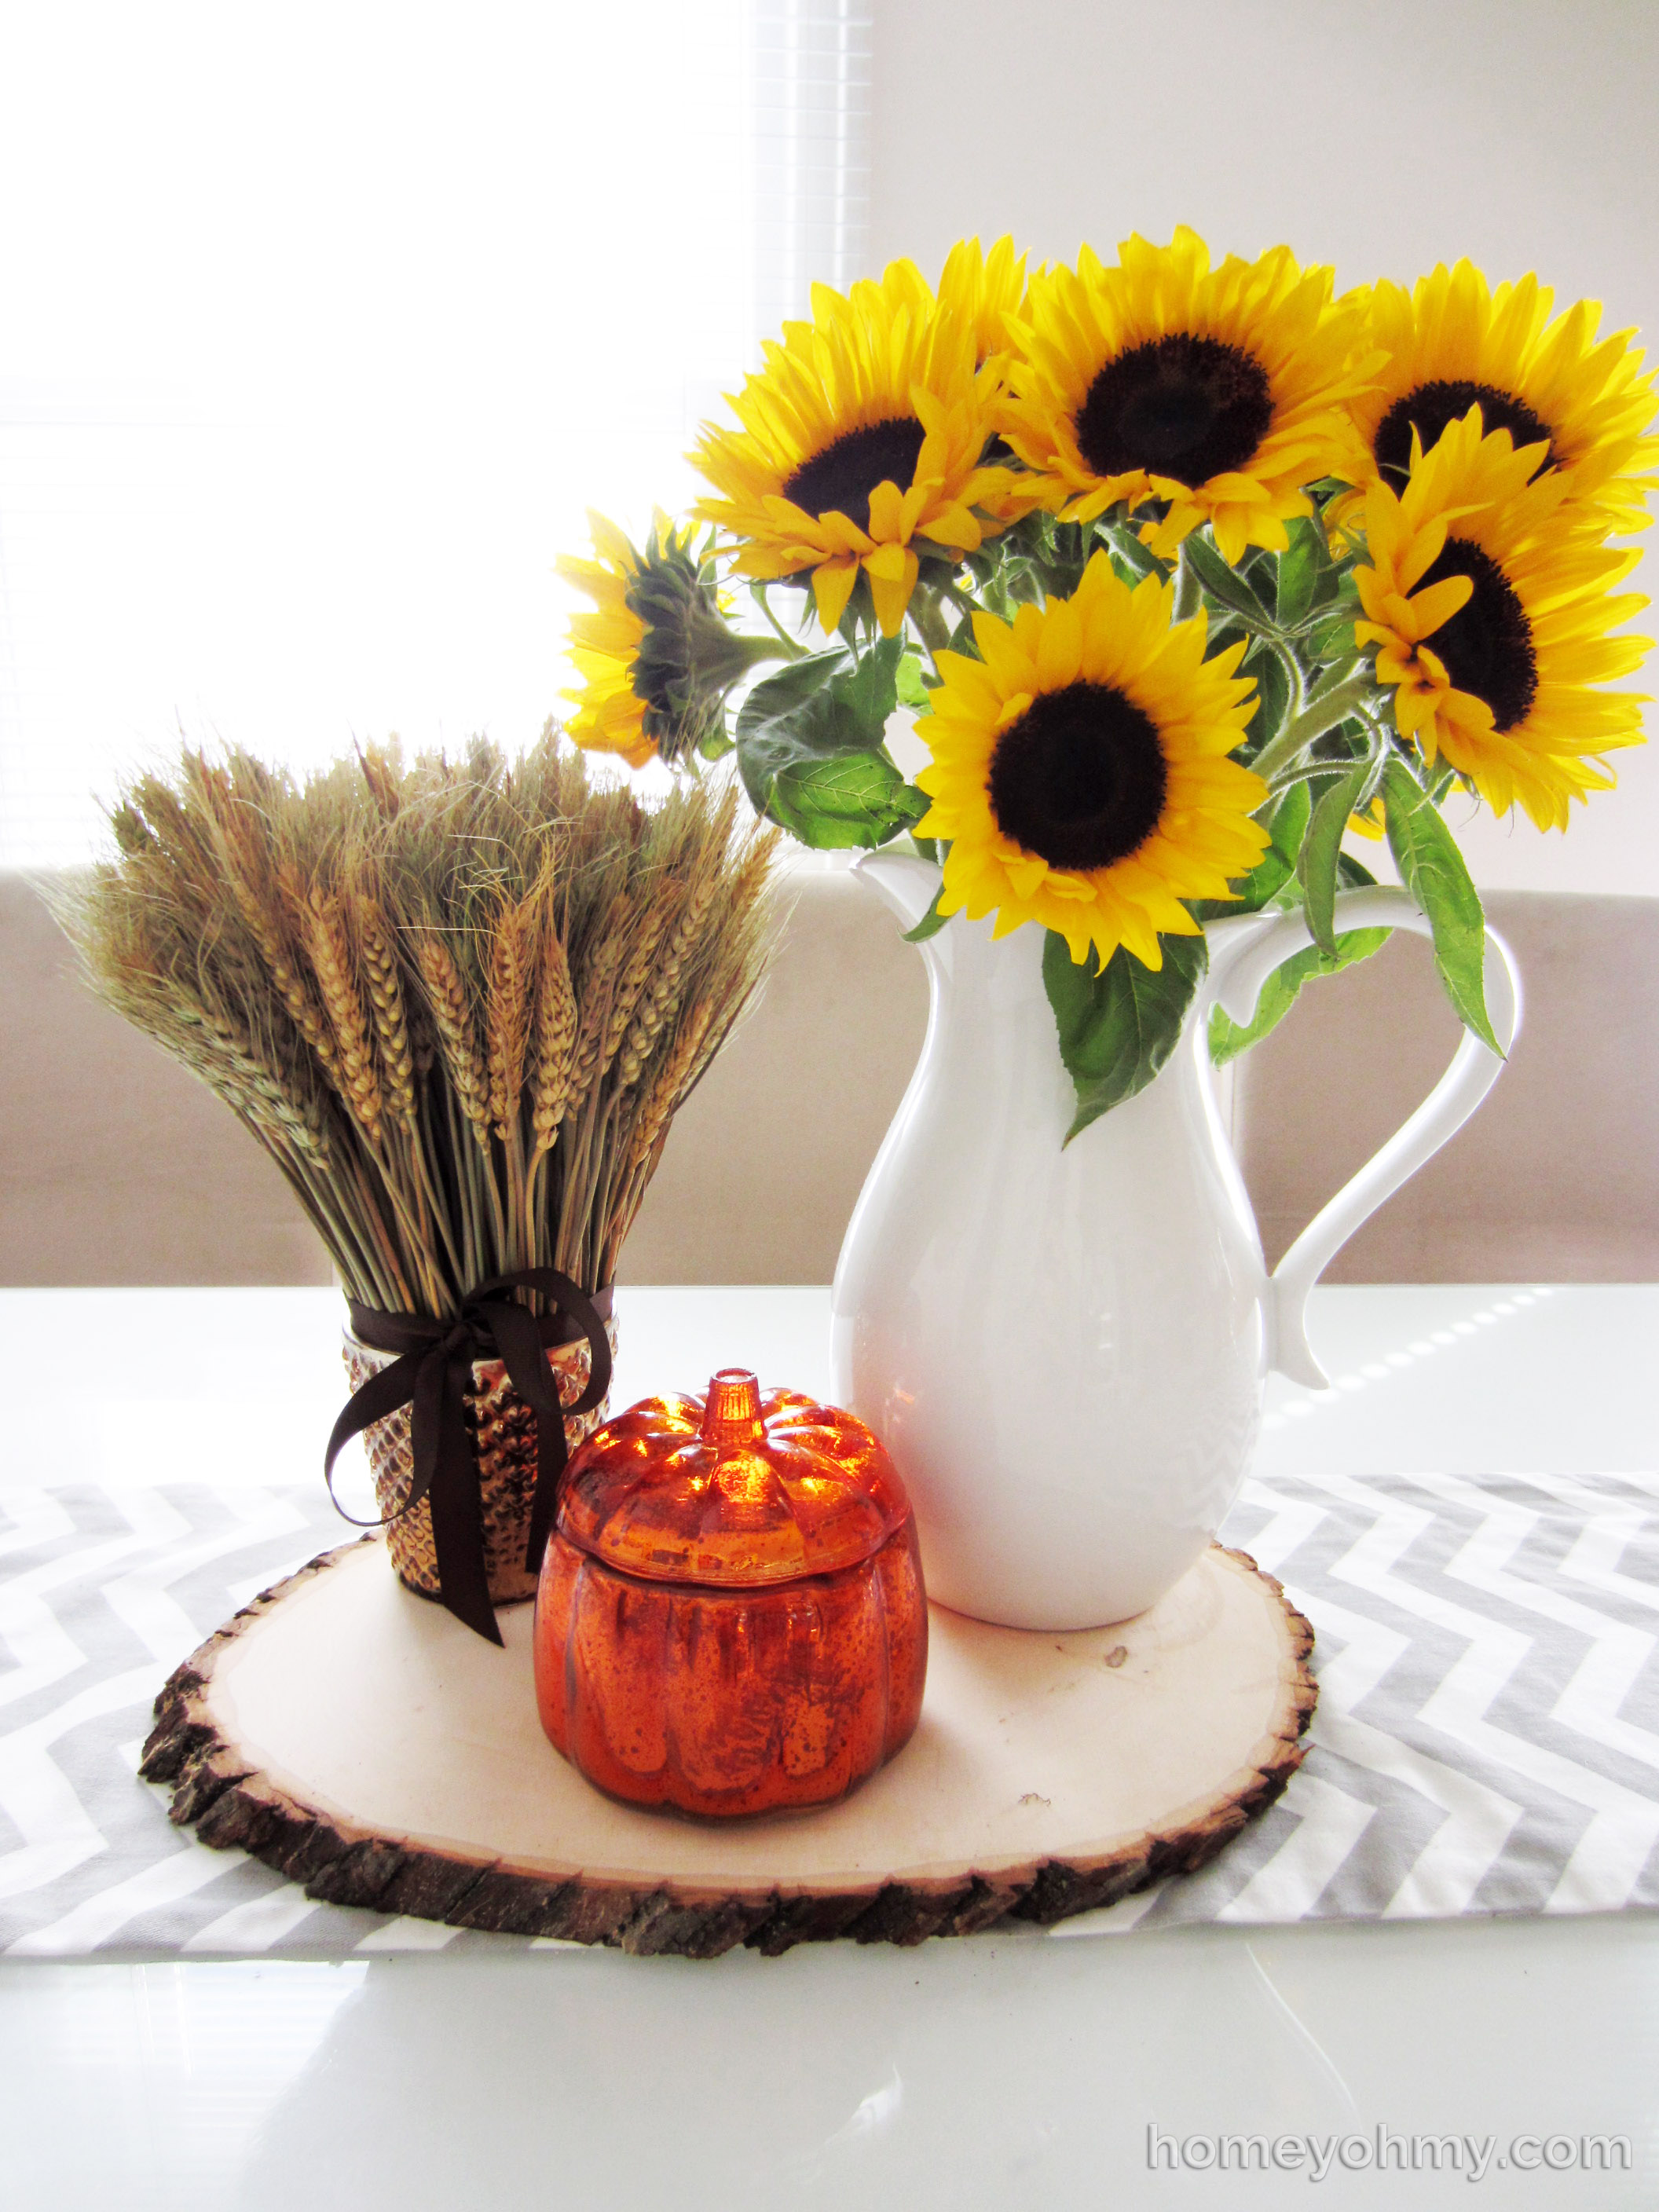
Sunflowers always make me smile :) They are the quintessential fall bloom and their golden, yellow color fits in with any fall decor.
I arranged them in this gorgeous white pitcher that I got on the cheap at Target. I’m a fan of farmhouse style and I got this pitcher with that aesthetic in mind.
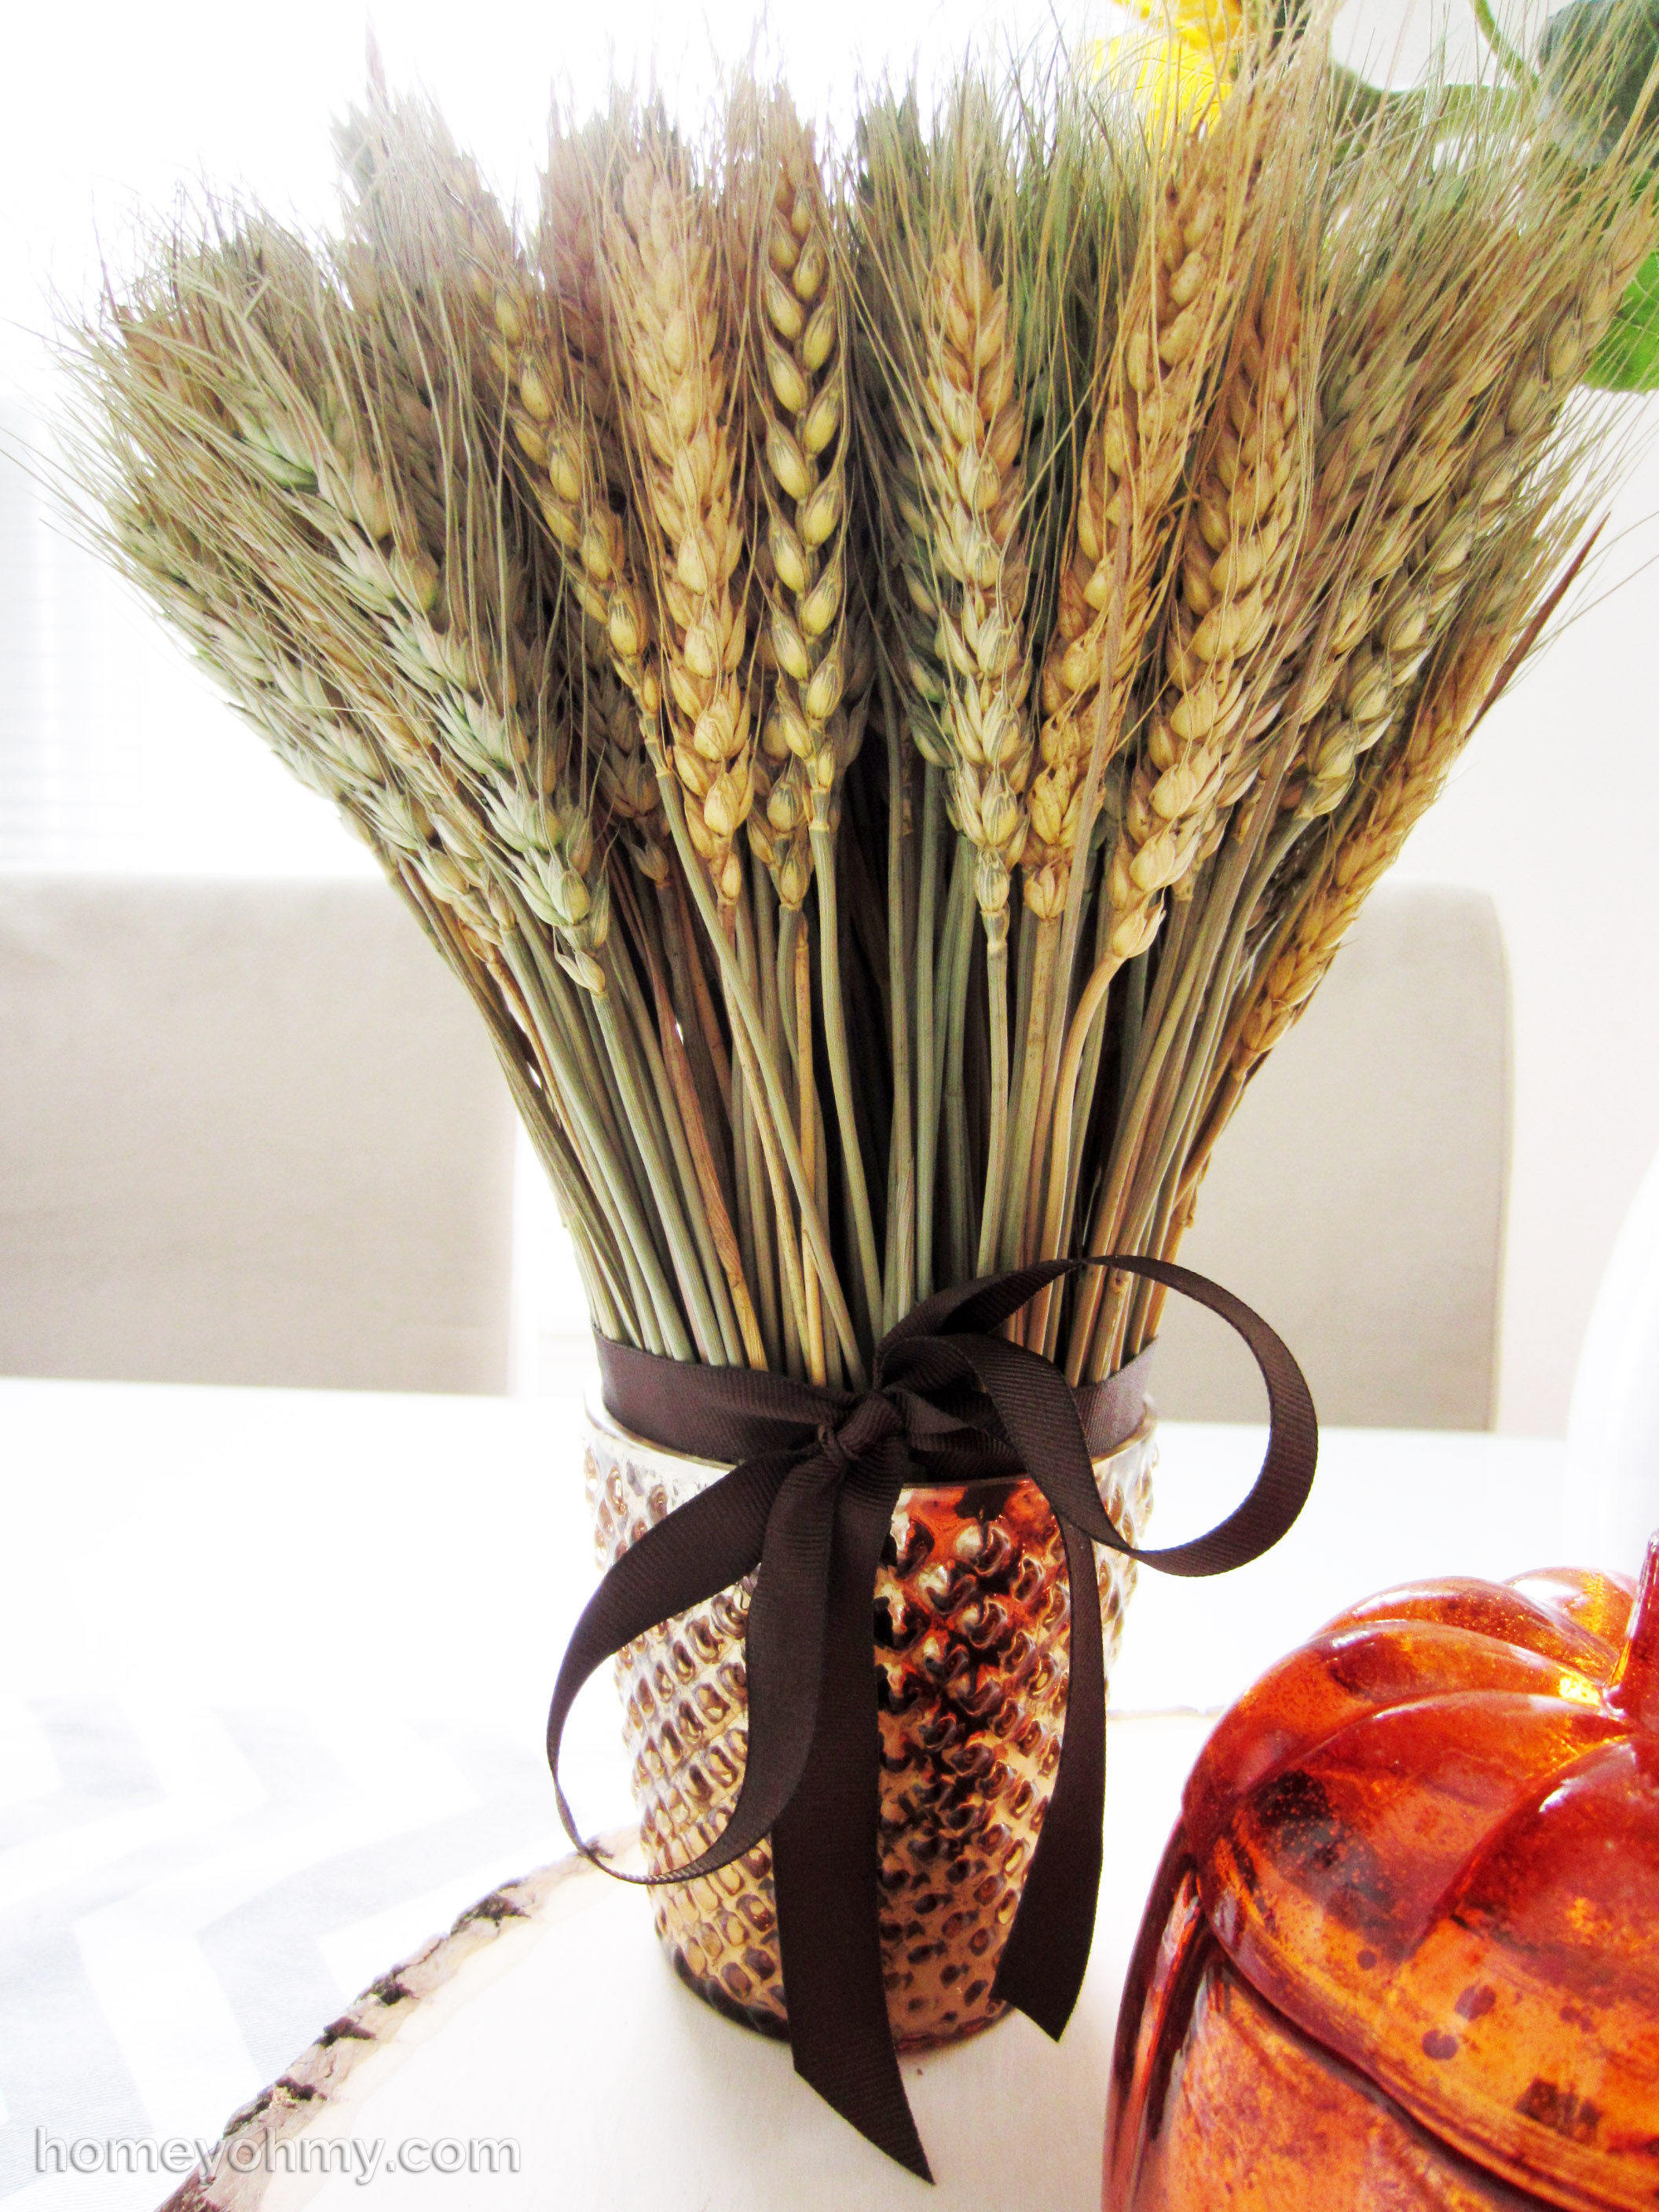
I found the dried wheat grass at HomeGoods and they were originally just bundled together with a rope. I cut them down to my desired length and put them in a gold, votive candle holder. I felt like it was still missing something, so I wrapped around a brown ribbon and tied it into a bow.
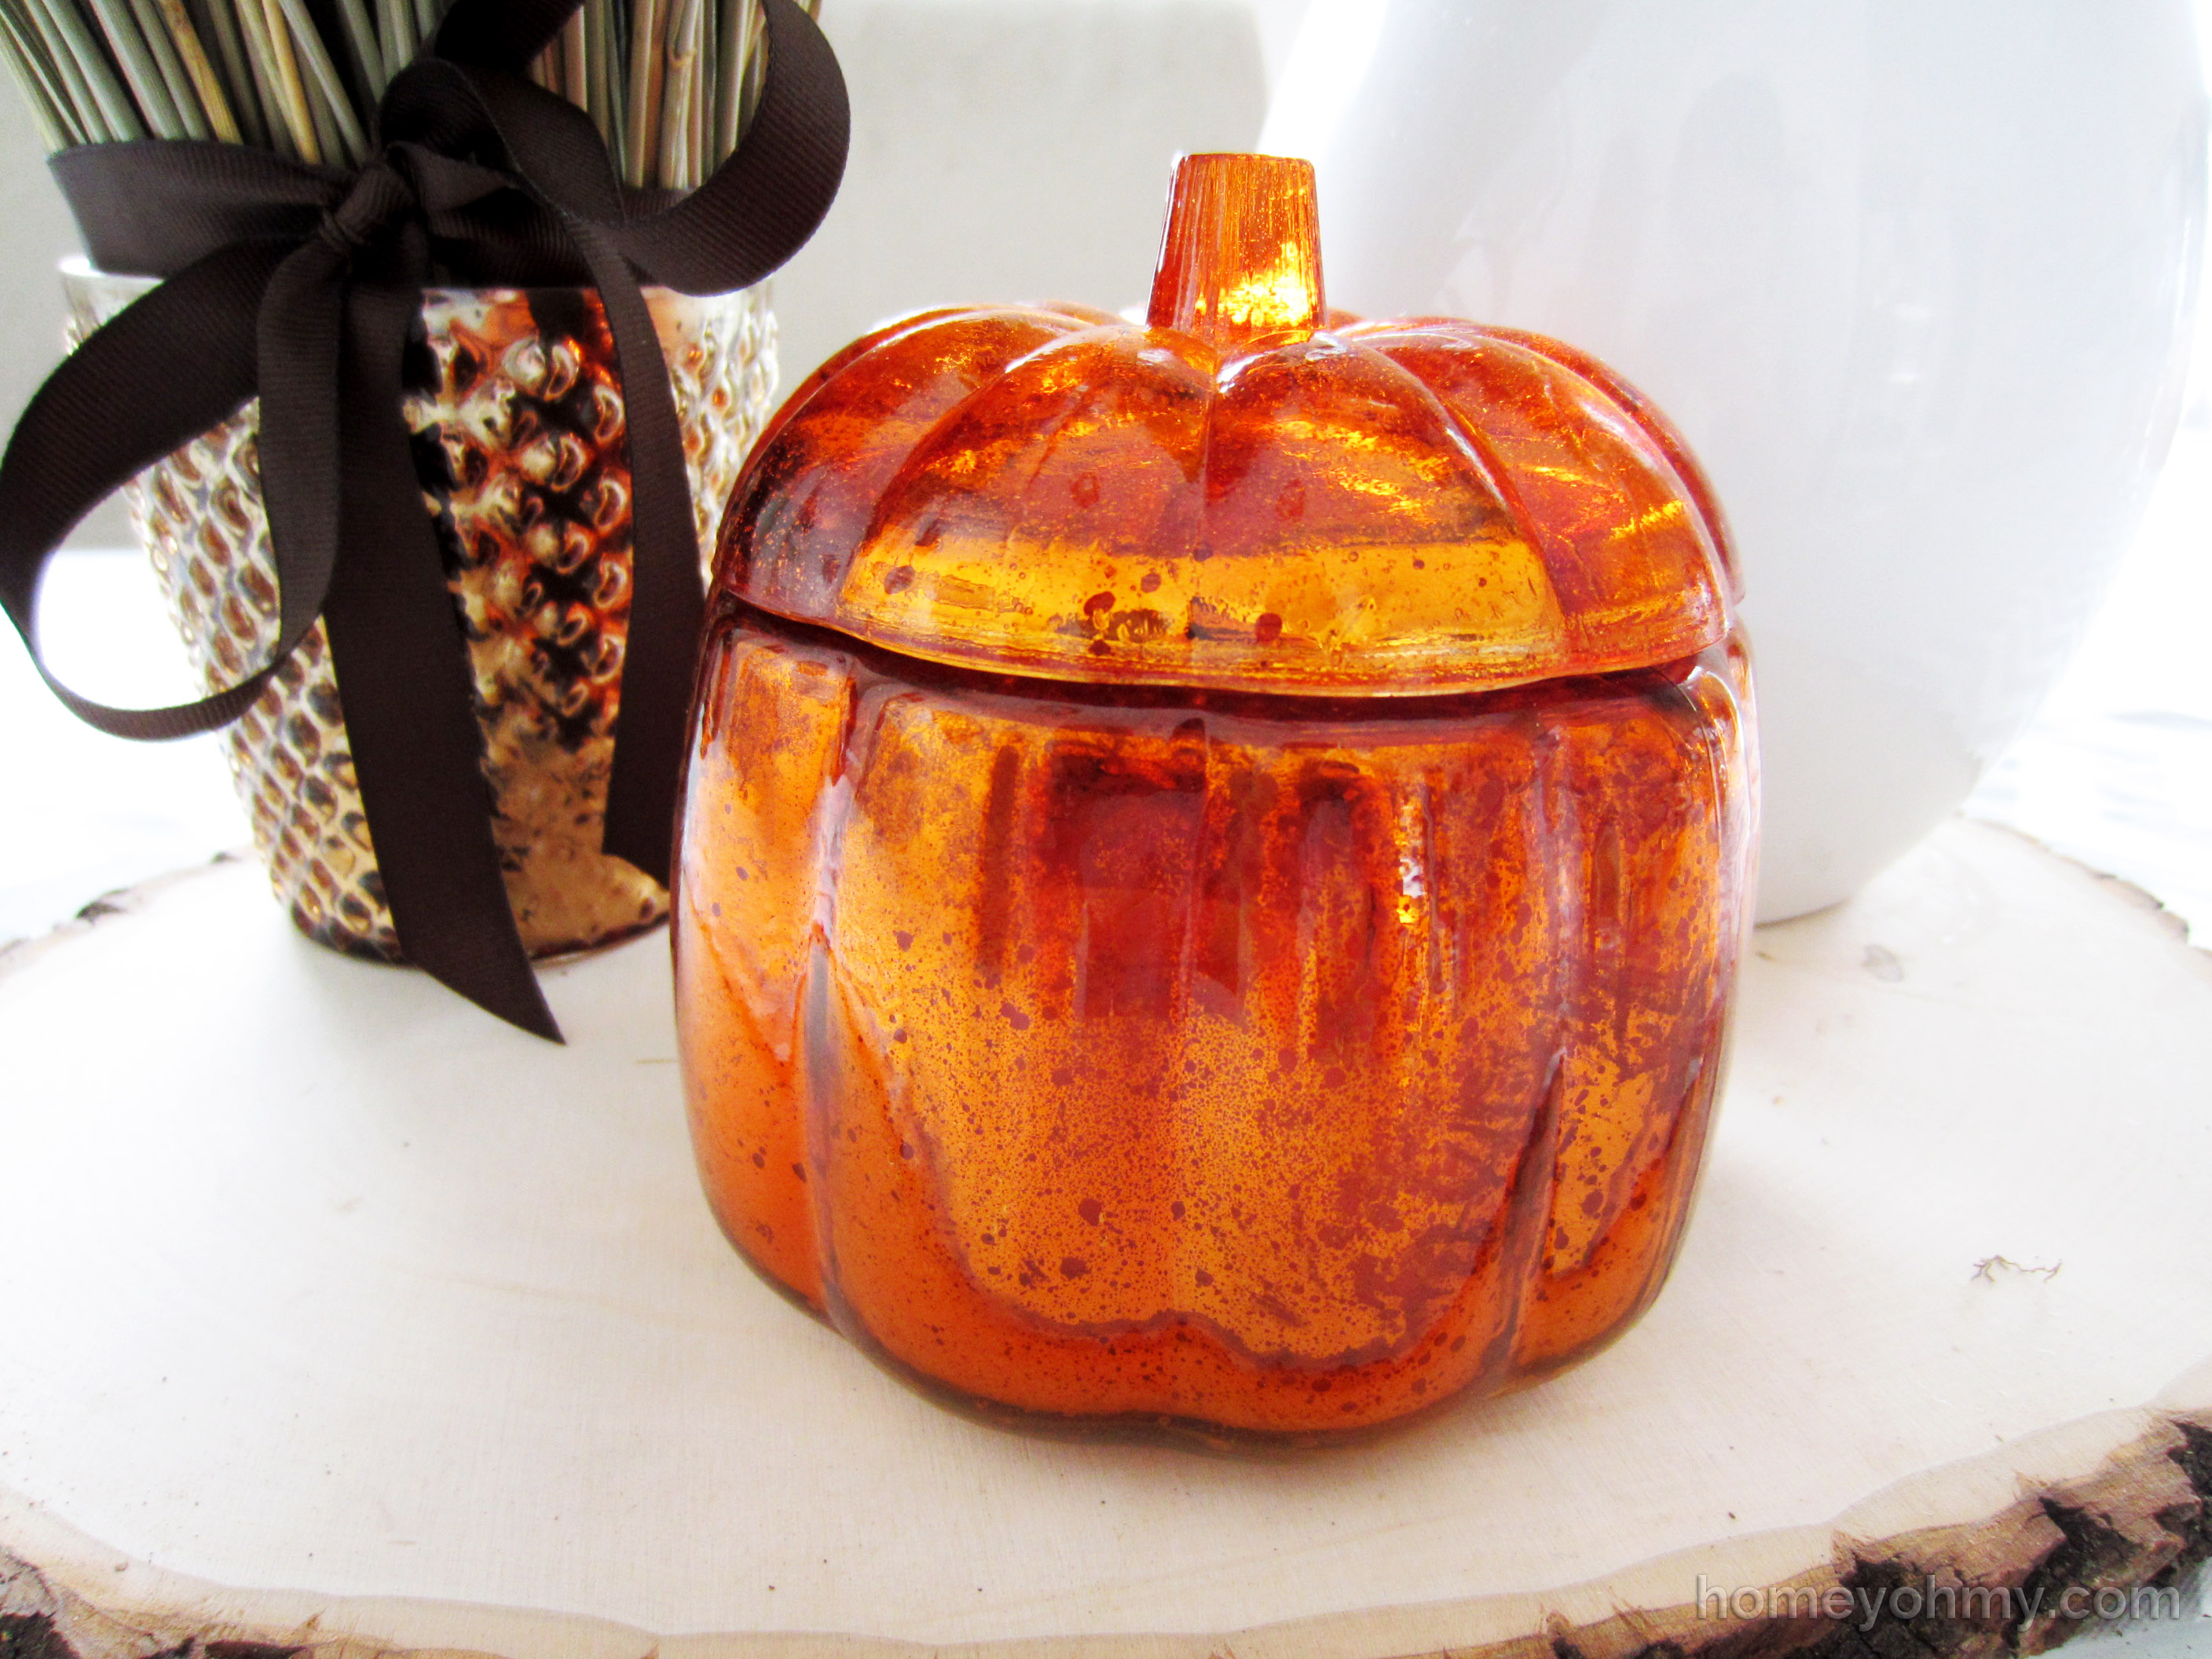
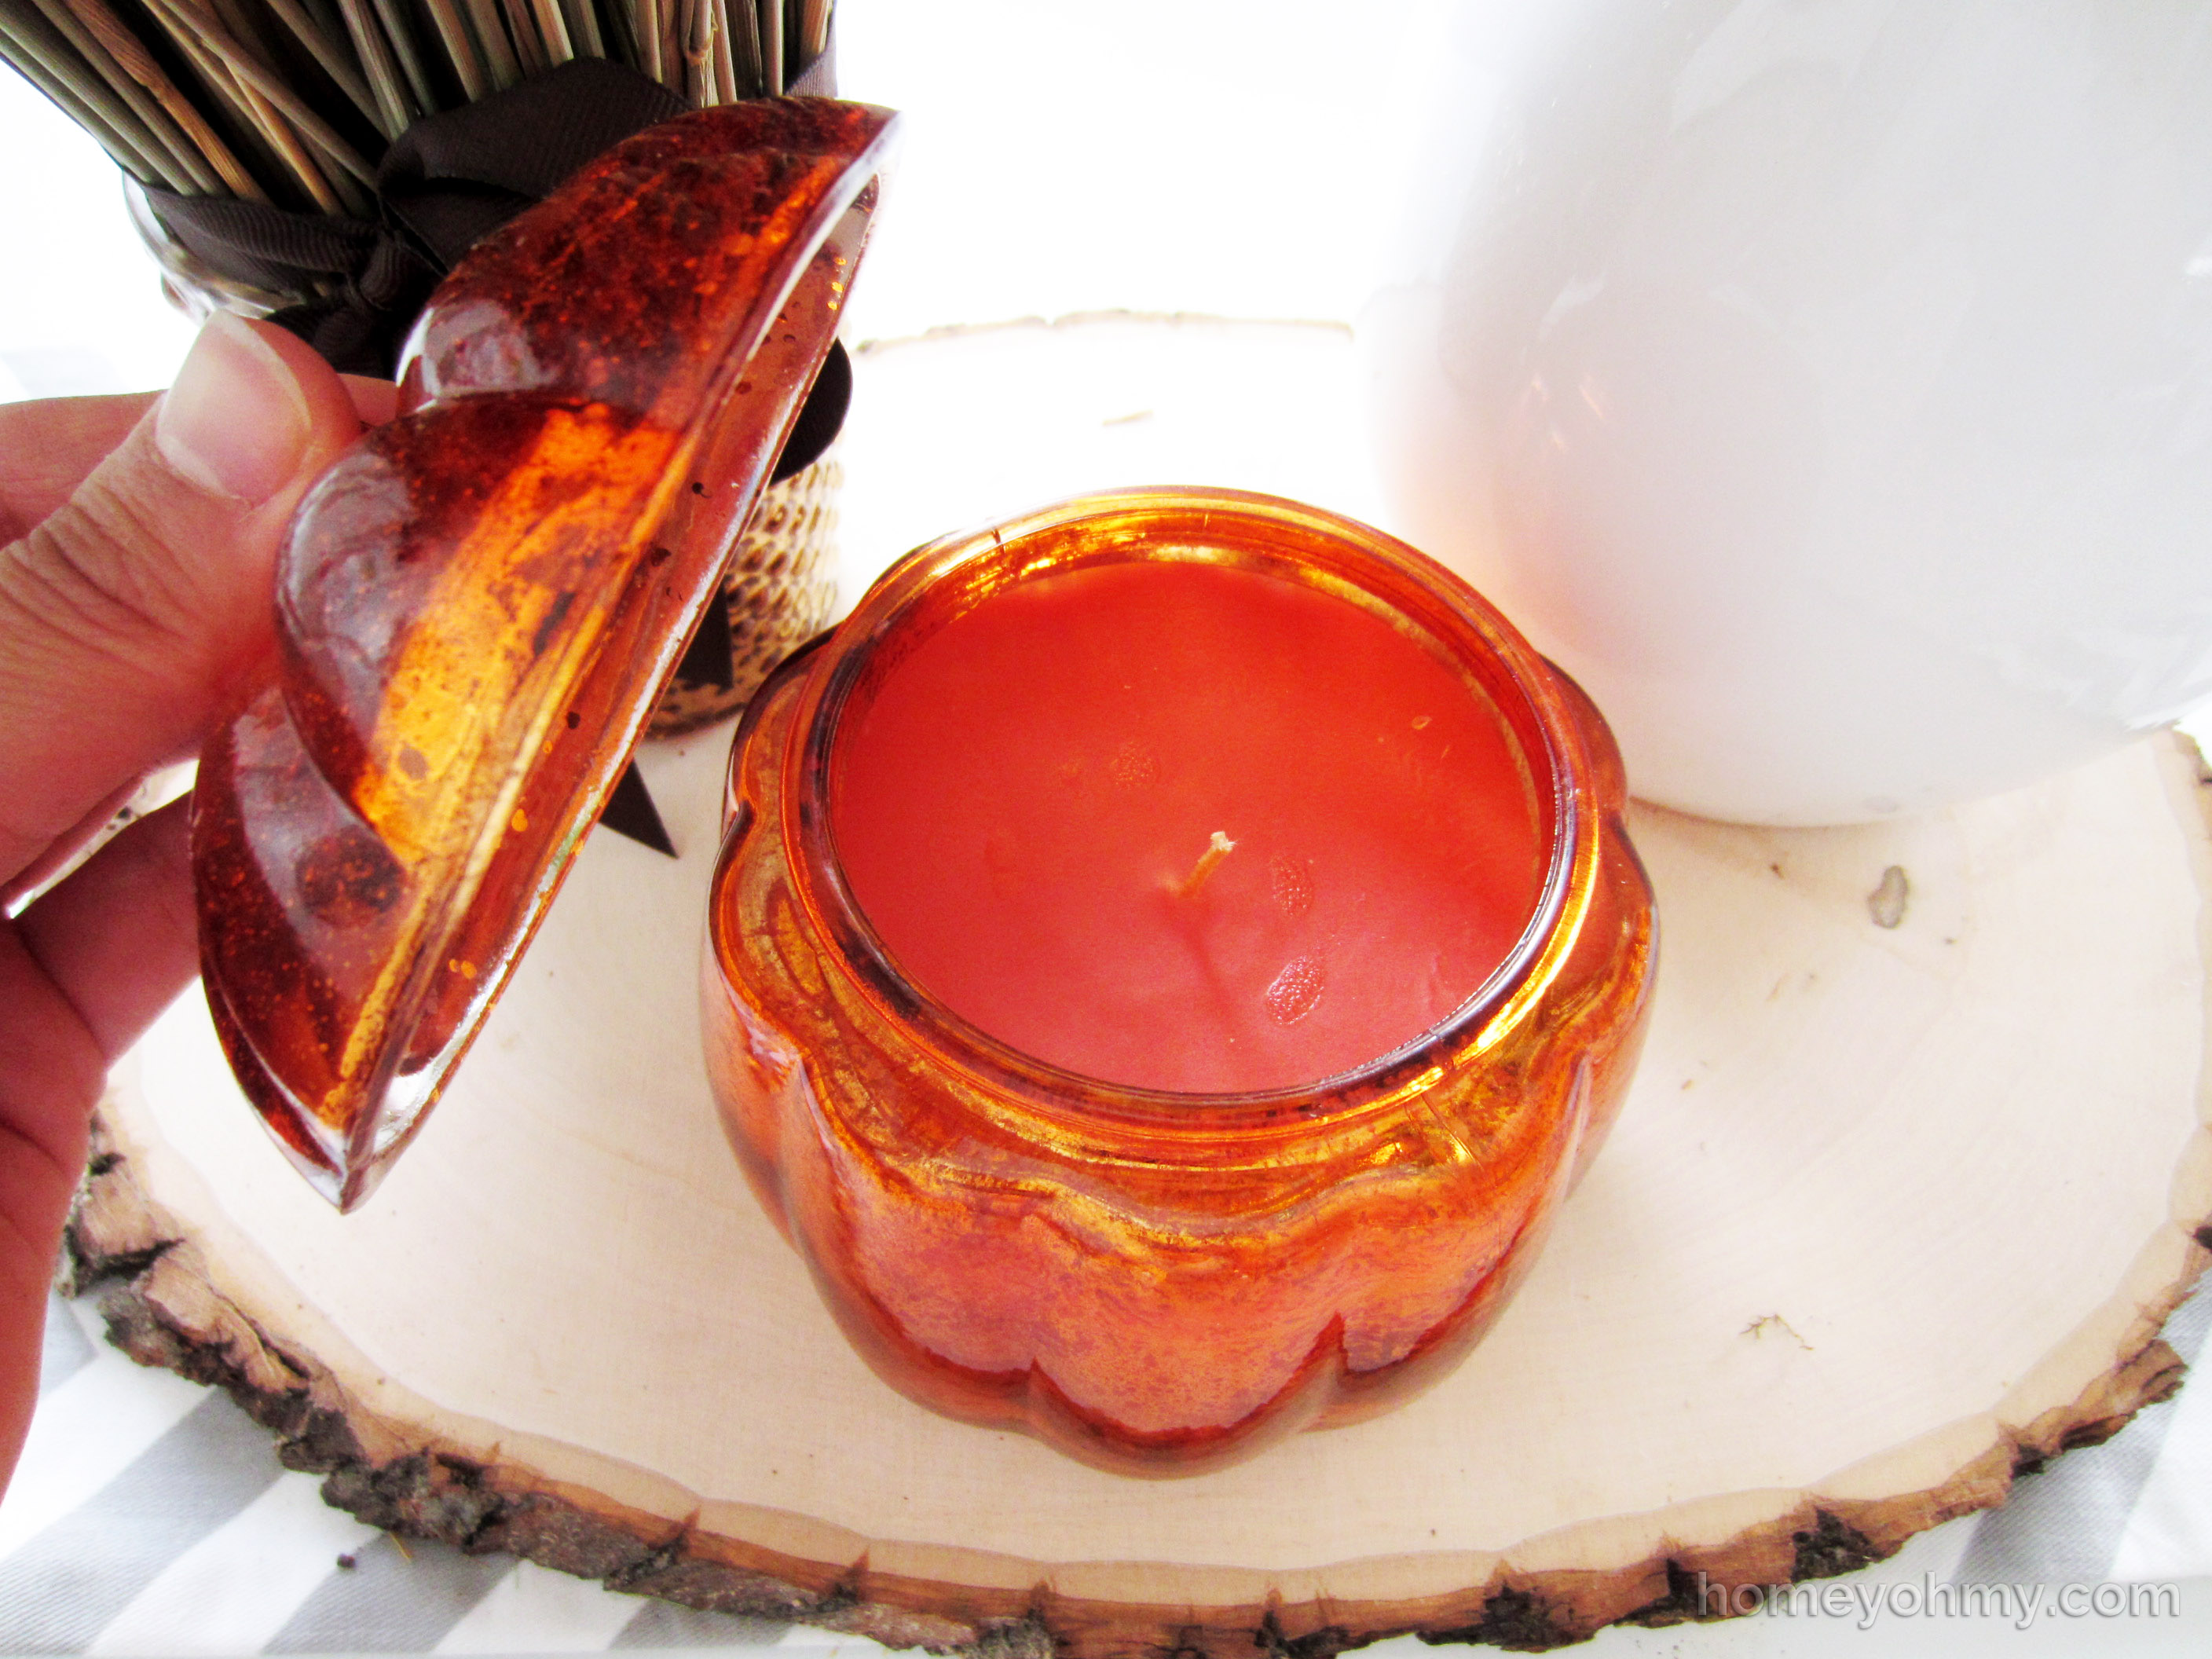
Ah, on to my precious. I couldn’t say no to this metallic pumpkin. Is that a lid, you ask? What’s inside?
It’s a pumpkin spice candle. UGH, so cute. Smells delicious too.
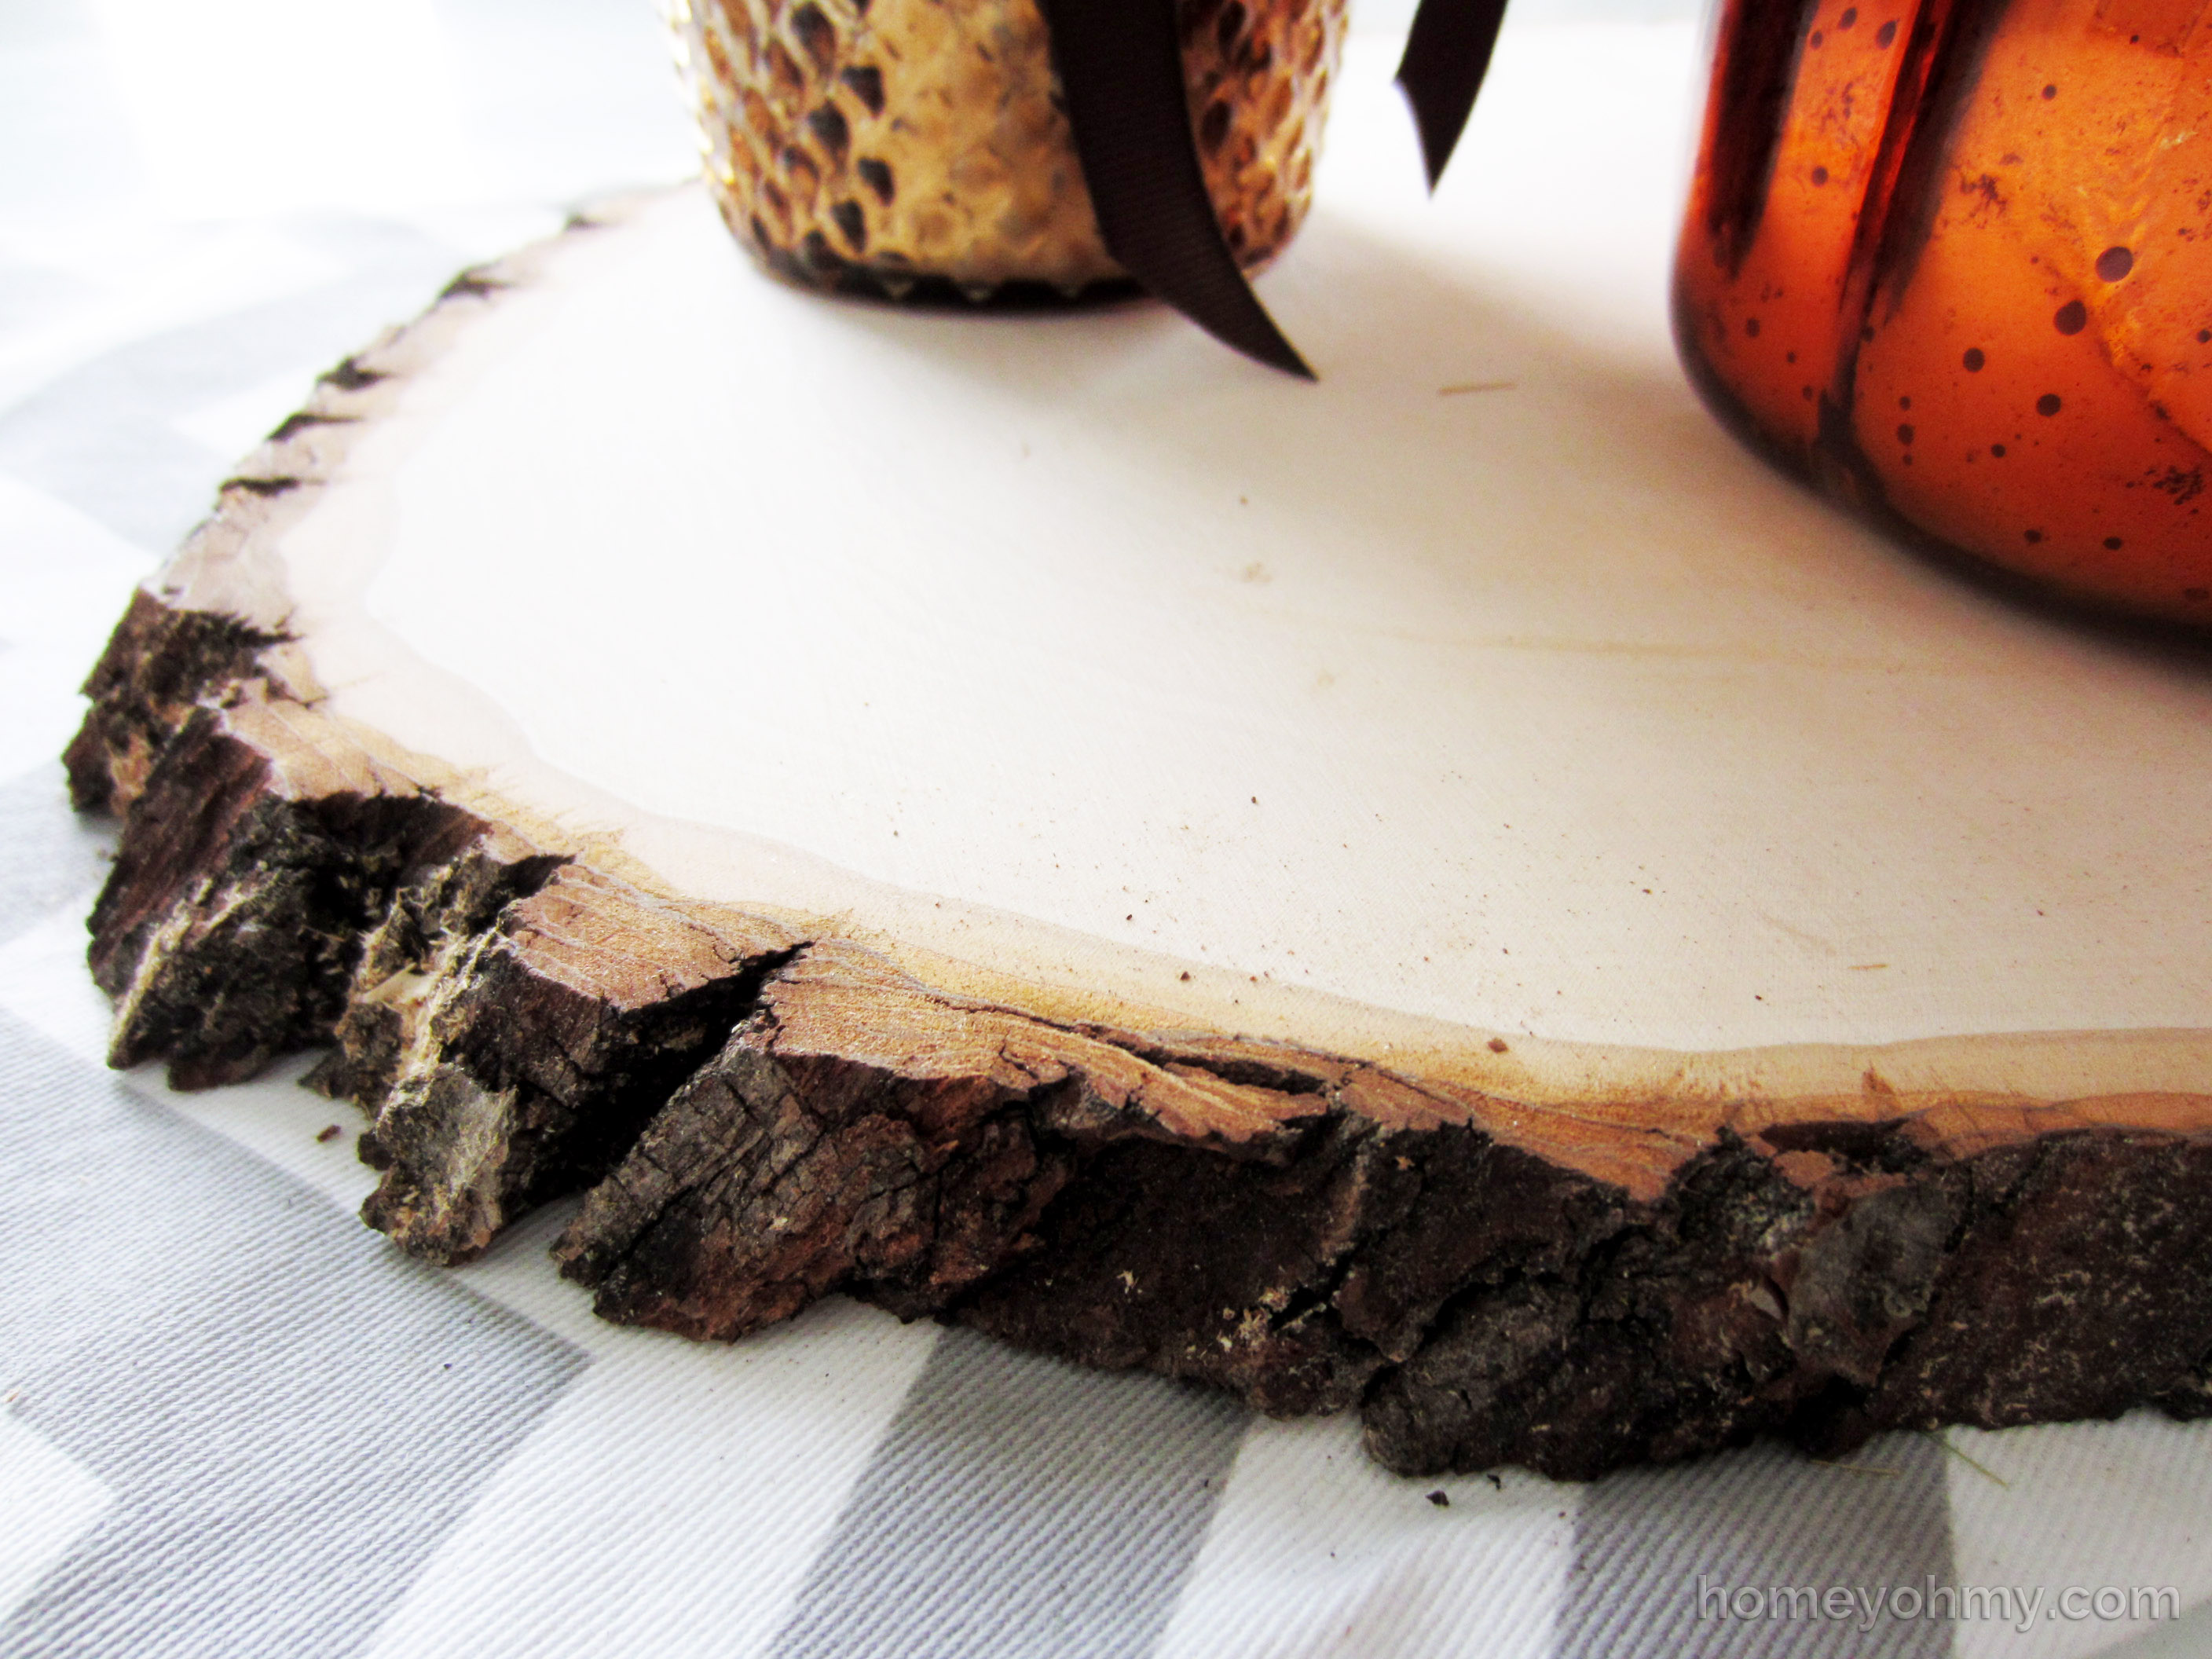
Finally, I corralled it all together with this piece of wood from Michaels. I’ve seen this thing many, many times at Michaels, almost purposefully walking down that aisle just to look at it and come up with an excuse for why I needed it. And then it hit me. I’d use it to put other stuff on top of it. Genius.
You guys. I love fall. It’s incredible how something seemingly small like a centerpiece can liven your spirits and get you excited about the days ahead of you. My heart is filled with joy when I walk into my kitchen every morning and am greeted with this fall scenery. It’s truly a powerful thing. ;)
I hope you’re all as excited about fall as I am, and most of all, I hope you’re inspired to get your hands on some fall decorating.
Thanks so much for spending some time with me today!
Paint is the simplest way to dramatically change something, whether you’re upcycling disposable materials or revamping old items you no longer like the look of.
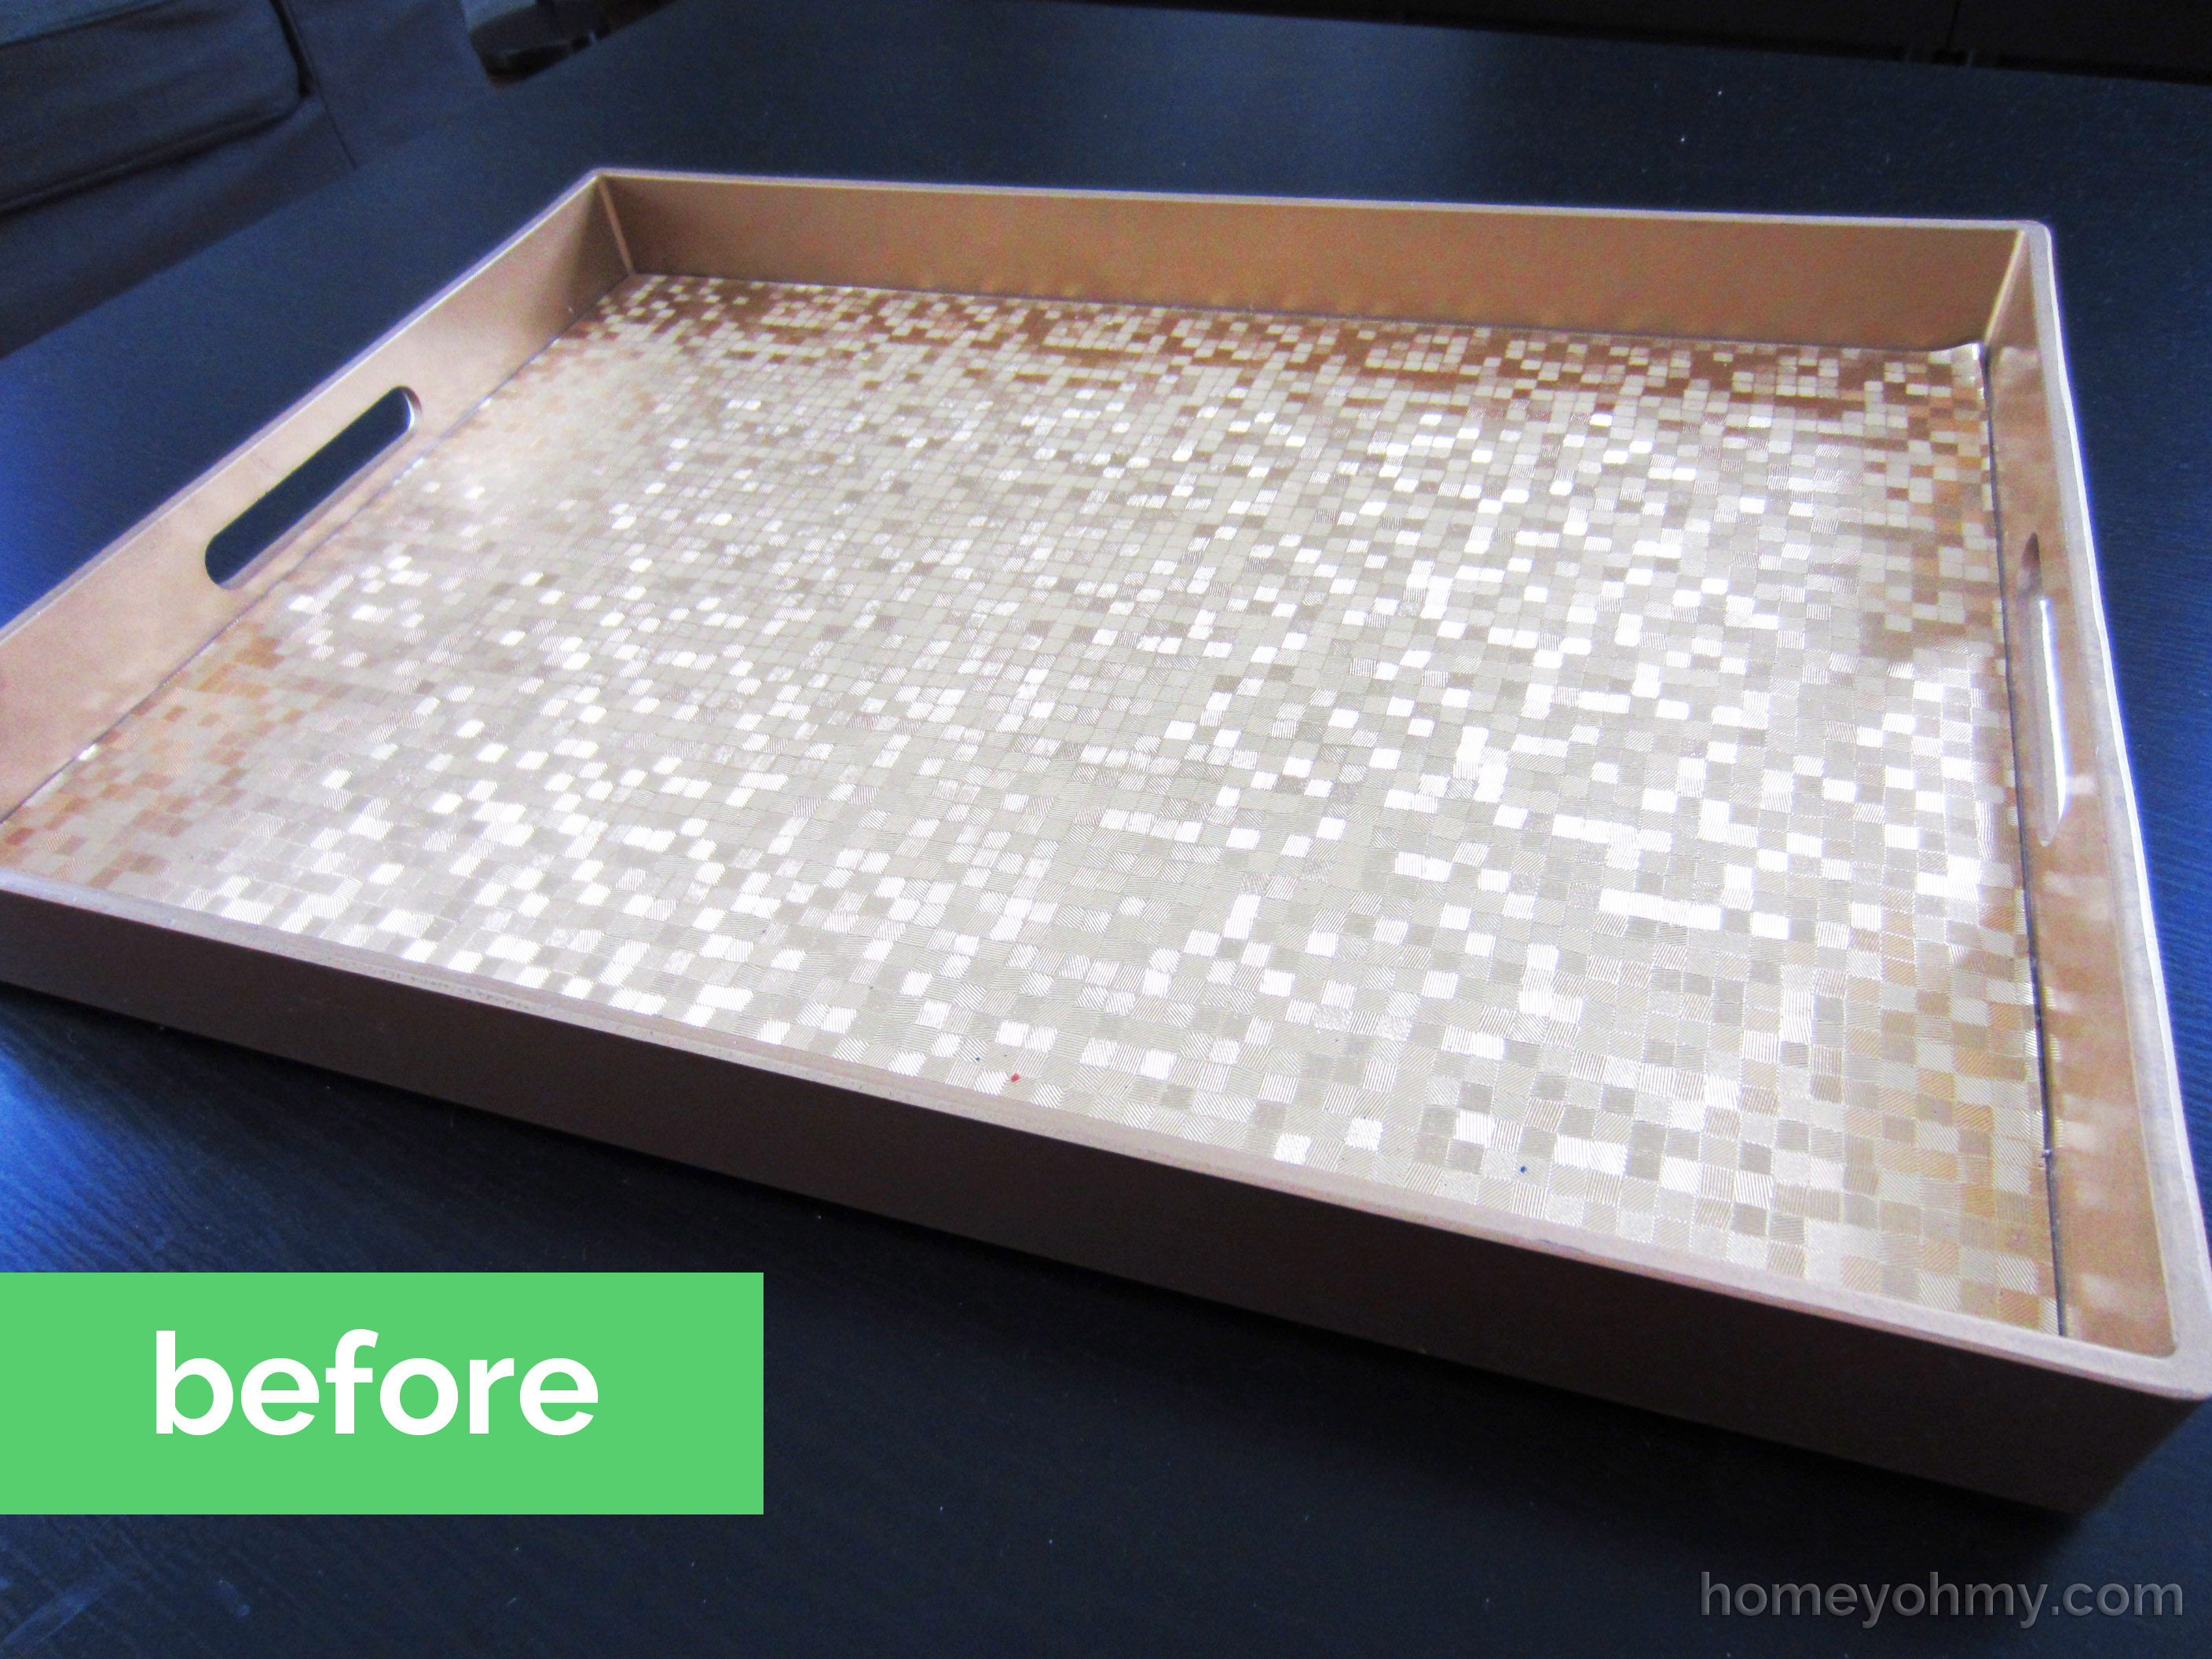
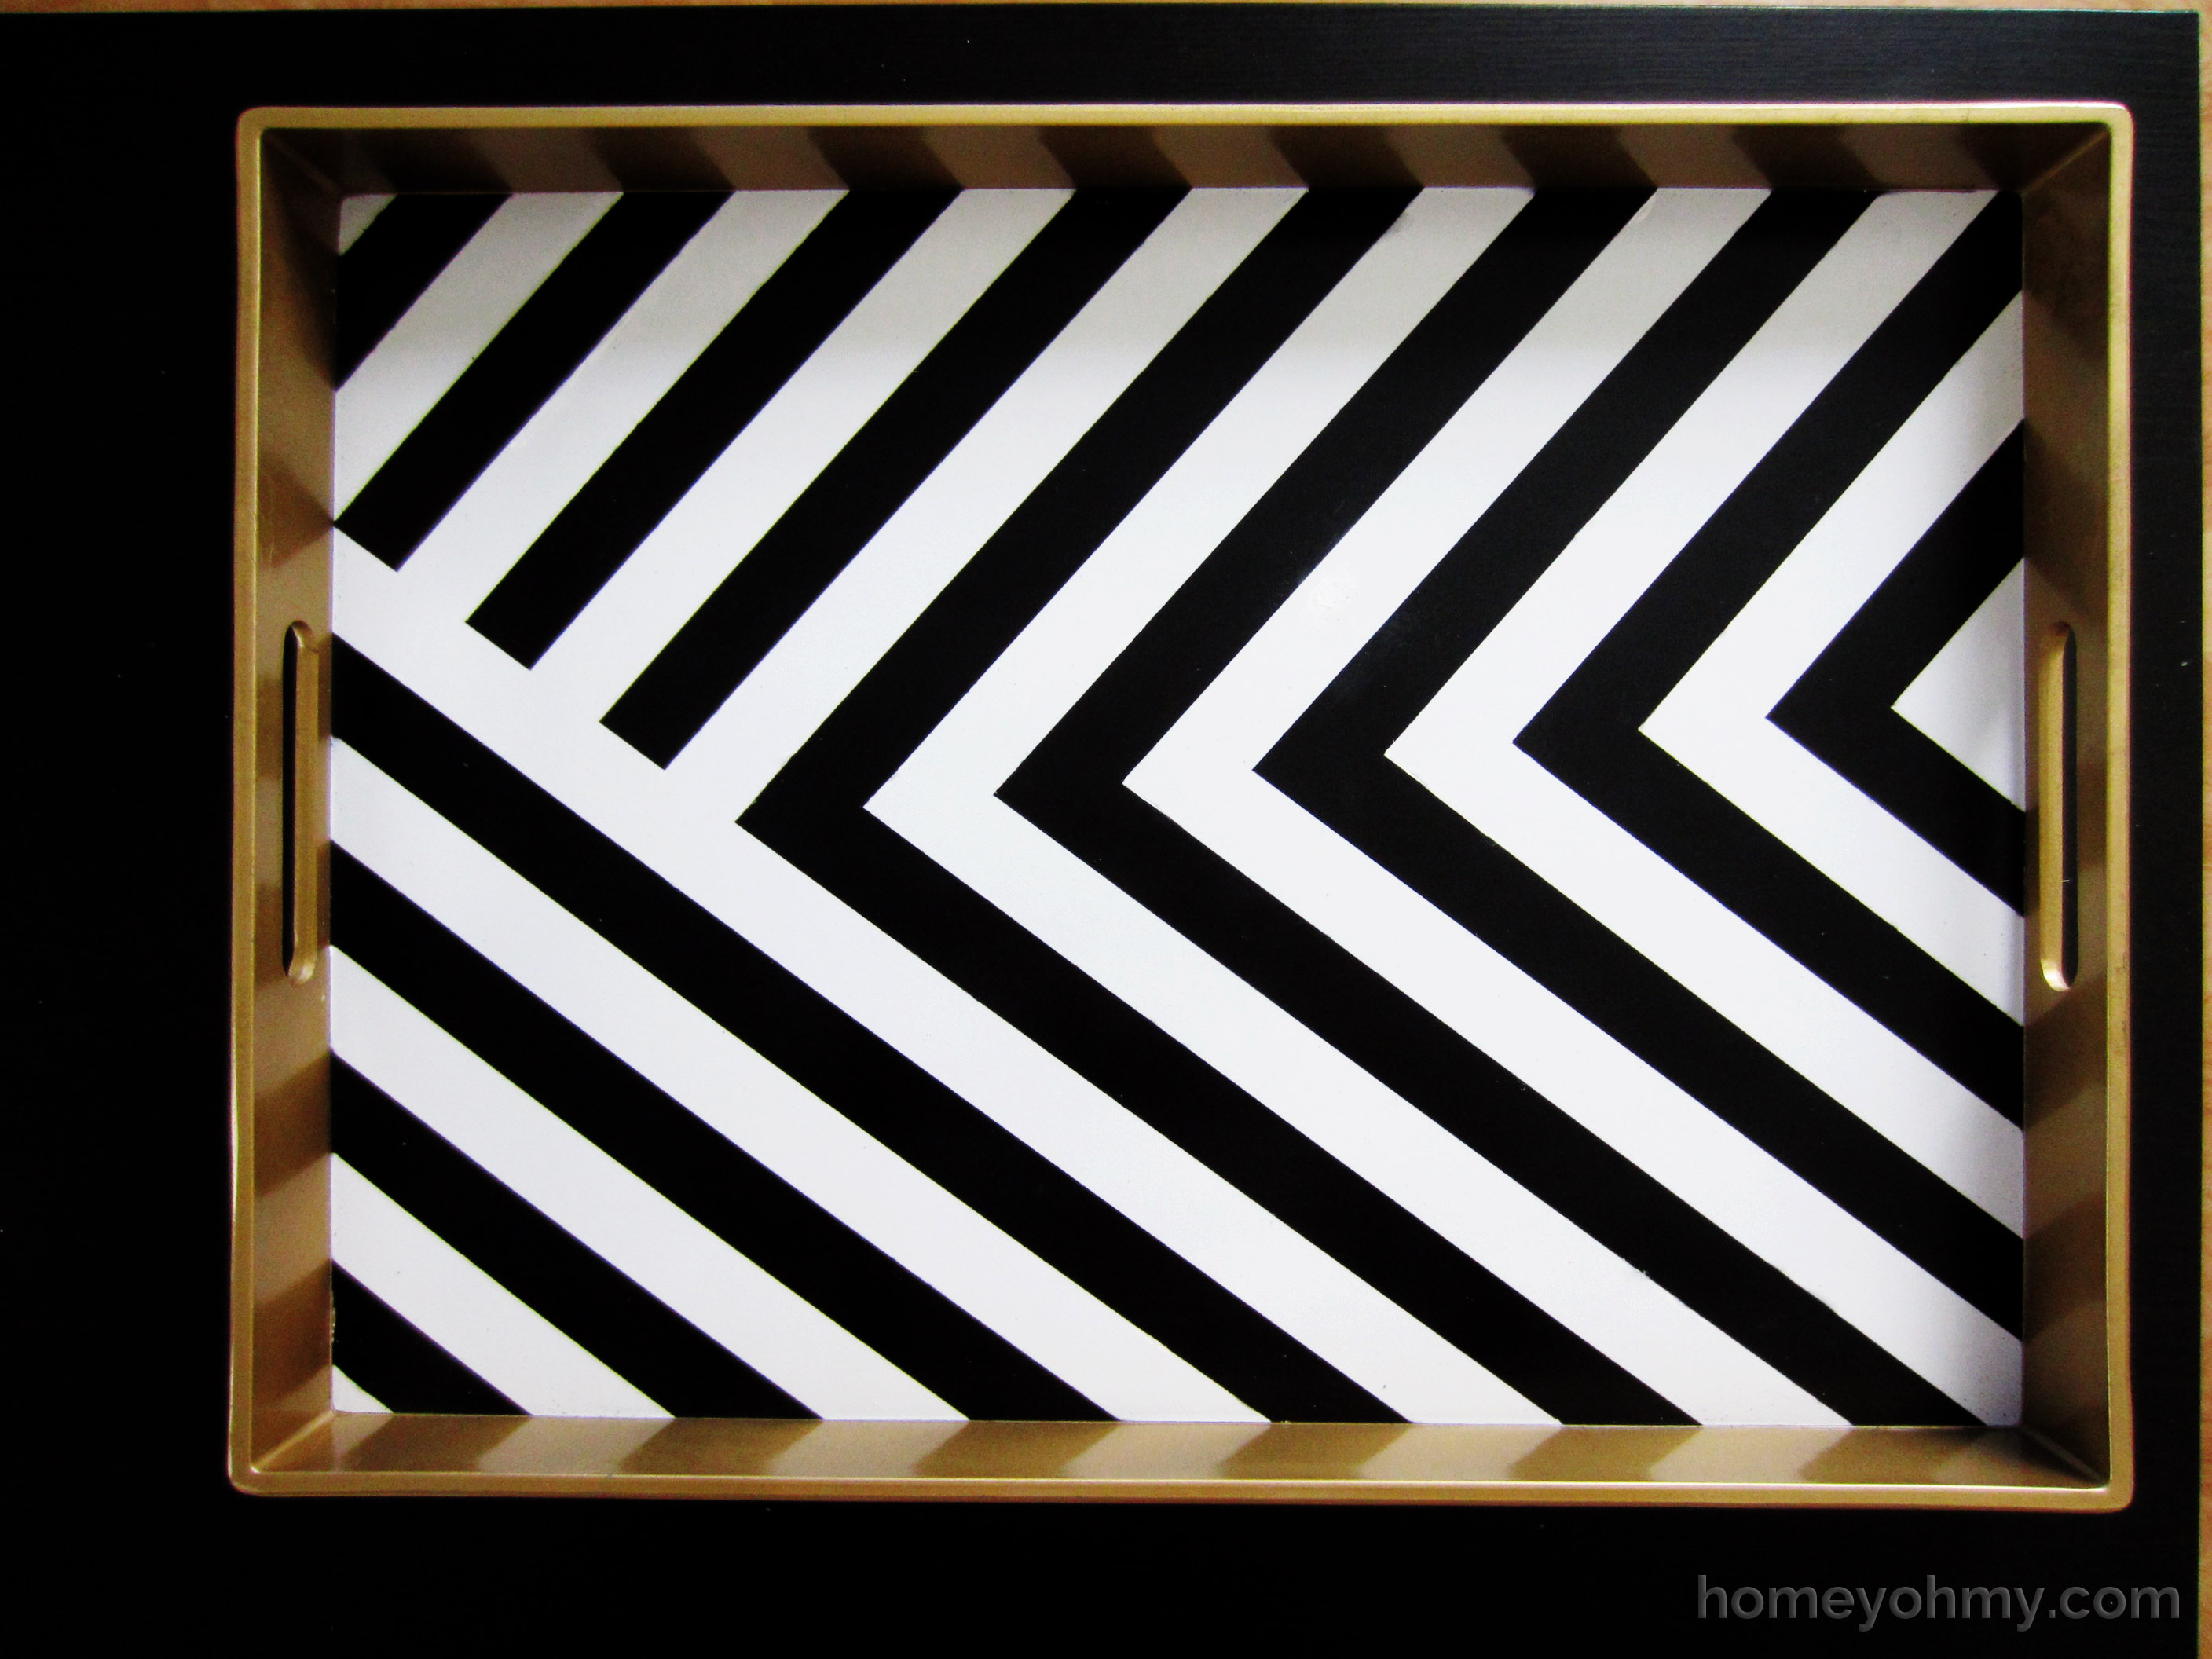
Take for instance my coffee table tray.
While now, I would get any tray and just paint it the color I want, back then I just wanted to get whatever gold tray I could find that was affordable. I didn’t dislike the shiny mosaic pattern on the tray, but I wasn’t fond of it either and still am not. Luckily, the design is actually on a material that’s a lot like contact paper and I was able to strip it off. After that, I was left with a clean slate that I could paint into what is now a tray that I am completely in love with.
The power of paint, y’all. It’s real.
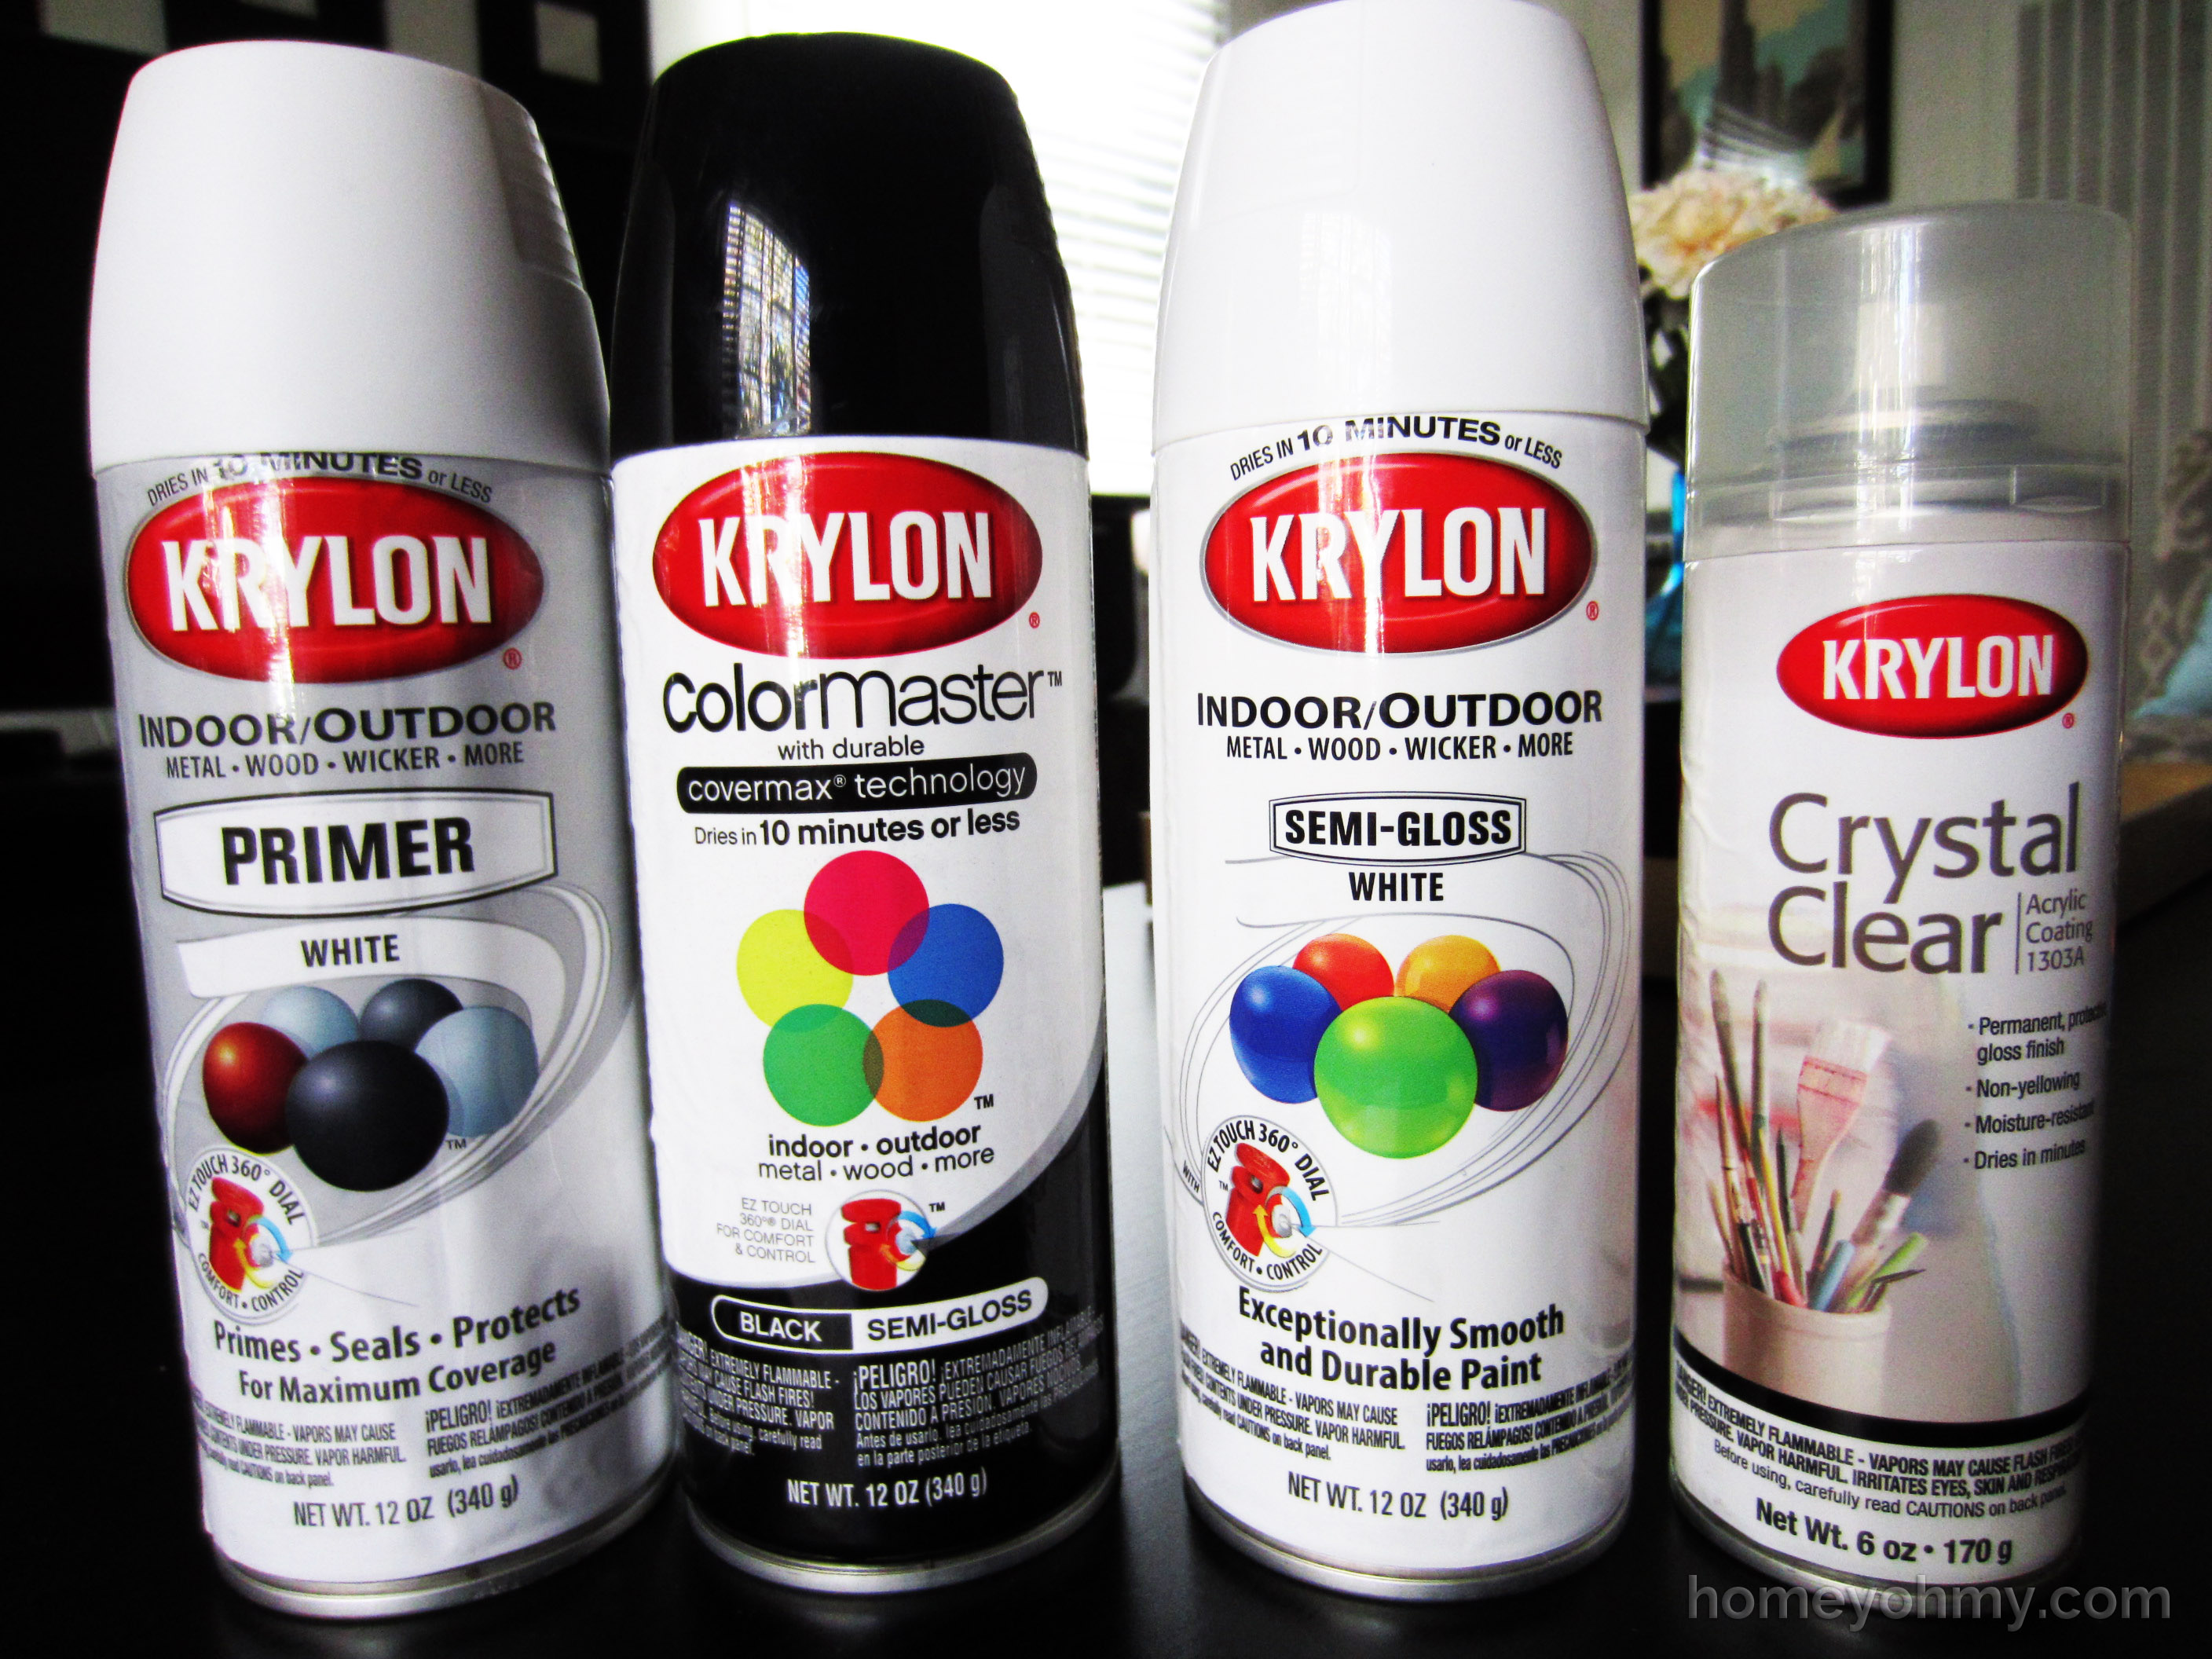
This project was made possible by the following materials:
Painters tape, spray paint primer, black and white spray paint in semi-gloss finishes, and clear acrylic spray coating.
There’s also one more item I need to give a shout-out to.
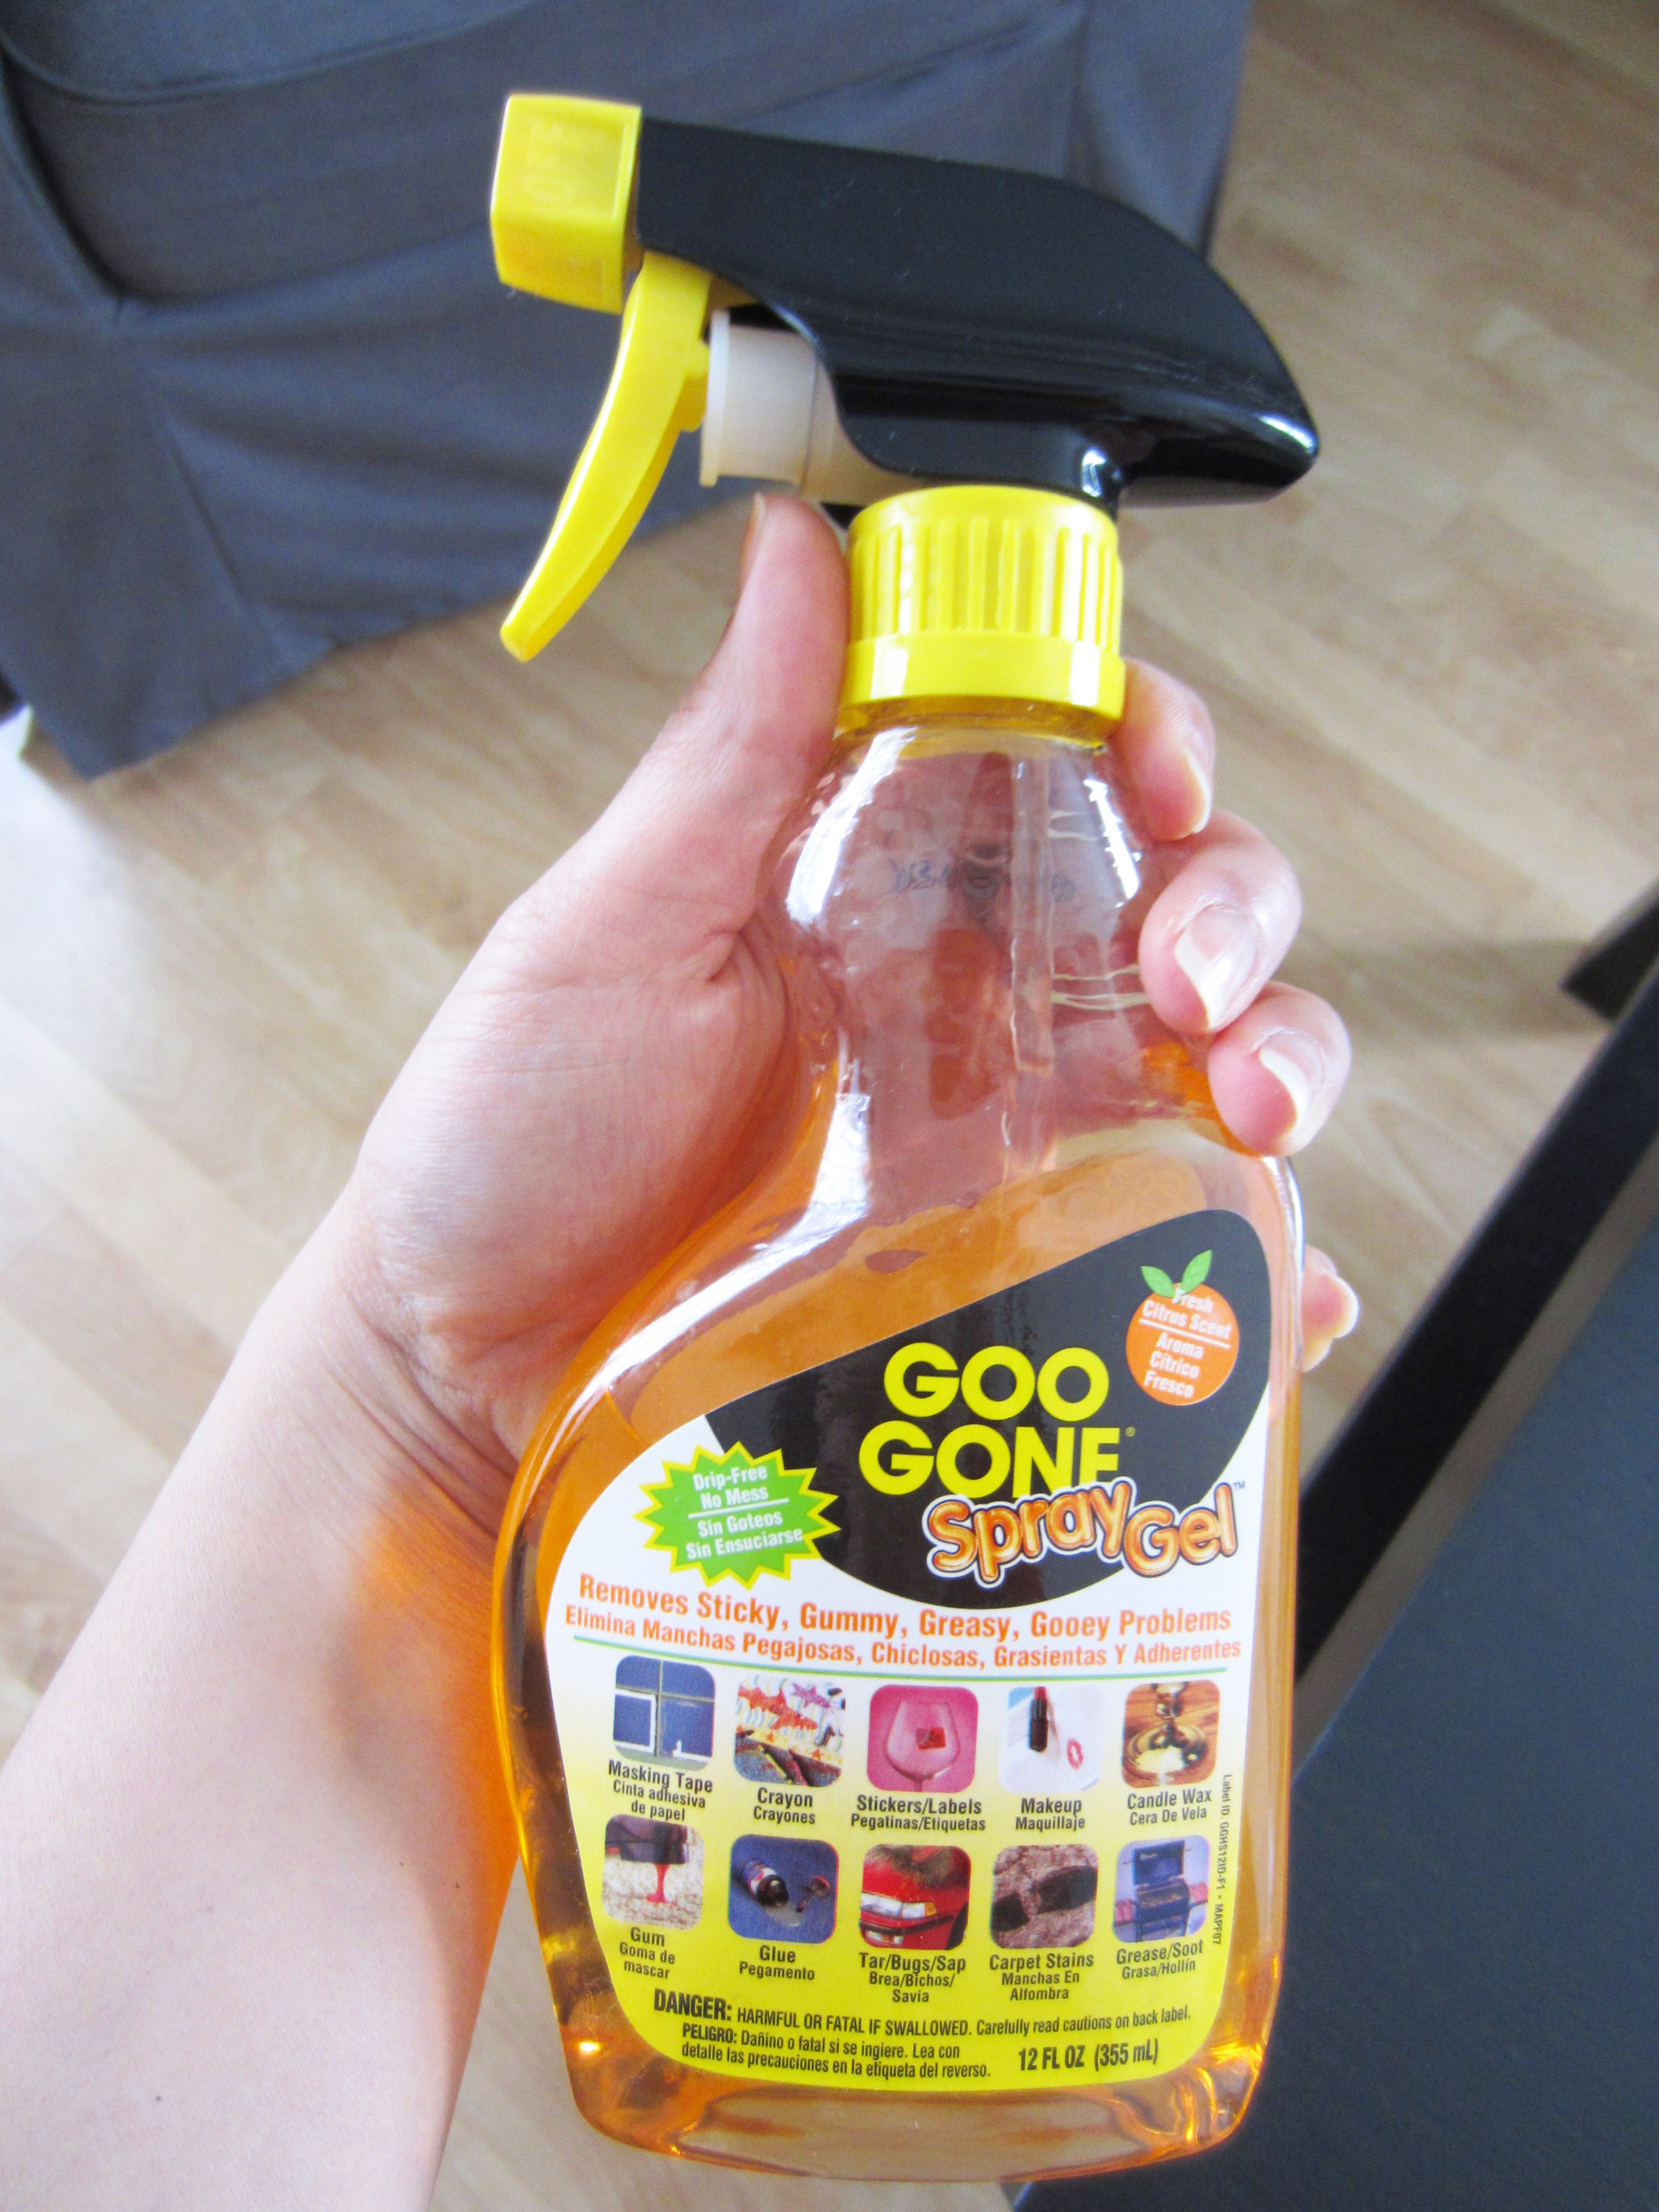
Goo Gone has been a long time favorite of mine. I probably saved hours (I’m serious) using this to help remove the gooey, gunky mess that was beneath the gold mosaic paper on my tray. It’s so Goo Good.
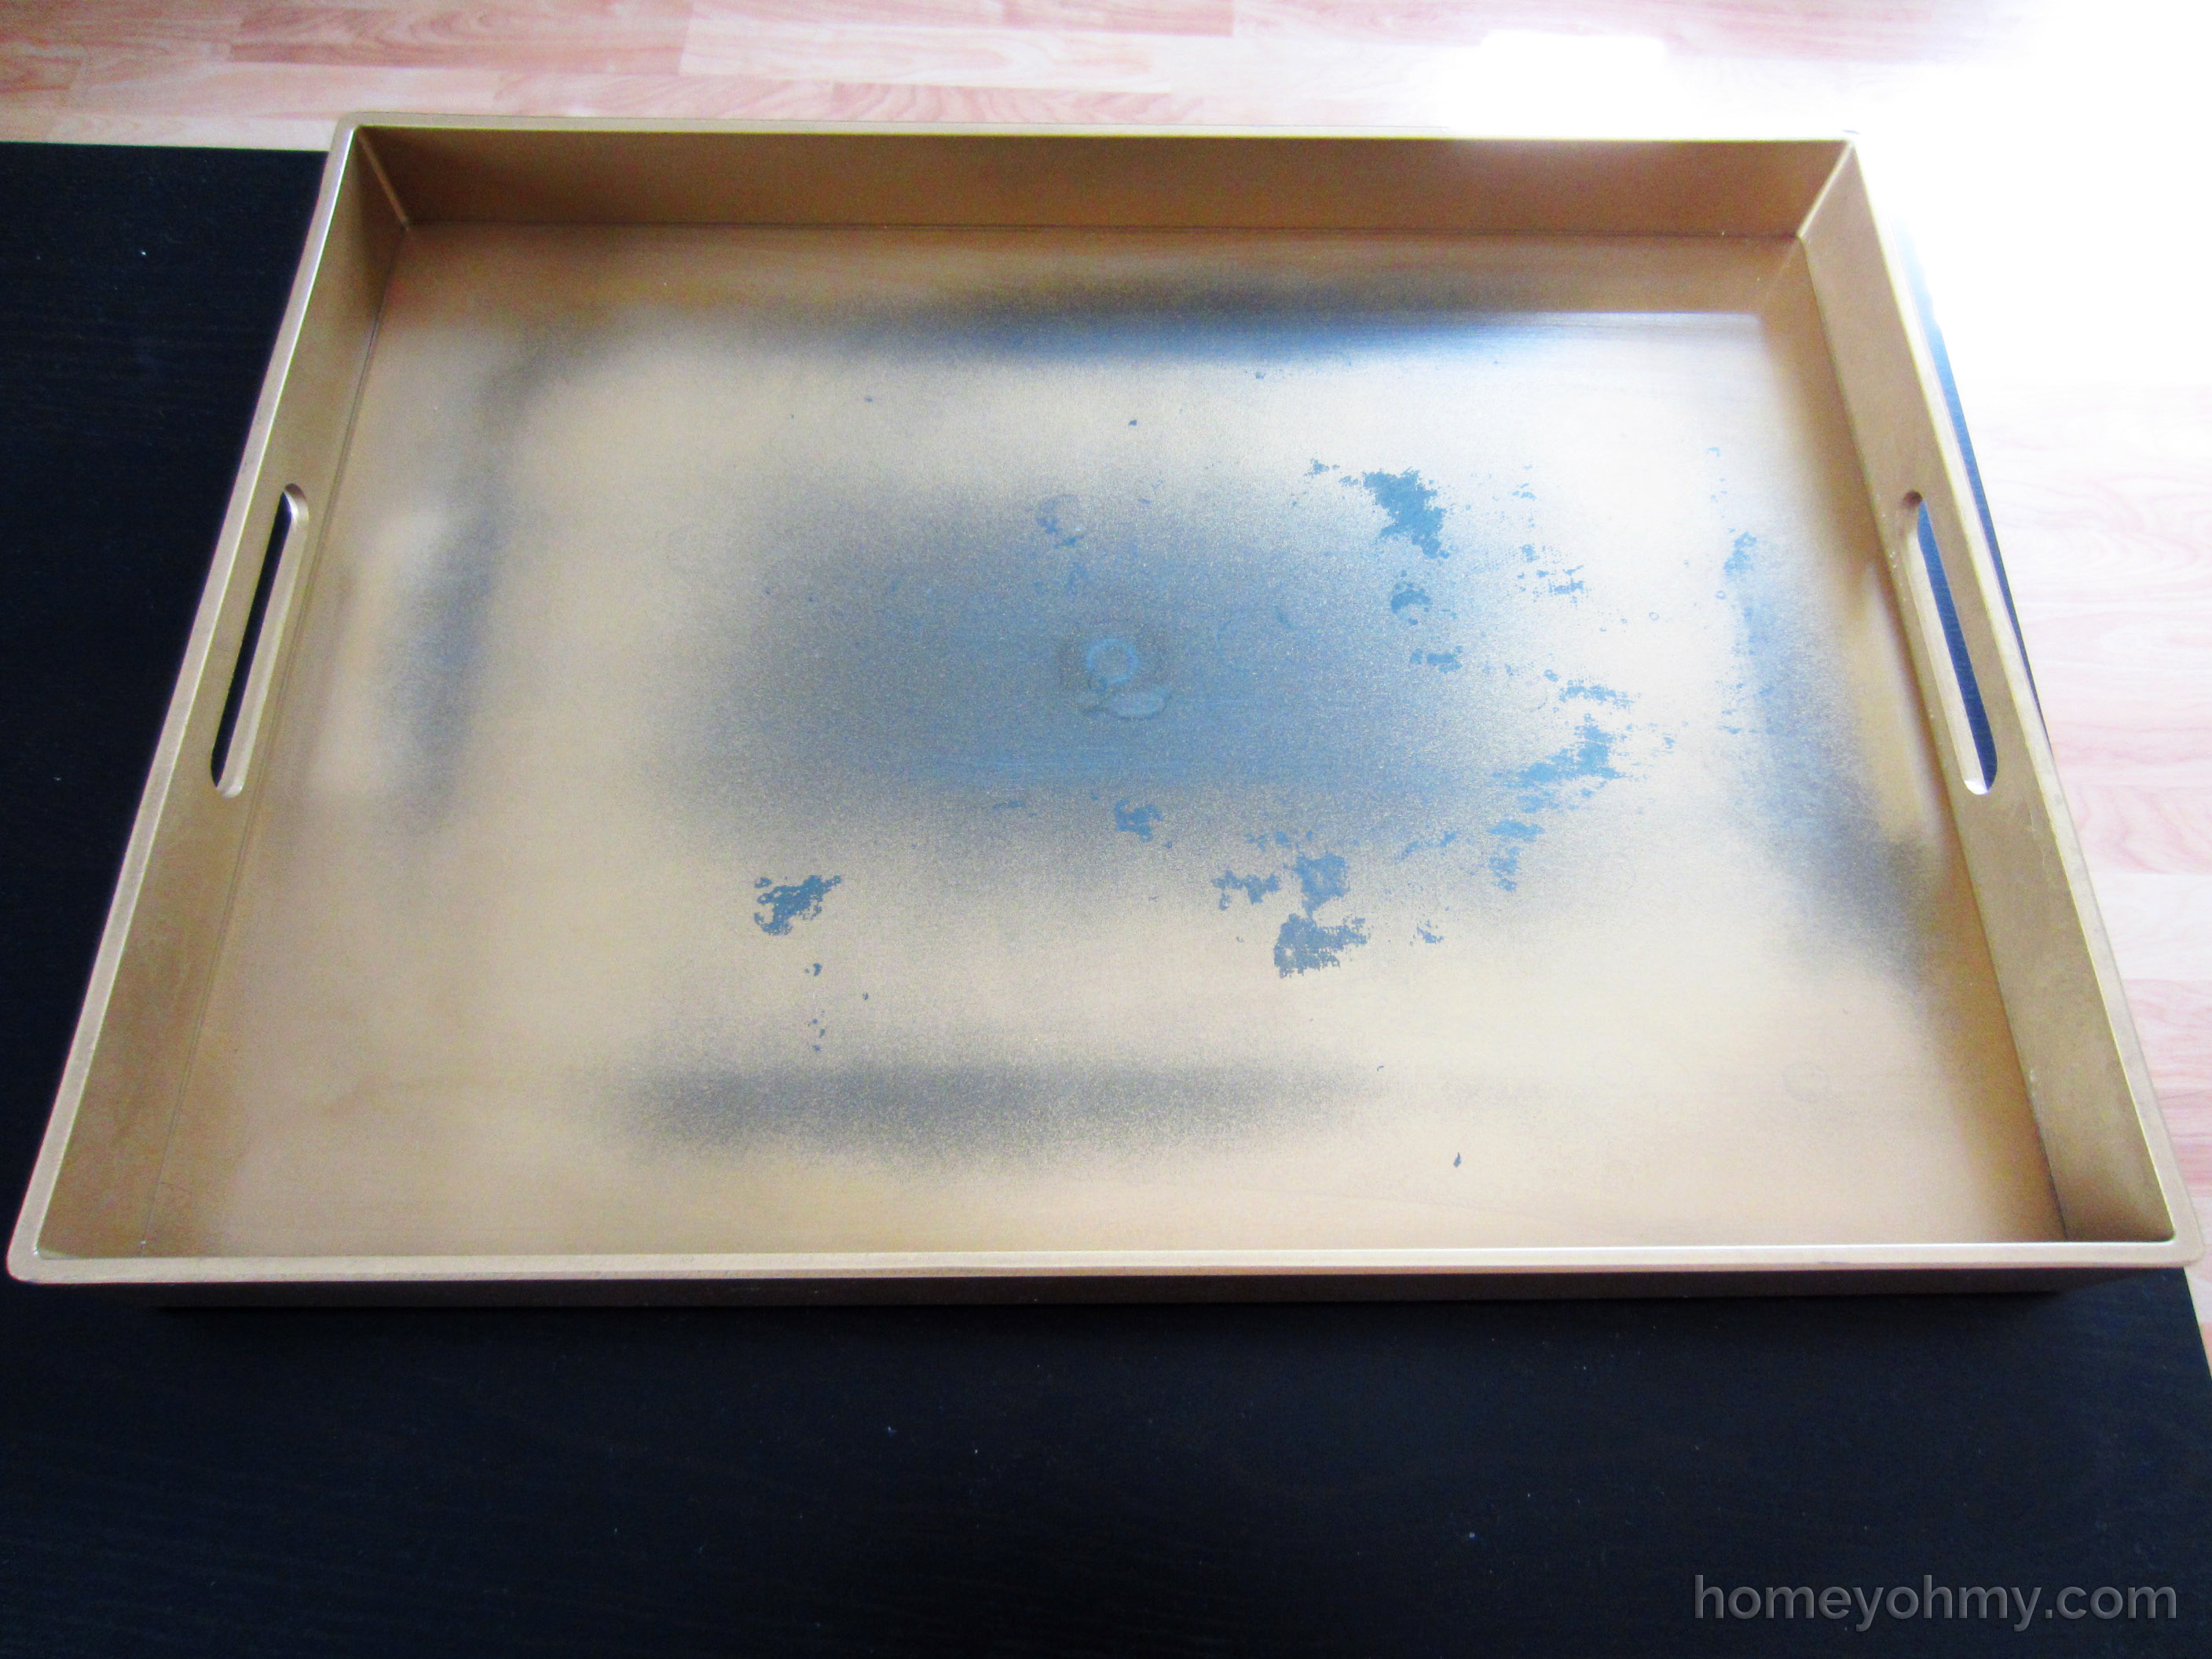
So here’s the tray stripped of the paper and the sticky mess.
I wanted to keep the sides gold, so I taped them up with painters tape before spraying the tray with primer and then with the white spray paint. If you are new to spray painting or just want to refresh some basics, go check out my post on spray painted wine bottles where I share some tips on how to get the best results possible.
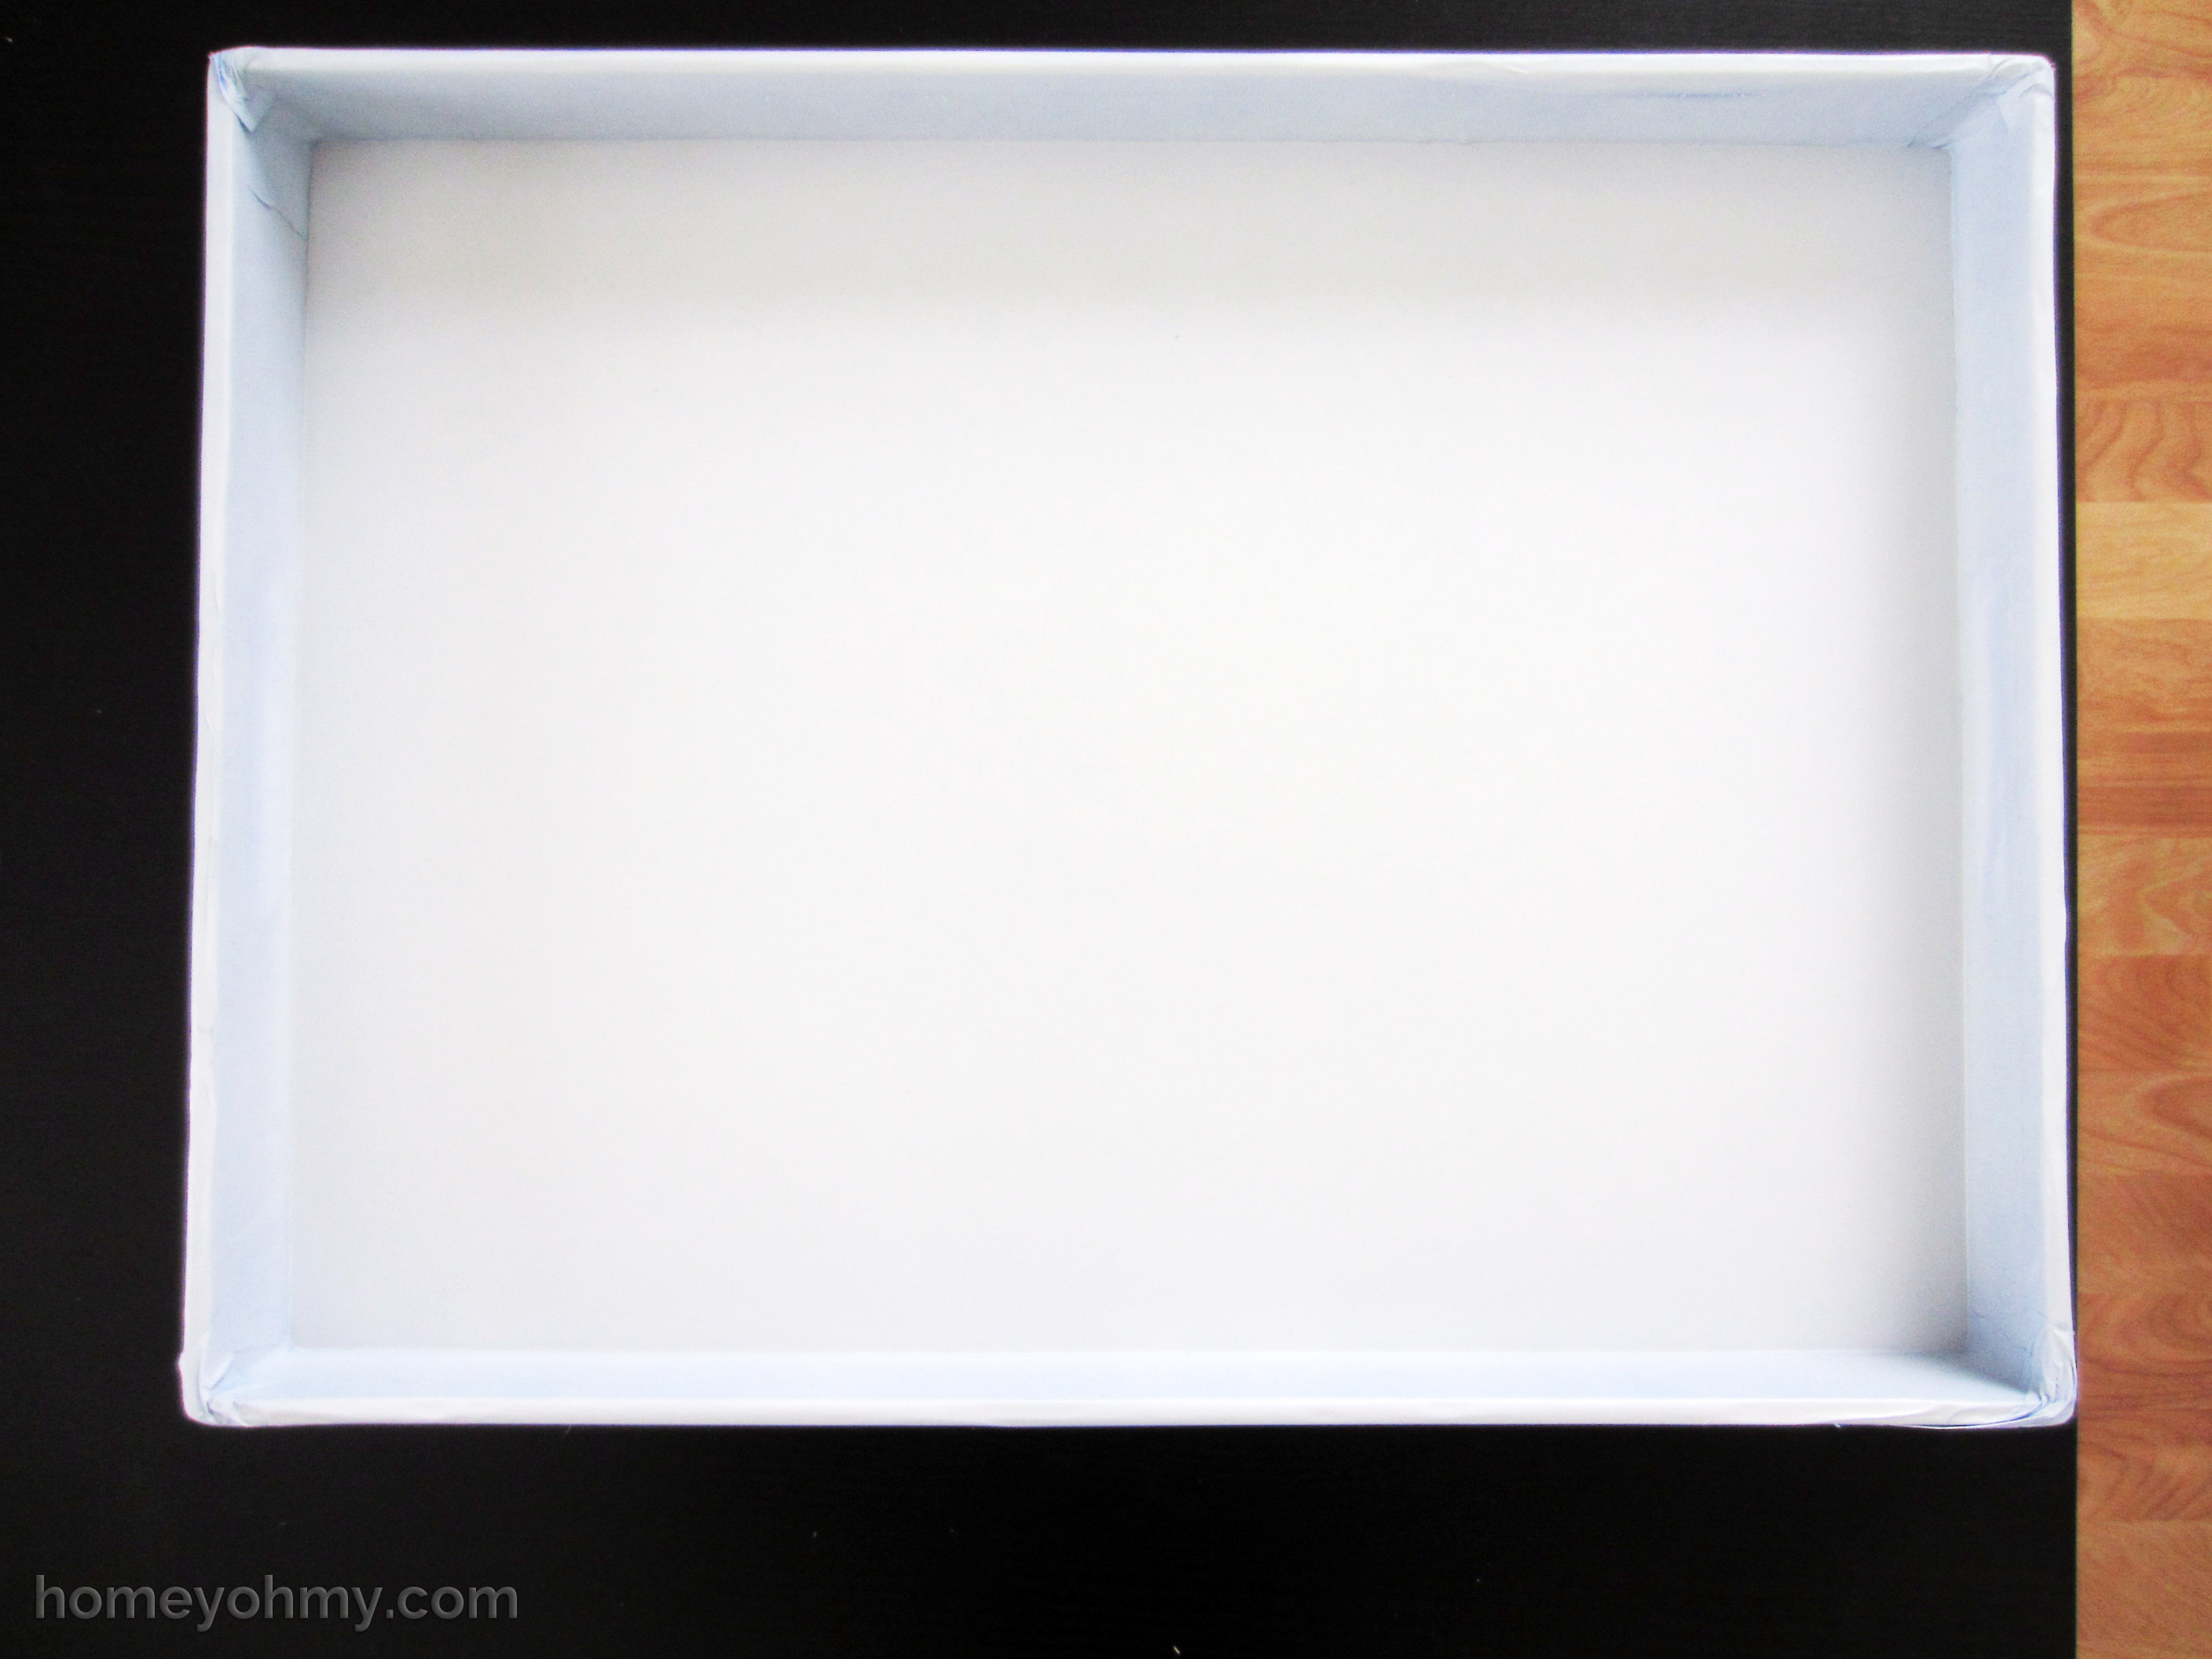
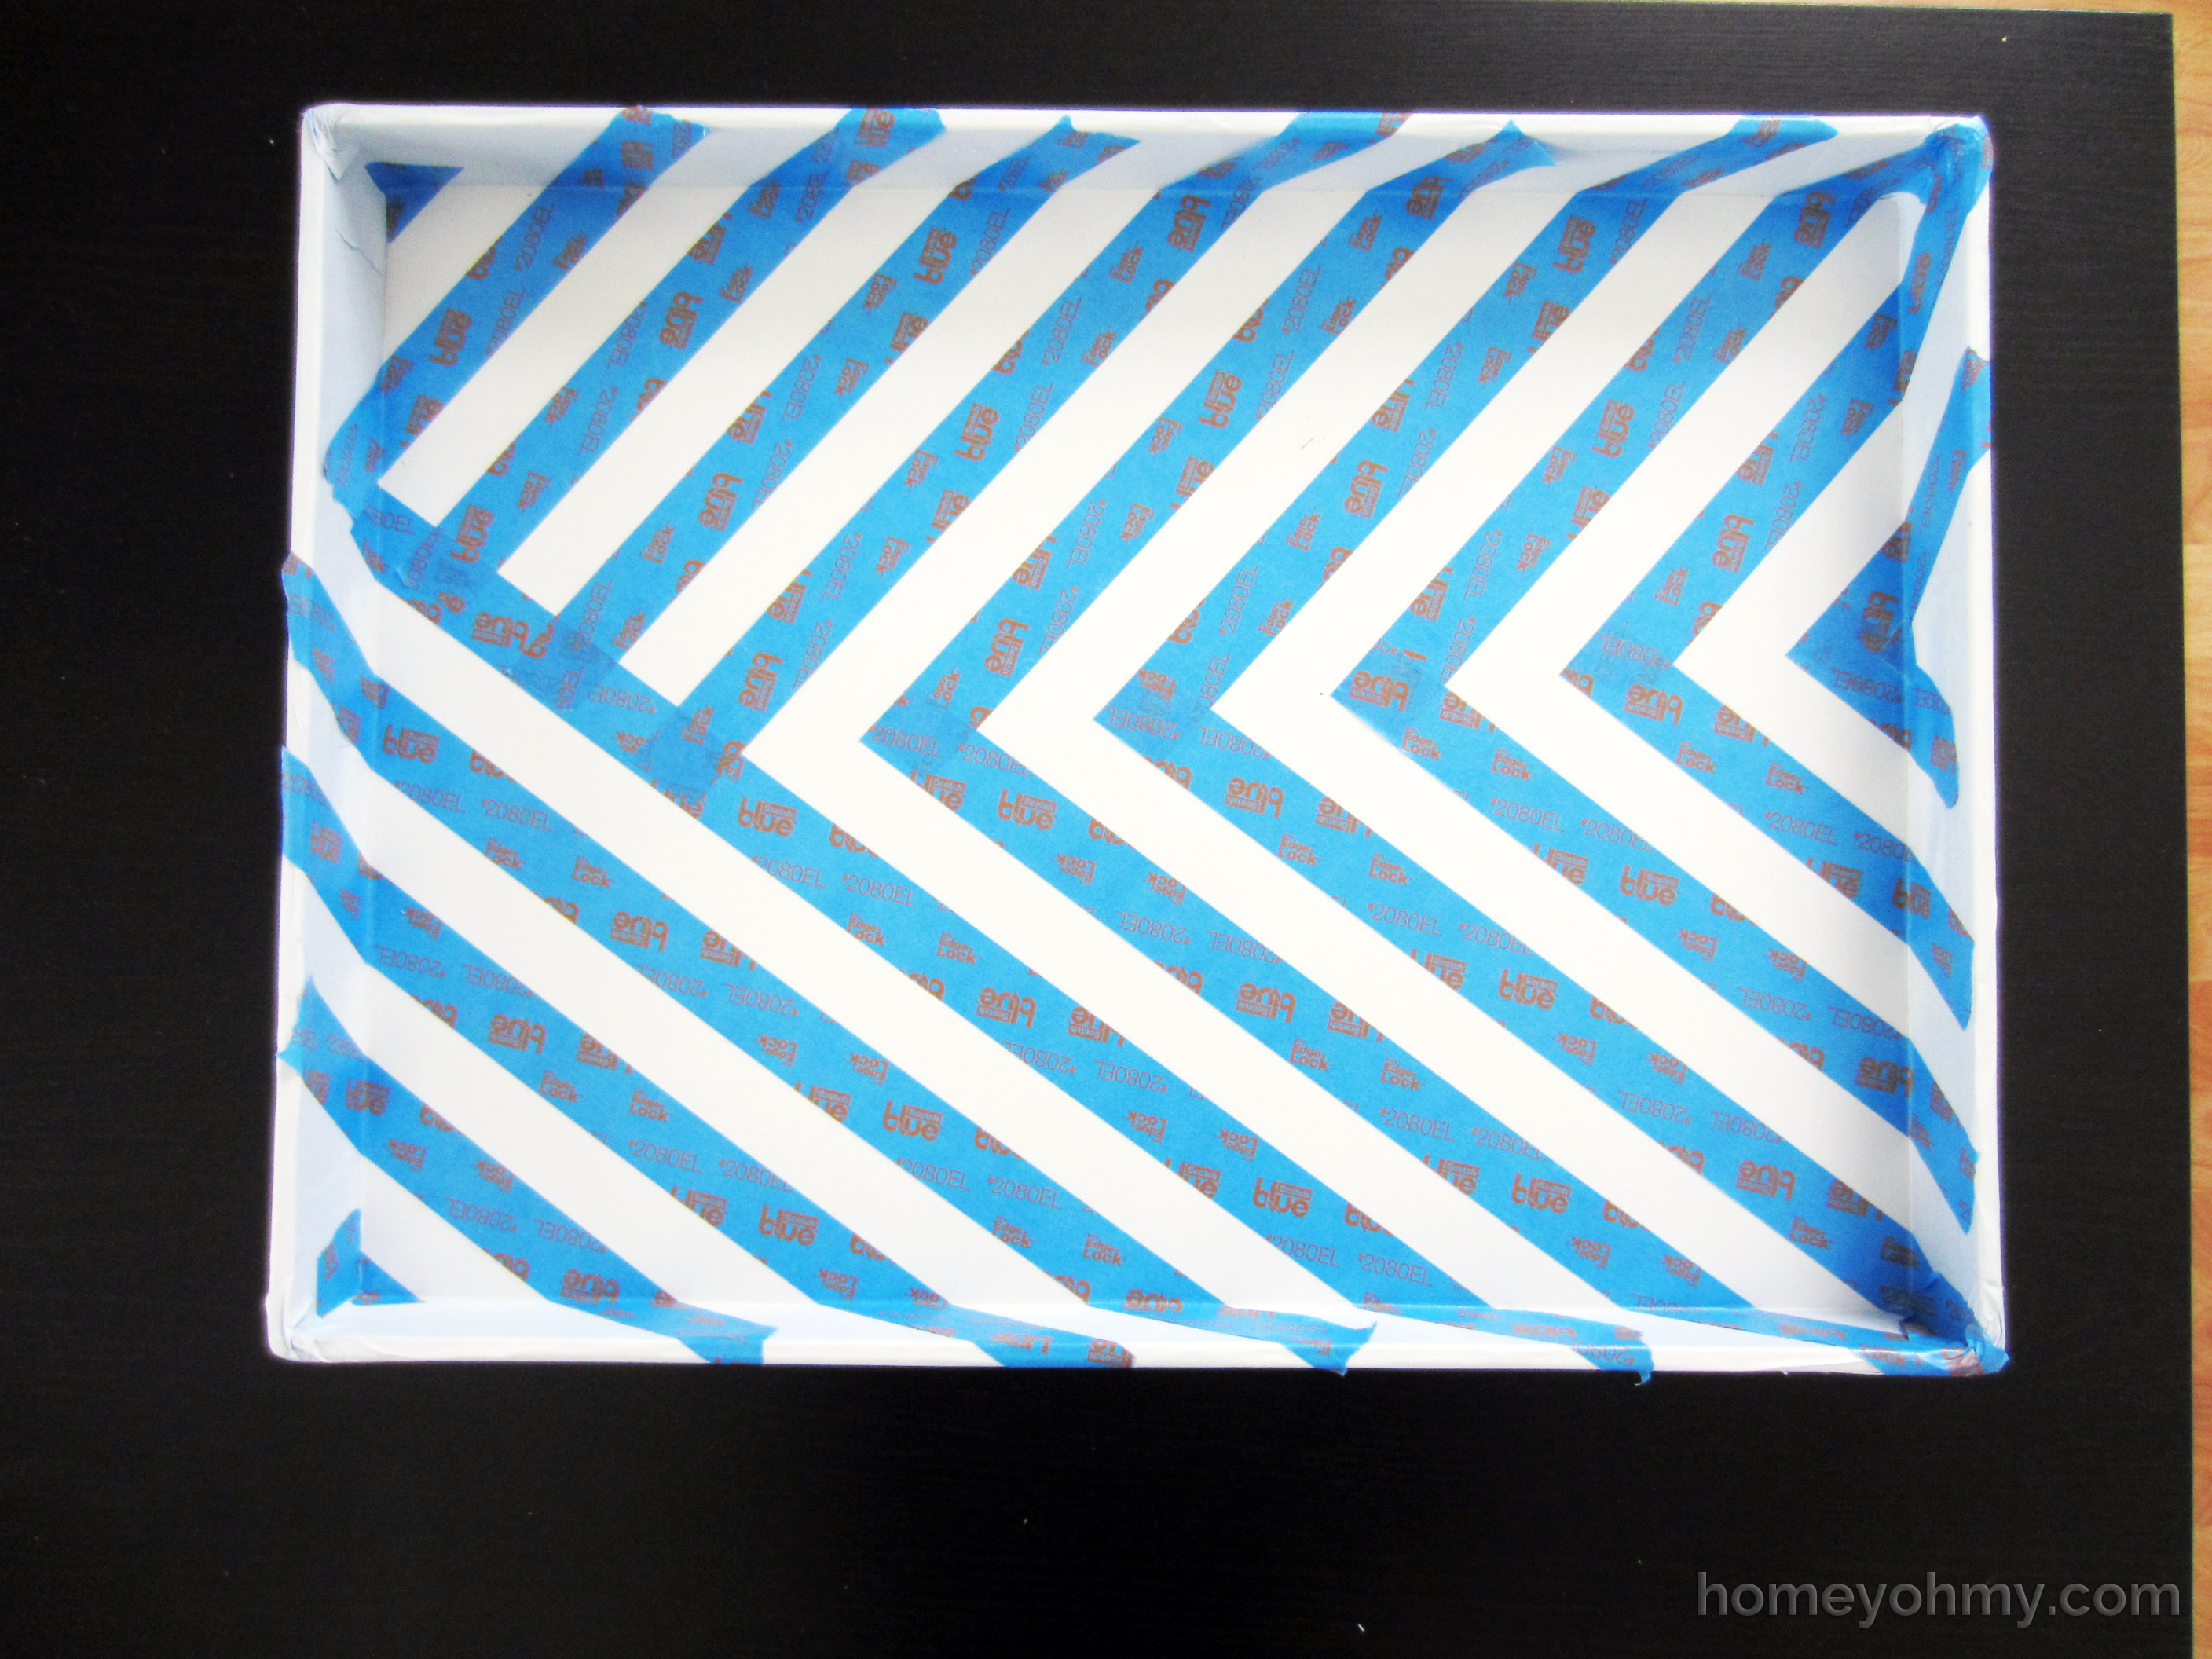
I let this dry overnight to make sure the paint was thoroughly dry before applying the tape in my desired design.
Next, I spray painted the tray black and then removed all the tape. Once it dried I sprayed it over with the clear acrylic coating. This is for protecting the paint, which is important for heavy usage surfaces like this tray. Let it dry for at least 24 hours before handling.
The big reveal! By far the most exciting part.
Black, white, and gold, baby. I adore this color combo for how it goes with everything and makes anything look chic. It’s also very fall appropriate. Oh hey, did you notice the cameo appearance by my lacquered box that I recently posted a tutorial on? :P
What do you think of my tray transformation? Do you like my tray better before or after it was painted? I’d love to know what you think.
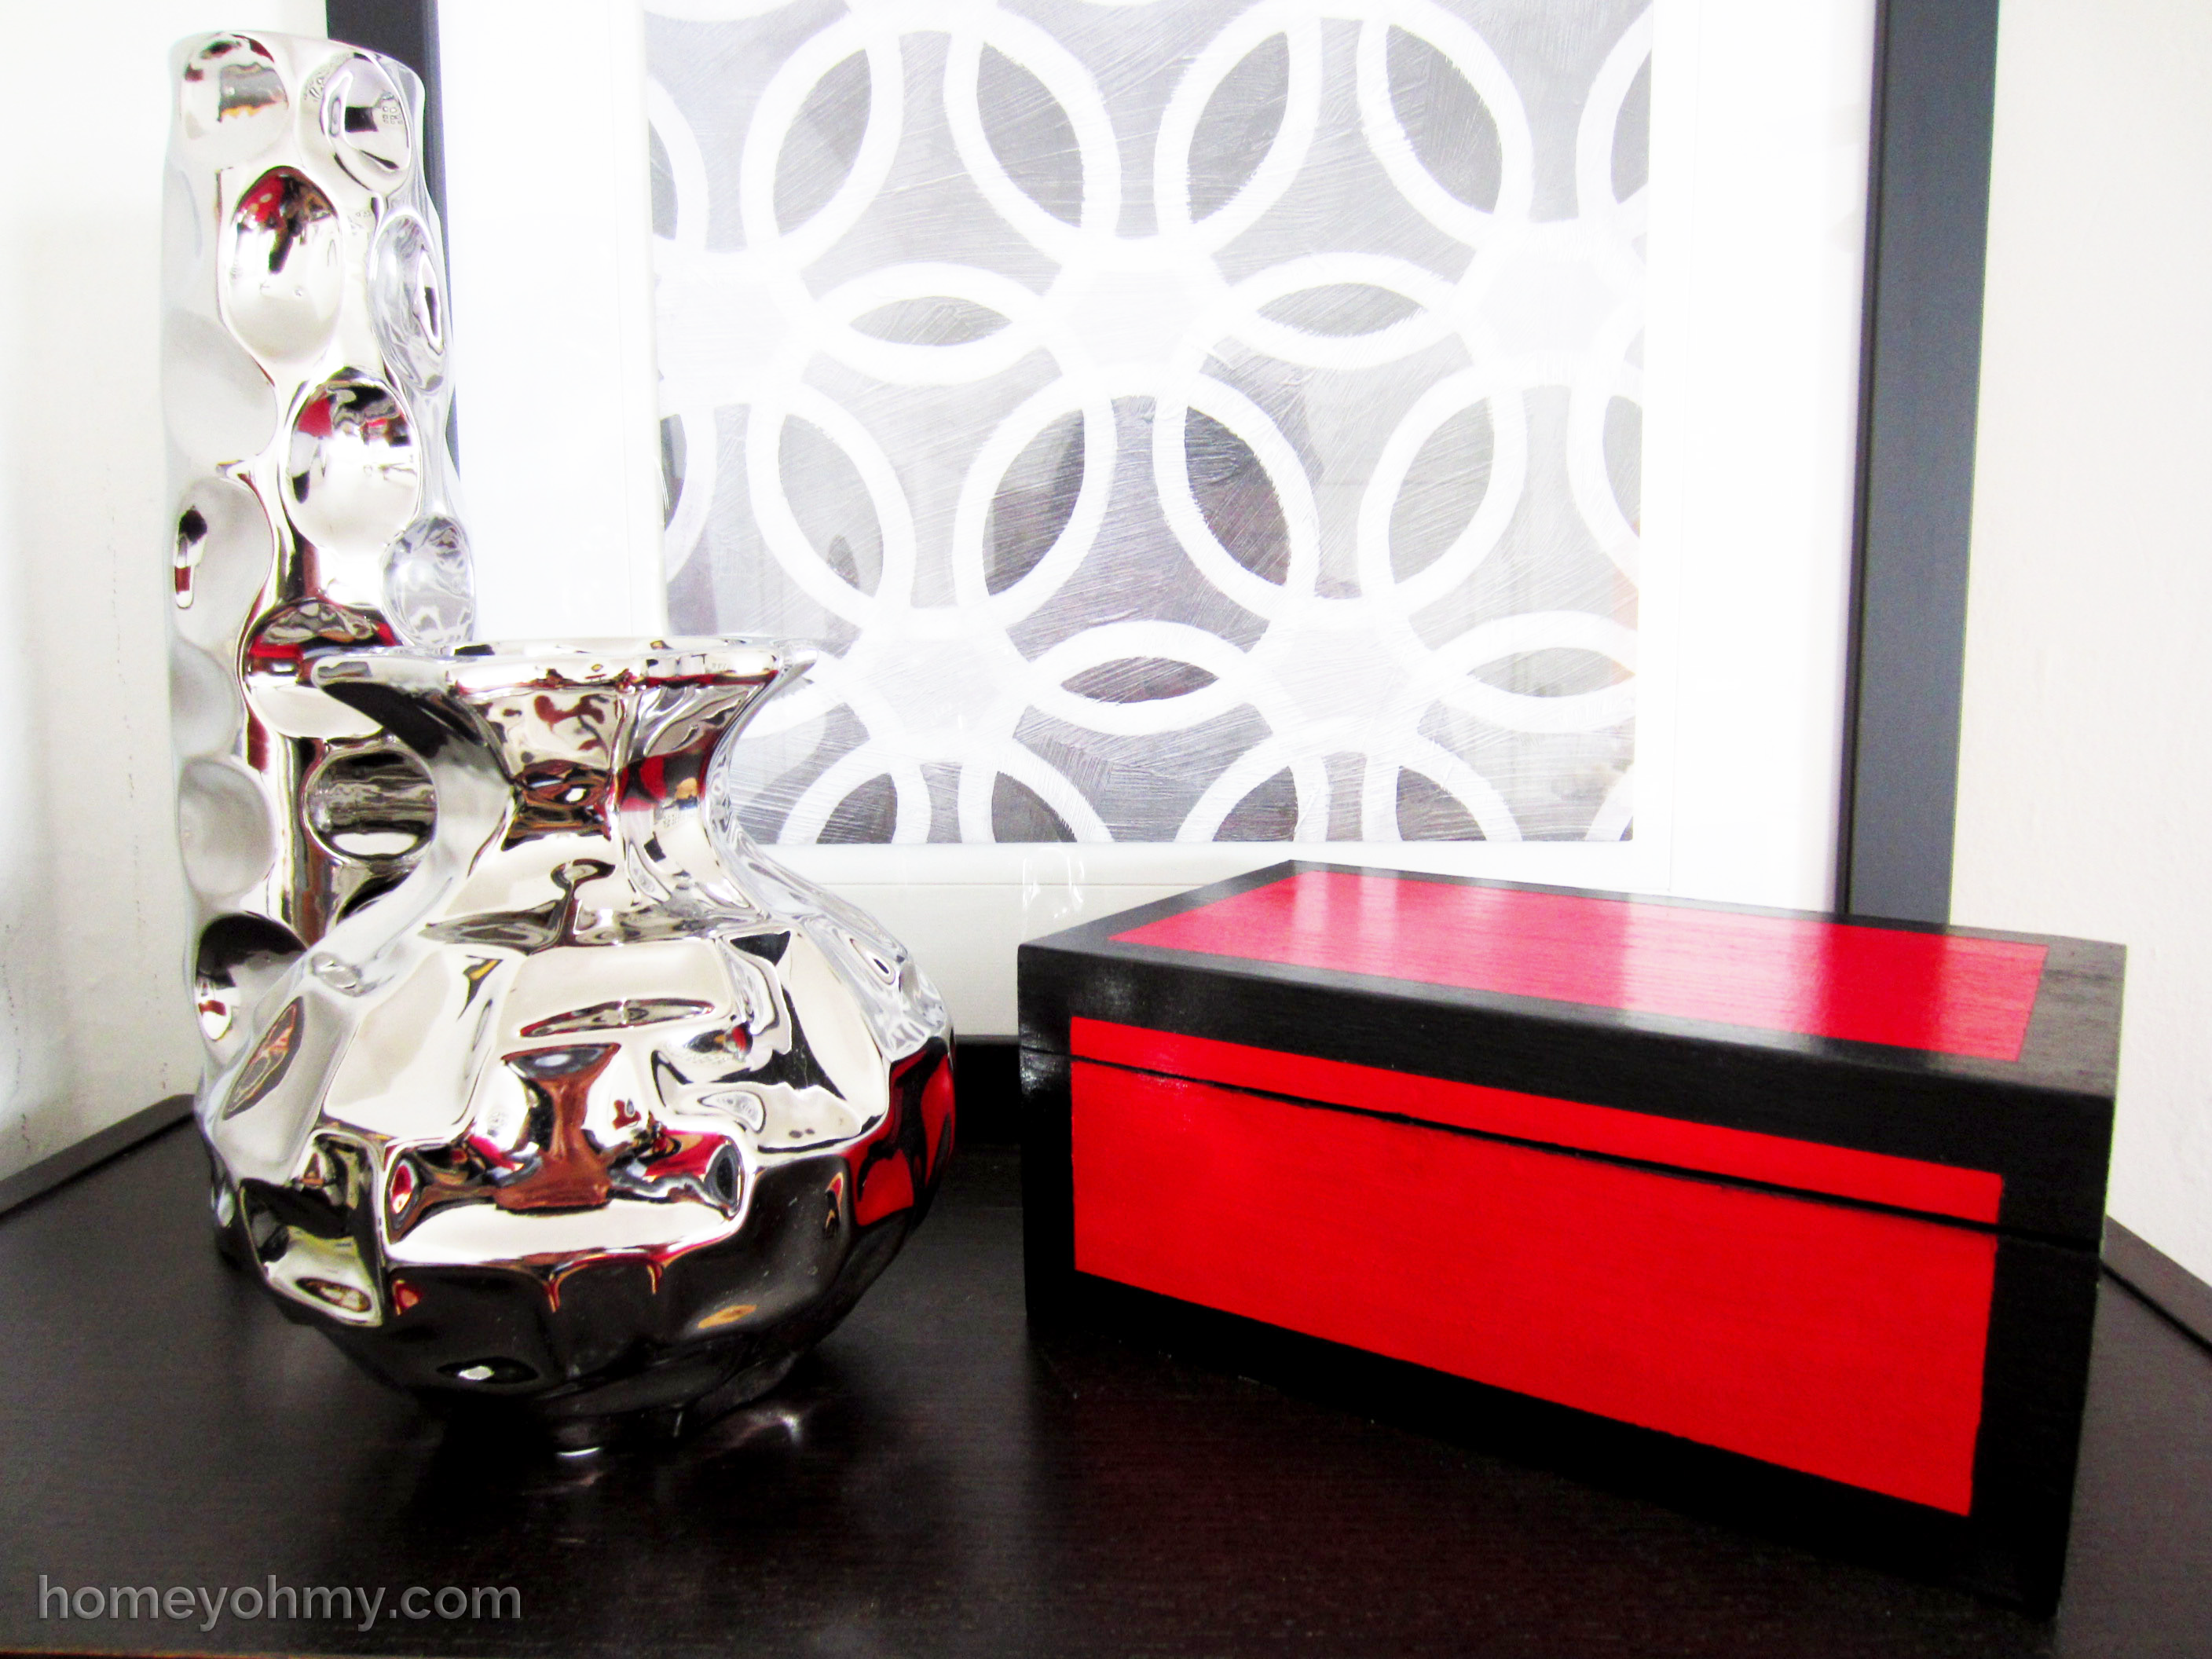
The one decor item I’ve wanted for the longest time is a lacquered box. They’re simple, chic, and useful for decorative storage. So why haven’t I gotten one yet? Simply because every lacquered box I’ve run into was priced in a manner I could not justify. You have to bust out the big bucks for one of those babies. This is one of the biggest motivating factors for my DIY’s, and this project is no exception.
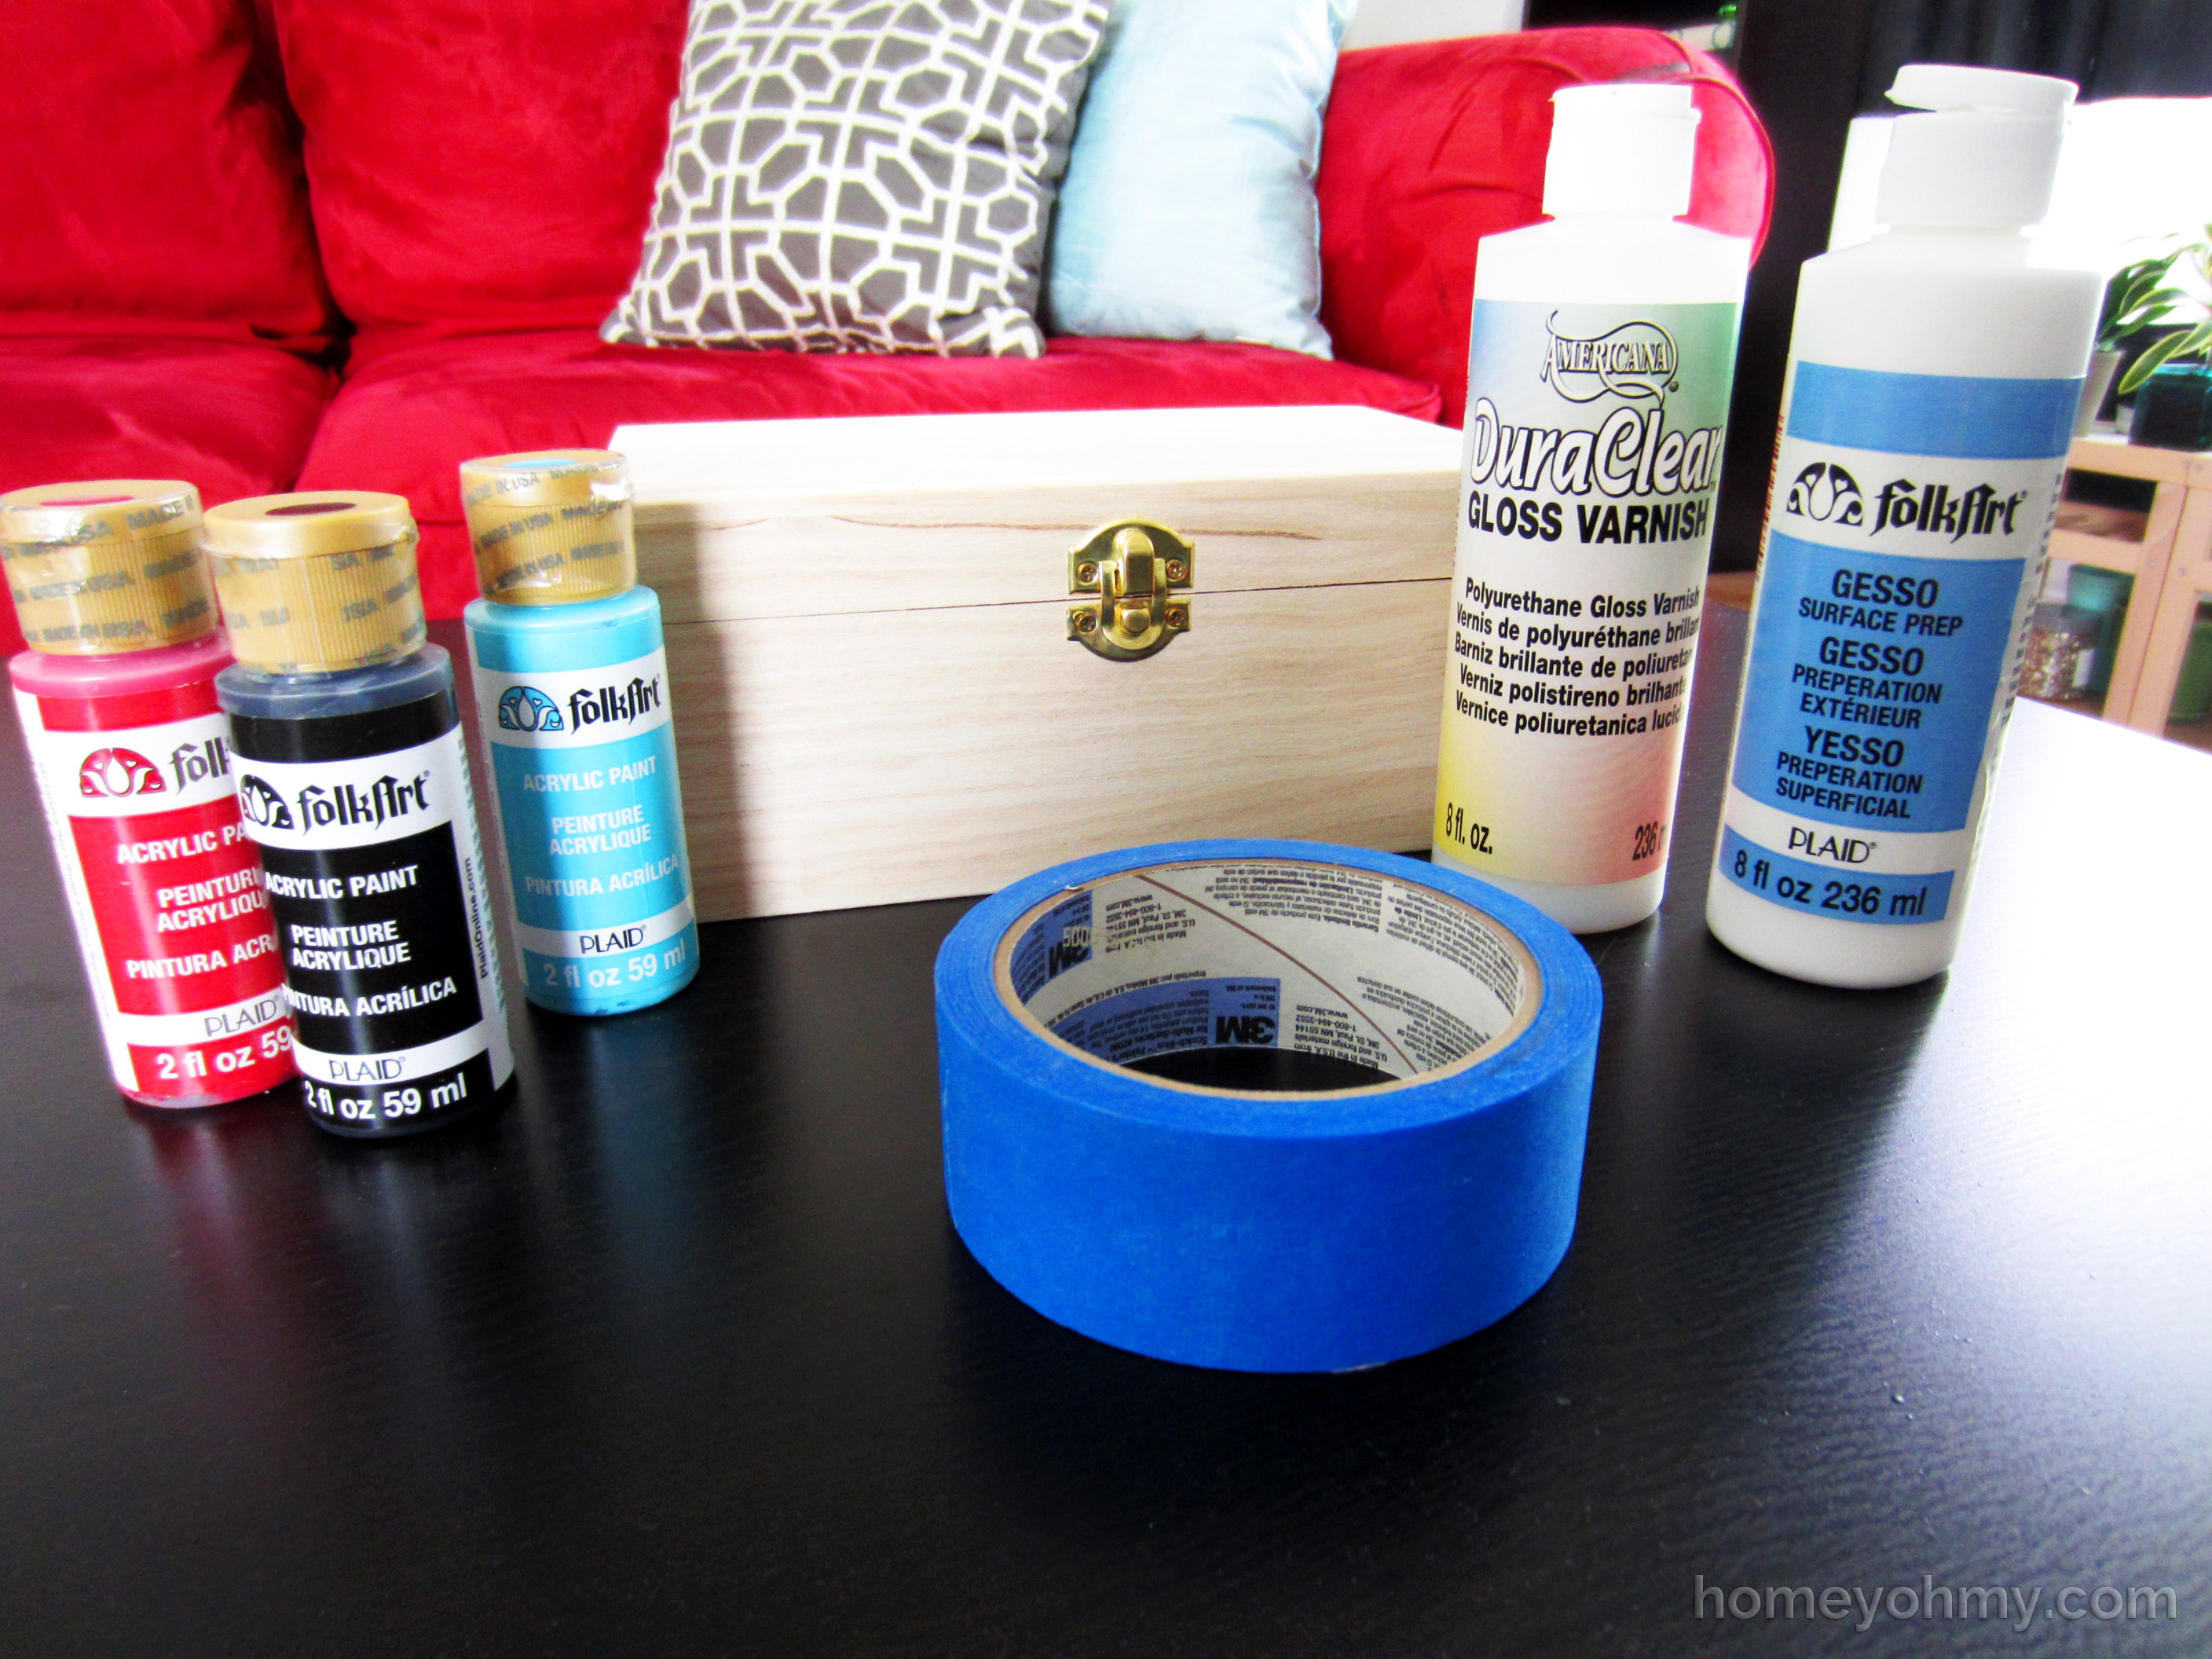
Here’s what you’ll need.
Materials:
unfinished wood box (I got mine at Michael’s)
acrylic paint- I used Folk Art in Lipstick Red, Pure Black, and Calypso Sky
gesso primer
gloss varnish
painters tape
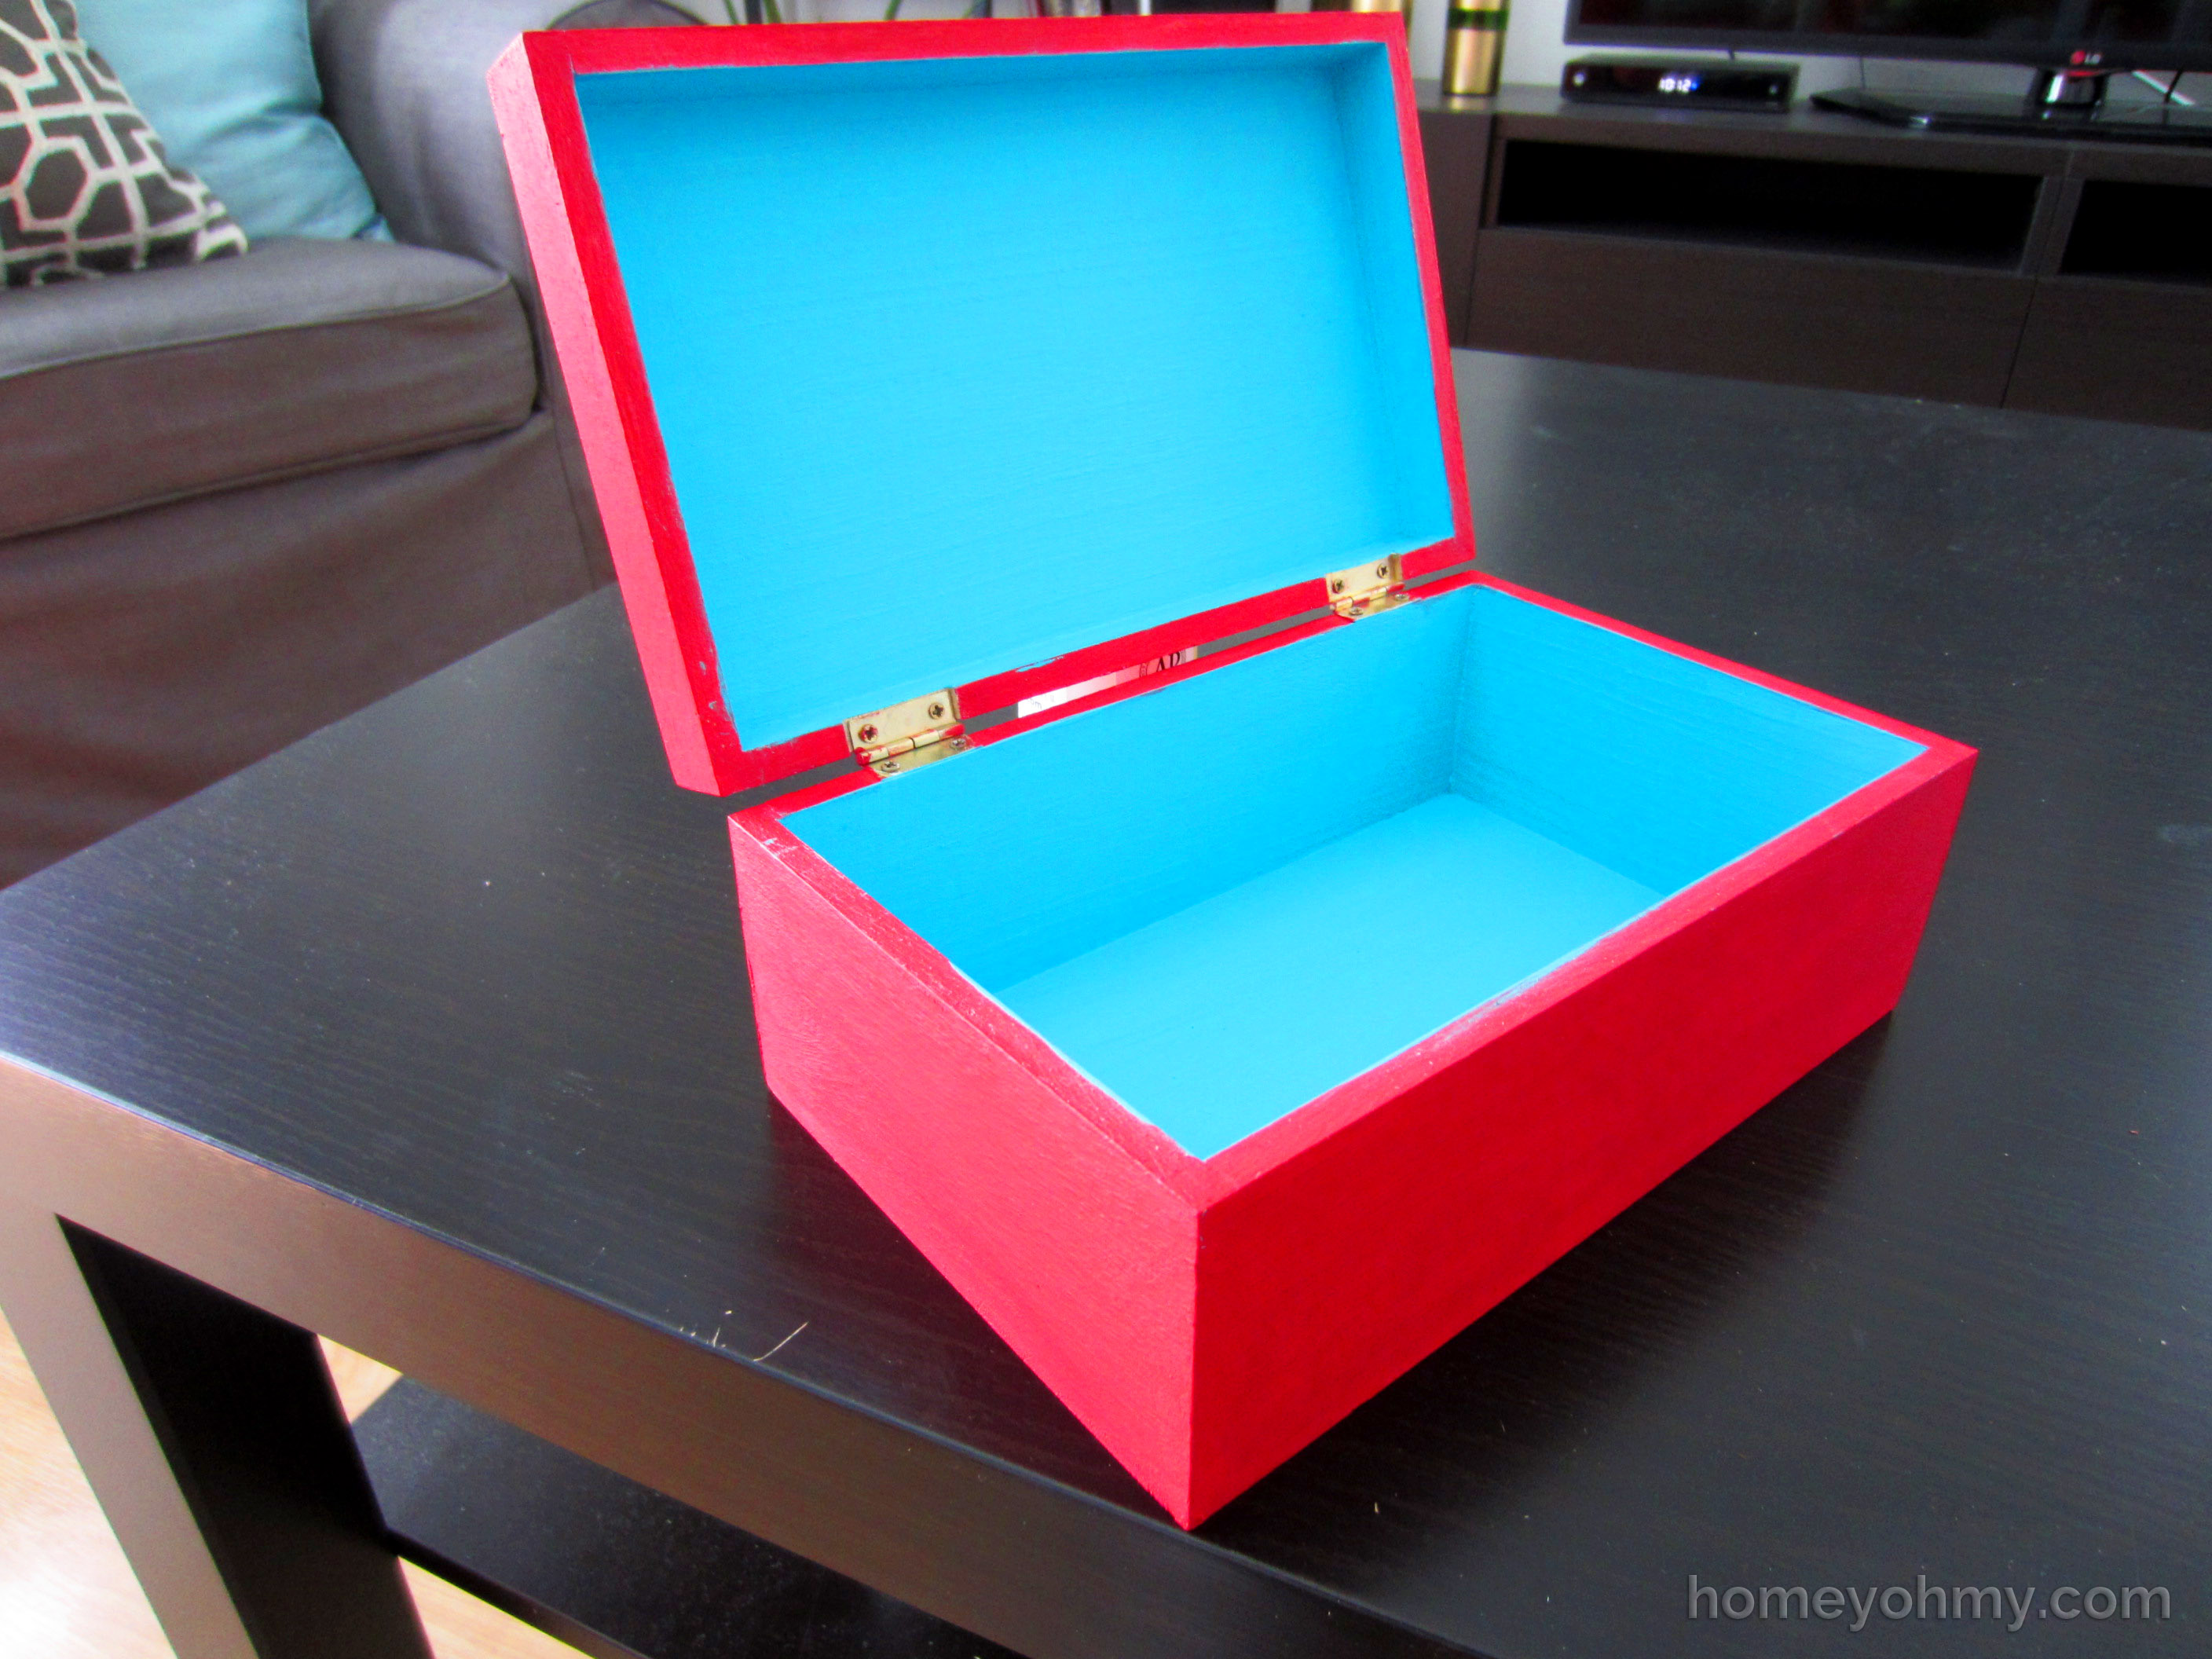
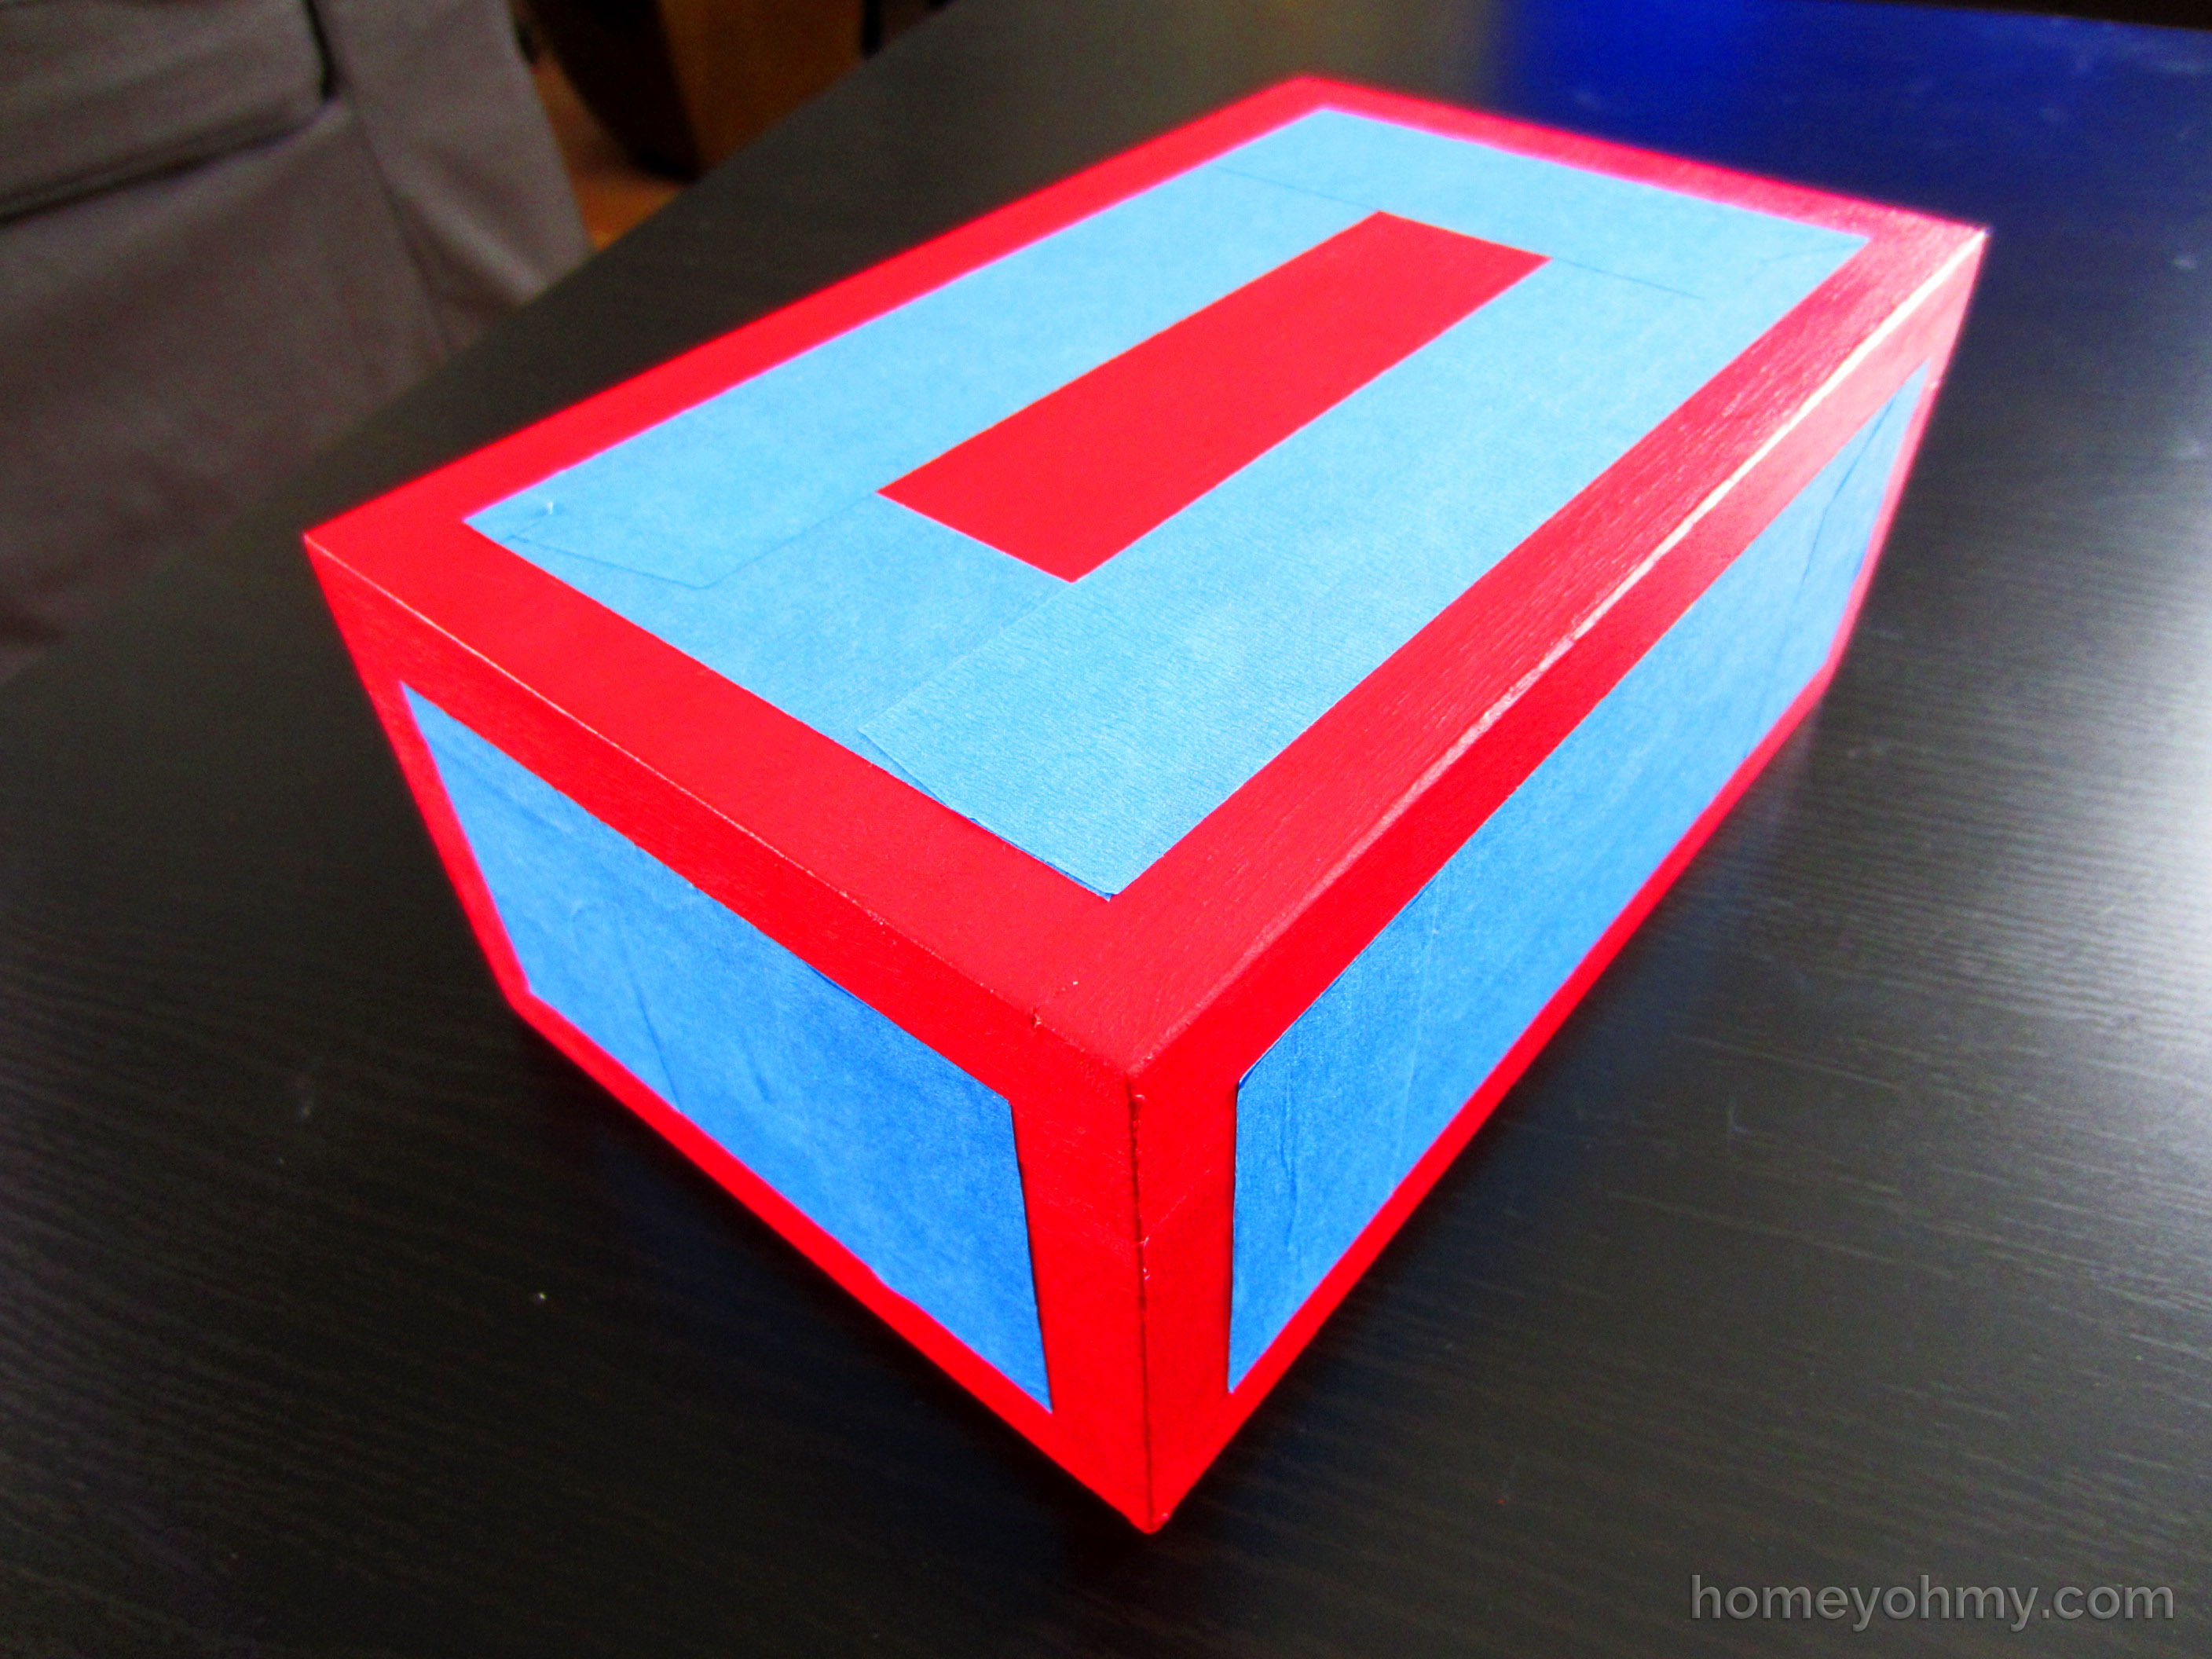
First, I removed the gold hardware and filled the screw holes with some Sculpey clay I had. This is probably not the best material to use and you’re better off using a wood filler. I didn’t have wood filler, so I did with what I had- Sculpey clay. The painting process is pretty much exactly the same as what I did for my DIY Succulent Box except that project didn’t use any painters tape. Check that out after this if you’re on a box painting escapade :) Paint all surfaces with the gesso primer. Once dry, paint the box in your desired colors. The empowerment of DIY is making things exactly the way you want it to be, so do just that! I’ve never seen a lacquered box painted a different color on the inside, so that’s what I did with mine.
After your paint is dry, apply the painters tape so only the borders that will be painted black are showing. I made each border a half inch wide. Even though in my photo I kept a rectangular area exposed on top, I knew not to paint there so didn’t think it necessary to cover it with tape. You can do that though if it helps you.
As always, with any painting projects using painters tape, be thorough about reinforcing the tape and making sure all edges are smooth and bubble-free. The better the adhesion on the edges of the tape, the cleaner your lines will be. Now you can paint the borders black.
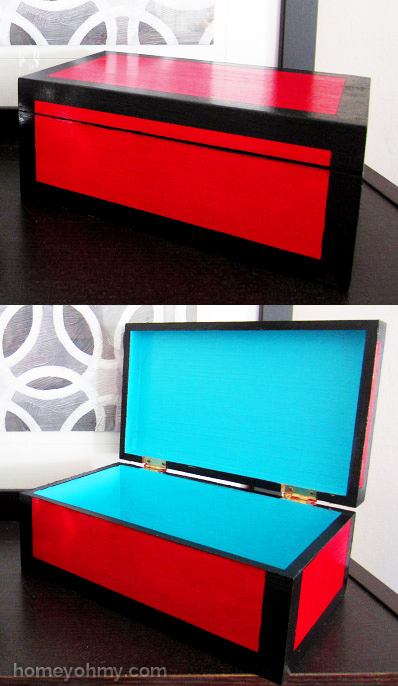
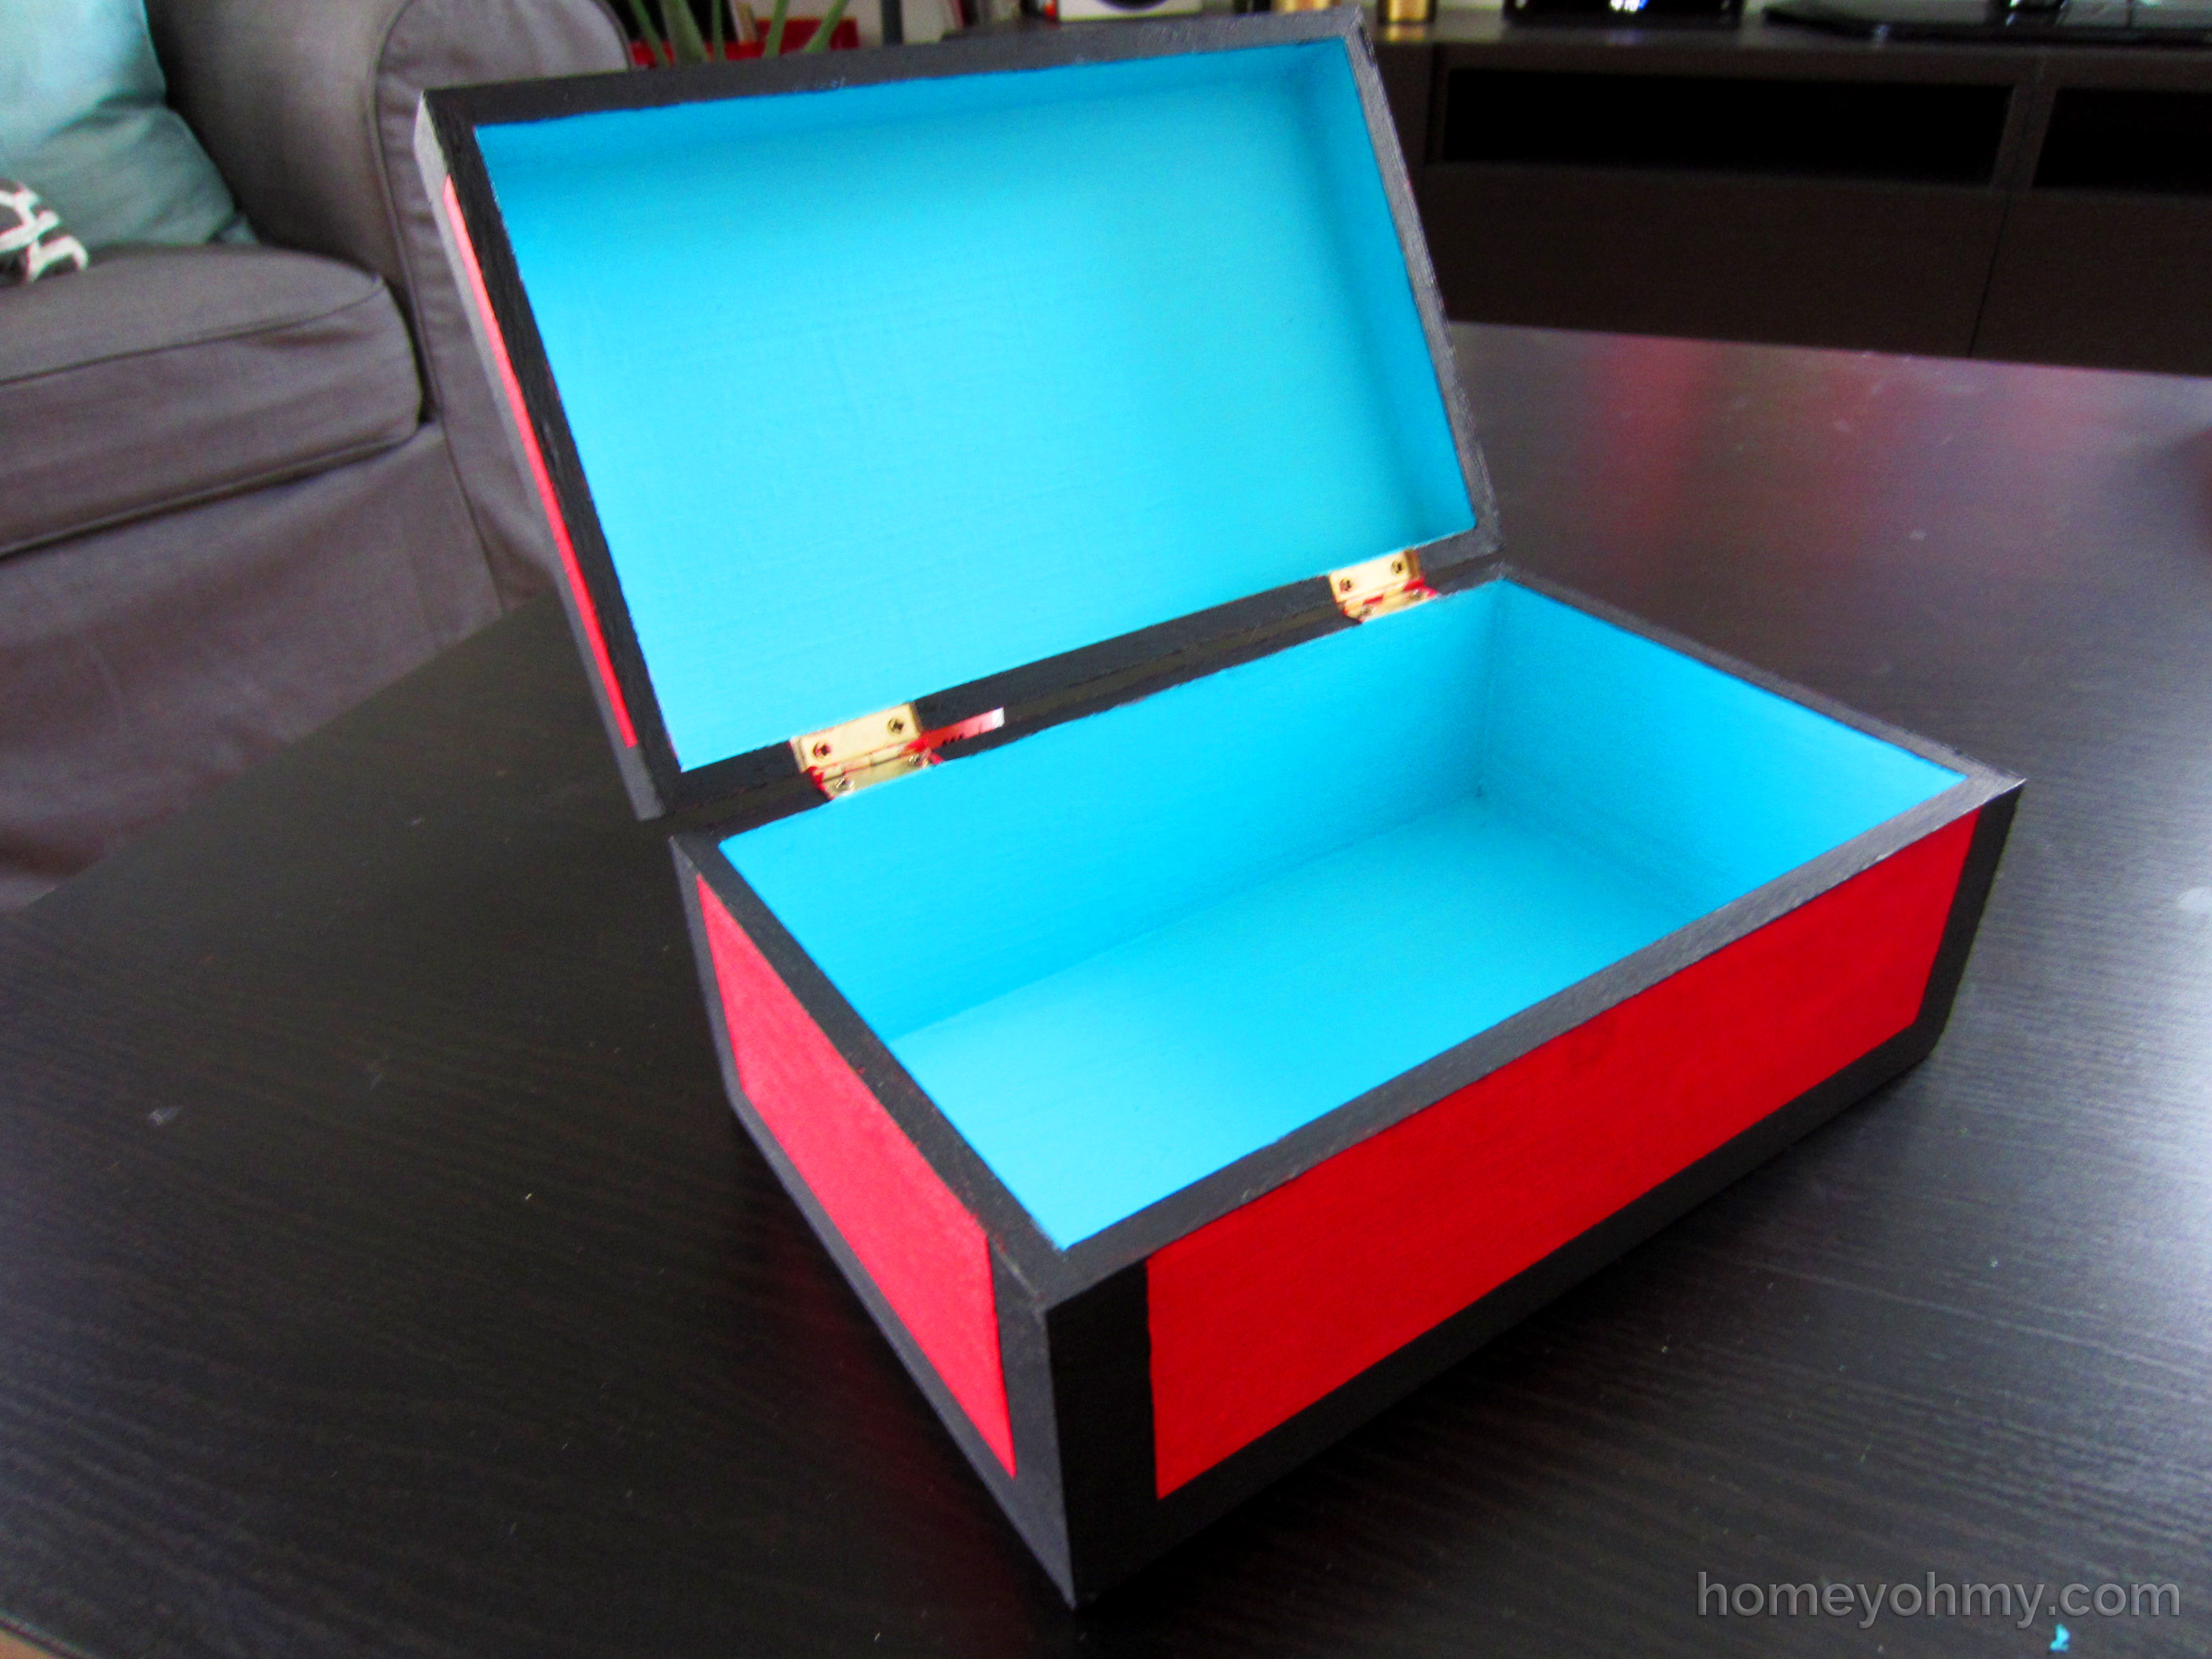
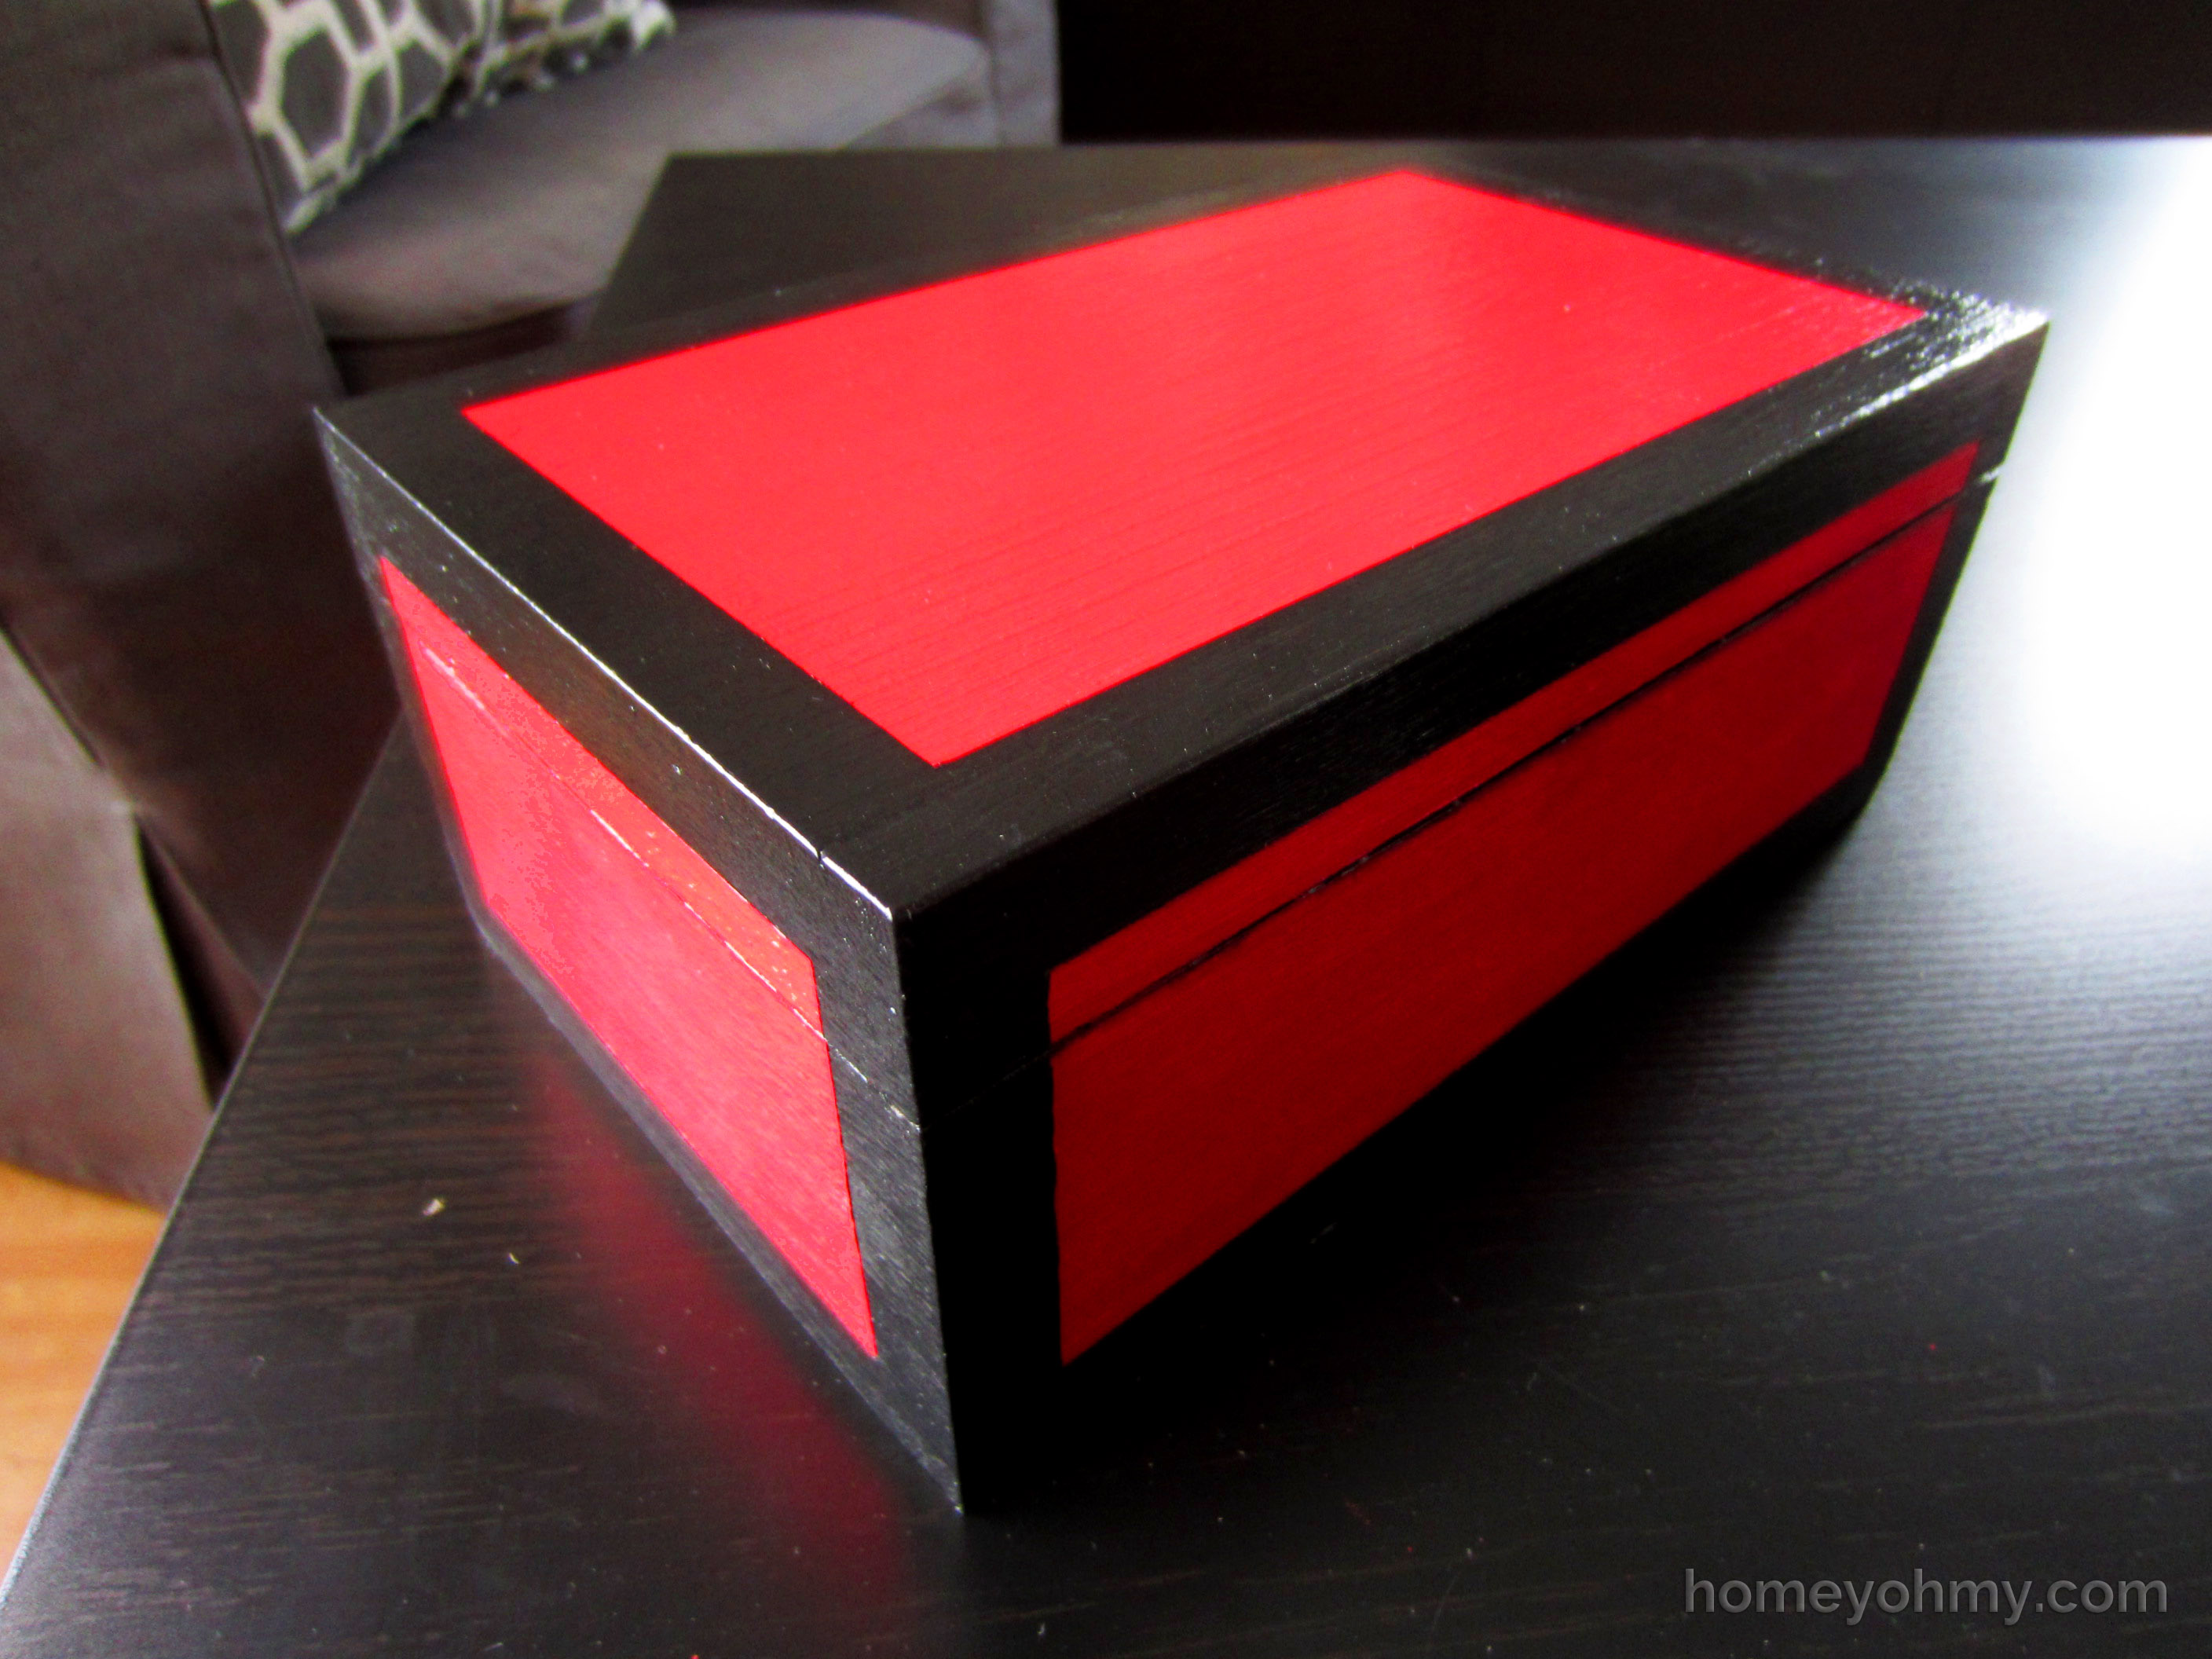
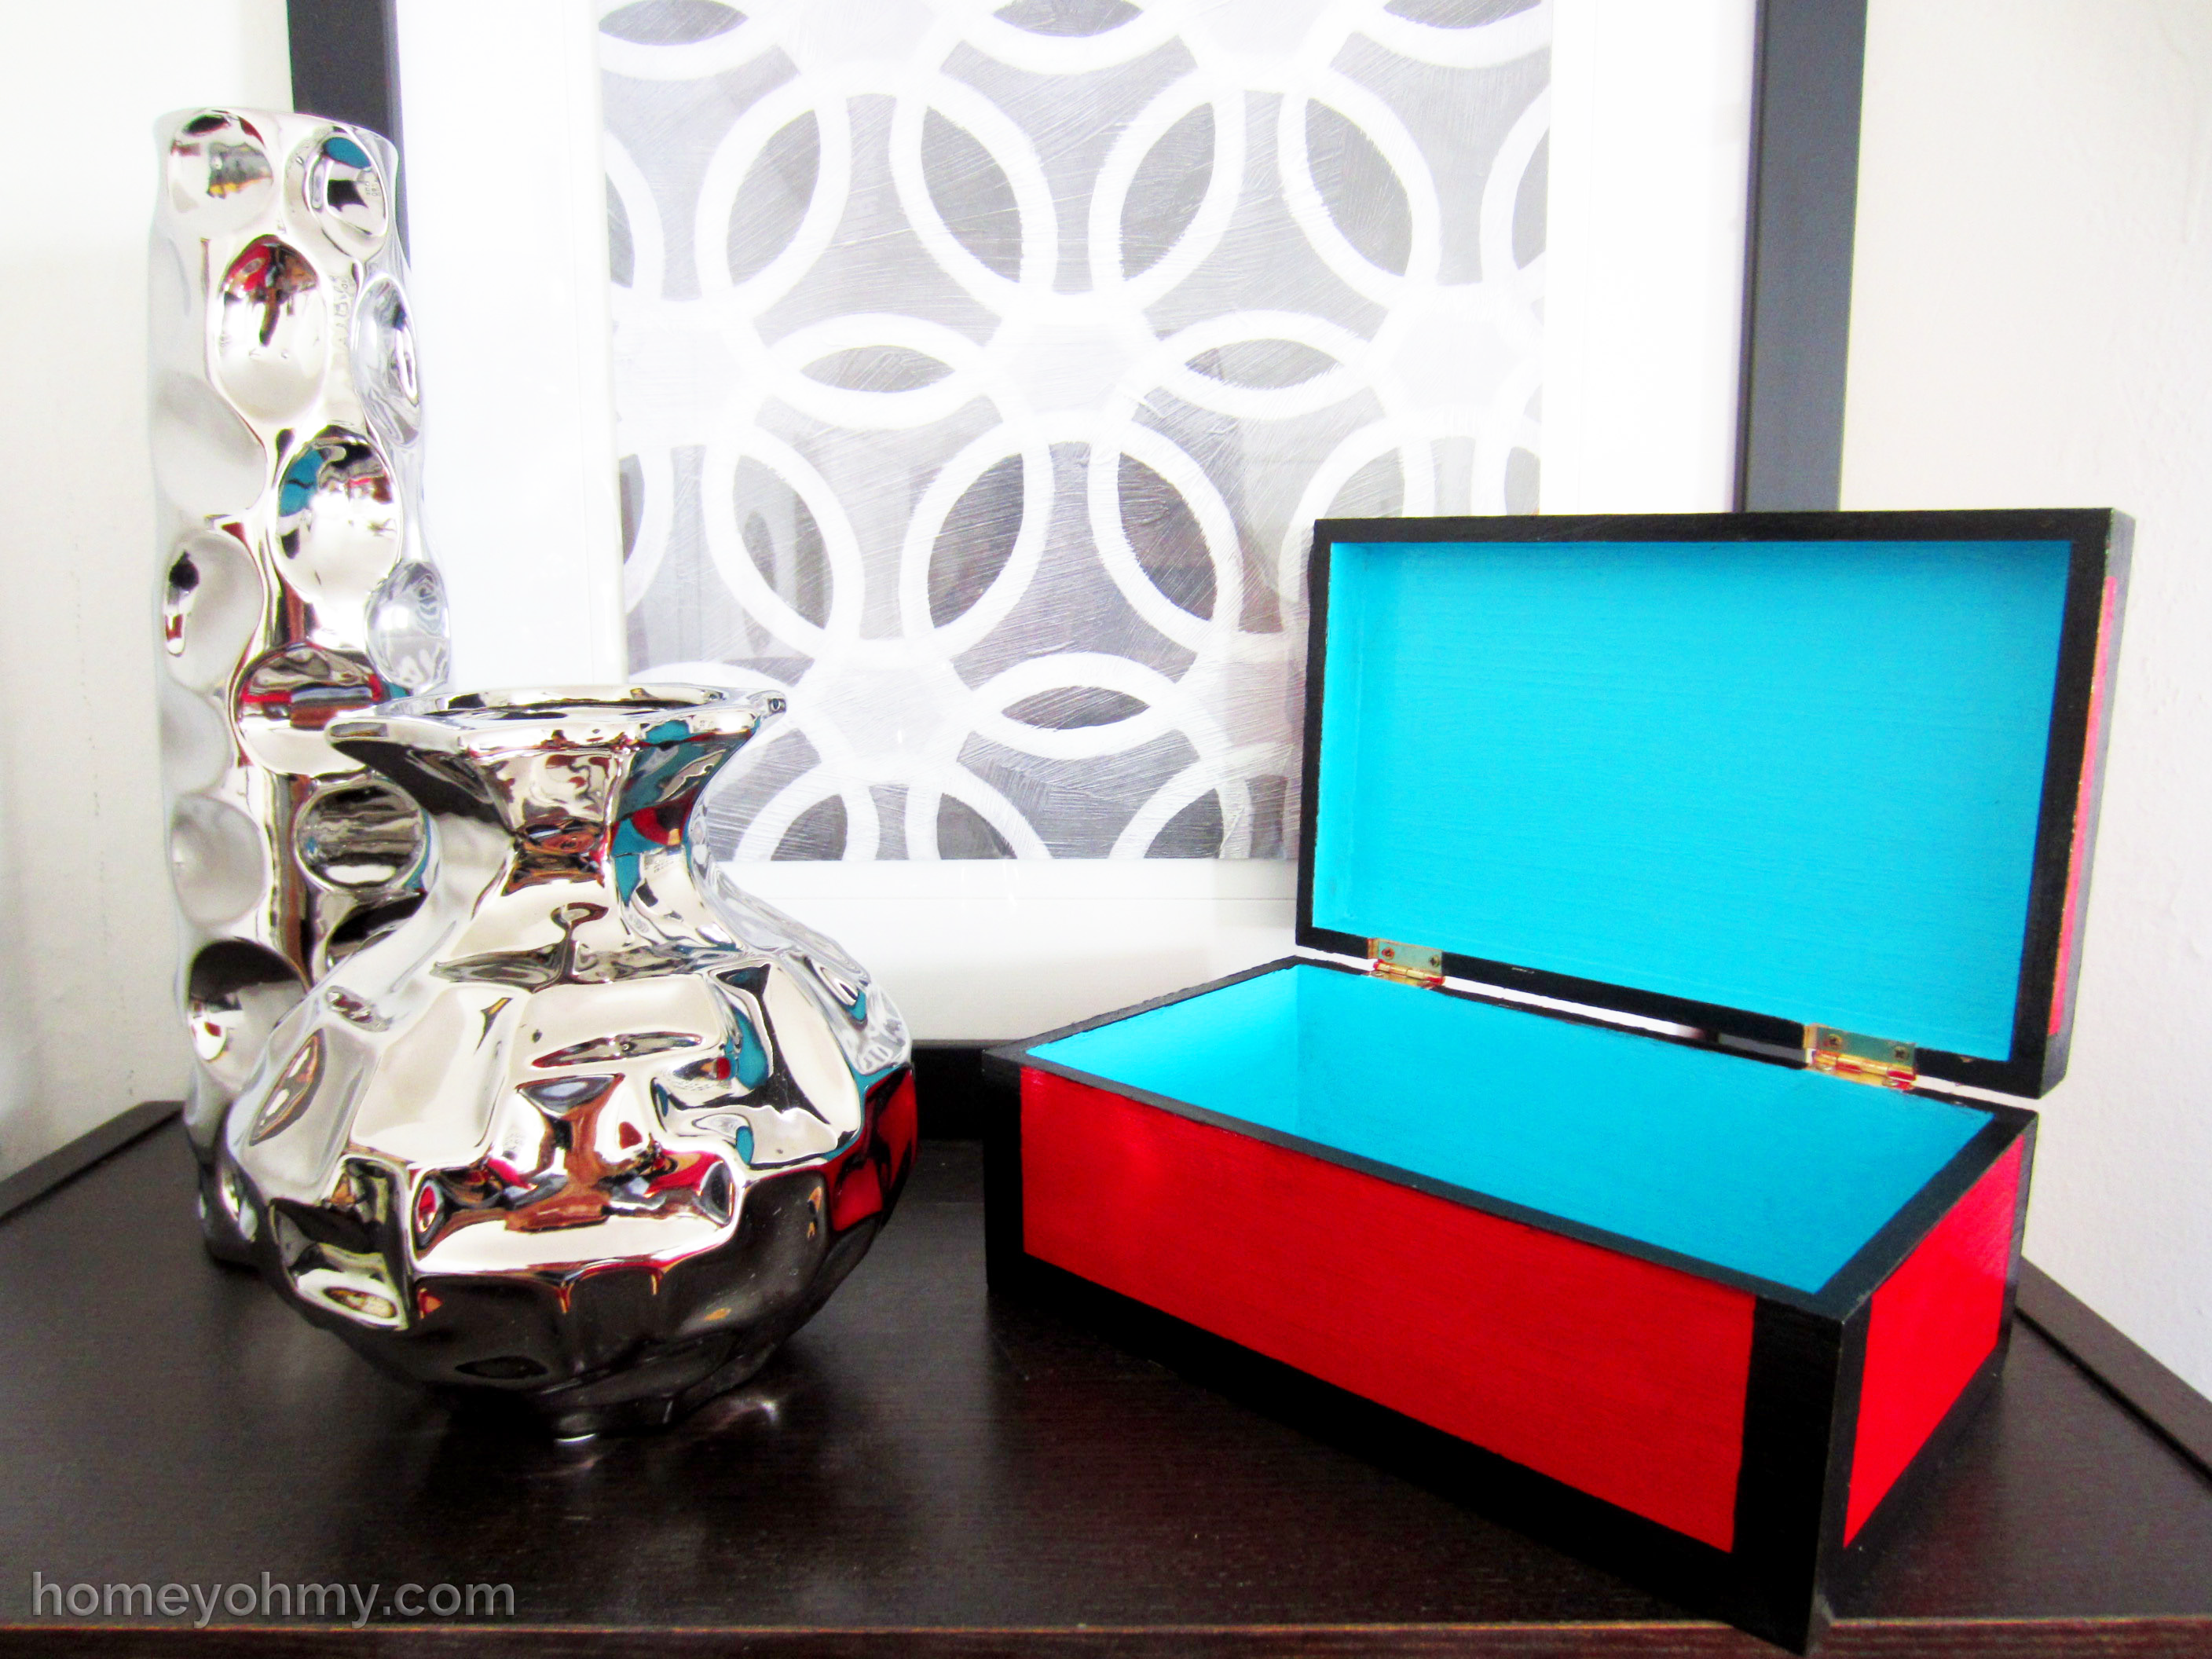
I also painted the inner rim black . It gives a nice, thin outline of the lid opening when the box is closed (if that didn’t make sense, hopefully the pictures will help). Again, let the paint dry, then apply the gloss varnish on all painted surfaces. Apply as many coats as you’d like. Since I didn’t want my box to be TOO shiny or look thickly painted, I only applied one layer.
The most time consuming part of this project is waiting for the paint to dry (it’s like watching paint dry- boring!) but the wait is absolutely worth it.
I LOVE how red and aqua/sky blue look together. They complement each other so well and I’m especially loving the blue color I chose. It’s so fresh and bright! It’s an unexpected surprise when you open the box.
What colors would you use for your lacquered box? Leave a comment to let me know!
Why yes, I do want my place to look like a Sephora store.
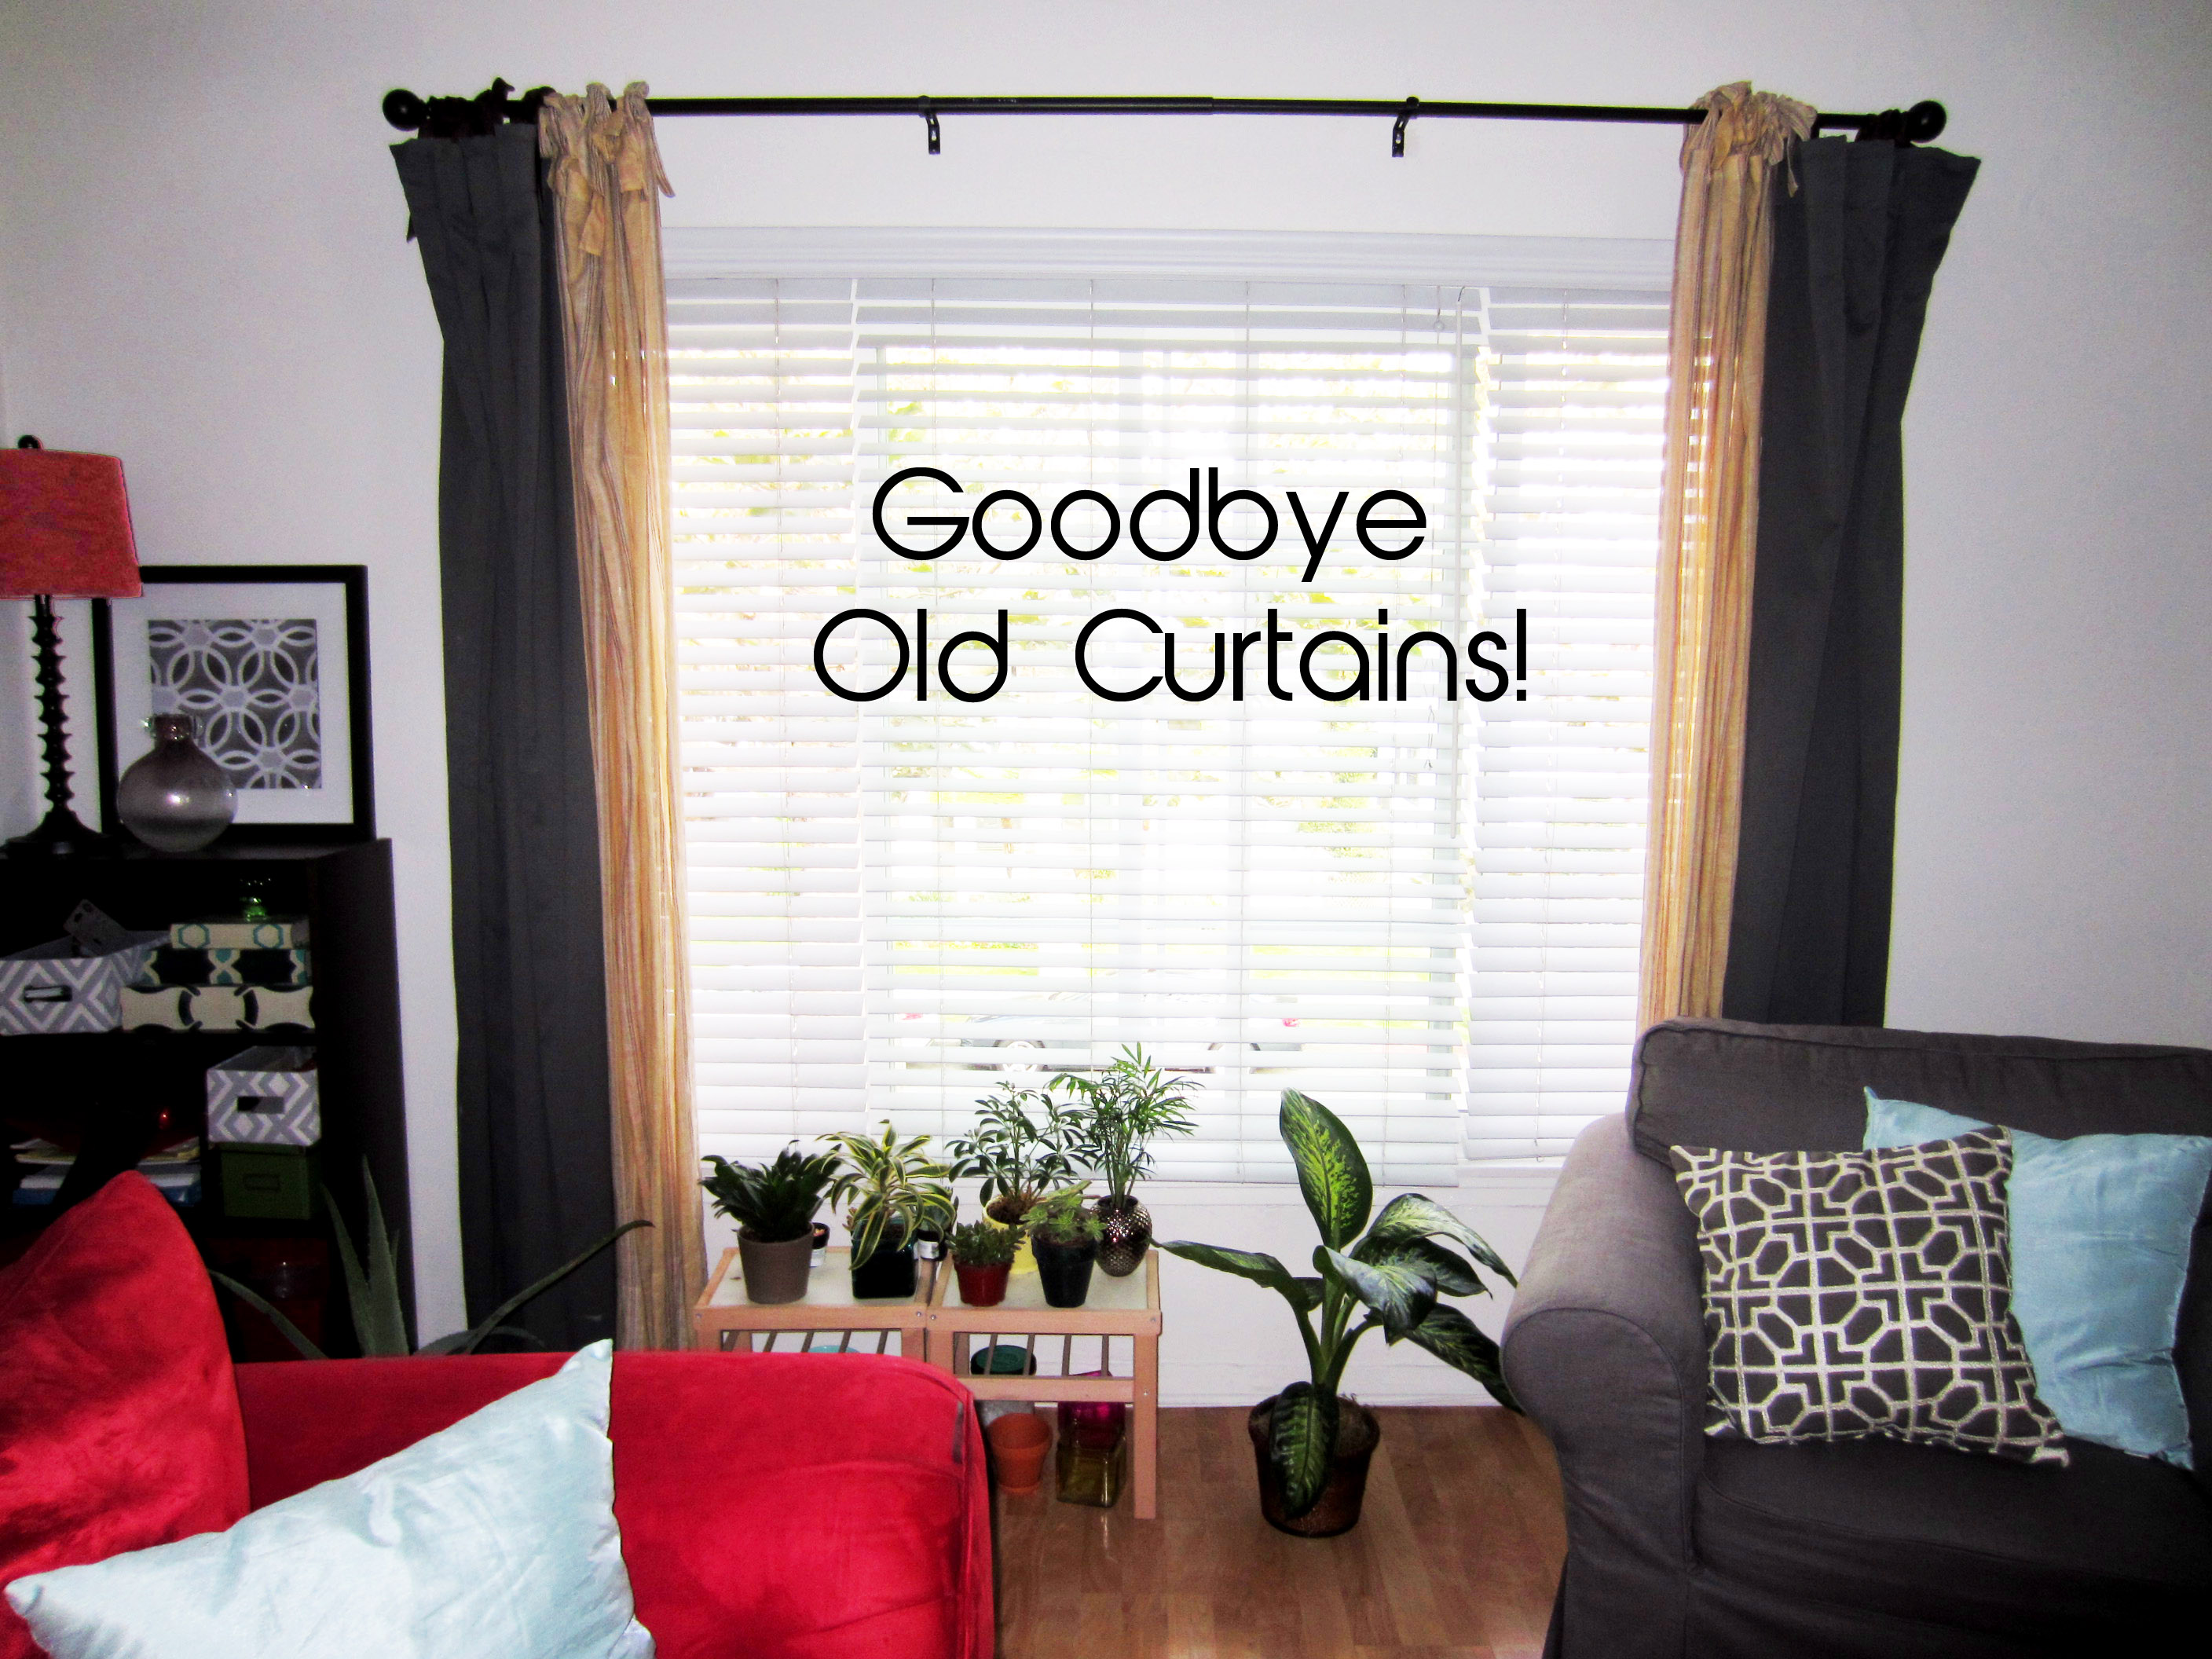
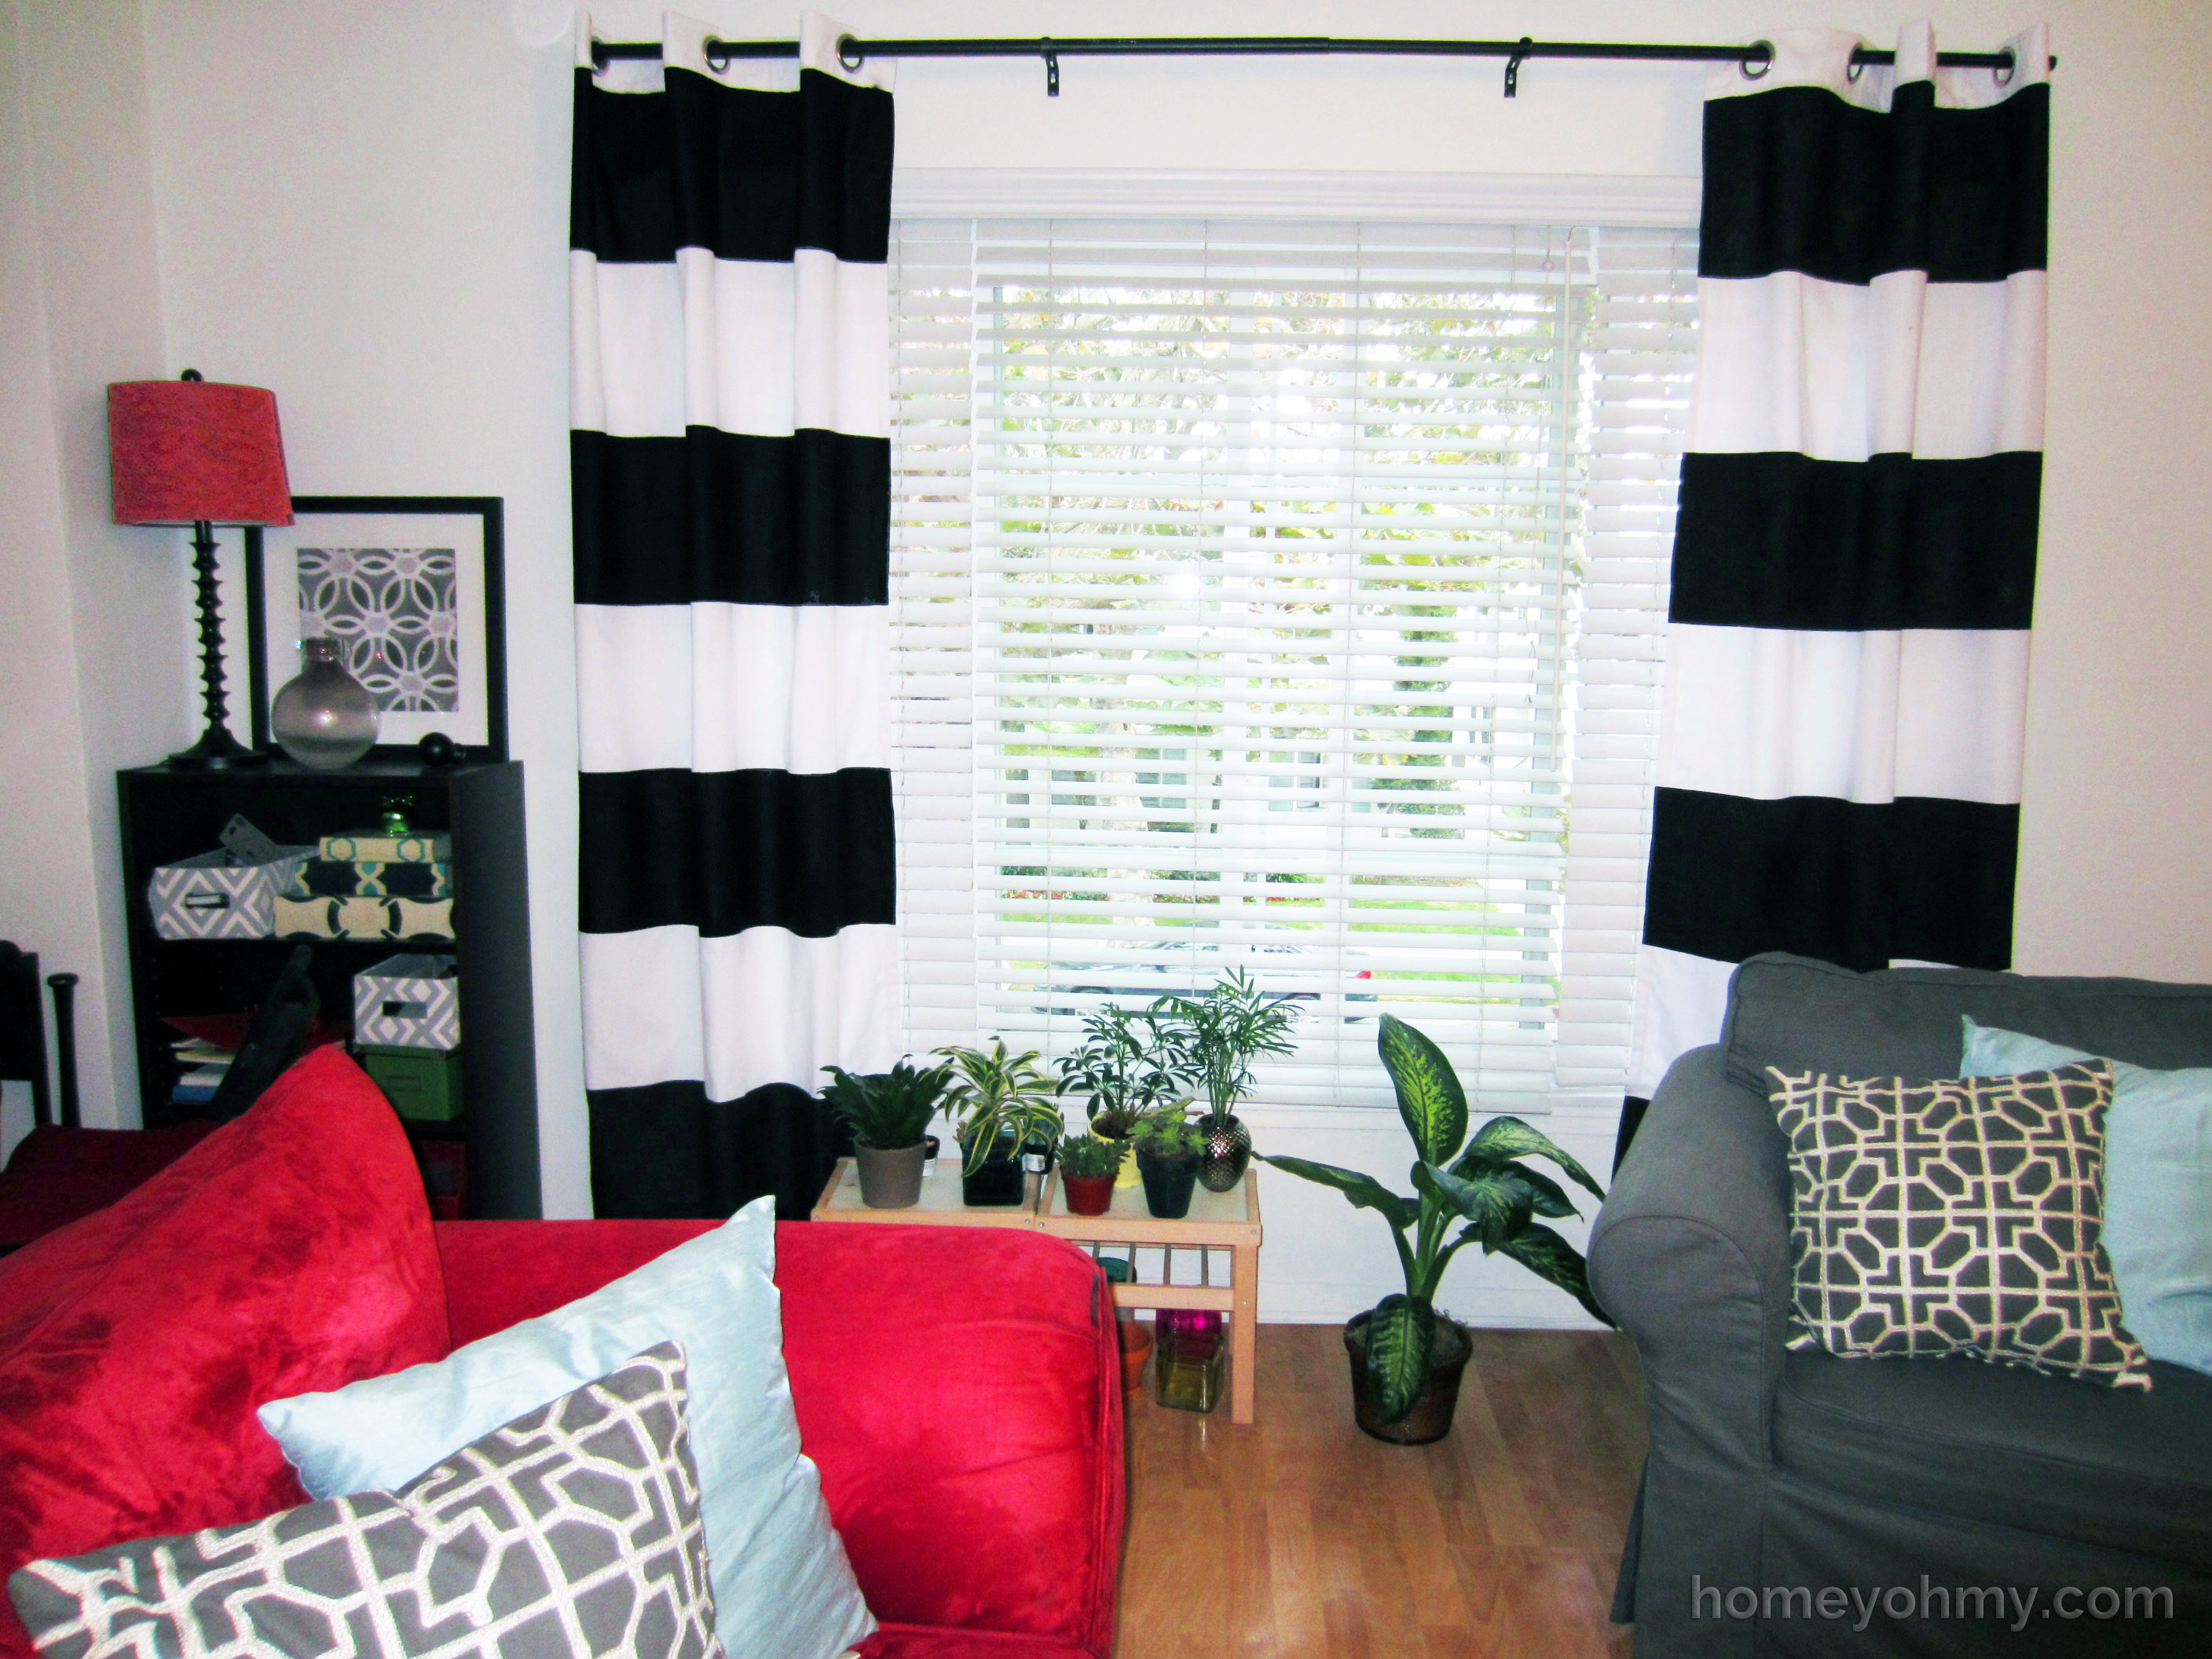
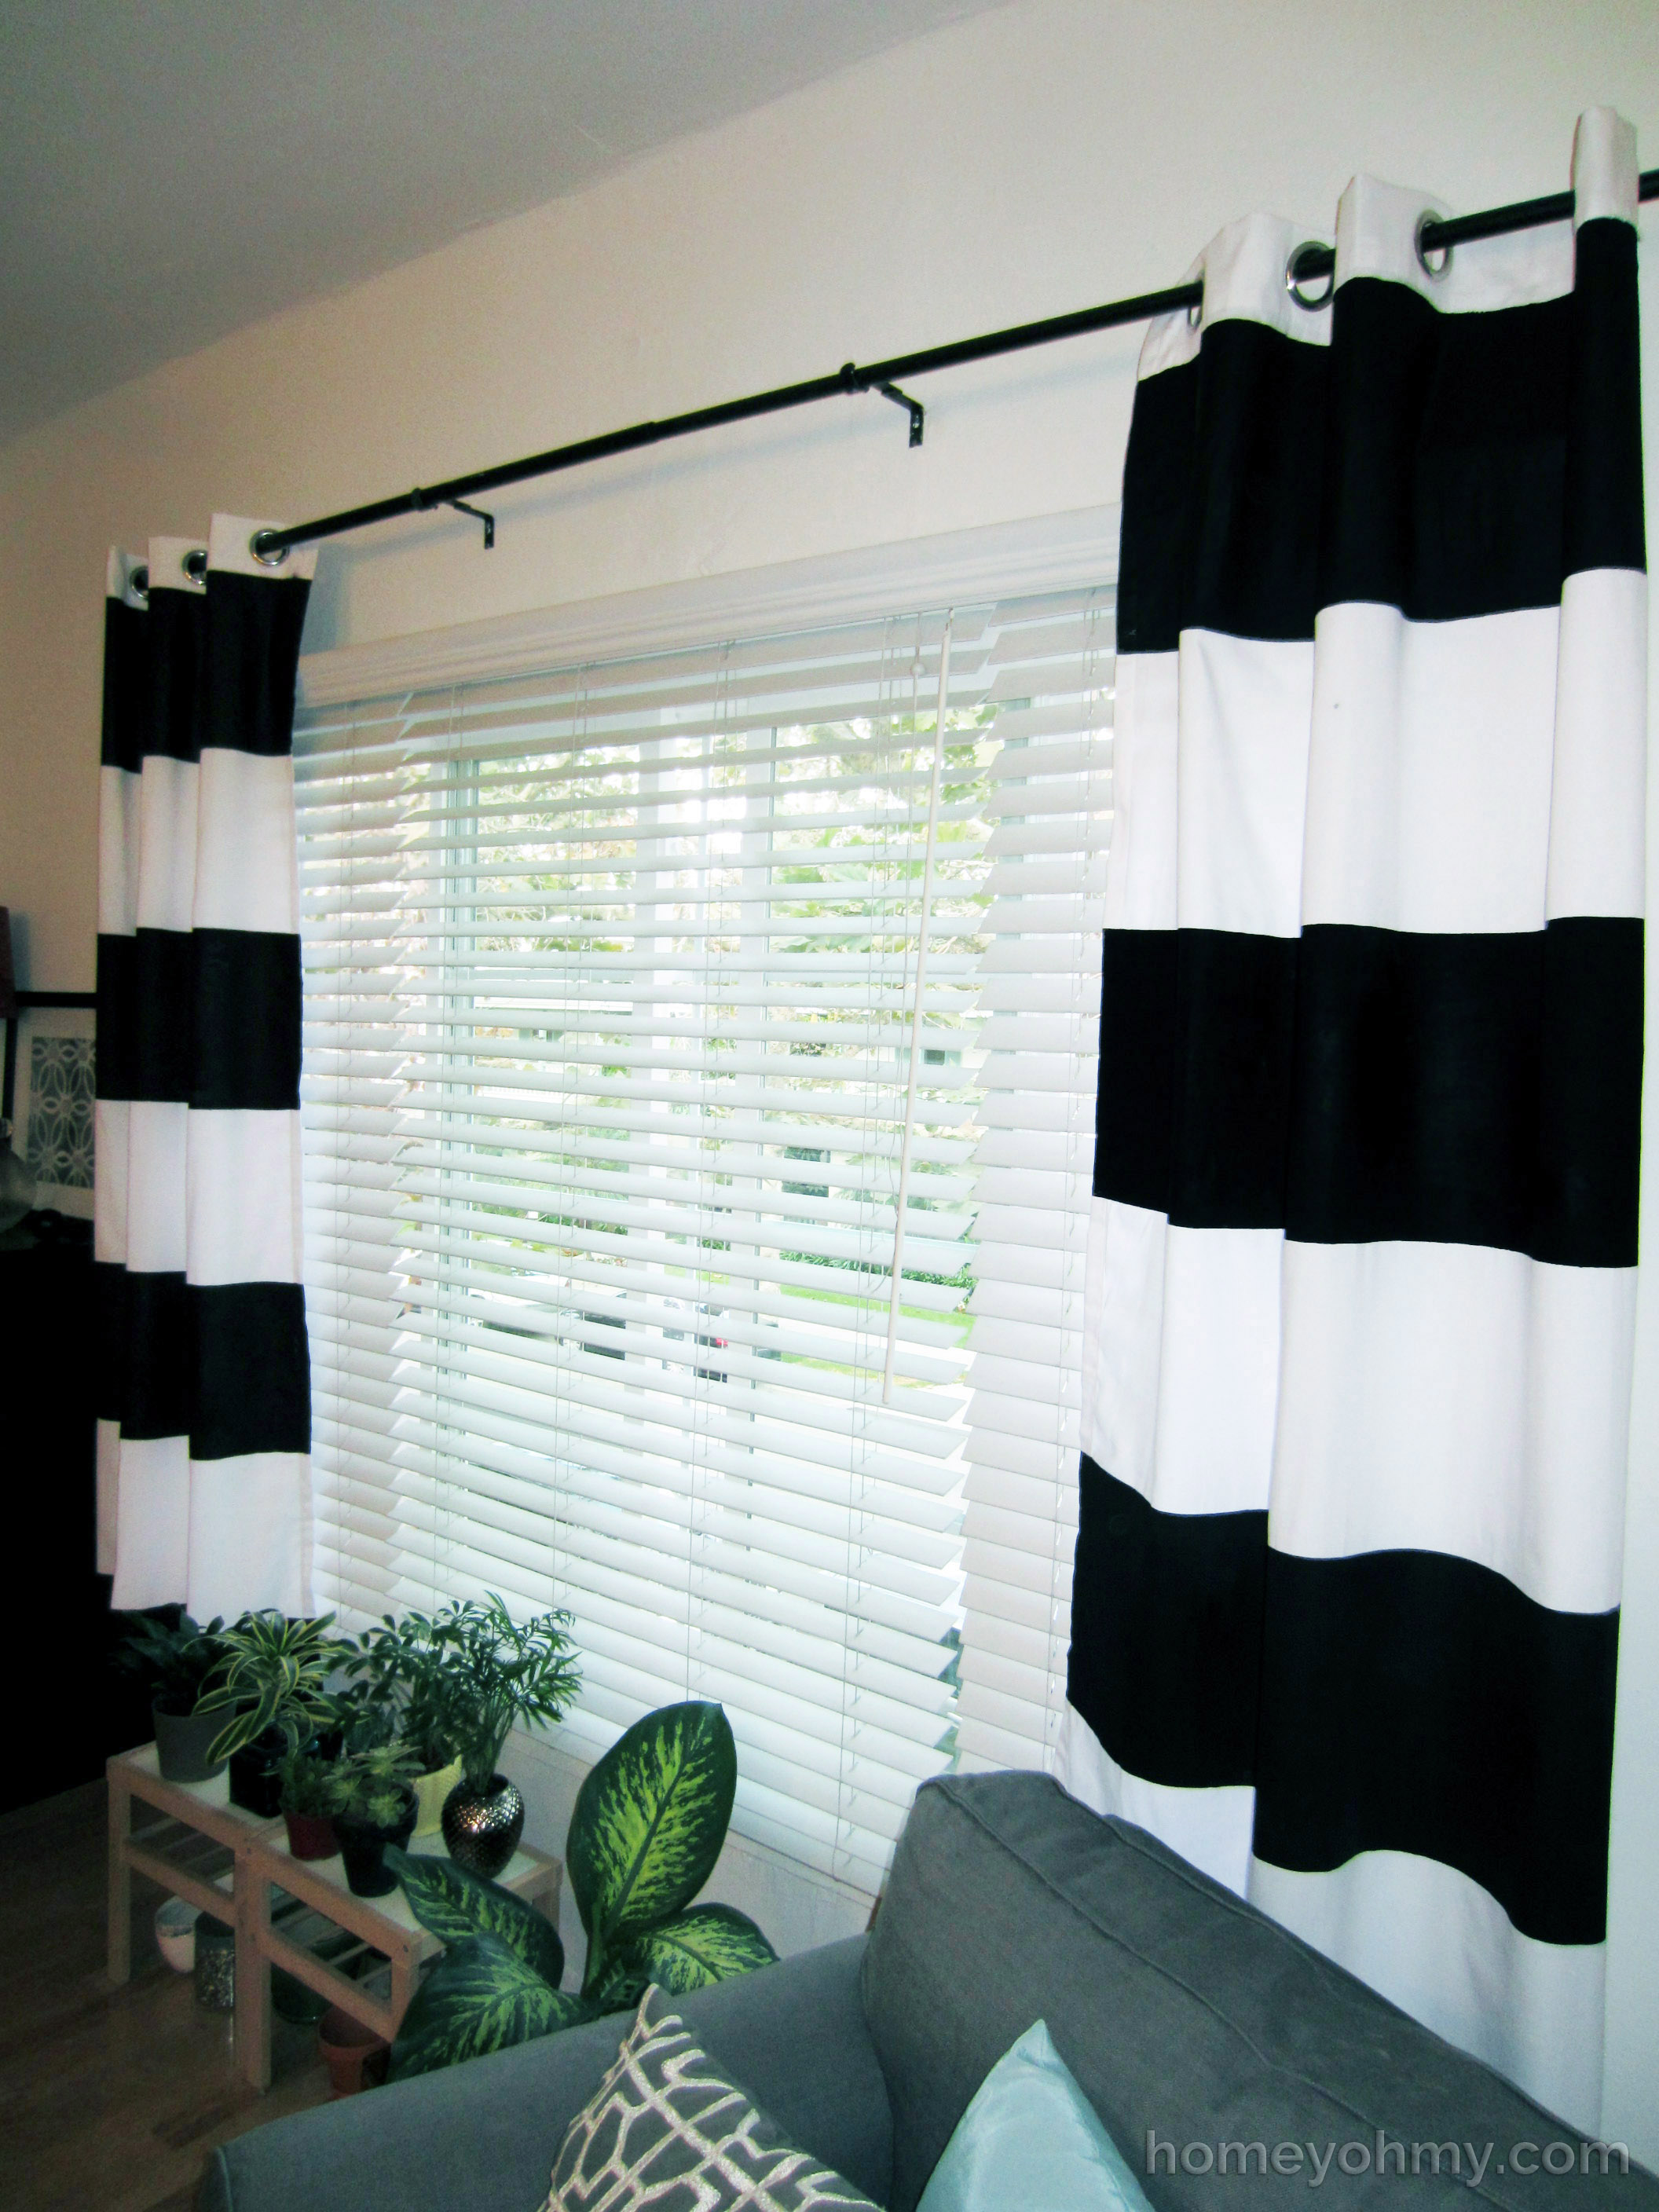
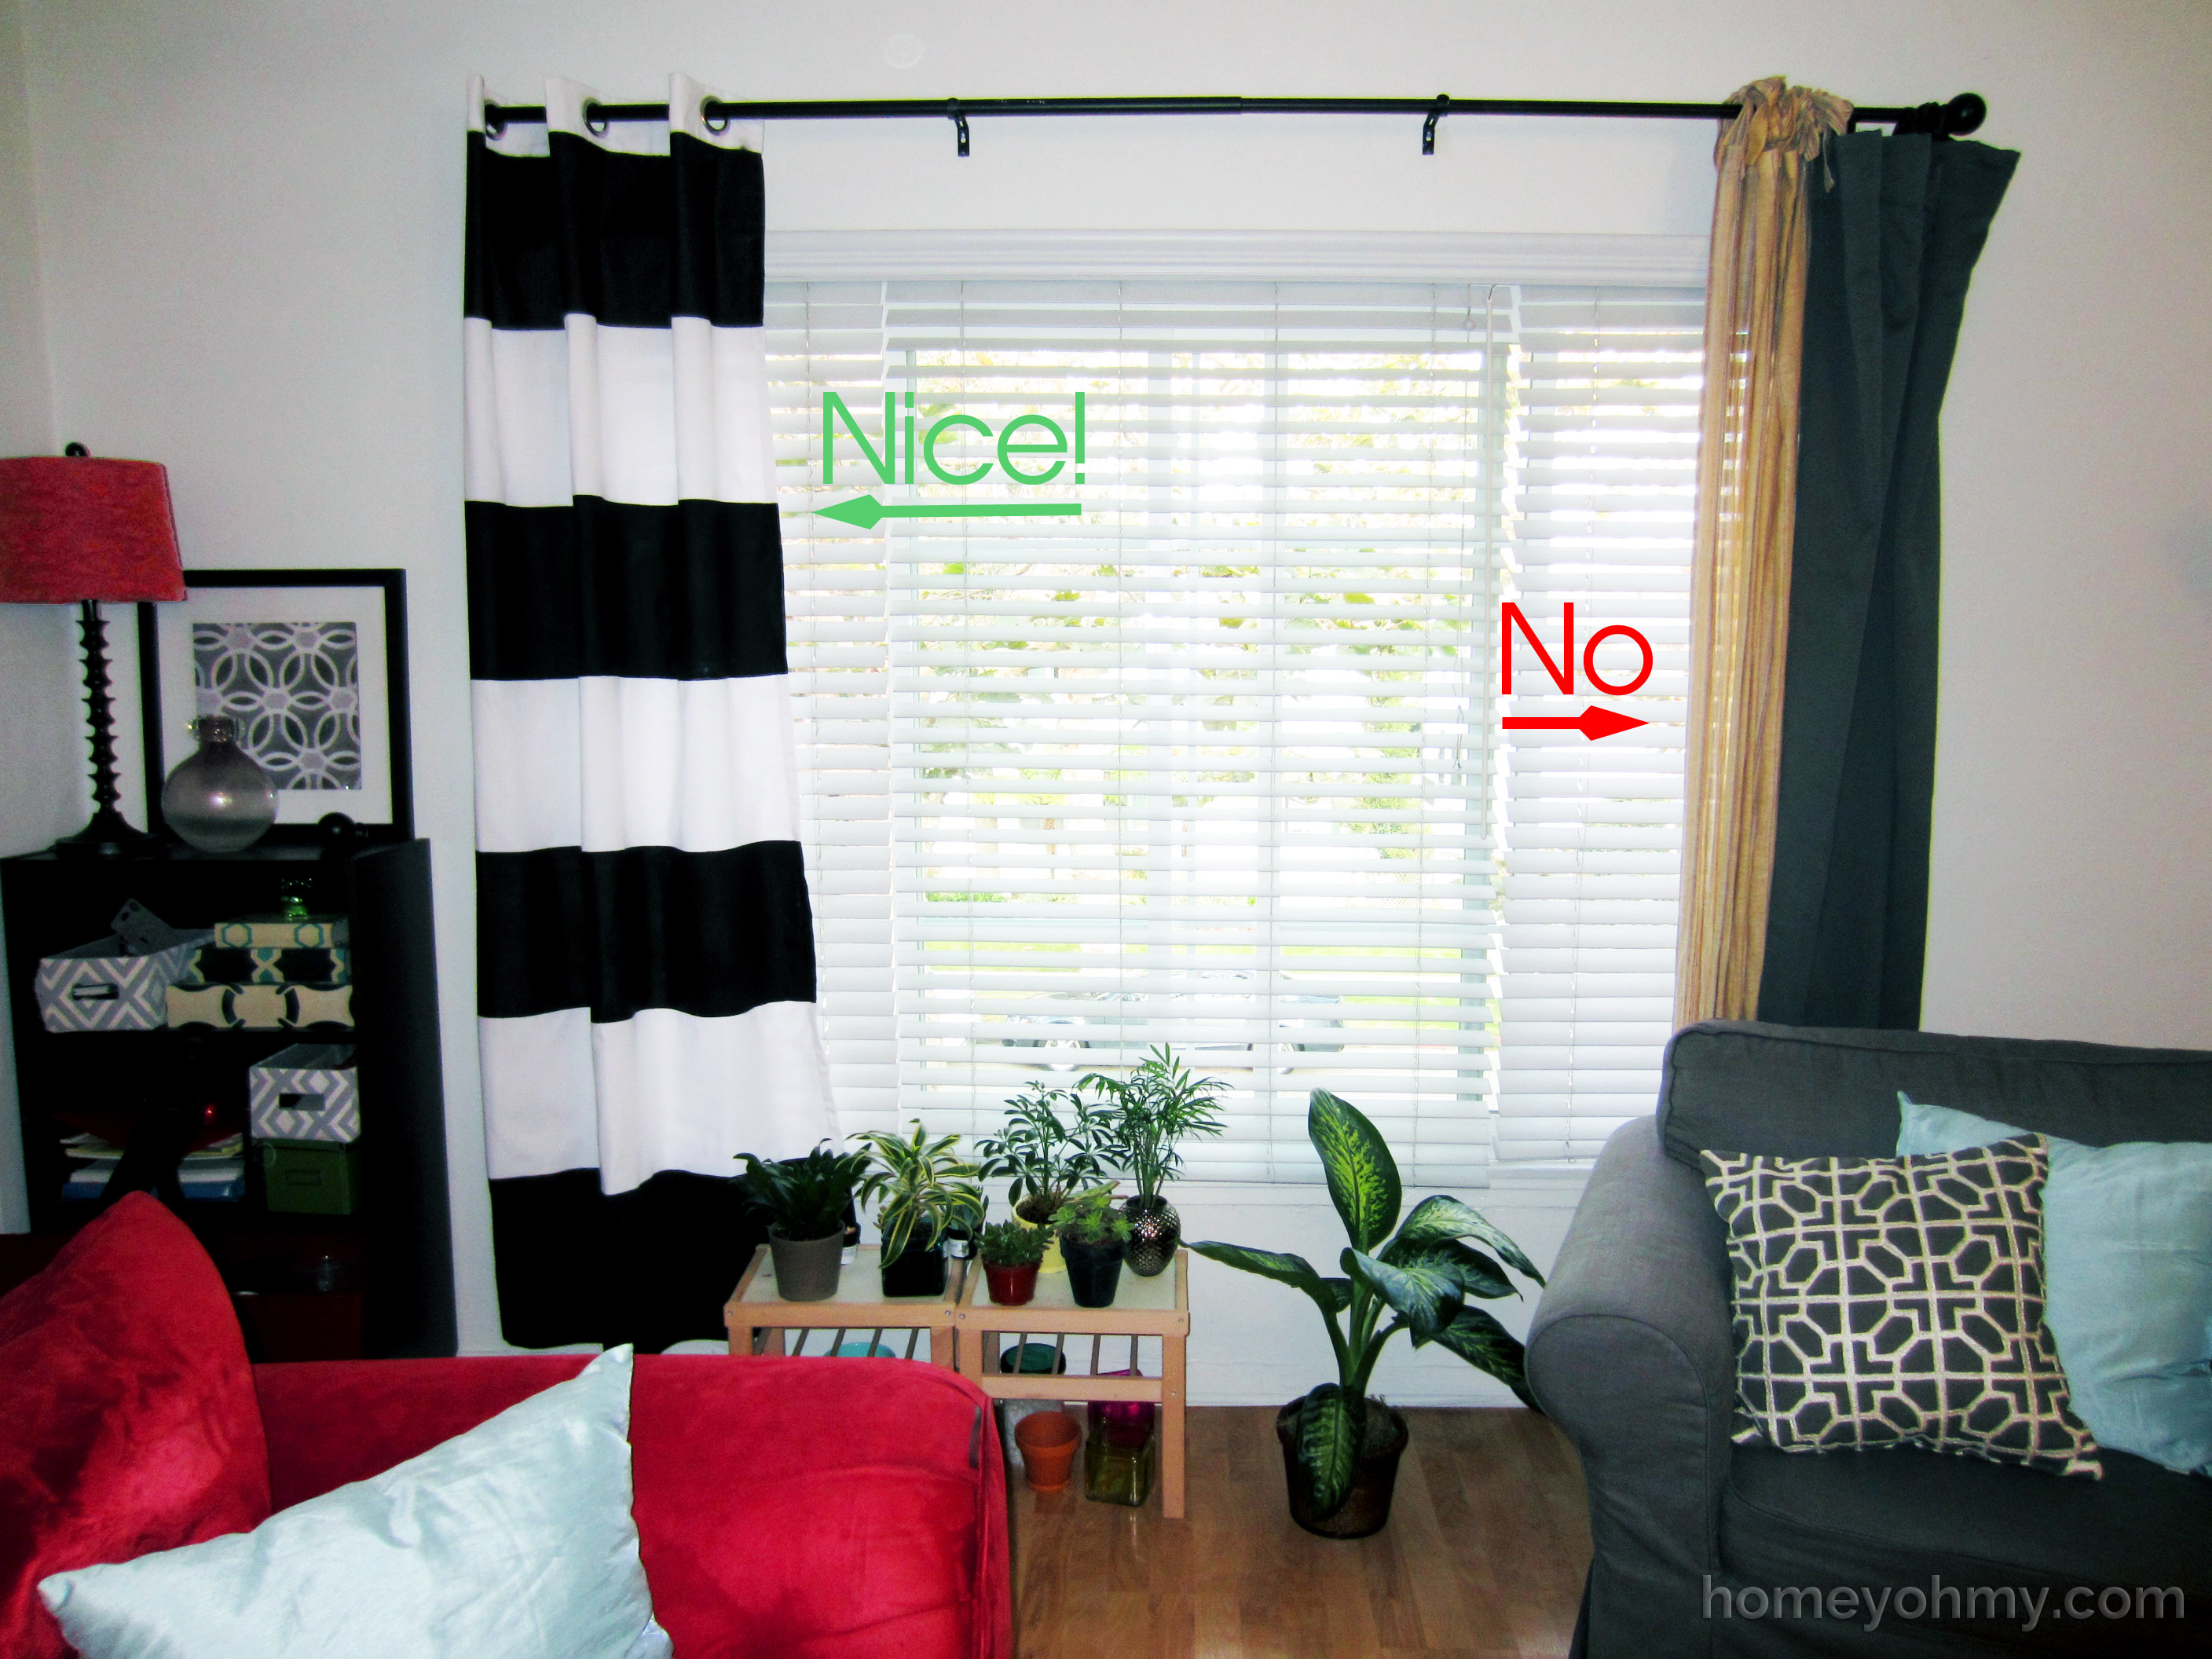
Black and white is probably my favorite color combination and I love how it looks with red. Since my couch is red, I felt the bold, black and white stripes would fit nicely in my living room. The curtains I had before were left behind by the previous tenant and although free stuff is my favorite kind of stuff, I thought they were a bit too drab. These new curtains are a fresh change and can actually work in a lot of different spaces. I’m a huge fan of that kind of versatility.
Before we get started, let’s have a moment of keeping it real. This project was not easy for me nor did I complete it with the finesse I’d want to make it seem like (you are, after all, my cherished reader that I’d like to impress ;)). At one point, I had unknowingly stepped in some paint and left footprints all over my hardwood floor. I don’t know how many times I yelled “I ruined it!!!” during this project, but I’m glad to report that they weren’t ruined to the point where I couldn’t use them. As the saying goes, don’t let perfect get in the way of good. I actually saw that on Pinterest and am now wishing I re-pinned it. Darn it.
On to the project!
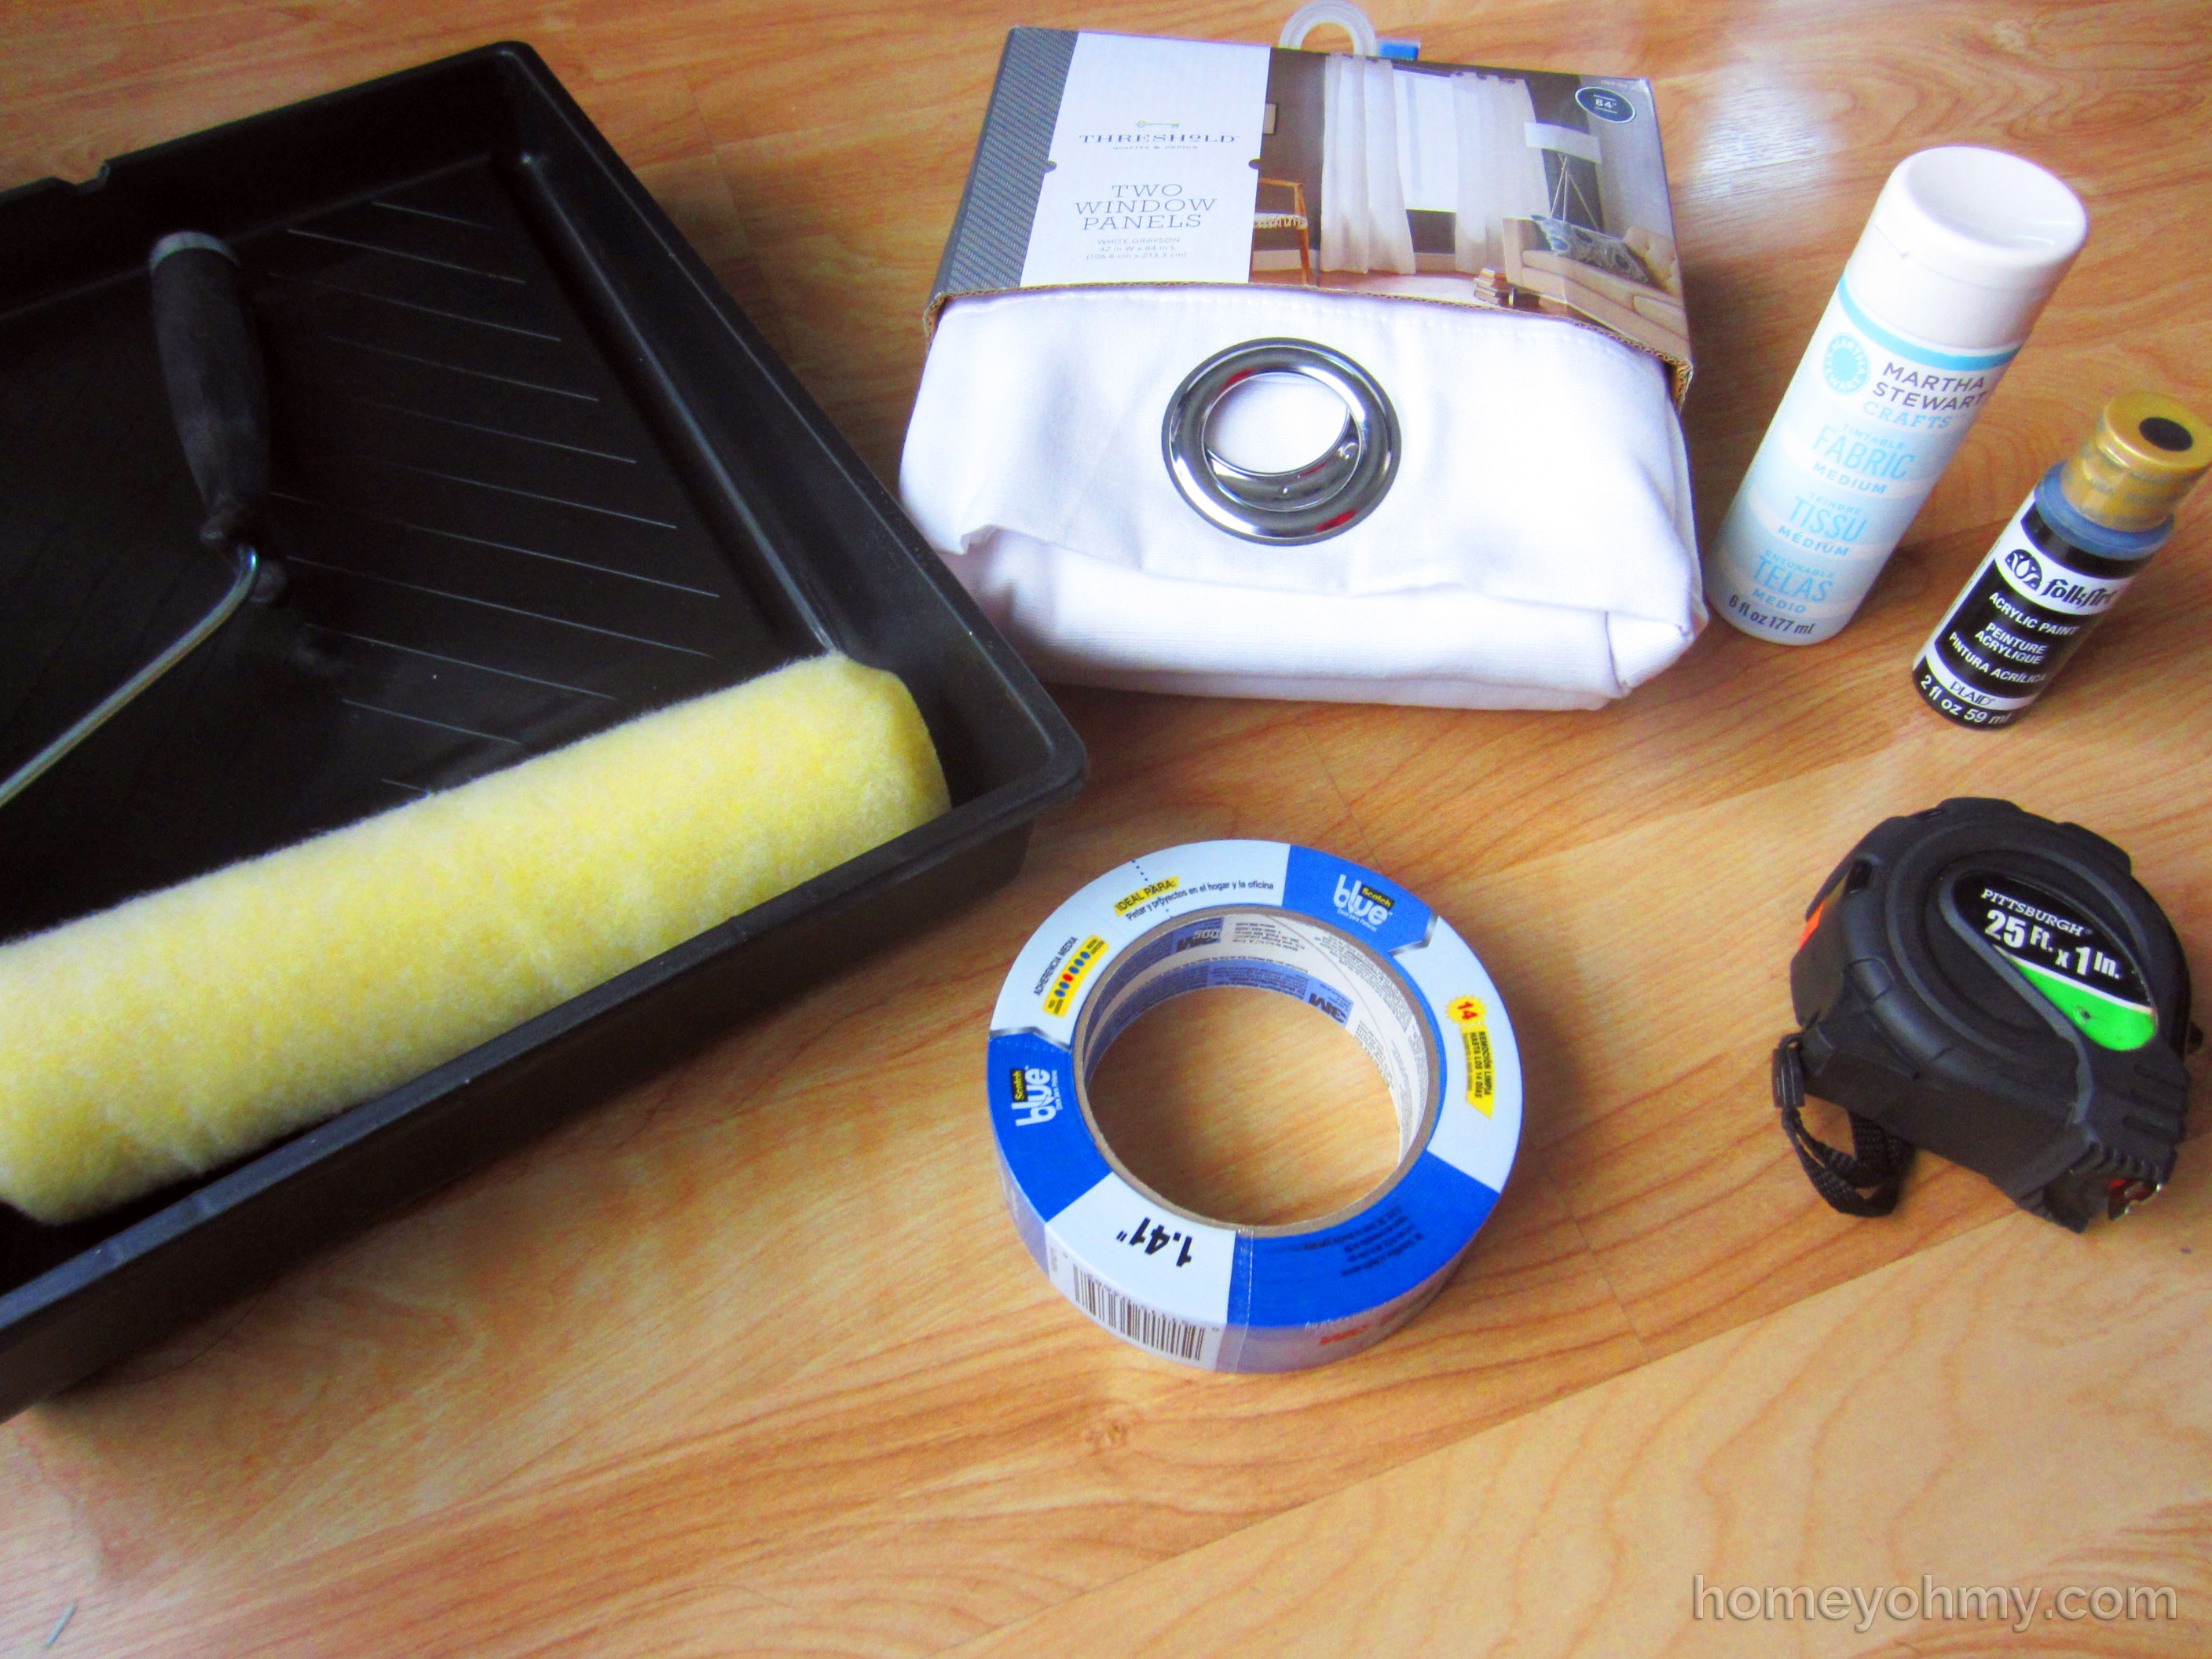
Materials:
paint roller
paint tray
white curtains
painters tape
acrylic paint- I used about 18oz (9 bottles) of Folk Art Pure Black
textile medium- I used 9oz (1.5 bottles) of Martha Stewart’s Fabric Medium
measuring tape
garbage bags, or whatever you want to use to protect your floor
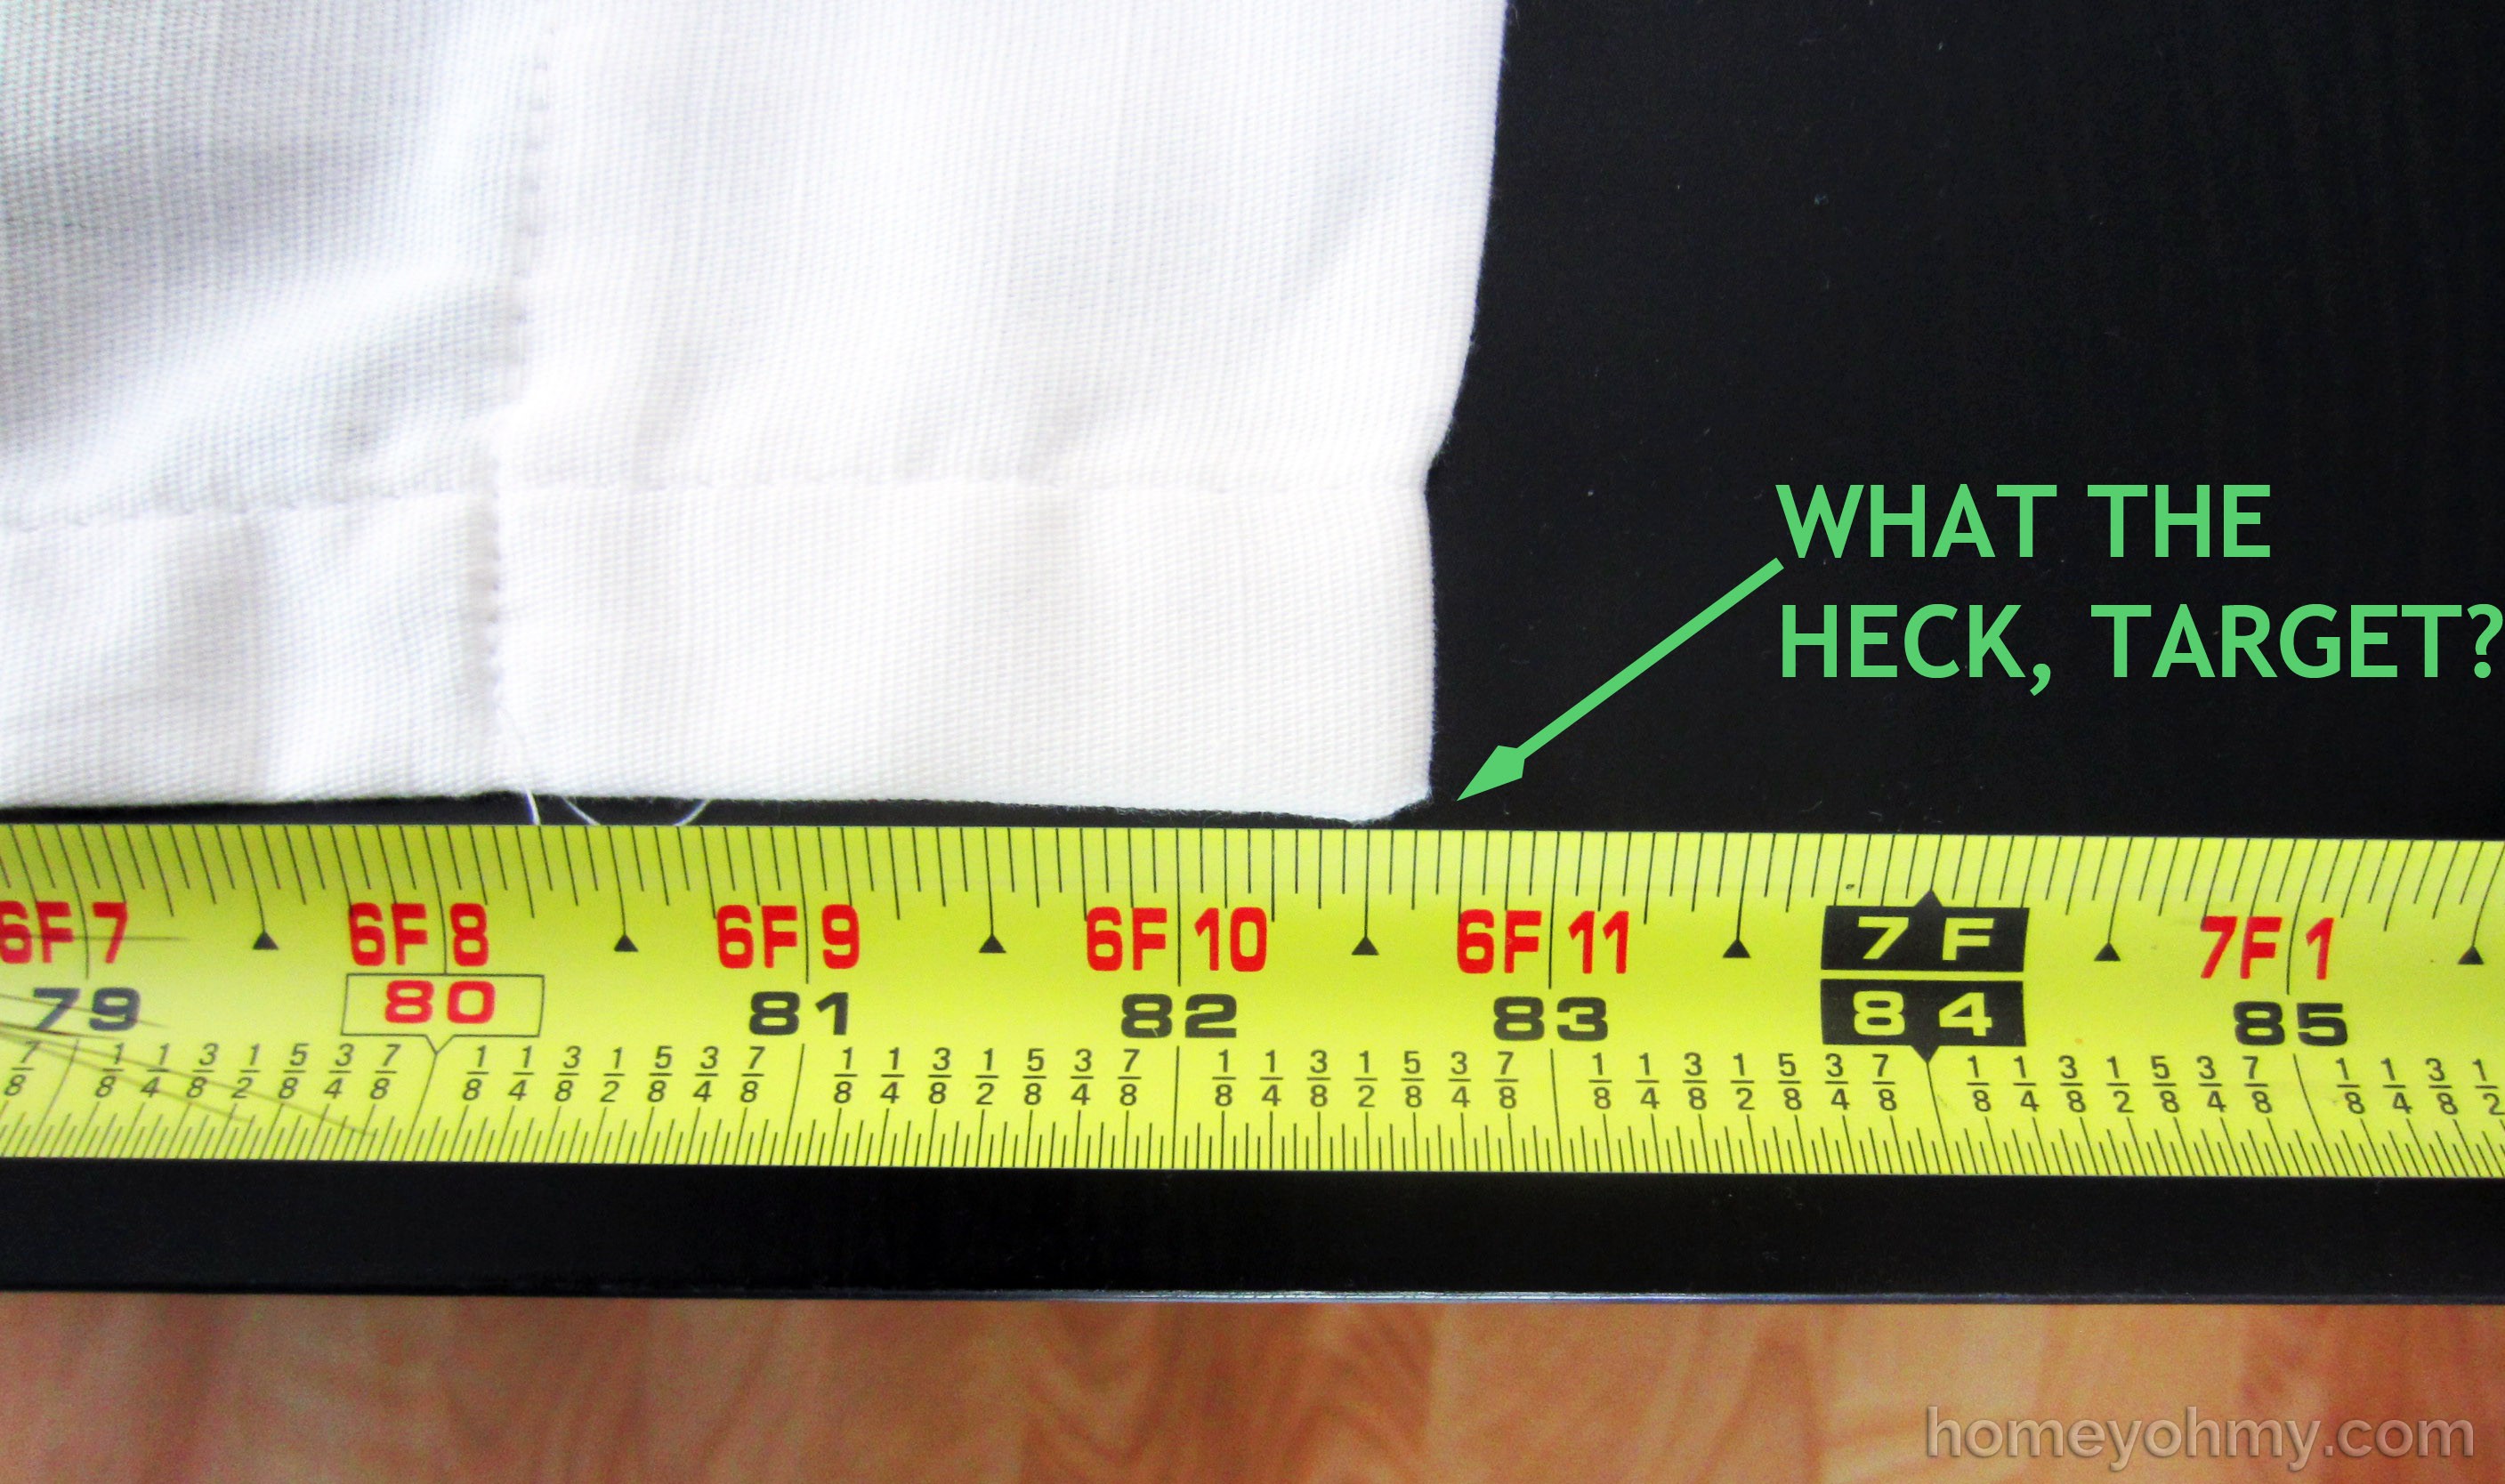
First, measure out the length of the curtains and figure out how thick you want each stripe to be. I hit frustration in this step because the curtains, which I got from Target, were supposed to be 84″ long but were actually shorter.
Most of the reviews online actually mention that these curtains run short, which I wish I had read beforehand so that I could have gotten the 95″ ones! But never mind that now.
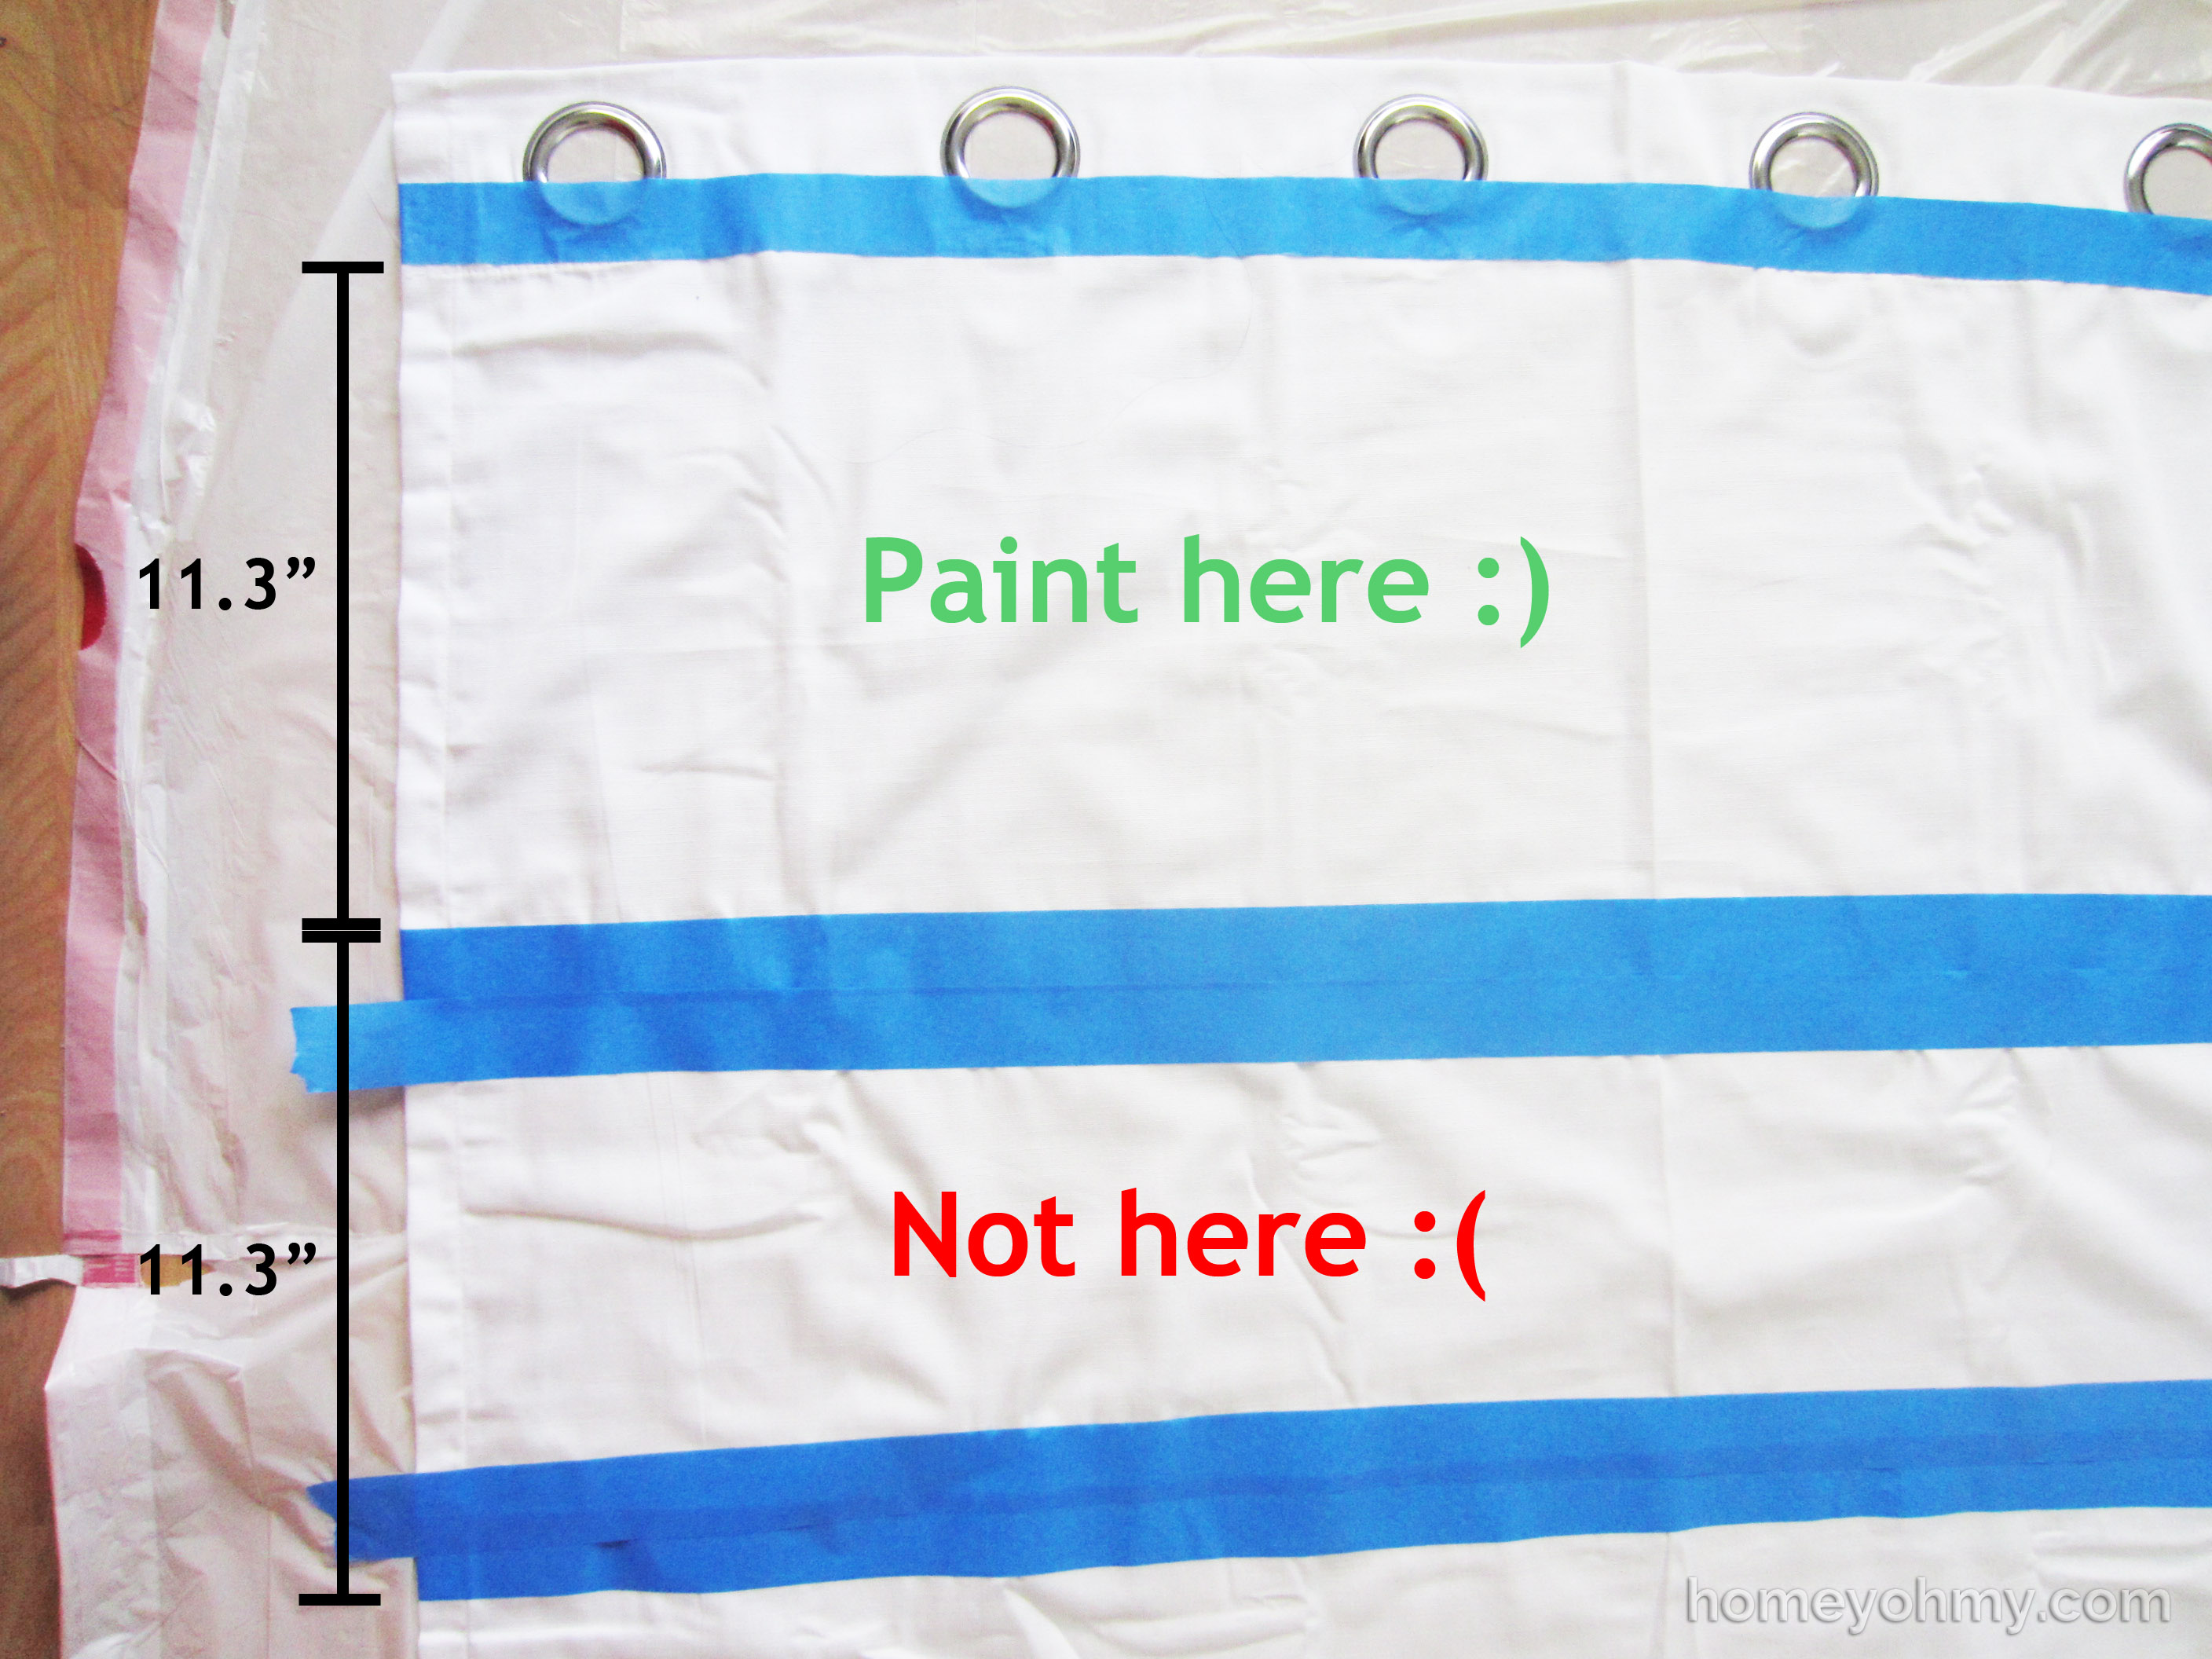
I decided to make each stripe 11.3″ wide starting just below the grommets since I didn’t want to paint around them. With a pencil, I marked the edges of each side of the curtains at 11.3″ intervals. These marks act as a guide for where to place the painters tape. The key thing to keep in mind is that you want the tape to lay on the parts of the curtain that will not be painted. Thus, the tape should not look evenly spaced but should be closer together between the edges of the stripes that will remain white.
I doubled up on the tape in the “Not here :(” area as a reminder to myself that it should remain white.
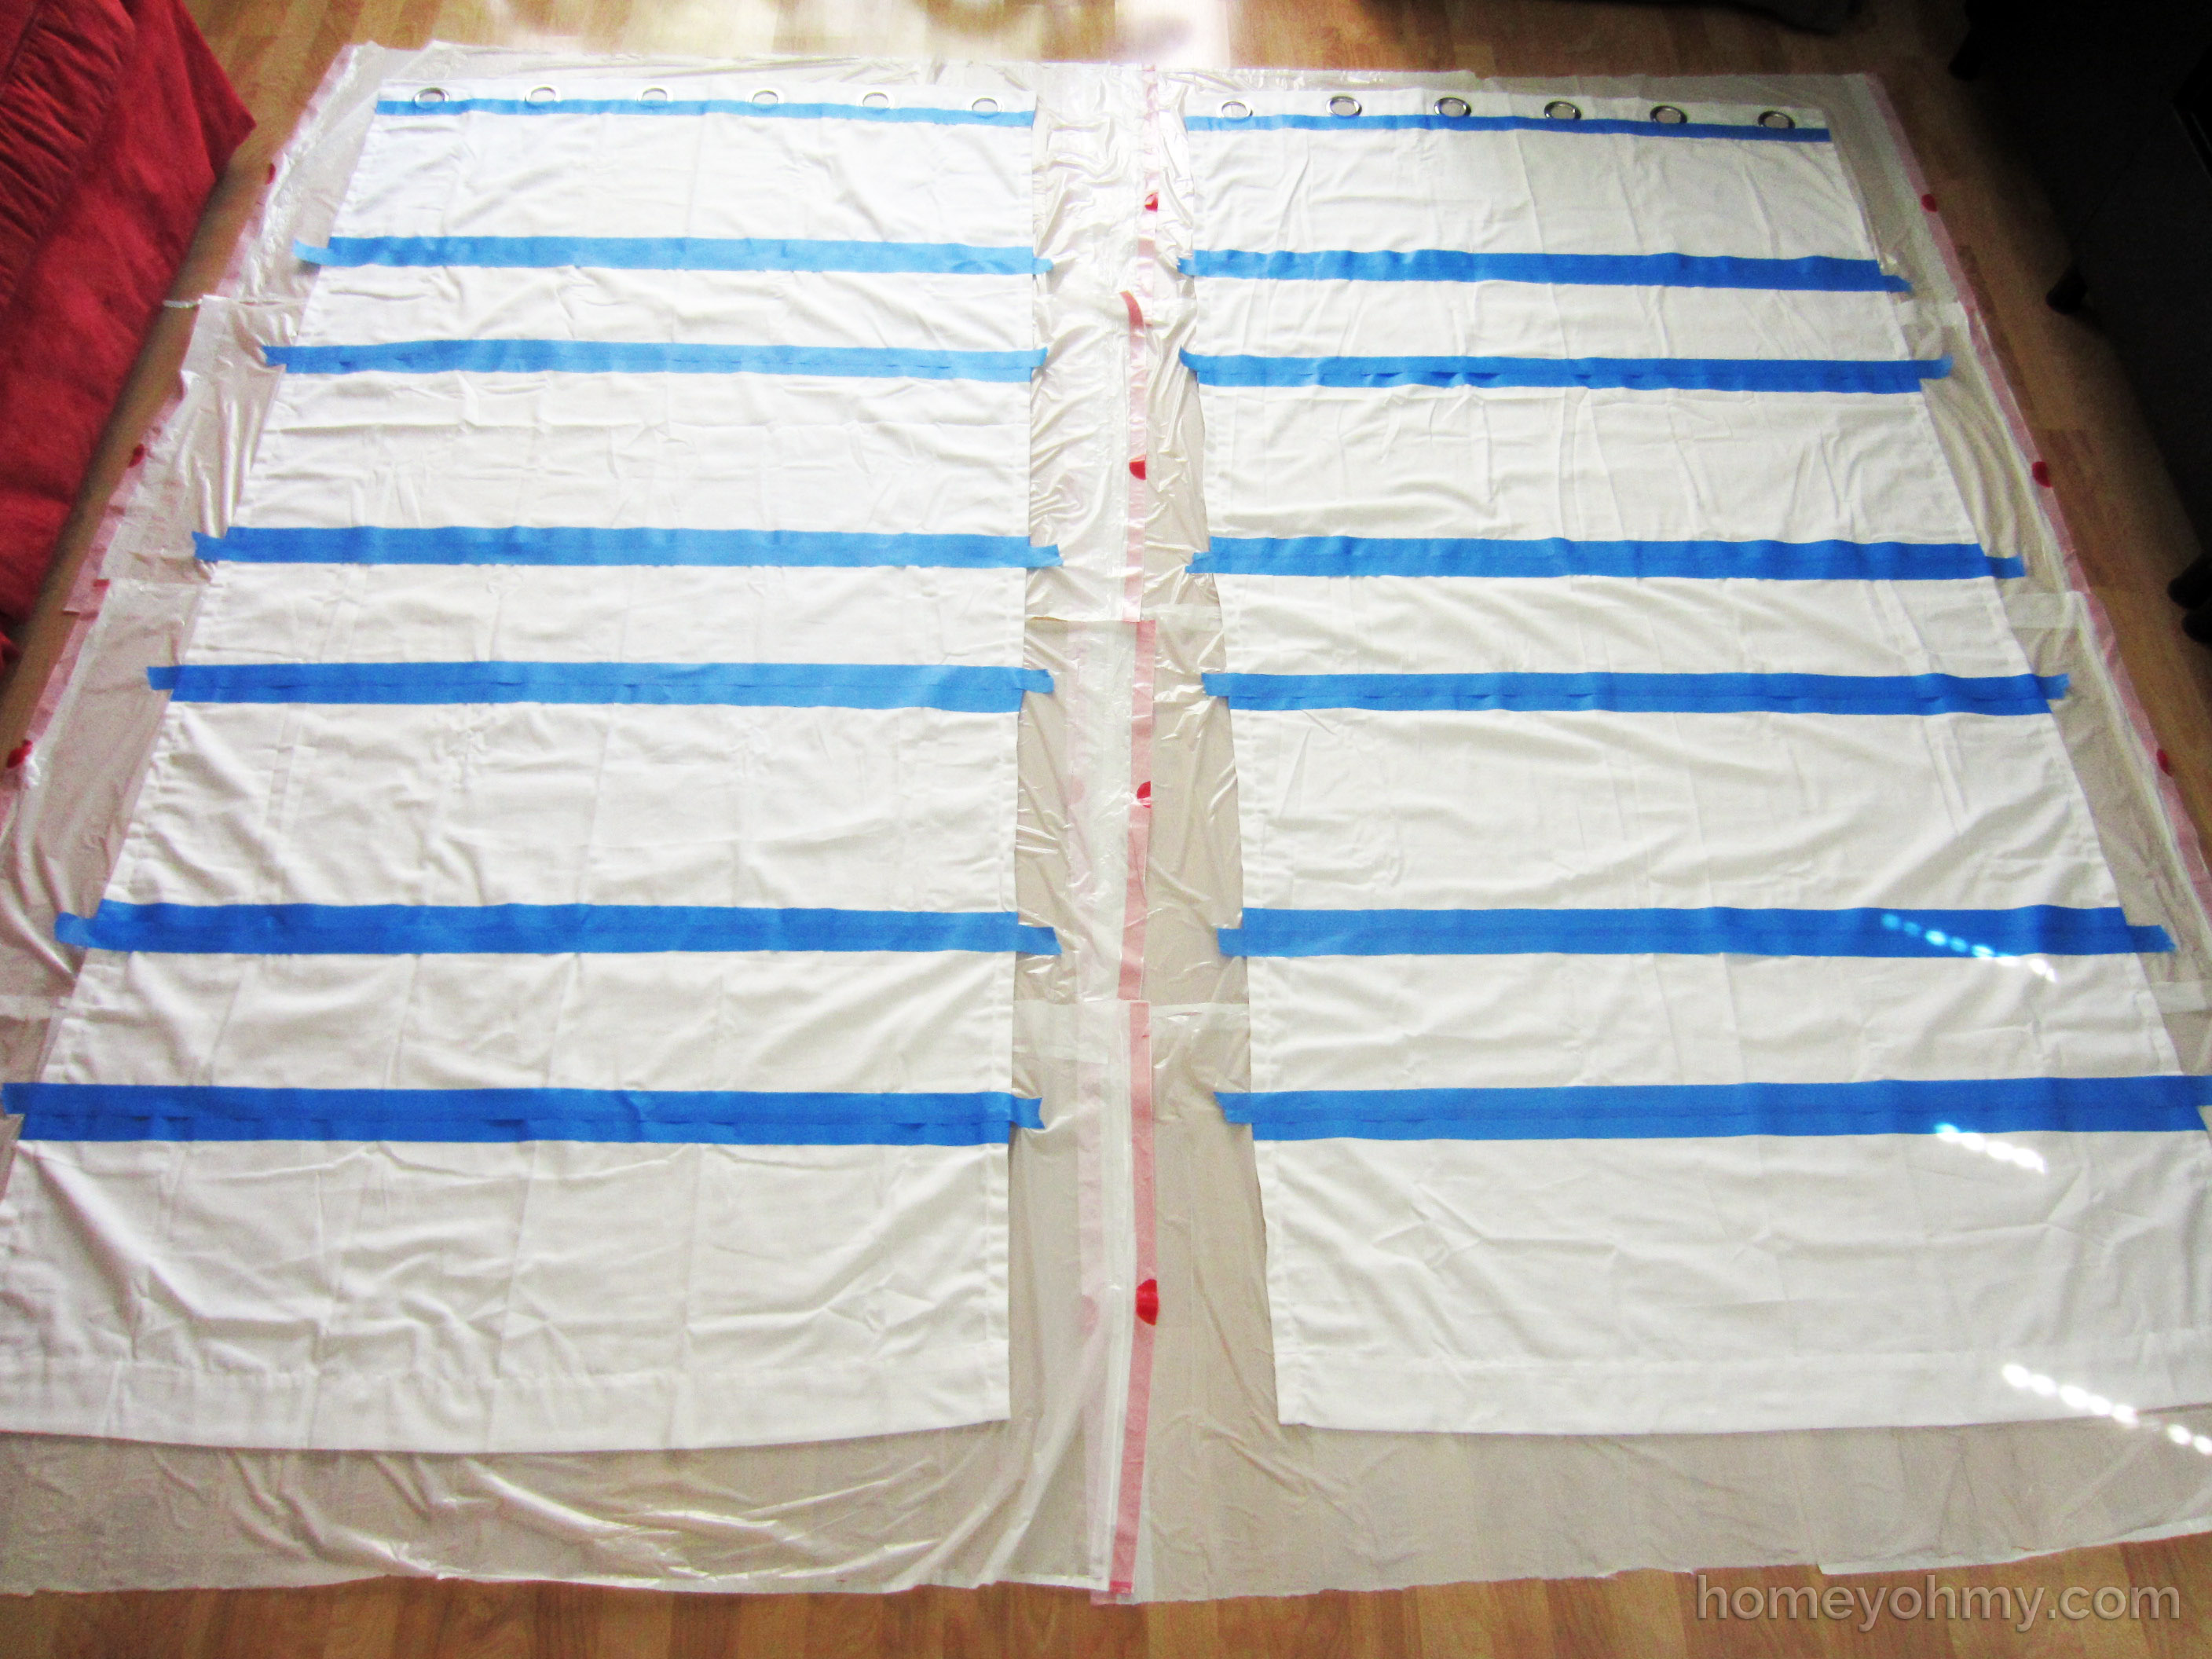
After the curtains are all taped up, they should look something like this:
Try to stick the tape down as flat as possible with minimal bumps and ridges in the fabric. This is so that there is little to no paint that leaks past the edges of the tape. Smooth over the tape with your hands to reinforce the adhesion.
Before painting, make sure you have something covering your floor under the entire area of the curtains. The paint WILL leak through the back so make sure your floor is protected. I used garbage bags that I cut open, which ended up being the perfect width for each curtain.
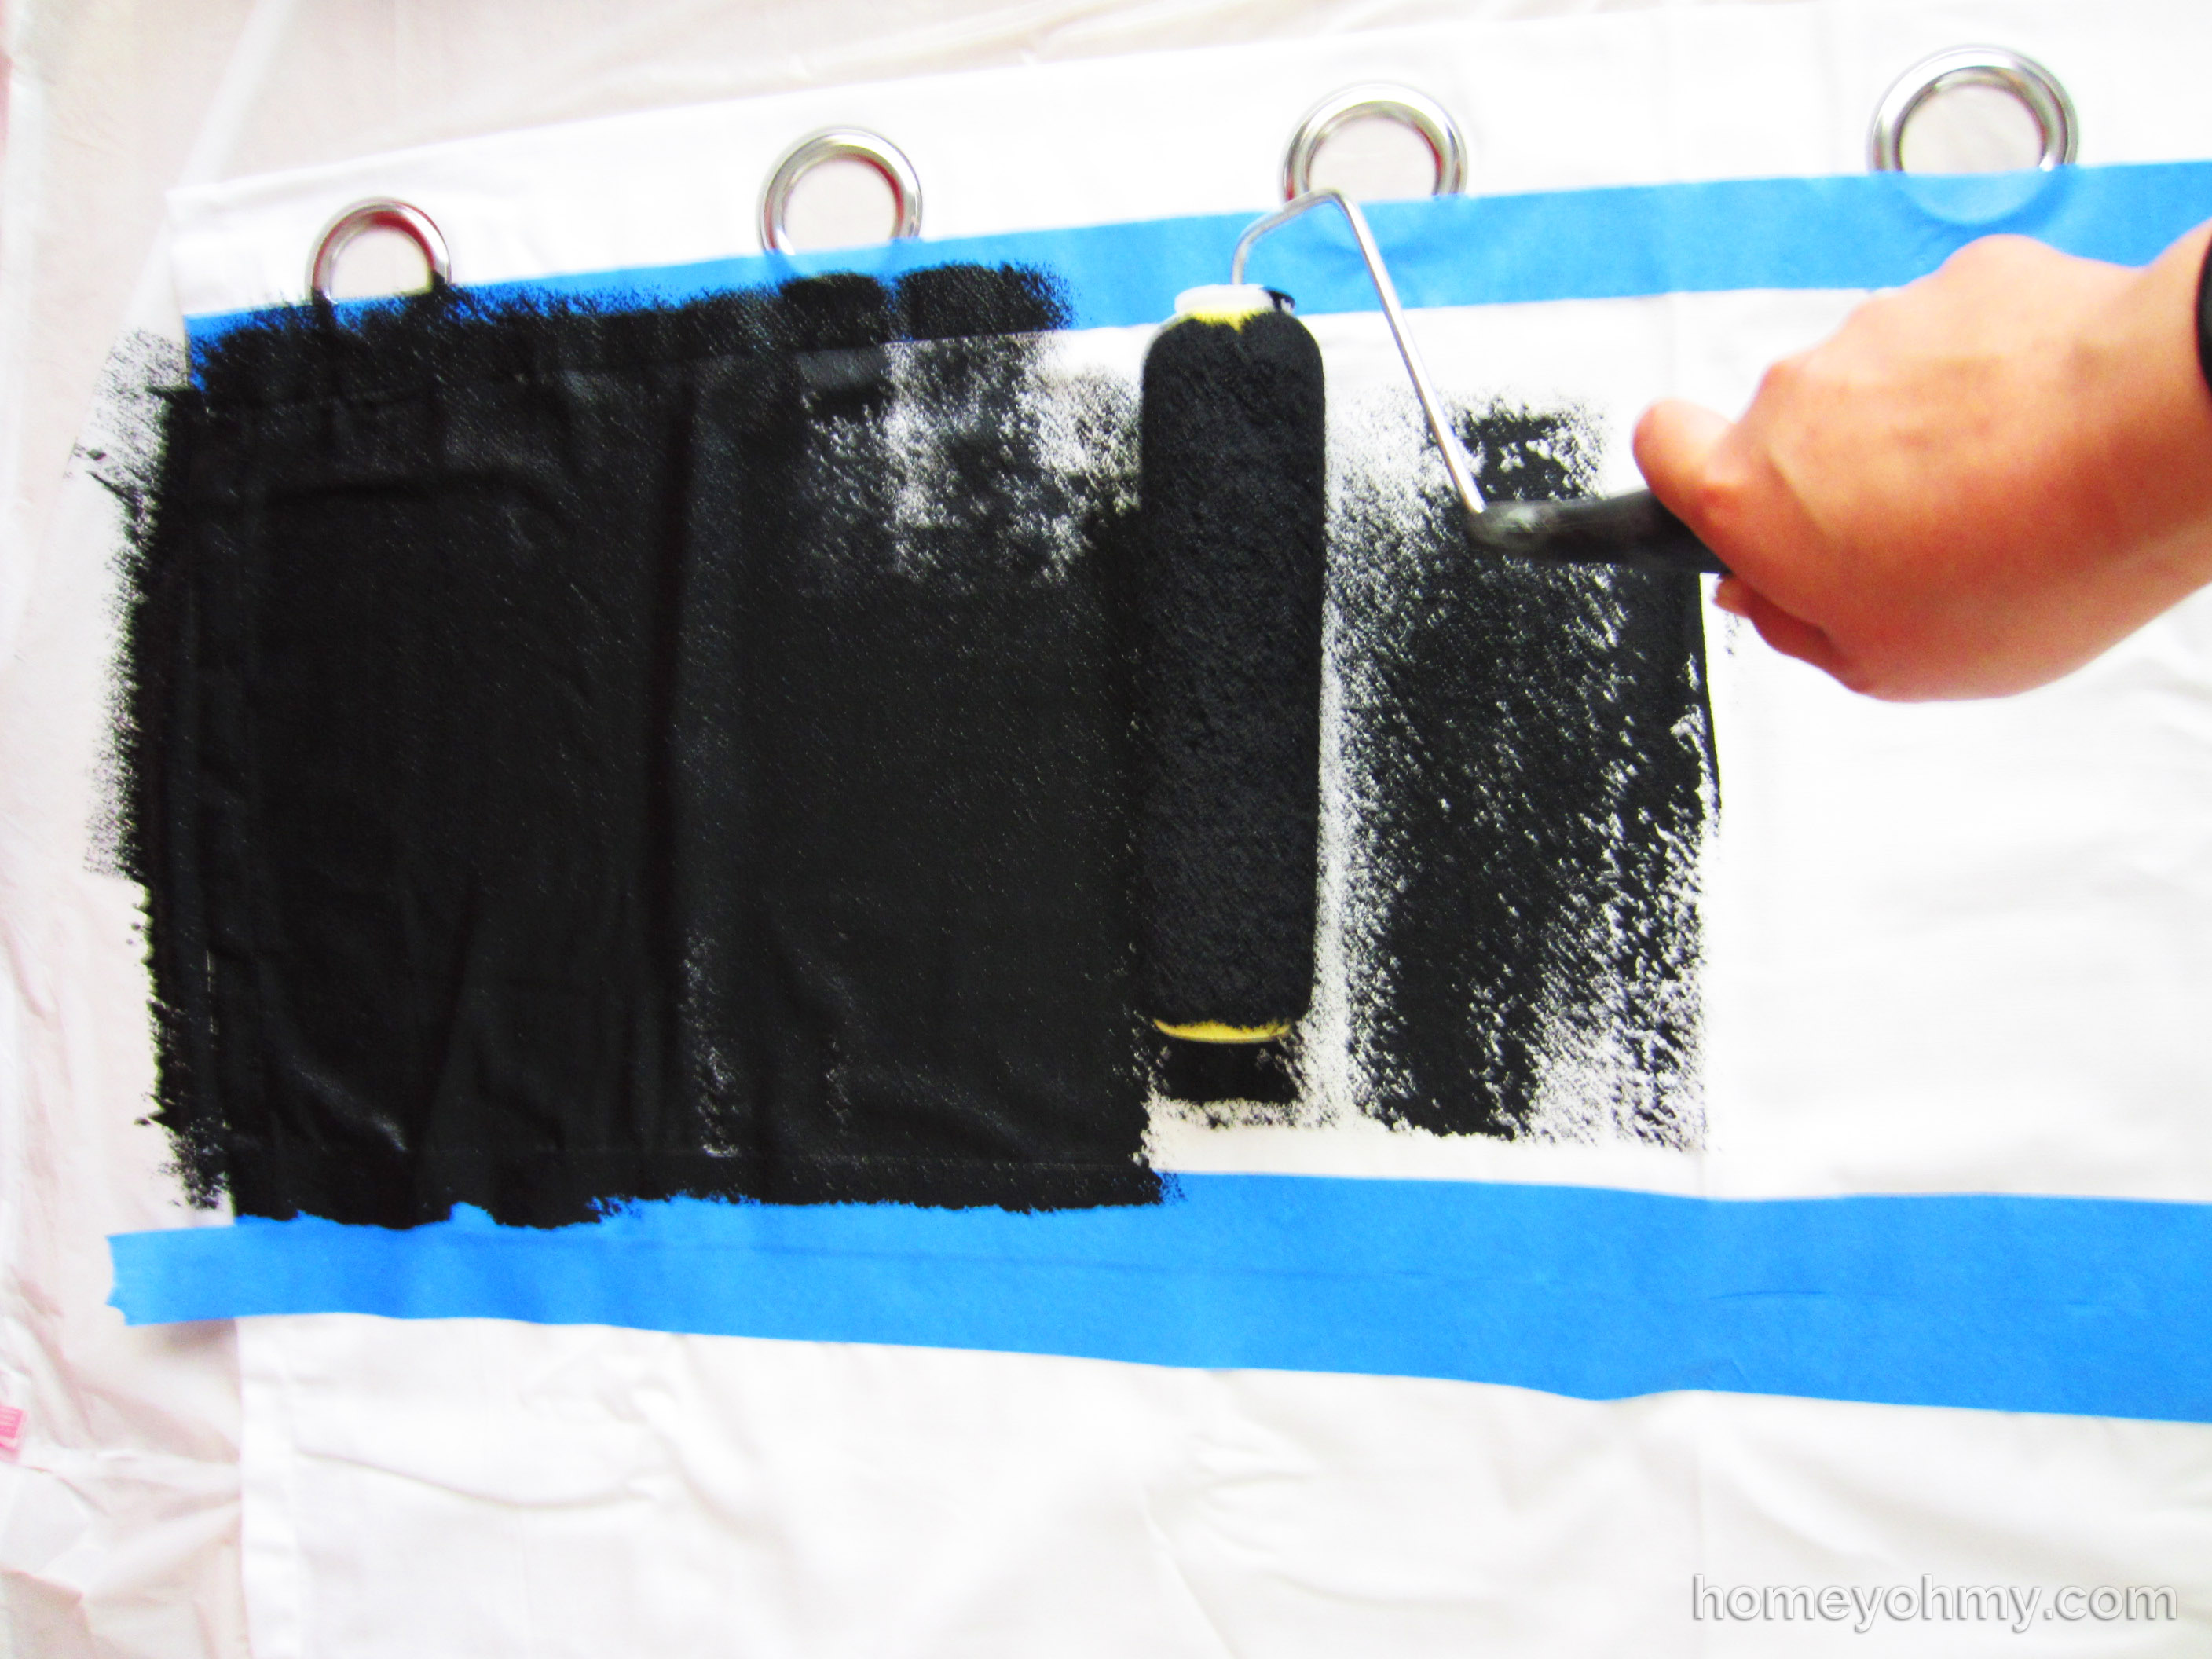
Mix 2 parts paint with 1 part fabric medium in your paint tray and paint away!
Lay the paint on thick. I thought I had used too much paint on the first stripe so I slimmed down on the rest of them, but that first stripe actually turned out the best. I probably could have afforded another coat of paint on all the stripes. The thicker the coat, the more opaque the stripes will be and most likely the more even the coverage will be.
Remove the tape after painting all the stripes and let the curtains dry thoroughly, at least 24 hours. The instructions on the fabric medium say to to heat set the paint with a dry iron, which is useful if you want your curtains to be washable. I probably will never wash these curtains because I’m lazy, but I dry ironed them anyway to smooth out the wrinkles.
Lovely. They came out exactly as I had envisioned and were a nice and inexpensive upgrade from the previous curtains. Forget what they looked like? Here’s a refresher.
Especially when it comes to apartment decorating, it’s best not to do things that are TOO permanent, such as painting the walls (one of the many things I look forward to as a future homeowner). Adding decorative window curtains is a great, temporary alternative that can make just as much of an impact.
What do you think of my new curtains? Do you prefer them to the old ones? Leave me a comment with your thoughts!
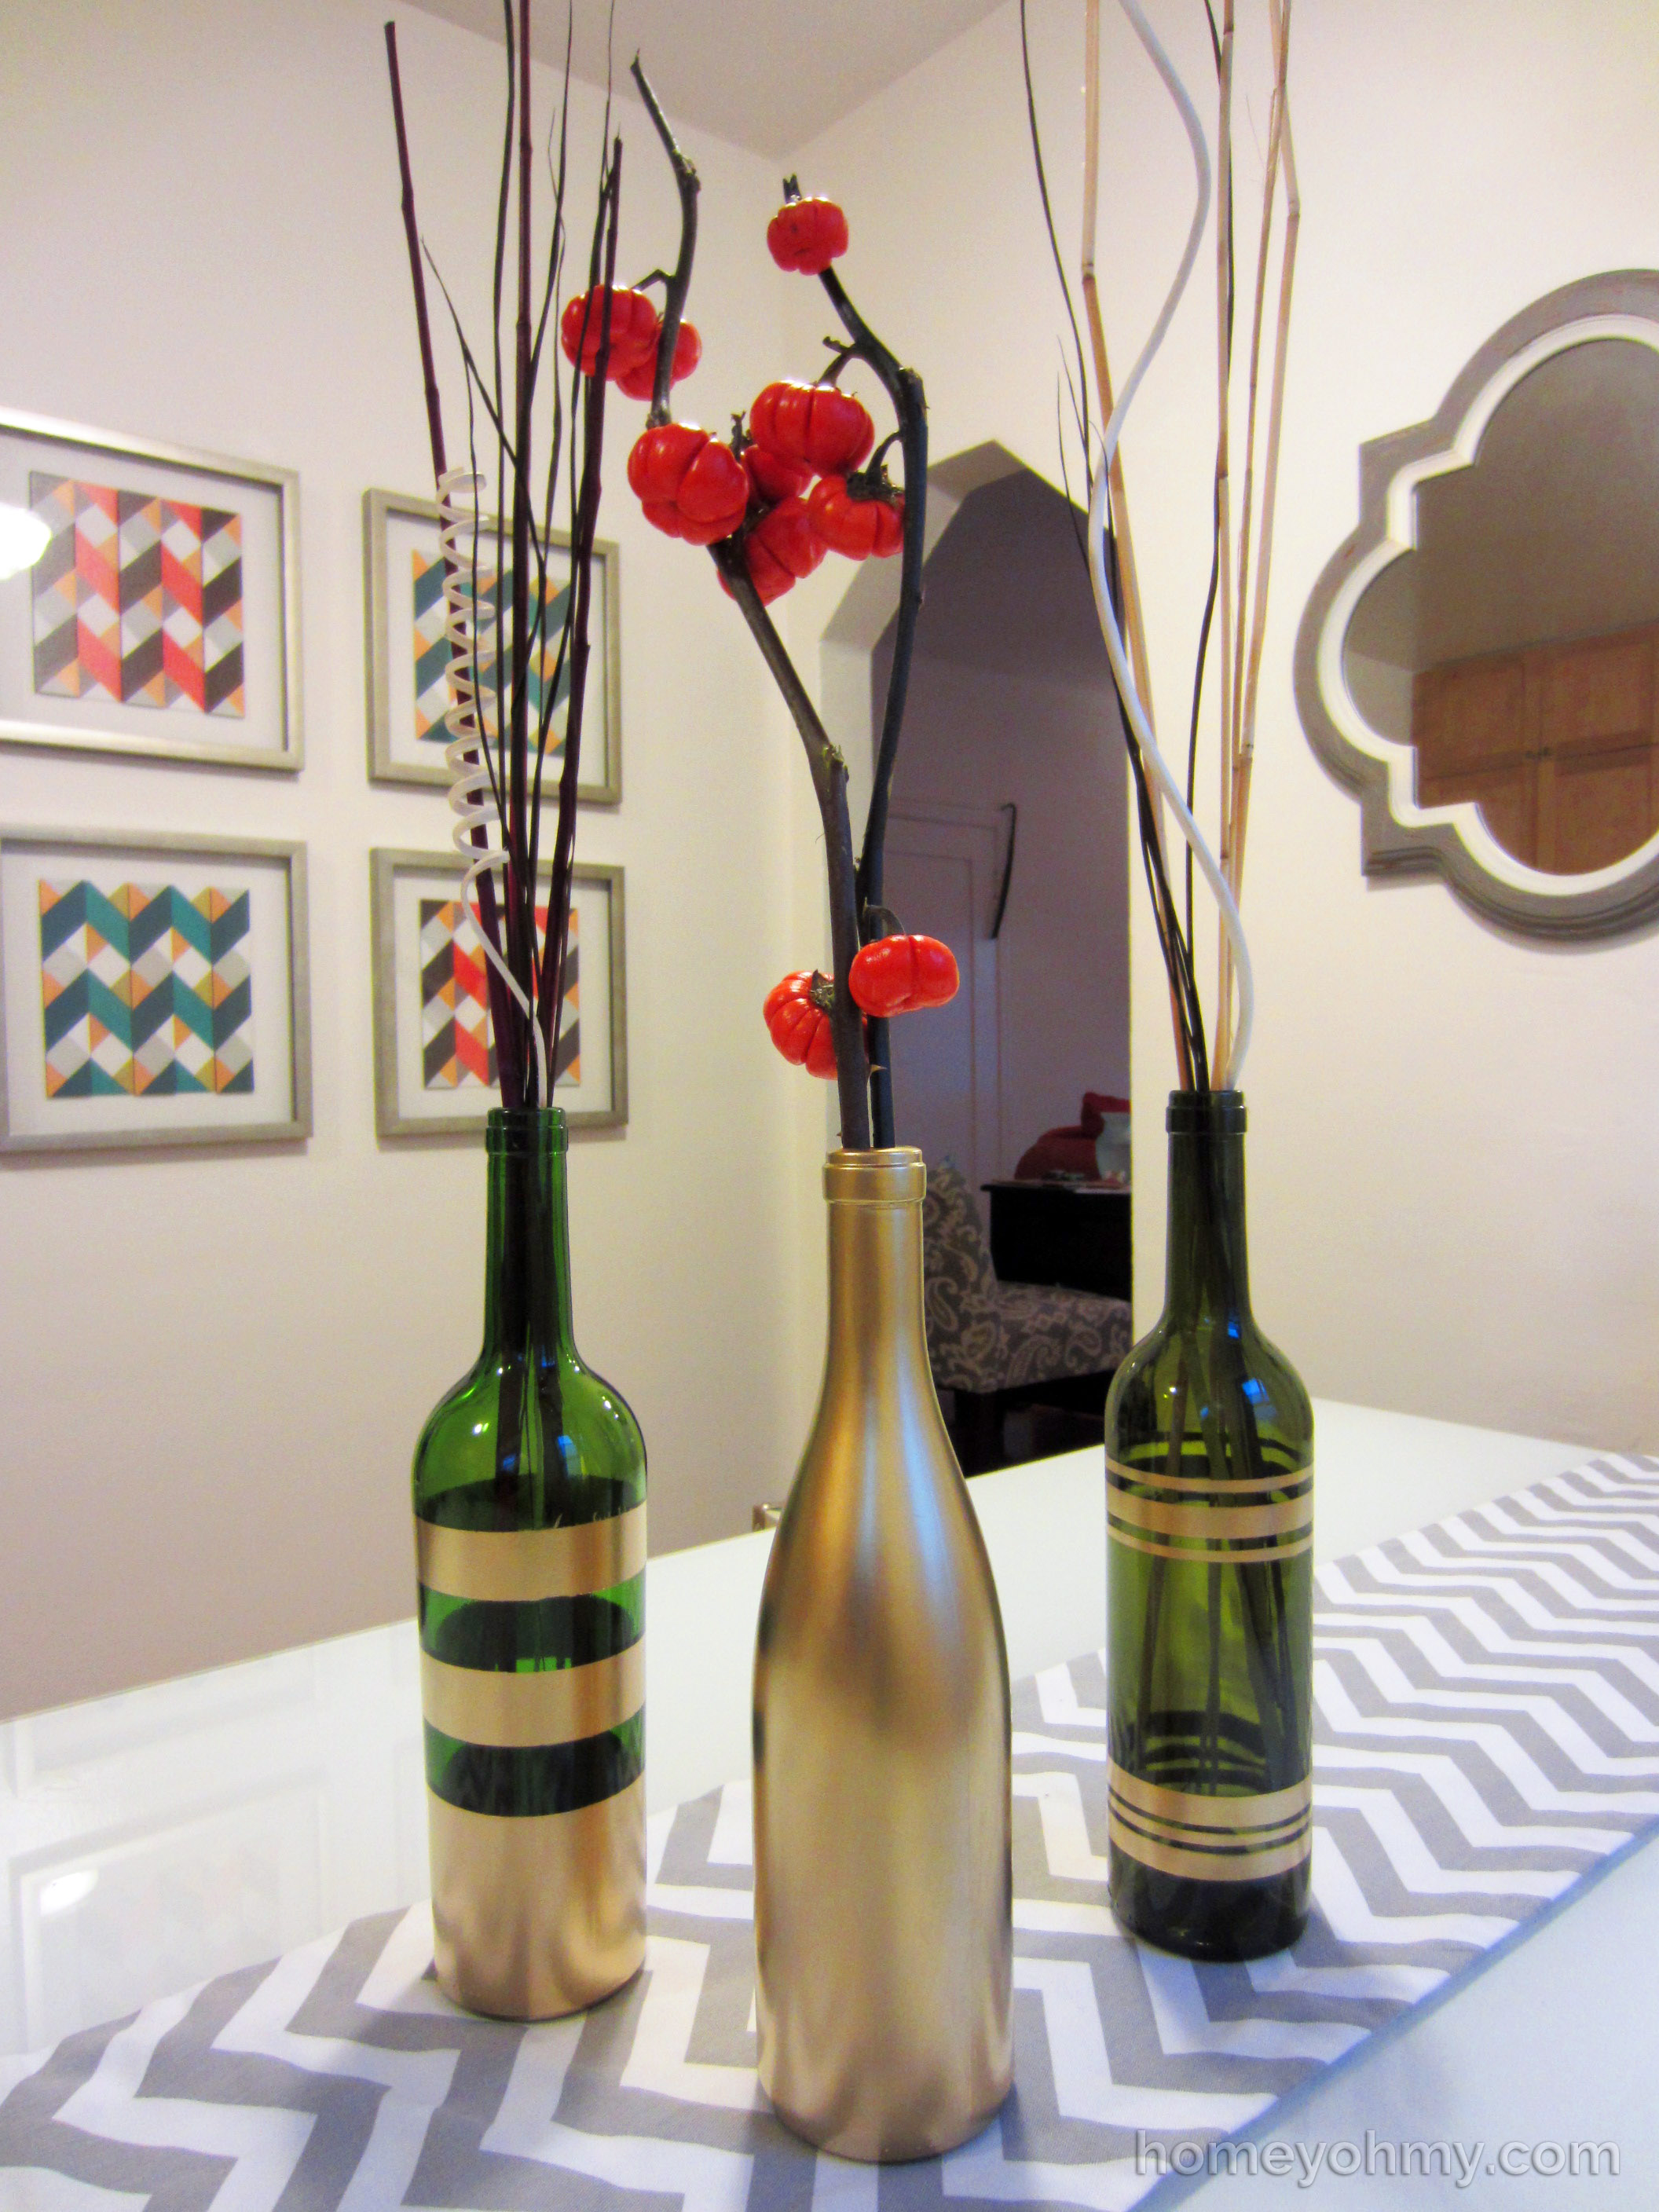
My boyfriend has recently developed an addiction enthusiasm for wine, and I collected the empty bottles out of the foresight that I’d need to add some DIY vases to my vase-ridden apartment. Though I can never have too many vases, my boyfriend seems to think I’ve surpassed that limit a long time ago, so this was my attempt at compromise. As long as he’s emptying wine bottles (don’t worry, I help him out), I might was well decorate and use them as vases, right? :P This time around, my objective was fall decorating.
This is a super simple DIY and you only need a few things. The materials include wine bottles, painters tape, rubber bands (optional), and my holy grail DIY weapon:
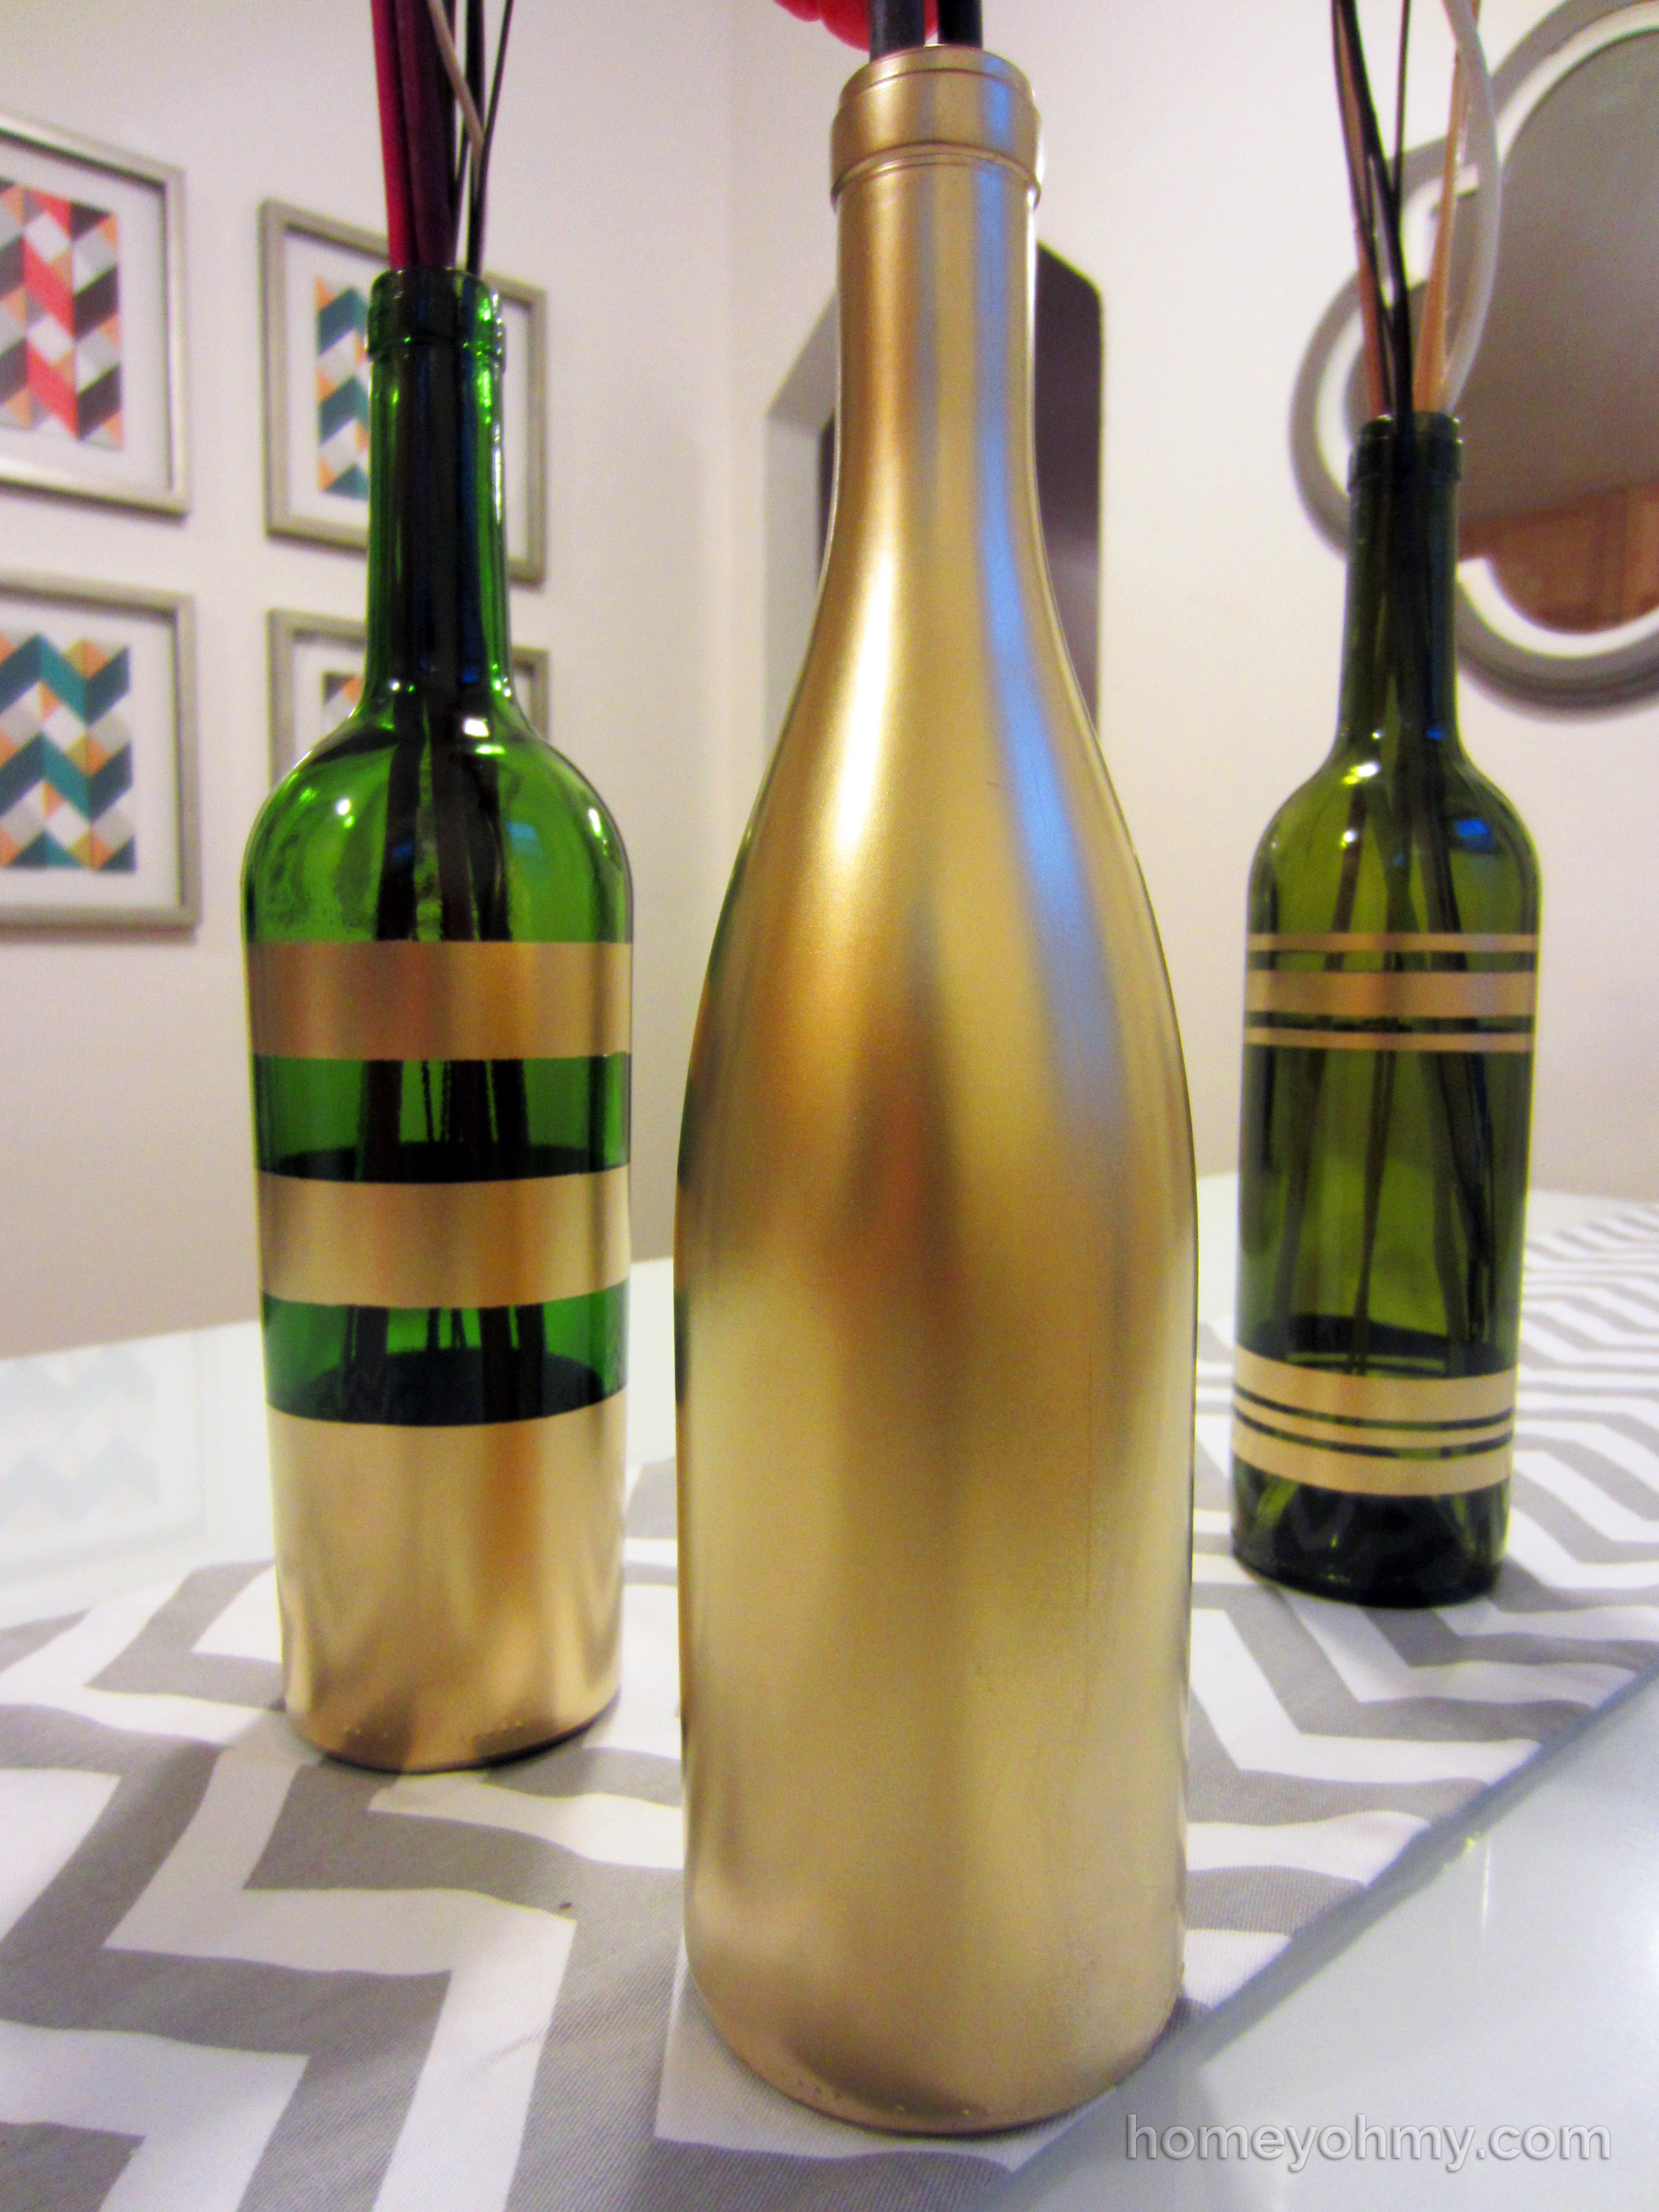
THIS. Pinterest was not lying about this one. I got mine here (affiliate link). If you’re as crazy about gold as I am, Rust-oleum Metallic Spray Paint in Gold will make you want to paint everything you own in its awesome, goldy goodness.
I wanted to have at least one bottle painted entirely gold in order to see the color in full force, but for the other two bottles I taped them up in two different stripe patterns. For one of them I used only painters tape to create thick stripes, but on the other I used four rubber bands to create thinner spacing between smaller stripes.
The next step is to spray paint the bottles, but let’s refresh some basics since I feel like I should have done this before I started (aka I messed up).
SPRAY PAINTING TIPS:
Really make sure there are no bubbles in the tape edges near the portions of the bottle that you are painting. Use a credit card to scrape over the tape edges so that the seal is tight and no spray paint can leak through
SHAKE THE CAN A LOT before spraying. Do not underestimate this step. I used to ignore the instructions on the back of spray paint cans that say to shake for 2 minutes thinking it doesn’t make a difference, but it does in terms of how evenly the color comes out. Do it.
Test the paint after shaking it by spraying it onto any scrap material you have. If the paint doesn’t come out even in color, resume shaking. Repeat until the color comes out evenly.
Use light, multiple coats instead of trying to spray one heavy coat. This will give you much more even coverage and prevent the paint from dripping.
Start spraying off of the surface and then sweep it across. If you start the spraying on the surface of your material, you are more likely to create uneven texture and will be able to see where your stroke started. The goal is to get a clean, air-brushed look.
And there you have it! The paint is dry to the touch after an hour but should be left to dry fully for 24 hours. If the spray paint leaked through the tape in some parts, you can just scrape off the imperfections with your fingernail, like I did. That also brings up a point that these painted bottles are not ideal for heavy handling and are best for purely decorative use.
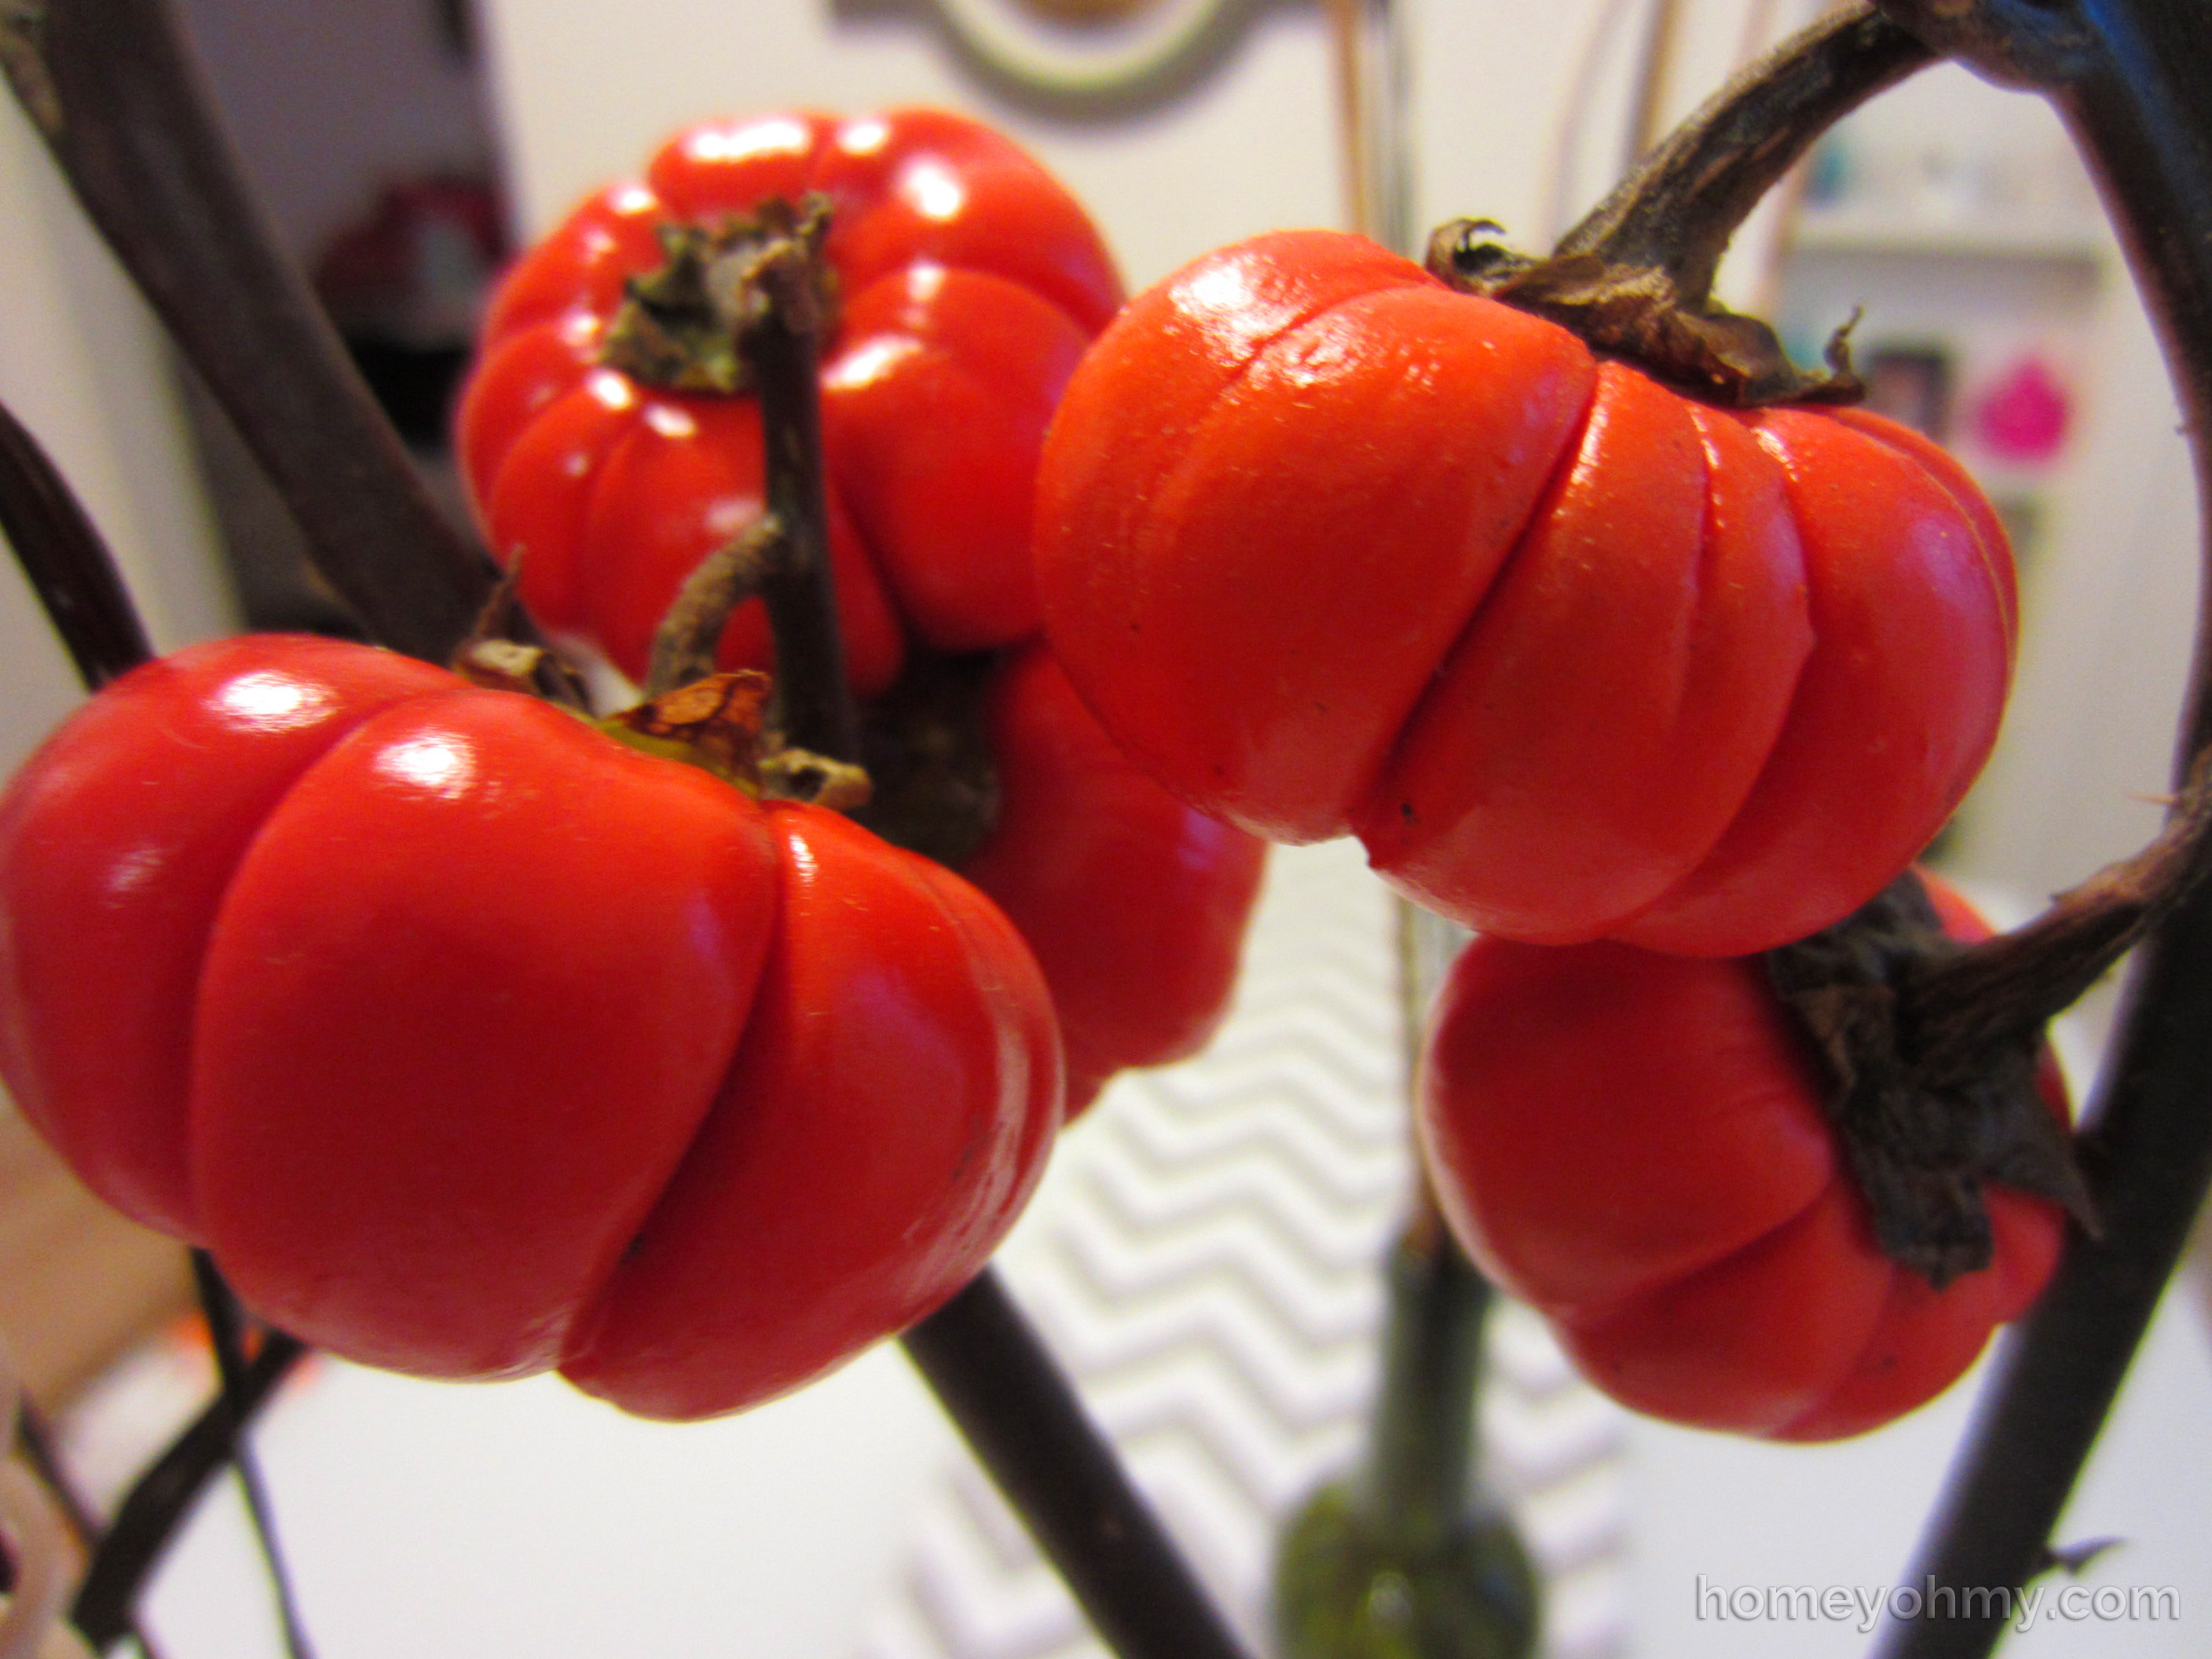
As for what to put in them, I had originally planned on putting in some white silk blossoms I had, but I saw these mini “pumpkin trees” at Trader Joe’s and just couldn’t resist (the majority of my floral/plant purchases are impulse buys during a trip to Trader Joe’s). The thing that got me is that they’re REAL!
I had no idea these cuties existed, and when I saw that they were bunched in a bucket of water, I started to daydream about how they might grow into full-sized pumpkins. Will they? No, probably not. But they are too darn cute and forced me to buy pumpkins in September.
I put the pumpkin trees in the gold bottle, and for the other two bottles I put in some grass stick bouquets that I got at the dollar store. Because of their height, I probably wouldn’t keep them as a centerpiece on my dining table and will most likely move them to the living room.
Replace the pumpkins when they die or go more traditional with some flowers? My love for pumpkins was purely in eating them and this is the first time I’m actually decorating with them. Luckily, the bottles are versatile and can work throughout the year instead of just during the fall season.
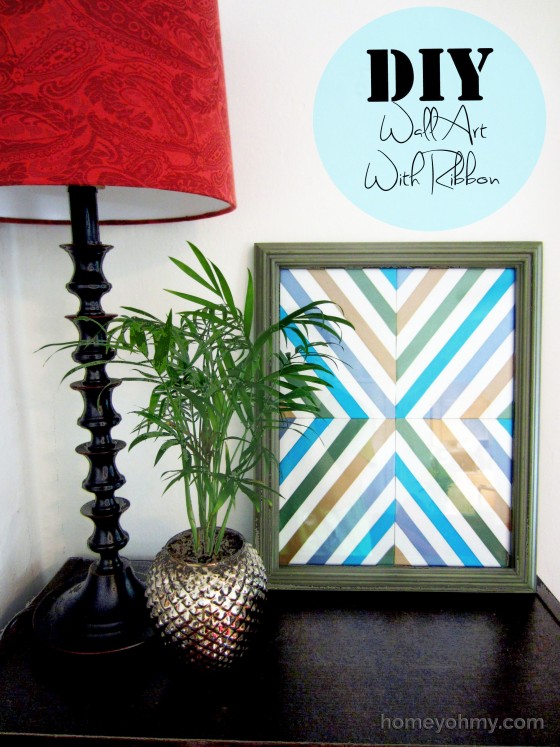
I did it! I came up with an easy, mess-free way to create this geometric wall art using ribbon and double-sided tape. Simple enough, no? I was inspired by the rug in this photo, and while I wasn’t seeking to paint a rug of my own at the time, I thought the design would translate well into wall art.
Here’s how it’s done.
Materials
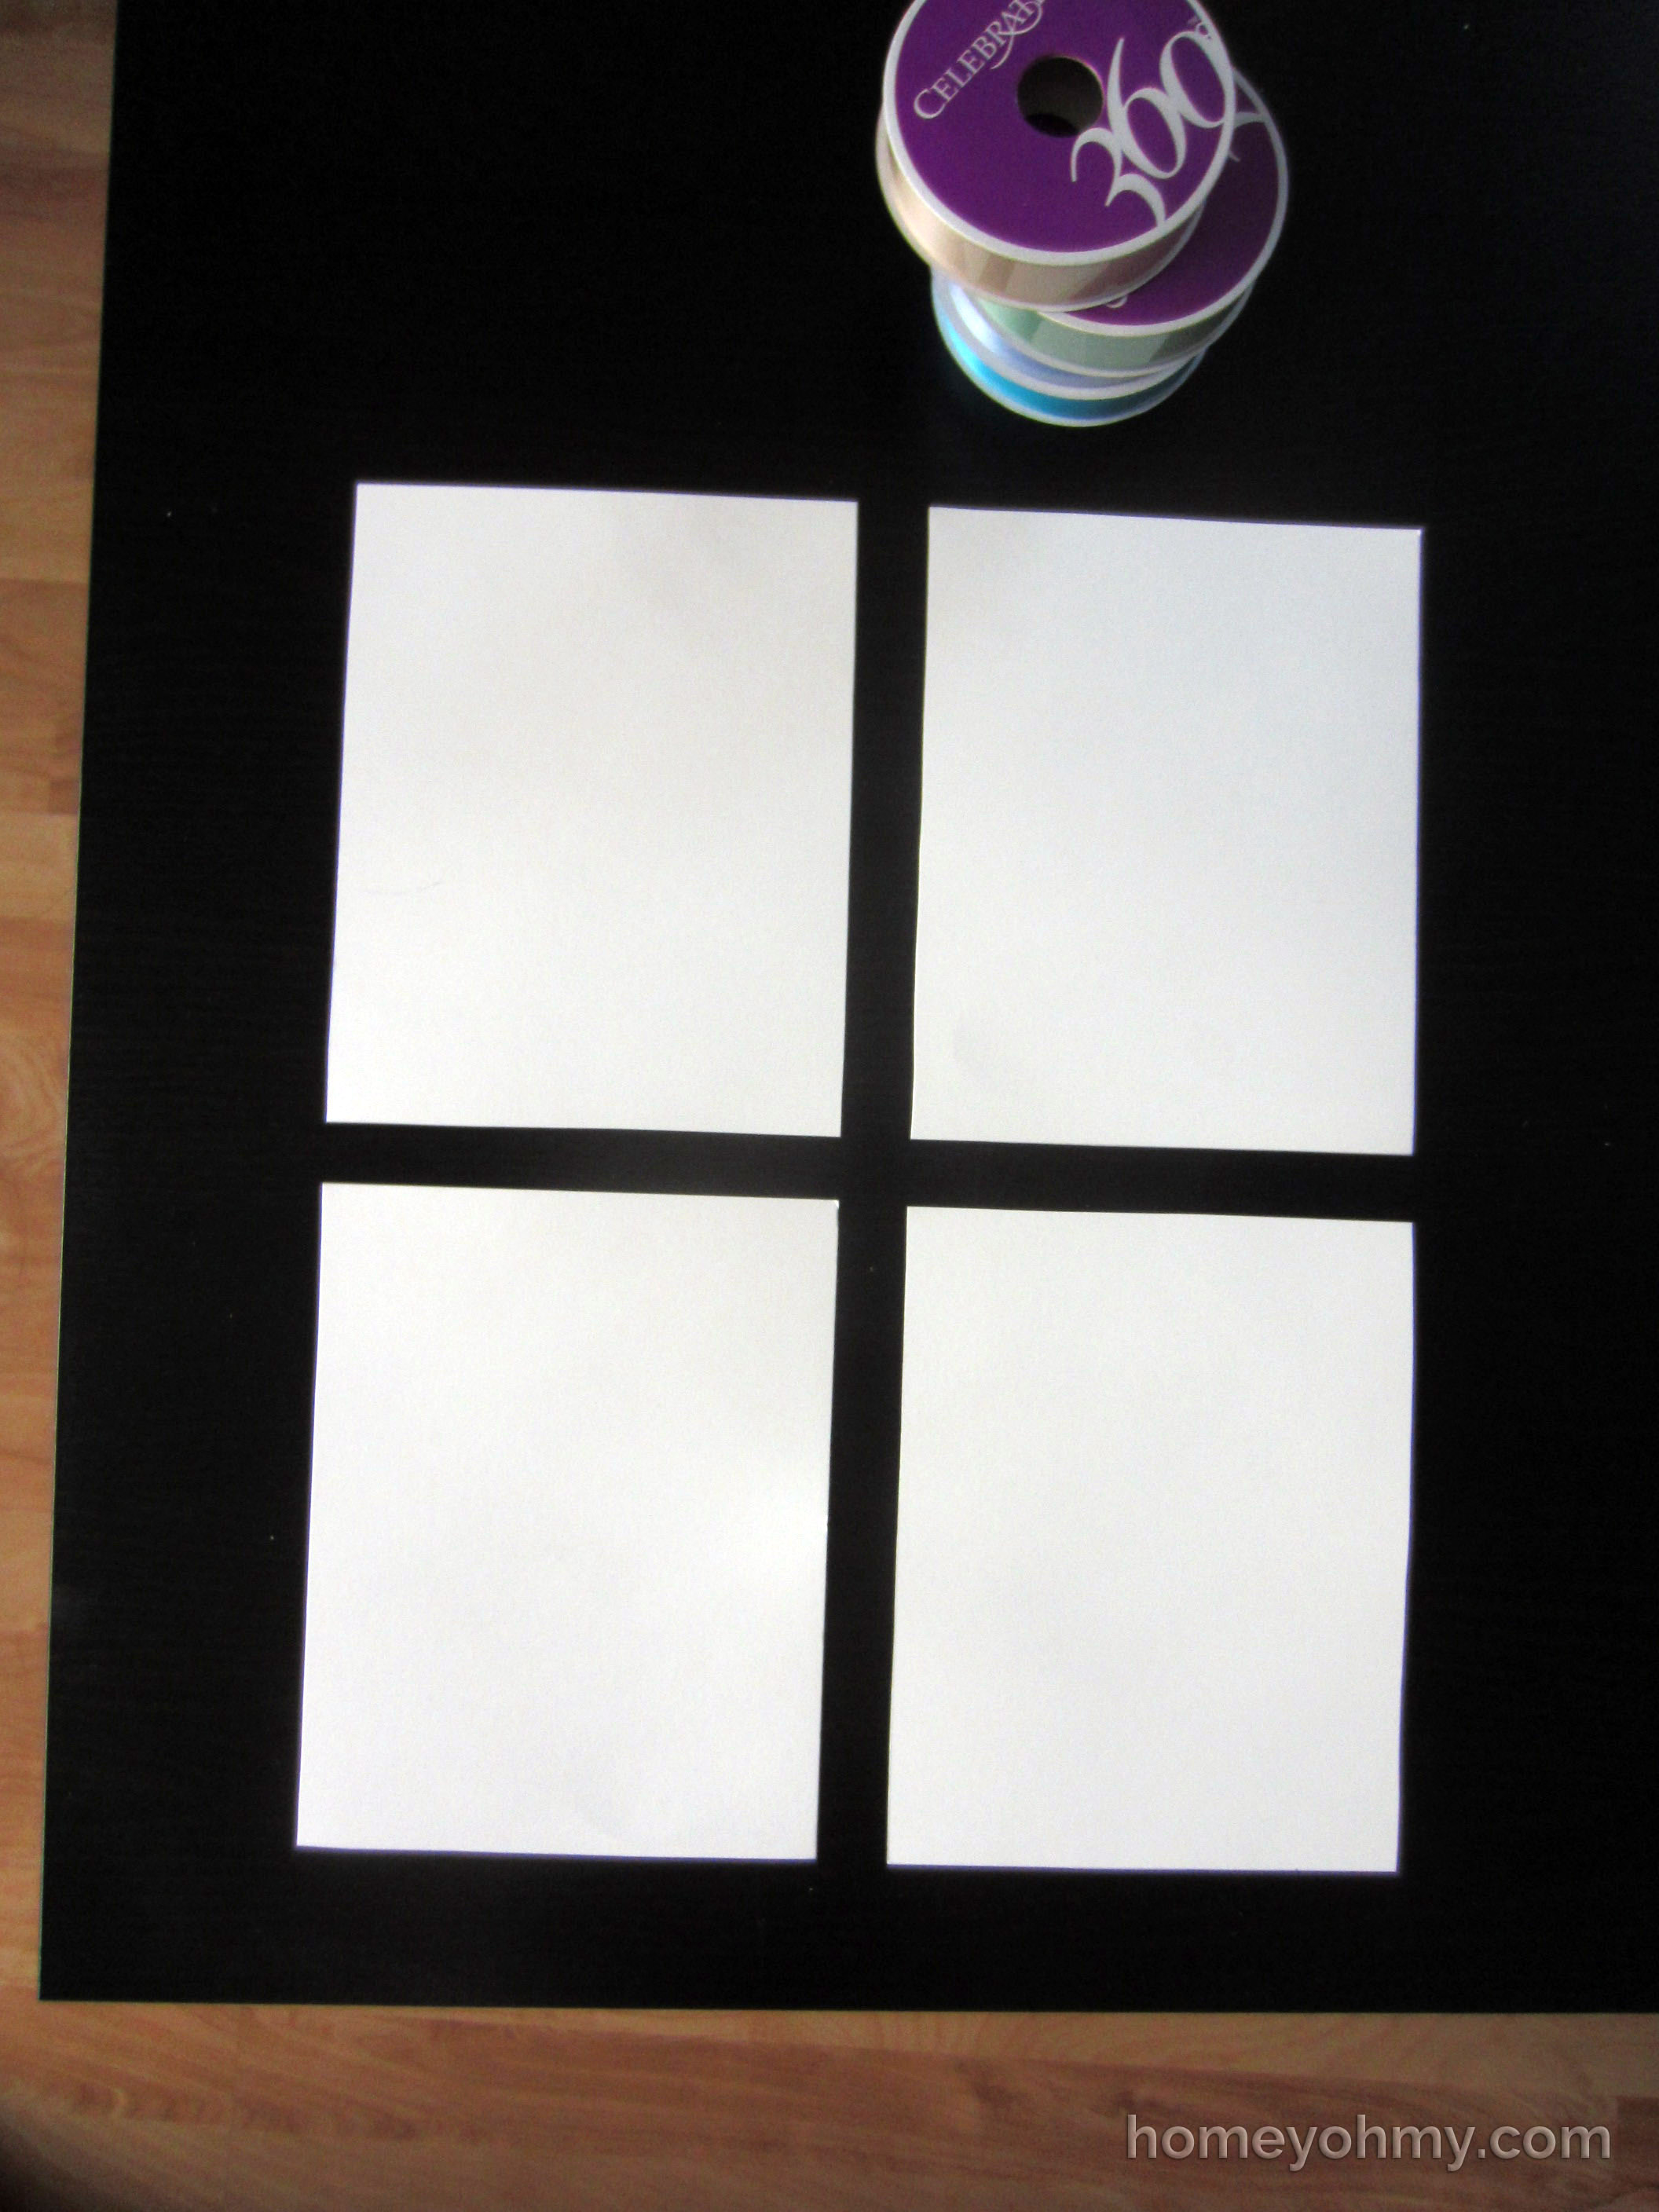
poster board
picture frame (mine is roughly 10.5×14″)
permanent double sided tape
scissors
ribbon (I used 4 colors, 5/8″ in width each)
pencil
ruler
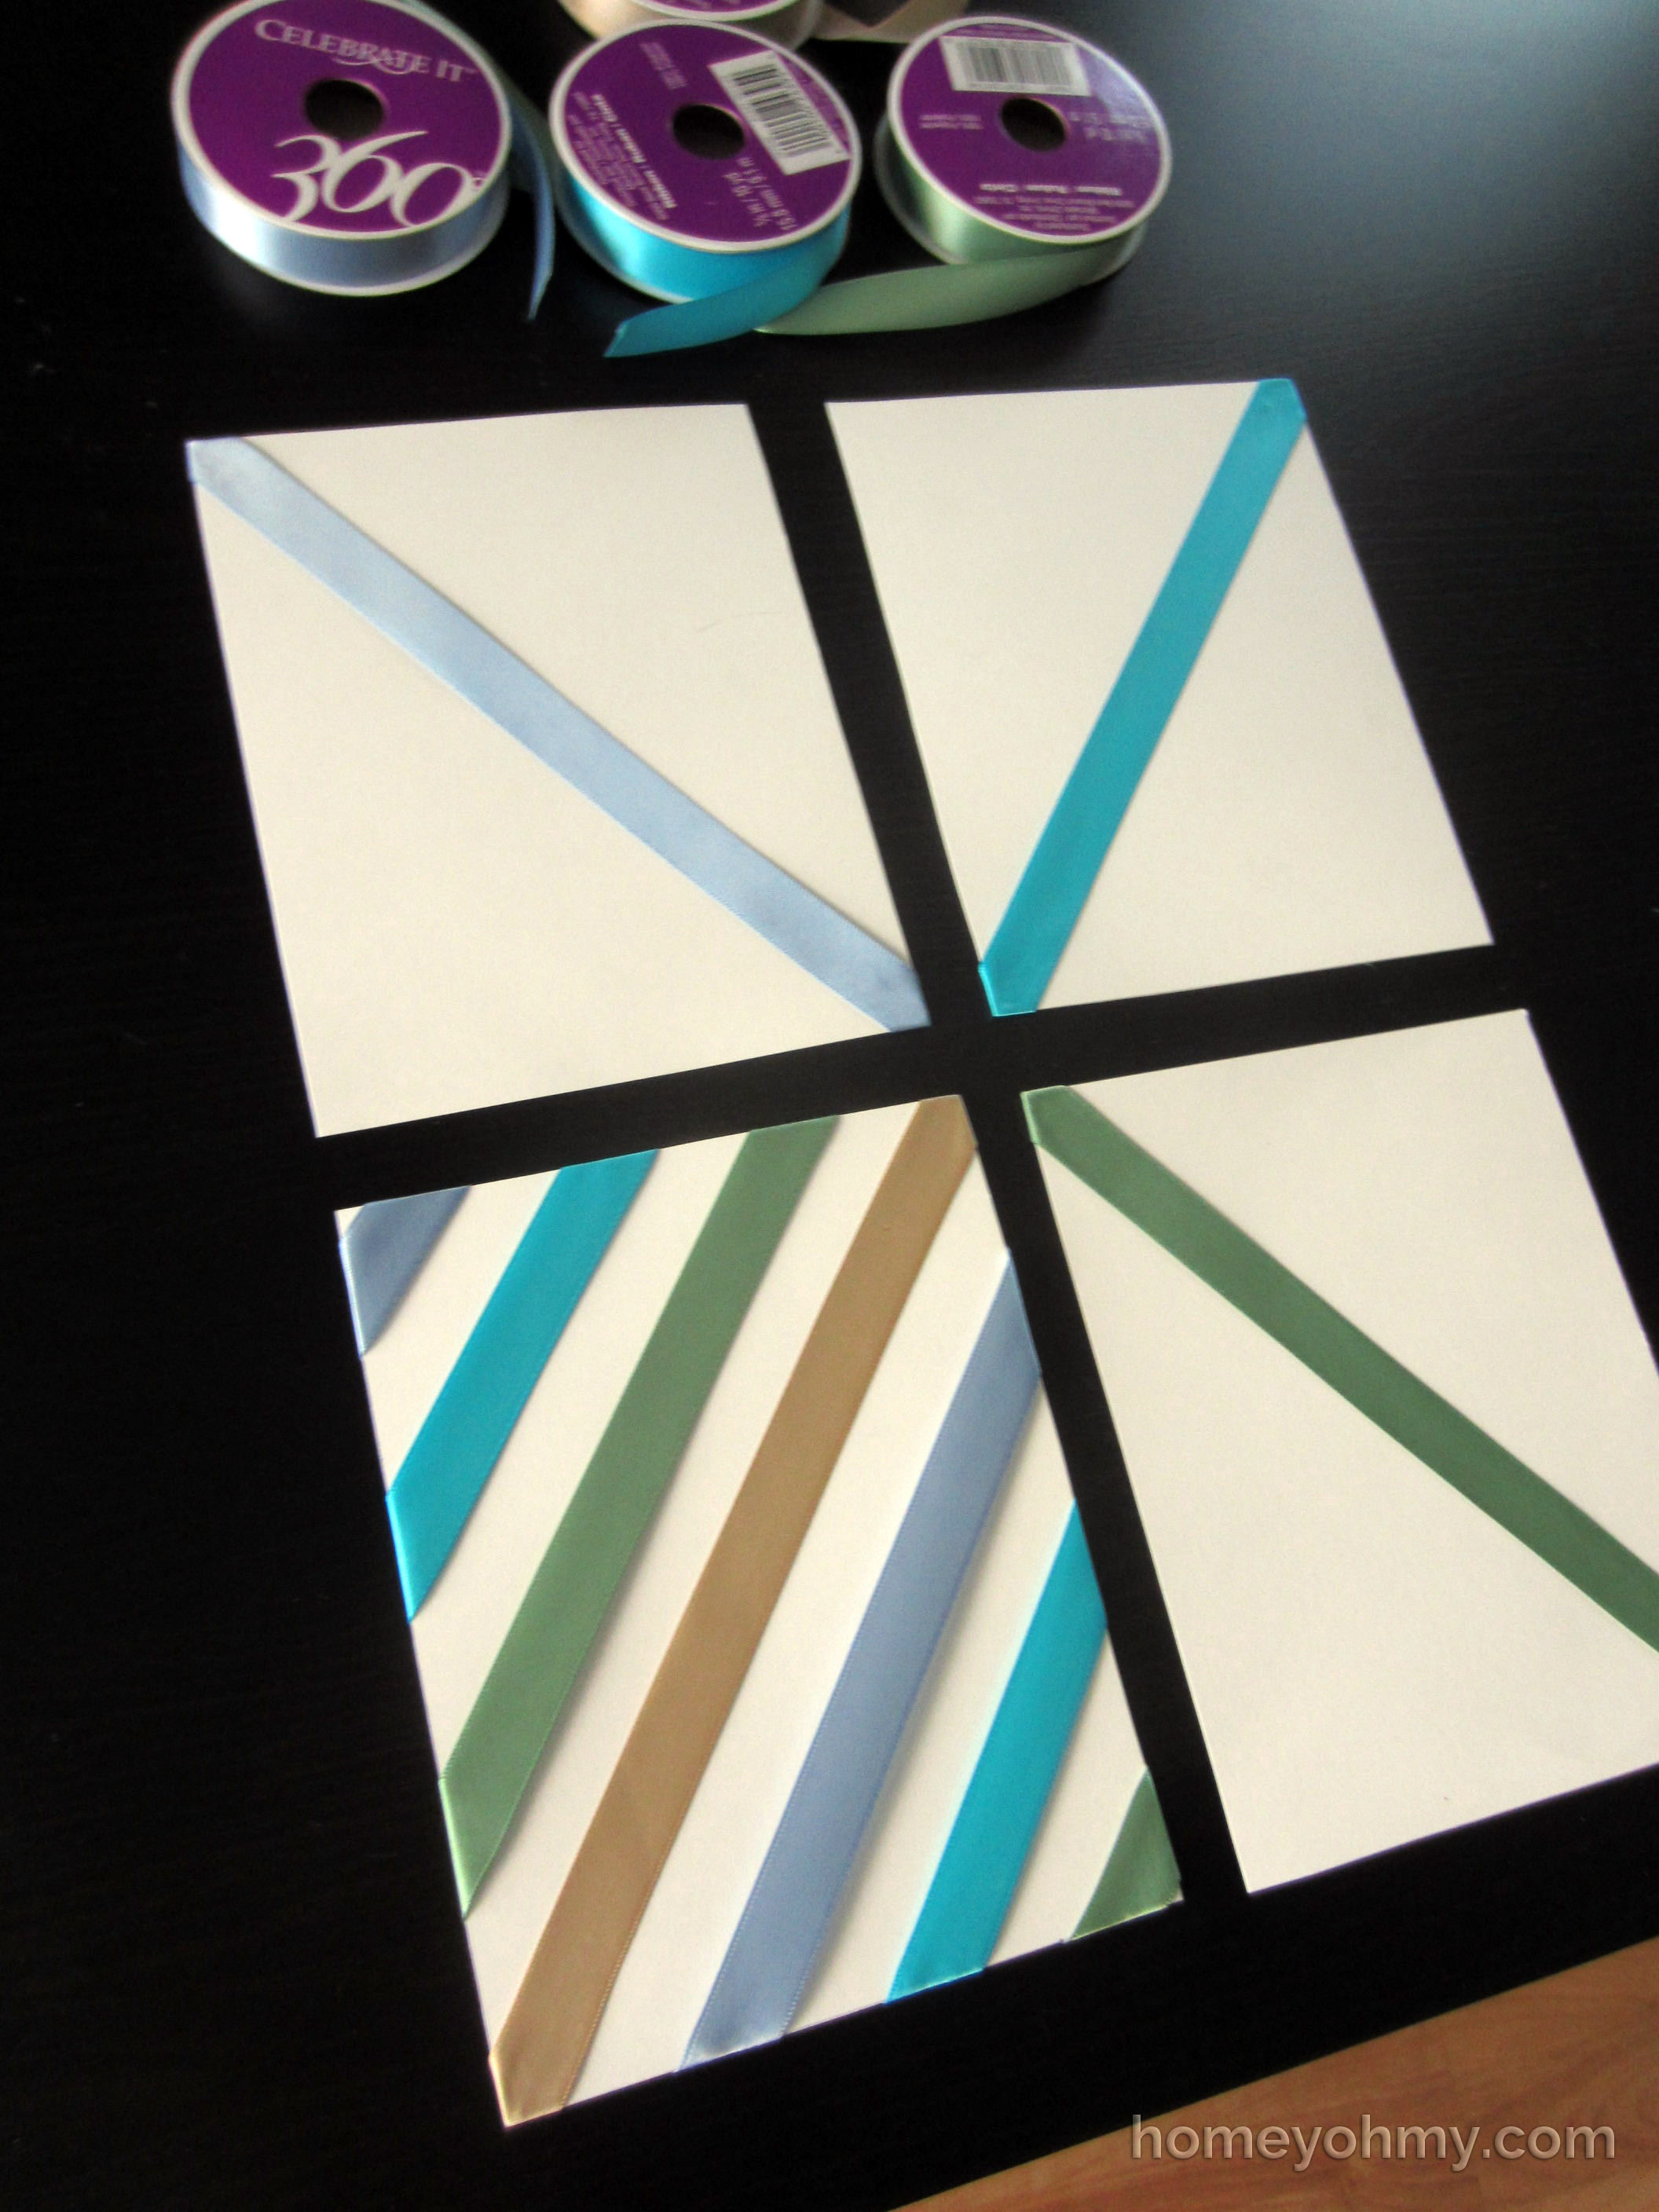
First, take out the matte from inside the picture frame and trace it onto the poster board. Measure it into four identical pieces and cut them out, like so:
I chose to have the glossy side of the poster board to be front-facing, so I lined the back side edges with double-sided tape and then flipped it back over to the glossy side and put two small pieces of the tape on opposite corners. One of the corners must be the one in the center of the entire artwork. The areas I’m referring to are marked in red below.
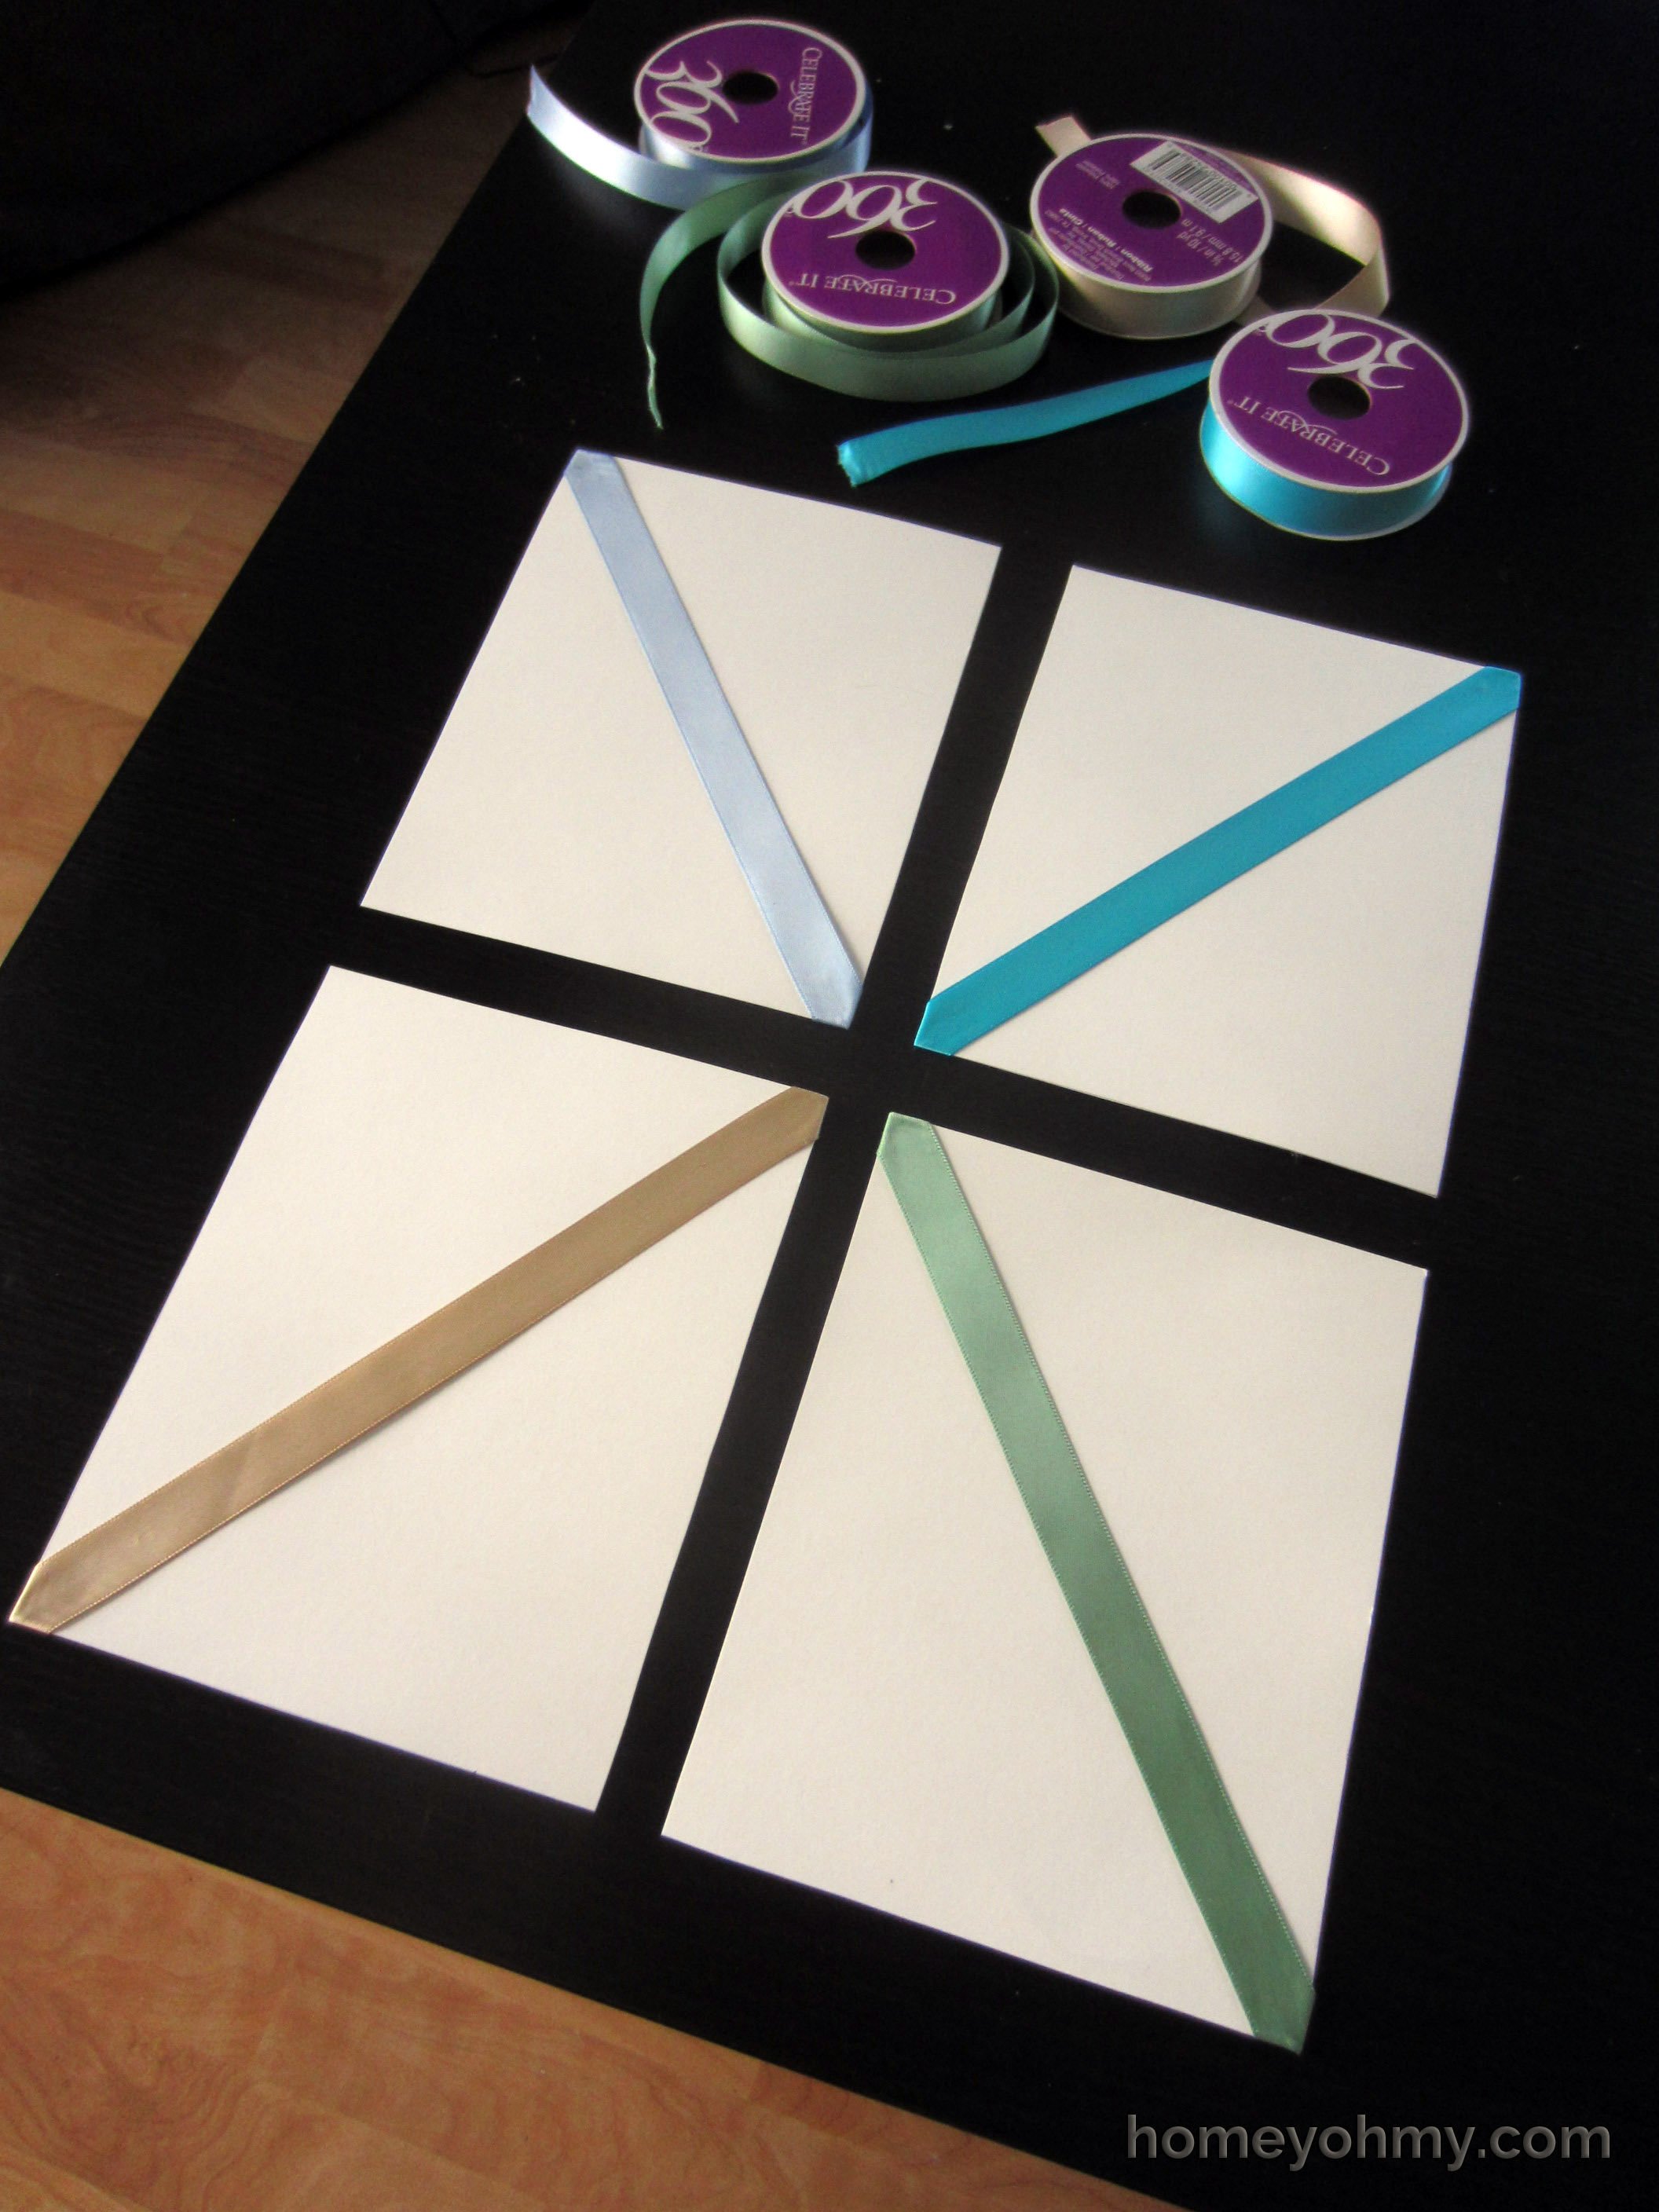
Next, I took one of the ribbons and laid it diagonally across the glossy side so that it stuck to the pieces of tape on the two corners. Now, the trickiest part is folding the ribbon over the corners.
At the corner, fold the ribbon over the top edge of the poster board, then fold it over the side edge. No ribbon should be sticking out over the edges anymore and the excess ribbon should be stuck to the tape on the back side as shown in the right of the above photo.
Do this on all four pieces of poster board and it should look like this:
Fill up one of the poster board pieces first as a guide to how far apart the ribbons will be spaced. Simply lay the ribbon pieces at the same angle as the first piece of ribbon, fold the ends over the edges, and stick them to the tape that’s on the back side of the poster-board. Re-do this as many times as you need with each ribbon in order to get the spacing and angles lined up right. The ribbon should easily stick and un-stick from the tape.
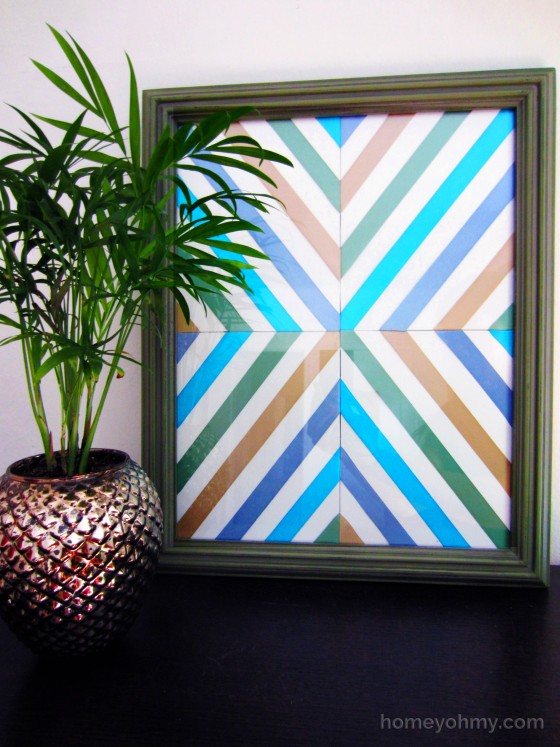
Repeat this with the rest of the poster board pieces, lining up the ribbon pieces with the ribbon edges of the previous piece of poster board. Once all four pieces are complete, tape the back sides of the poster board pieces together tightly and place it into your frame.
I’m so happy with the way it turned out! I chose ribbon because not only does it give straight lines, but it provides a unique texture and dimension. I’m also satisfied with my decision to use double-sided tape since it is a very forgiving anchor for the ribbon. The double sided-tape holds the ribbon well, even with the repeated sticking and un-sticking necessary for getting the placements right.
Do you like the colors I chose? I’m a lover of greens and blues. What colors would you use for this wall art project? Let me know in the comments below, and thank you so much for reading!