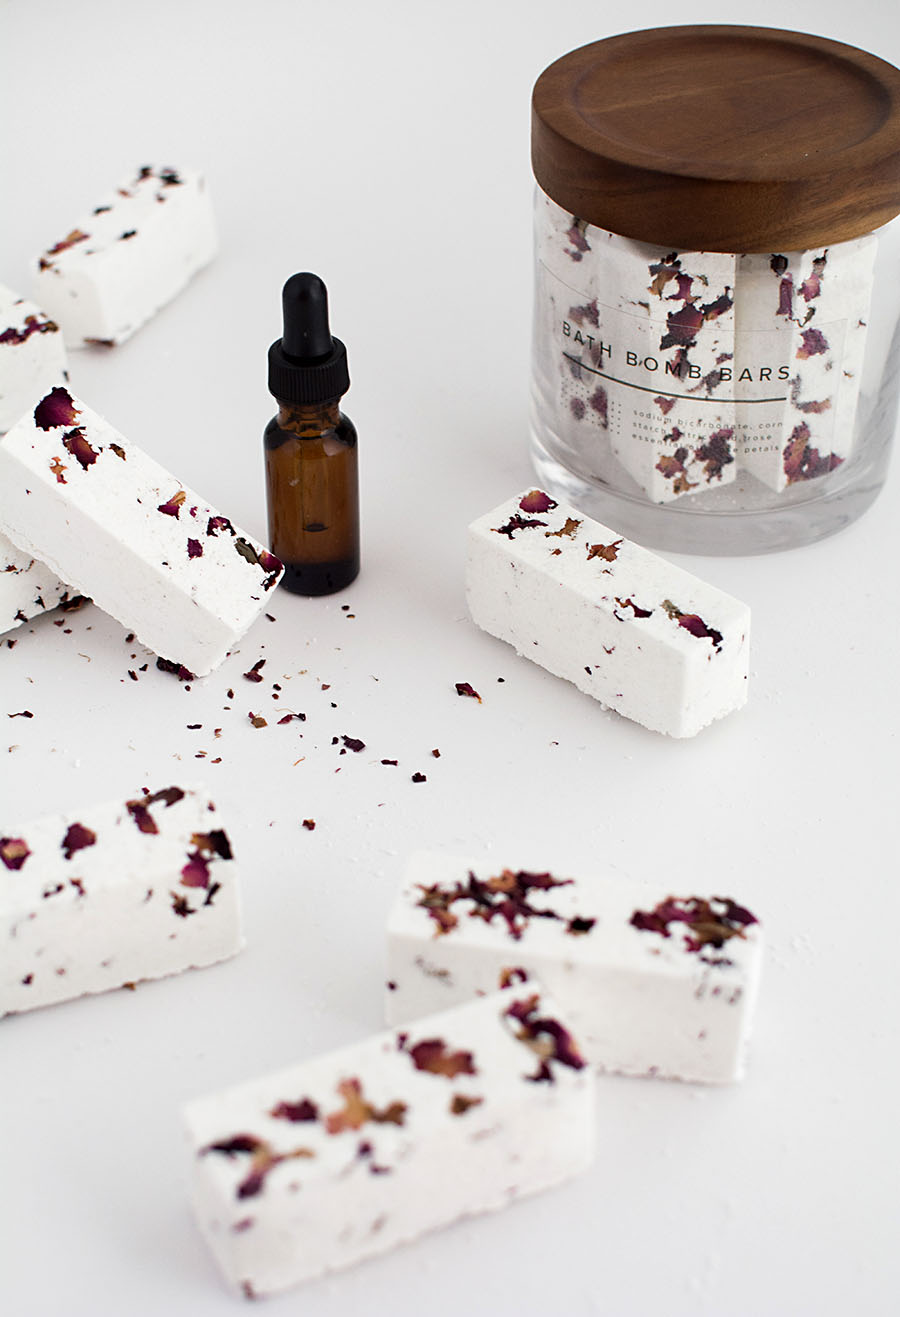
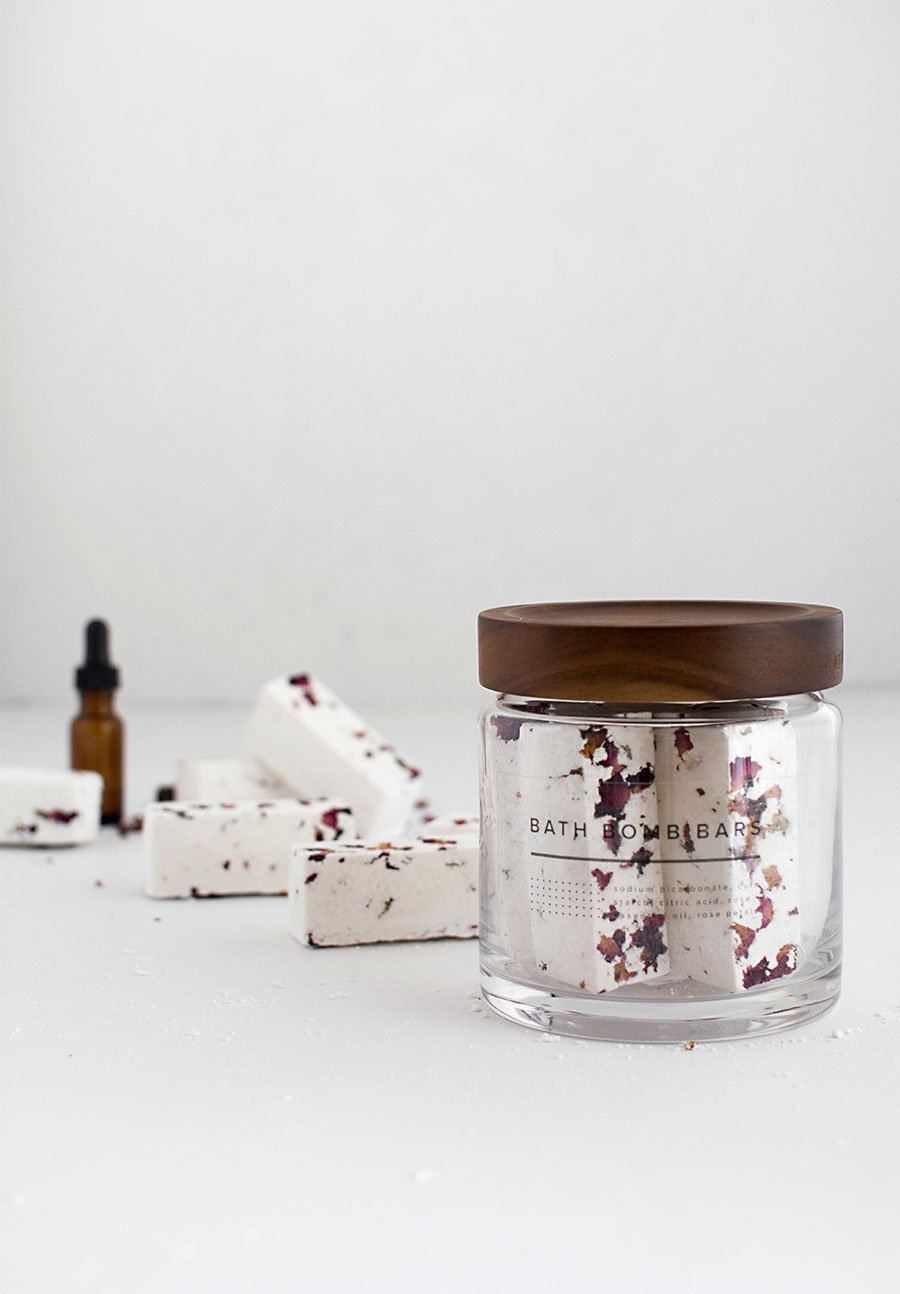
I find it very satisfying to make my own bath products, not only for the customization aspect, but for how it’s typically easy to make a bunch of them at once and they’re always a beautiful handmade gift option. This time we’re making bath bomb bars in a classic rose scent, and I’ve partnered with Canon to share free printable labels to help these sit pretty in your bathroom, or to be the finishing touch on the packaging if you plan on gifting them. It’s never too early to think about the holidays, I know.
Materials:
I used a bath bomb kit that had everything pre-measured and pre-packaged which made it extra easy. Here are the approximate measurements that yielded about 14 bath bomb bars for me:
-1 cup citric acid
-2 cups sodium bicarbonate (baking soda)
-1 cup corn starch
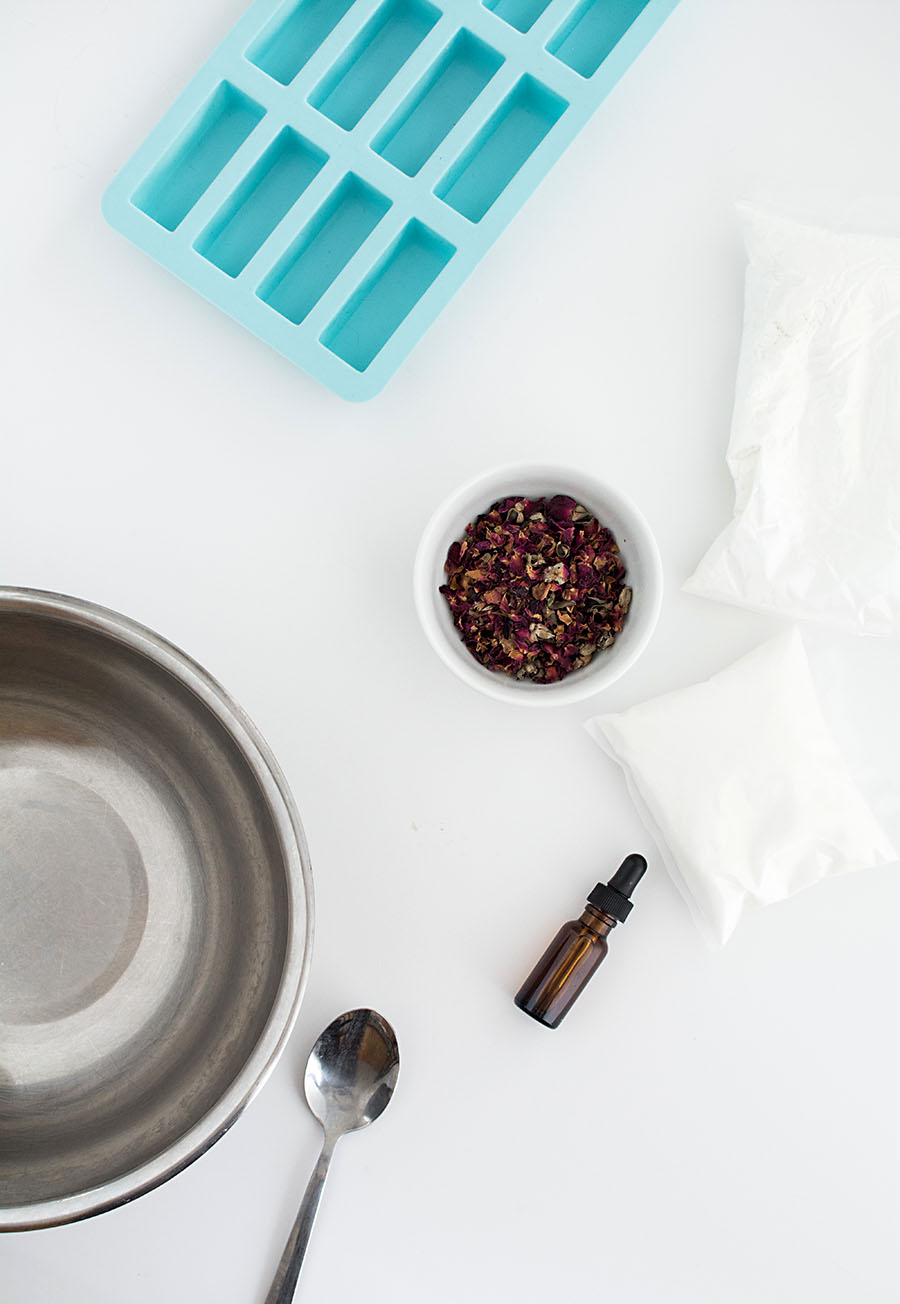
Other items:
–silicon mold
–rose essential oil
–dried rose buds and petals
-mixing bowl
-water
-spoon
–Canon TS8020 printer
–clear sticker paper
–jar
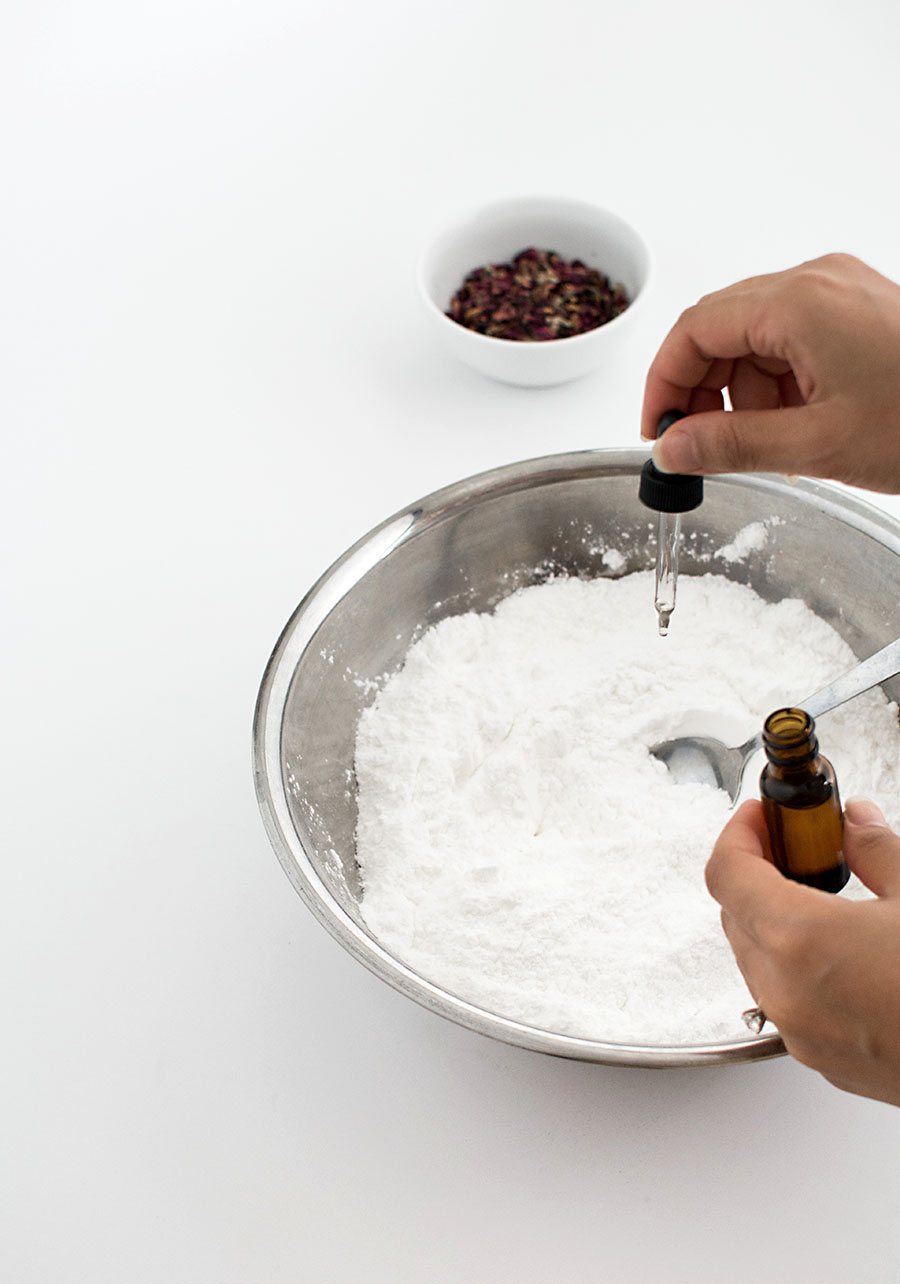
Mix the dry ingredients together and add around 50-70 drops of essential oil. The science on this seems to be all over the place and I honestly kind of eyeball it and do what feels right. I roughly estimated it to be about 3-5 drops per bar.
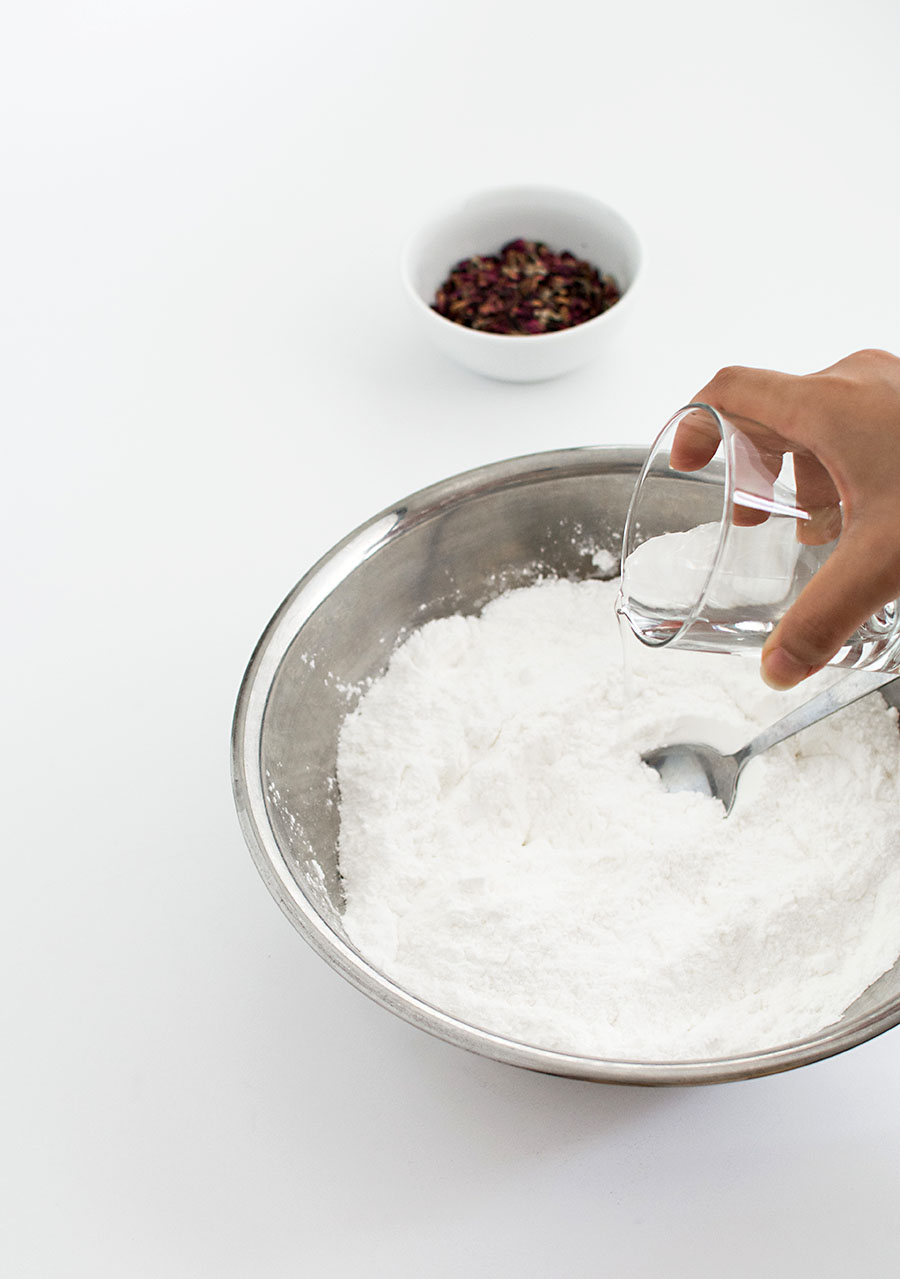
Add in water a little bit at a time and mix thoroughly before adding more. Be very careful about this and use only enough water so that the powder just starts to pack together like a dry snowball. If you add too much water, the bars will expand as they dry, so add sparingly and mix well. I used a little less than 1/4 cup and it was too much! Add by teaspoons and take your time.
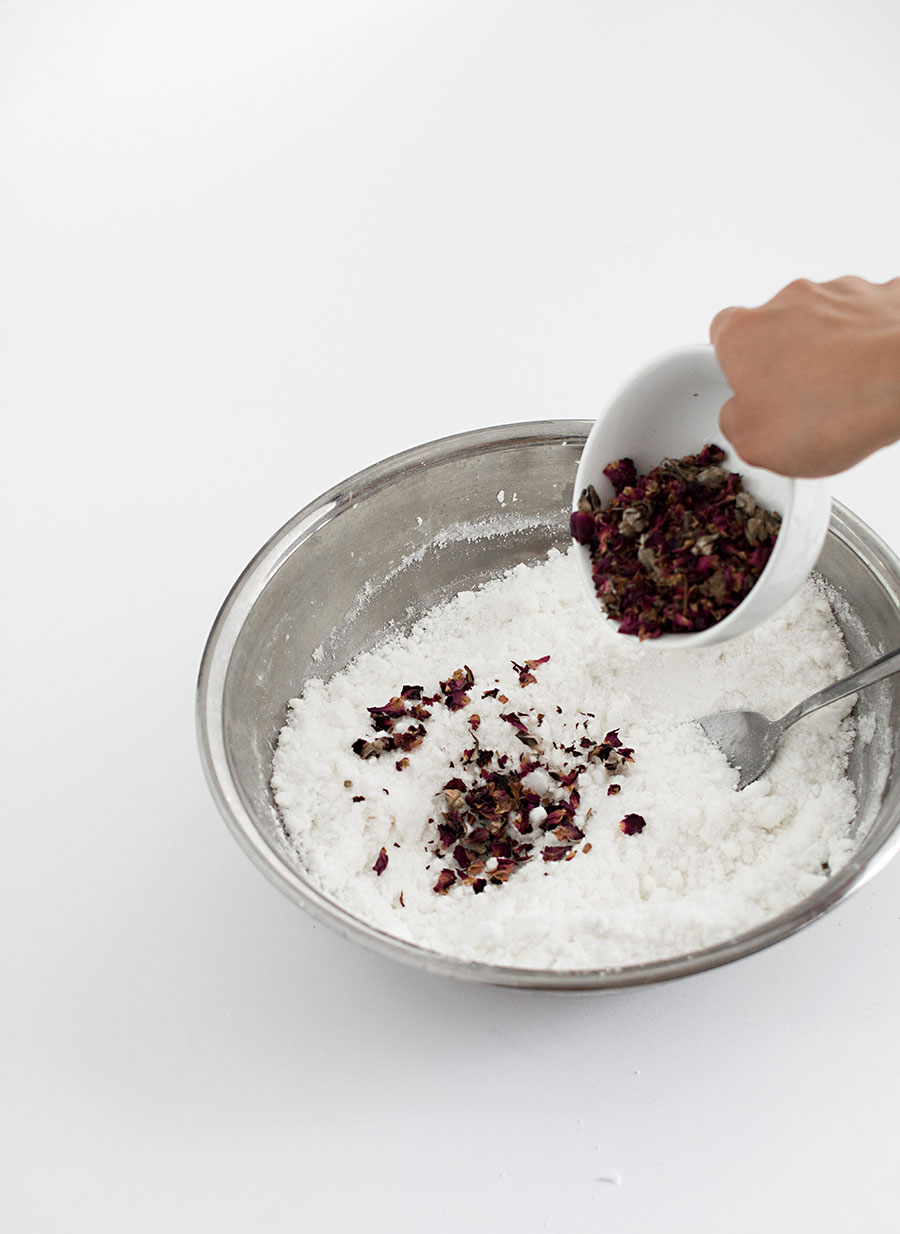
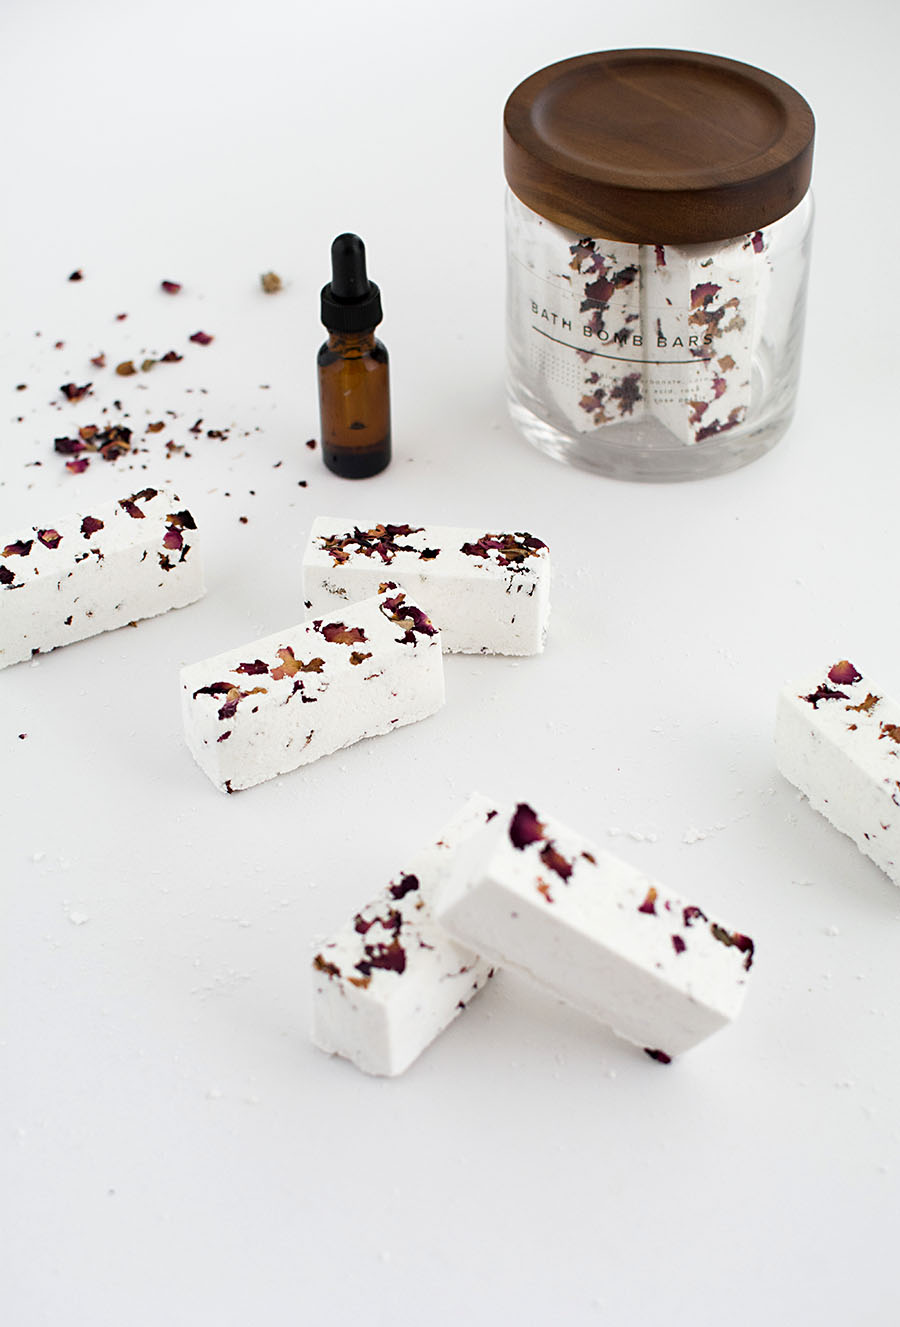
Mix in dried rose buds/petals. I added about 3/4 cup but you can add as little or as much as you like. Just don’t add in too much or you might have problems with the bars staying intact.
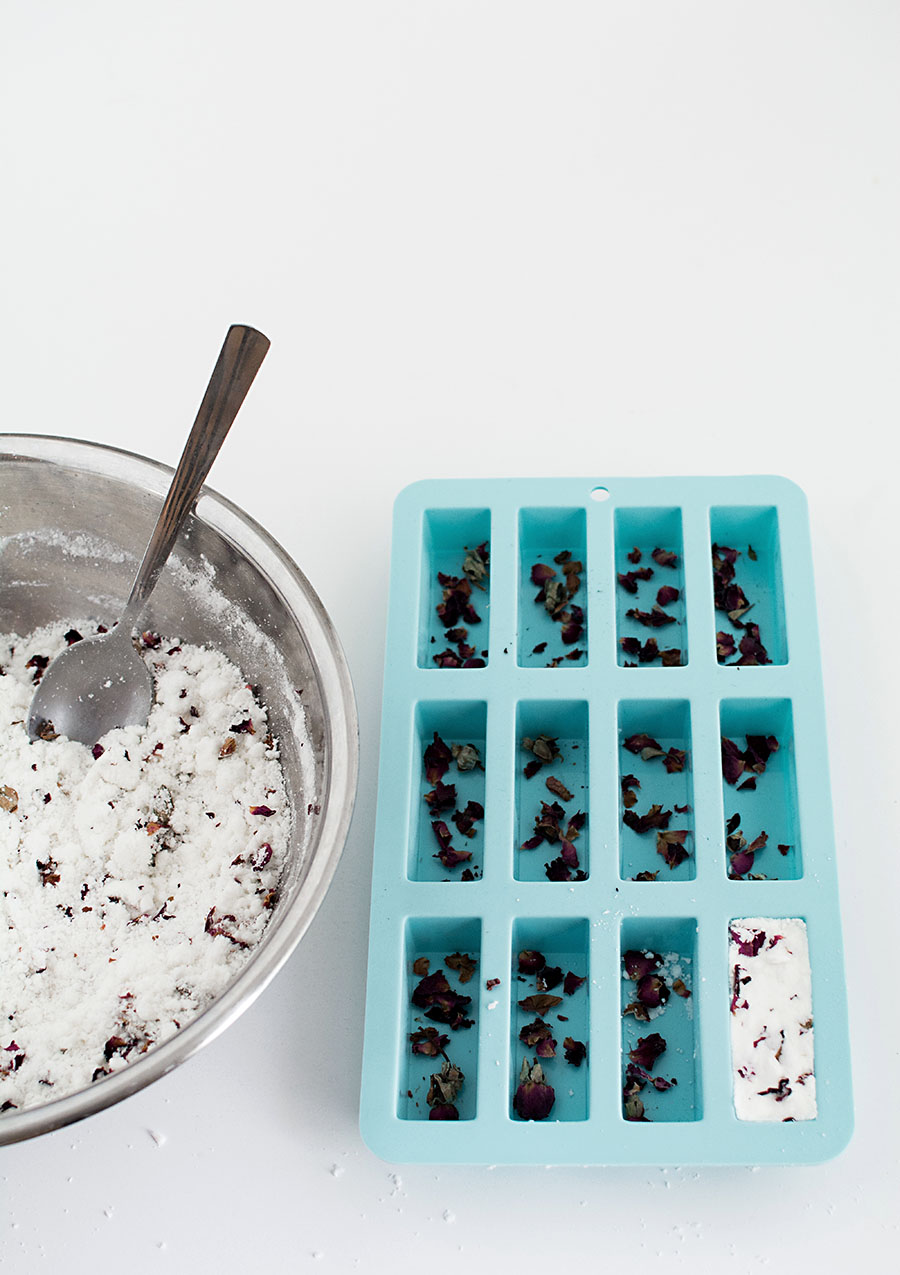
Sprinkle some more rose buds and petals into the molds before packing in the bath bomb mixture tightly. Because the silicone mold has some give, the bars will bulge out in shape as you pack in the mixture, so make sure to reshape each bar by pushing on the outside walls of each cavity as you go. Allow the bath bombs to completely dry for about 24 hours.
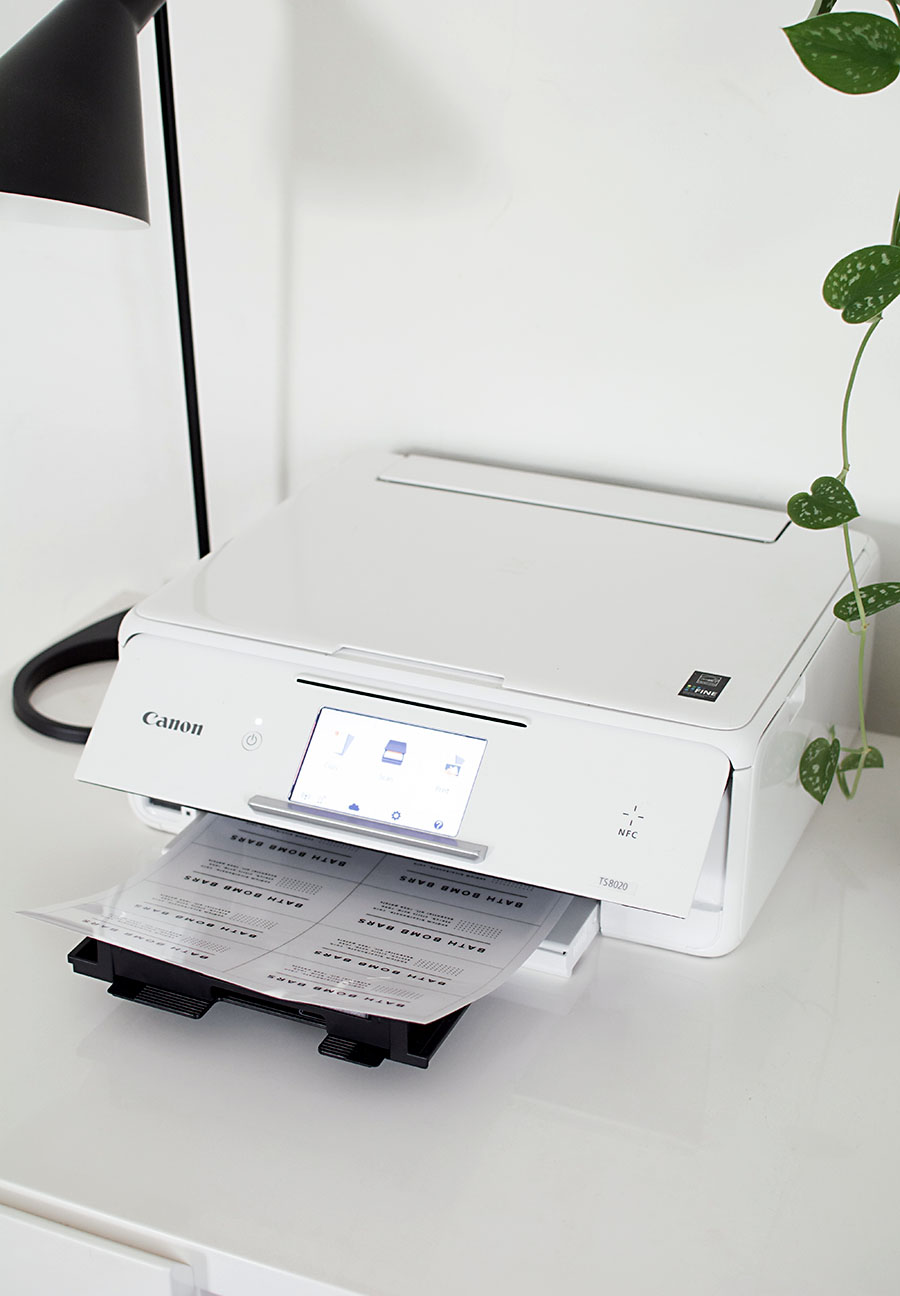
Print out the labels here and if you’re using the clear sticker paper, make sure to place it clear side down in the main tray. Even though this sticker paper is a bit thicker, the TS8020 printer has no trouble picking it up from the main tray.
Let the labels dry for at least 5 minutes before handling and cutting.
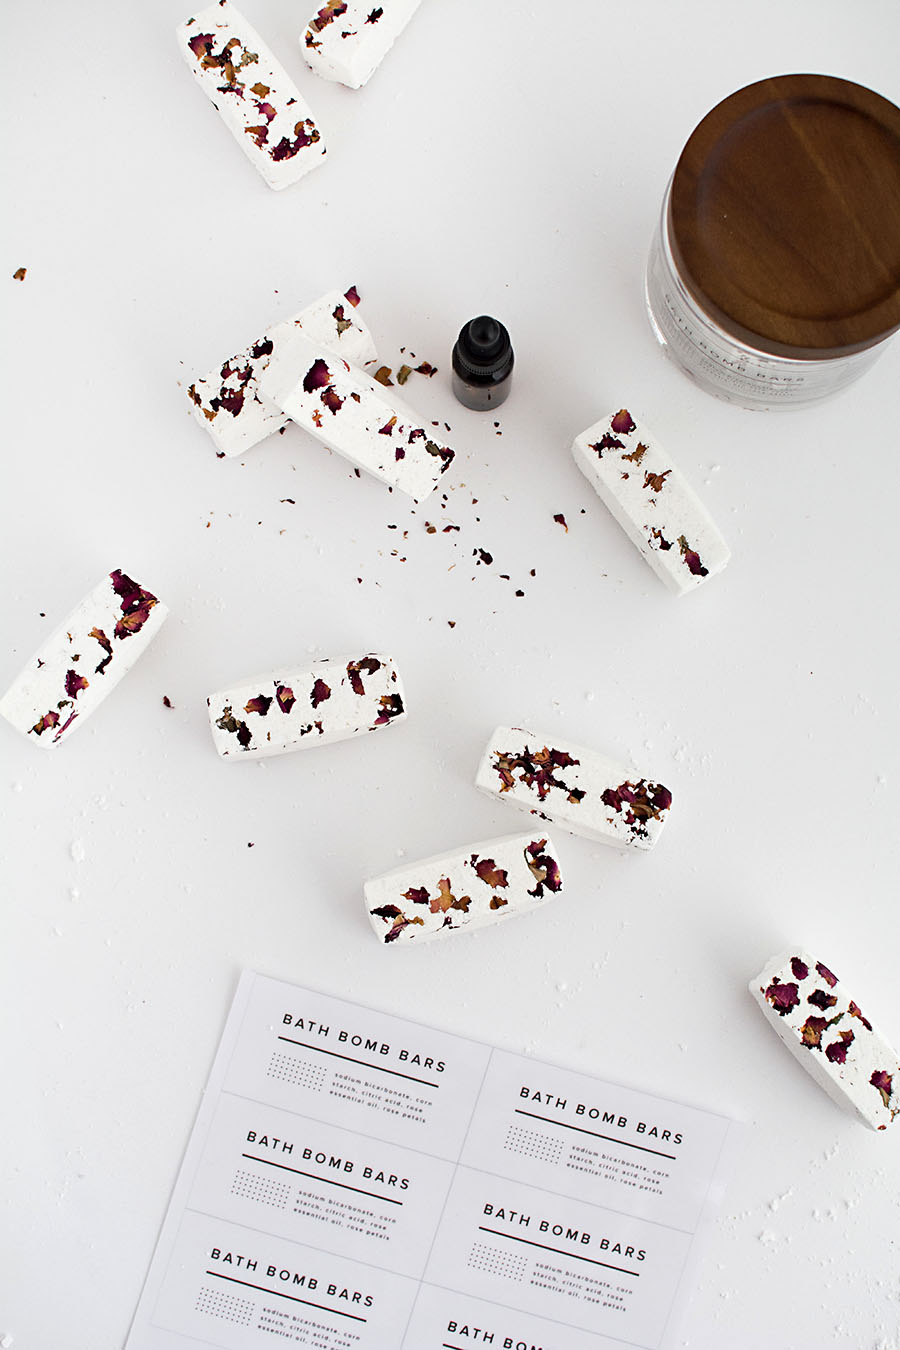
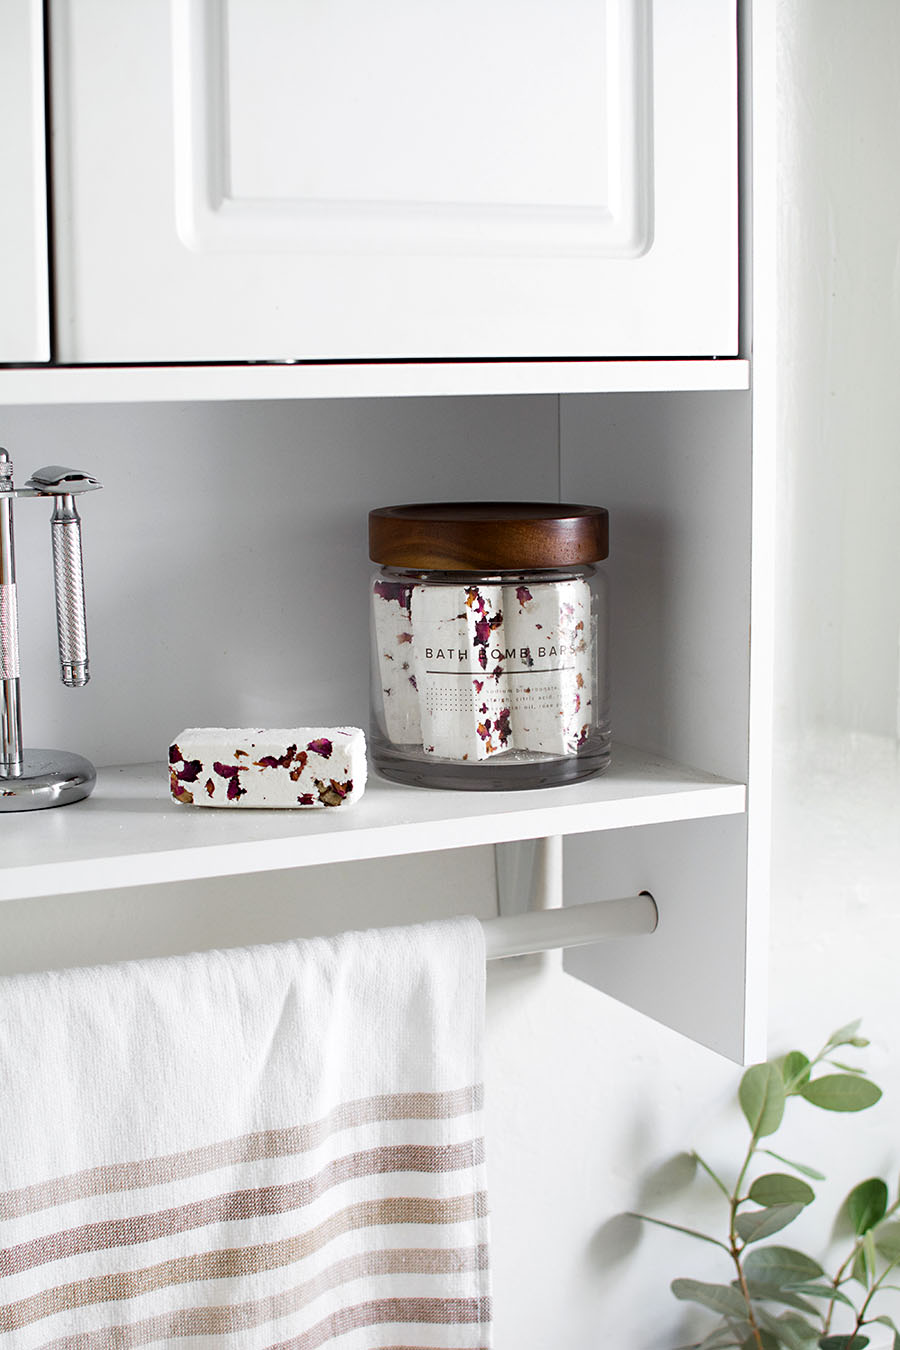
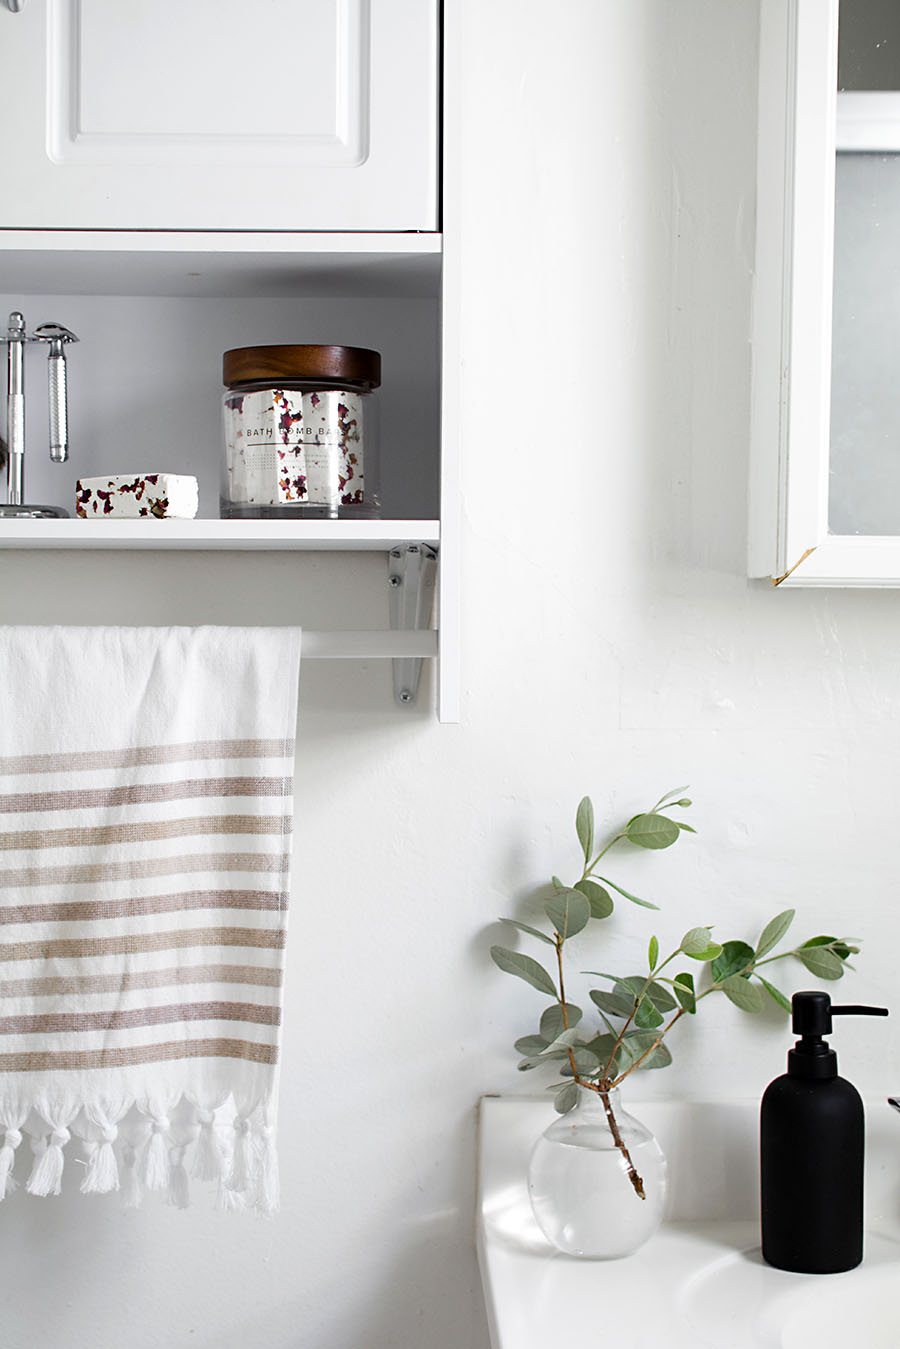
You can definitely use regular white sticker paper, but I love the subtlety of the clear label on a clear jar. The clear labels would also look great on cellophane bags, or even glassine ones.
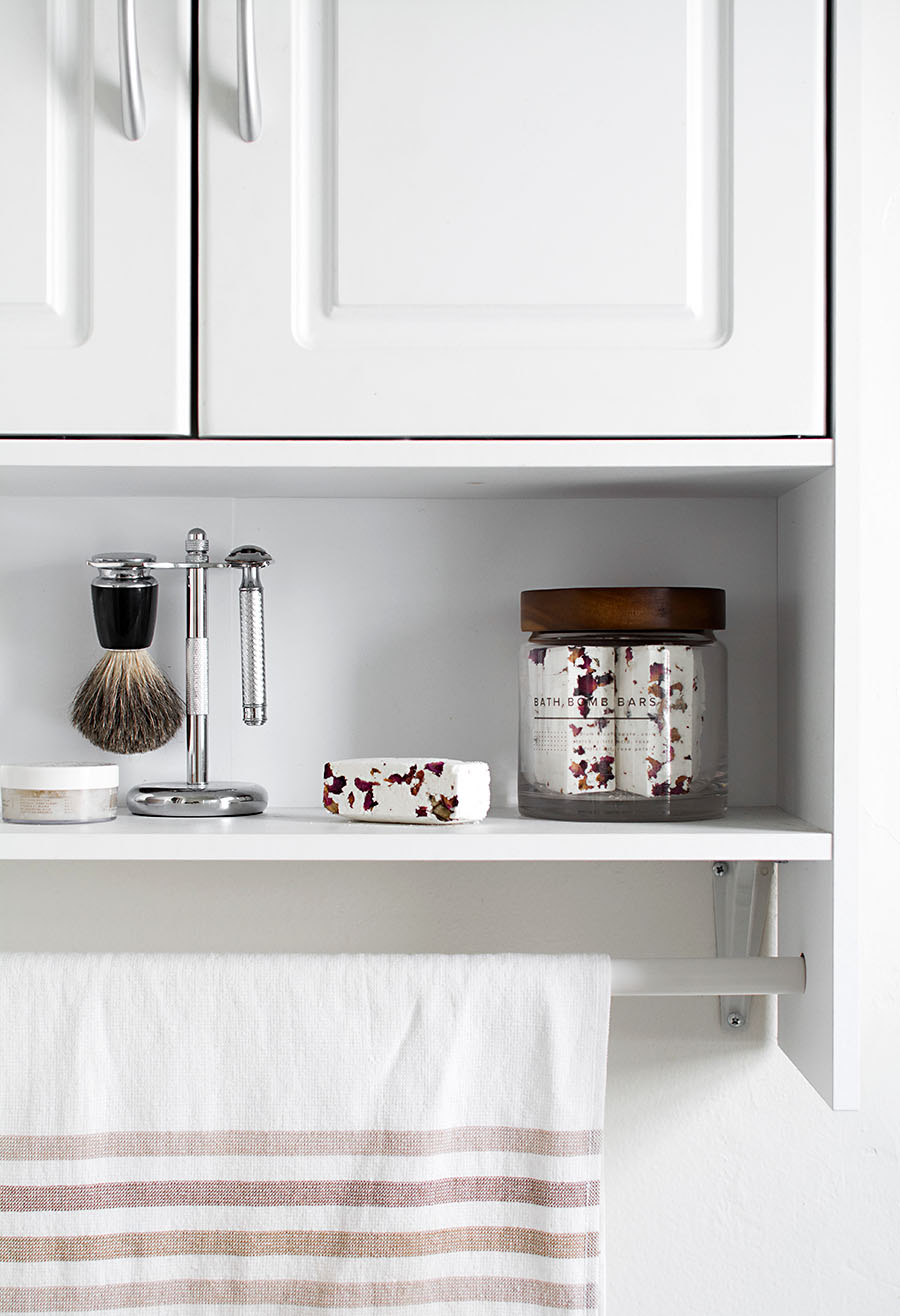
When placed in a jar and labeled like this, the bath bomb bars double as a decorative item. They’re both enjoyable to use and enjoyable to display, and that is exciting my friends, because you also made this by yourself. YES!
In case you missed the link, download the printable labels here!
 This post is sponsored by Canon. All words and content are always my own. Thank you for supporting partners that help bring fun ideas for you to discover and try!
So pretty! Where did you find the jars!
Thank you Nnena! You can find the jar here.
They look so pretty, especially in that jar!
https://www.makeandmess.com/
Thanks, Michelle!
Great tutorial! I love that jar! Where did you find it?
Hi Beth! You can find the jar here.
Where did you get a clear sticker paper, I keep looking for one everywhere and cant find any! 😢
Hi Zuzana, it’s linked in the post under materials!
Half of me clicked for the bath bomb, half for the clear sticker and jar. So happy to find the links/sources for those!
Haha that basically sums up how I feel about this project too. Thanks Cat!
These are so cute & the printable label just makes them even better! I can’t wait to make some of these as stocking fillers at christmas, because they are actually such a good idea fro a present. Thanks so much for the inspiration.
Holly from The Art of Being Holly x
Thank you, Holly! Hope you enjoy making these.
Thank you for sharing the tutorial! It’s a great DIY gift idea.
Hi there ! loving your site
I’ve scoured pinterest for the absolute best DIY for Christmas gifts and I’ve included your fantastic Rose bath bombs , so fun!
https://mammamode.com/11-christmas-diy-gifts-friends-will-not-believe-made/
thanks to pin on pinterest if you think your followers would like it ! cheers Andrea
CAN I USE THE LABEL TO SELL MY BATH BOMB?
LOVE IT.
Labels are for personal use only, thank you!
HI! How did you get your bars so straight? I have the exact same mold and have tried several times, but they seem to buldge out too much, or if I don’t pack in tight enough they just crumble. Any tips? Thanks, Sabrina
I love the bar shape! What are the dimensions of the bars? I’m trying to find other glass jars that will work with that size bomb bar. Thanks for your help!
I made these and I LOVE THEM! So simple and they came out so elegant. Quick question… have you tried using coconut oil instead of water? I’m curious as to whether that would bind the same way while adding a skin-softening element to them.
I’m so glad it turned out well, thanks for letting me know! Have never tried coconut oil but I’m curious as well because that would be amazing if it worked.
I I am trying to make them, but It seem I have added to much water, how can I fix it. Do I add more mixture of the dry ingredients? Thanks for sharing