 You know that really cliche thing they say about couples fighting over where or what to eat? We are that cliche, although we do most of the arguing at Trader Joe’s when we’re trying to decide last minute what we’re going to eat that week.
For a reason I can’t remember, I was in the “promotions” tab of my Gmail inbox and I saw an ad at the top for Blue Apron. I’ve griped about this ad feature in Gmail before, but this time I became that sucker who clicked on it. I was very intrigued- ingredients in the exact portions needed delivered to my door in a refrigerated box, accompanying delicious recipes that are simple (my favorite) and easy (also my favorite) to make. I told boyfriend, “We need this,” and he said yas, so we tried it.
We LOVED it.
We didn’t have to meal plan for three nights of the week, we were trying yummy new dishes we never would’ve tried on our own, and we were learning different techniques and ways to cook. Cooking became a LOT much very more fun.
Blue Apron happened to contact me later about partnering on a post sharing the process of cooking a meal, and I said heck yes, I have a lot to say about my favorite subscription service.
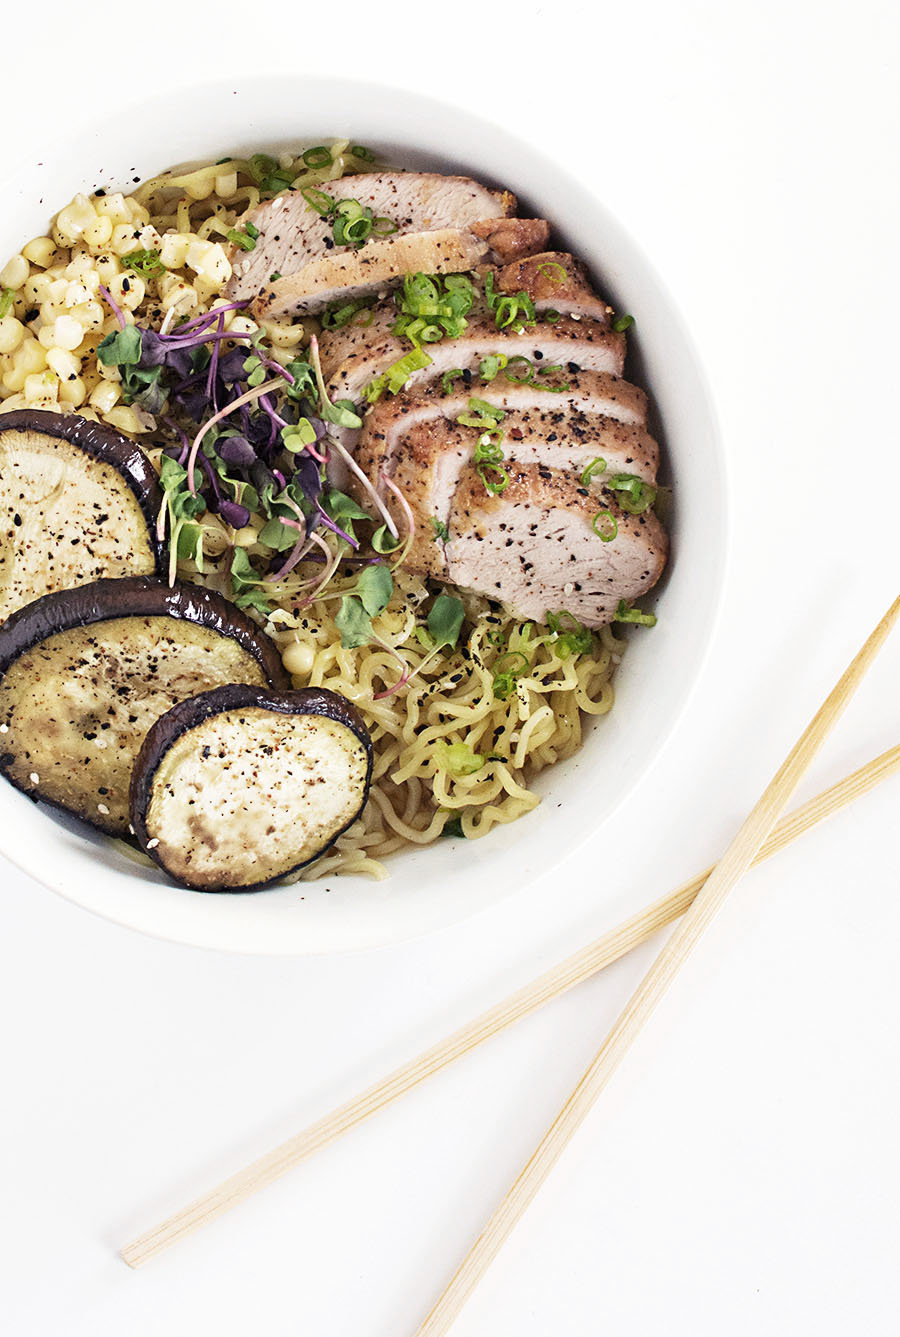
 We don’t order Blue Apron every week, but only on weeks where the recipes look extra bomb, and I needed to try this one for pork ramen. All the ingredients, shown above, were delivered in their exact portions for two people, him and me.
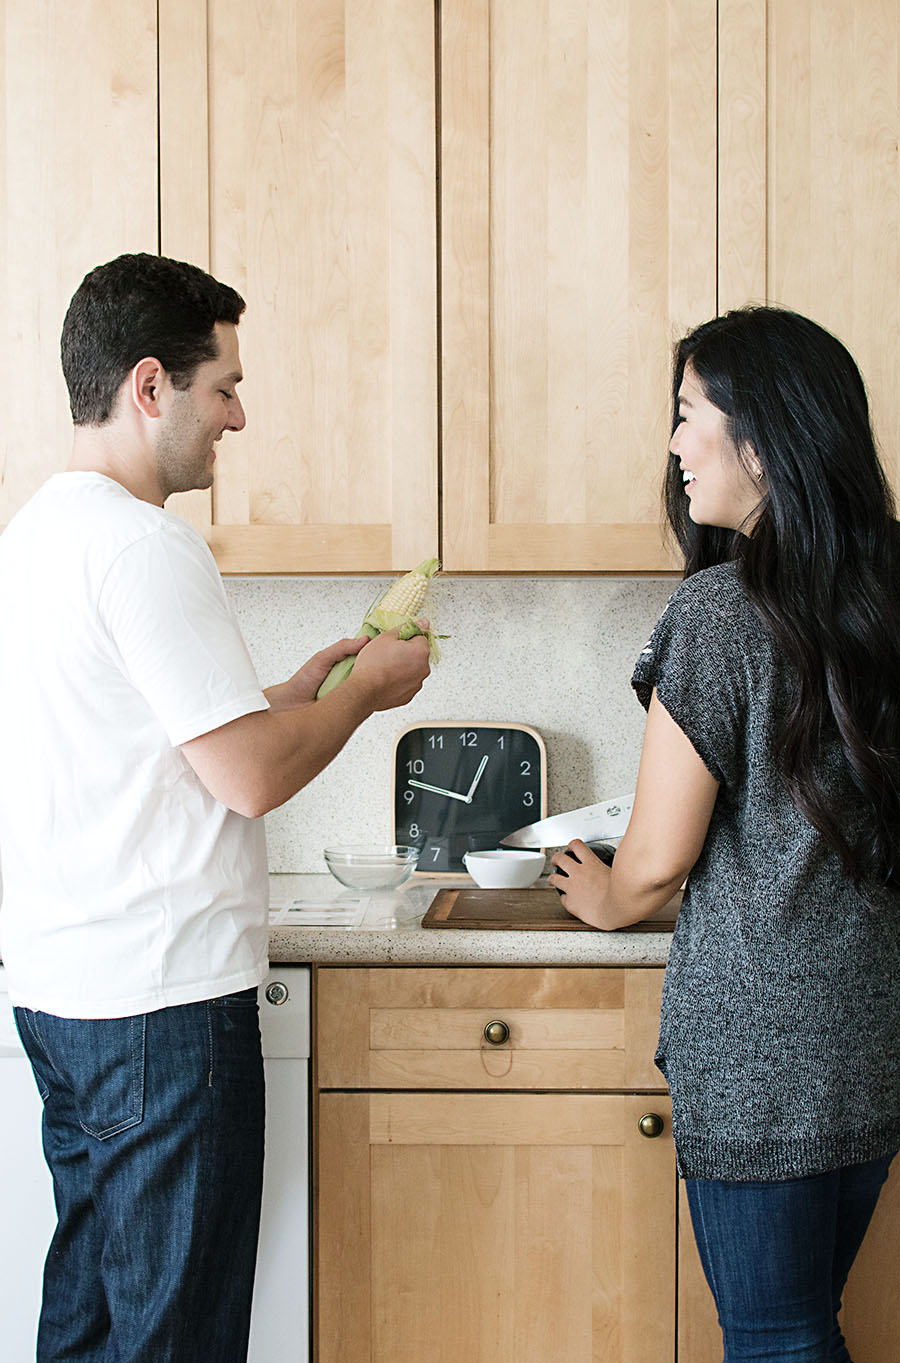
Look at where you’re cutting and not at the corn your significant other is peeling, ok?
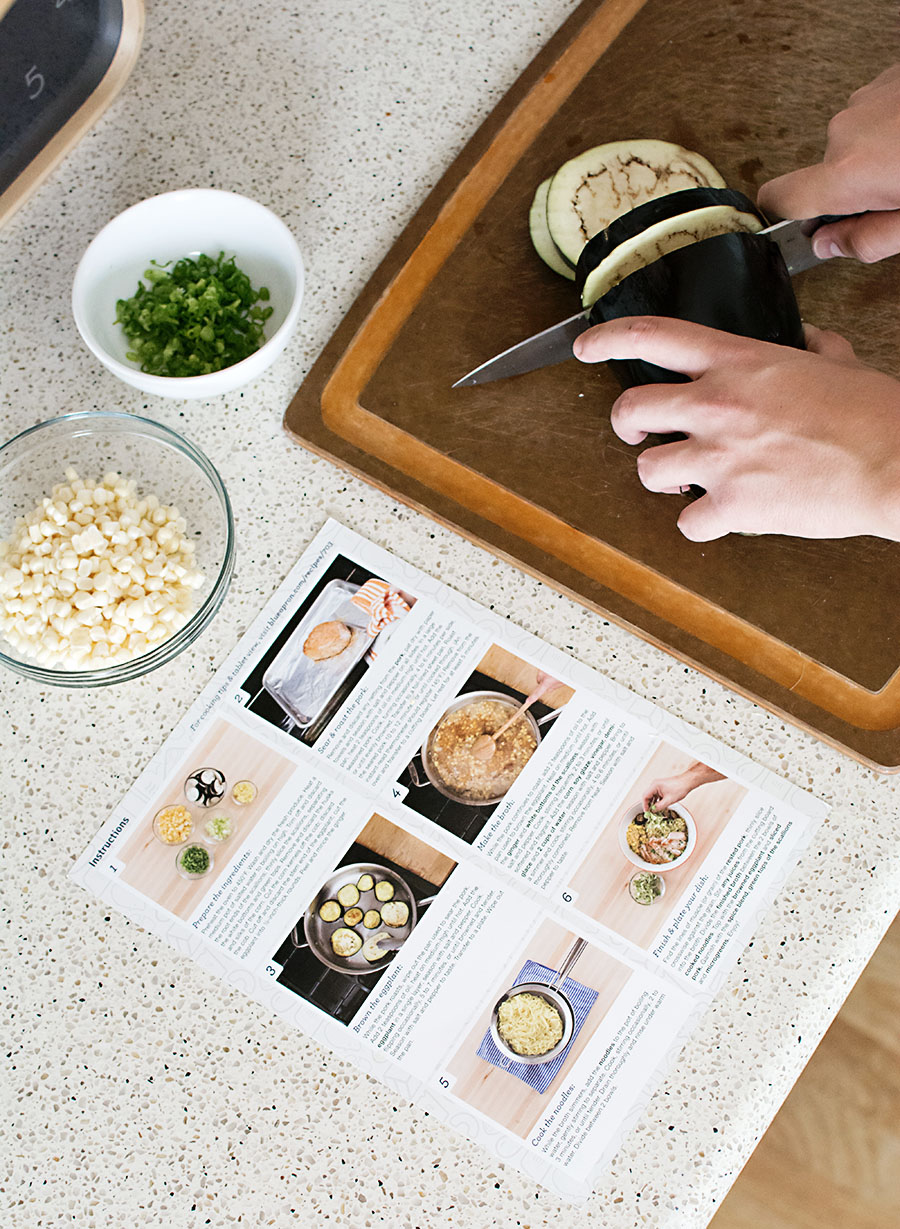
The recipe card shows step by step directions, and the thing I appreciate most about all of them is the mise en place approach. The first steps always instruct on everything to cut and prepare, which I guess is common sense in cooking, but I used to never do this (and now I do, how about that.) I also keep the recipe cards for the meals I liked most. For instance, there was a caesar salad recipe that I initially felt whatever about thinking it wasn’t exciting, but the homemade dressing was amazing, and I refer to that recipe all the time now whenever I make myself a salad.
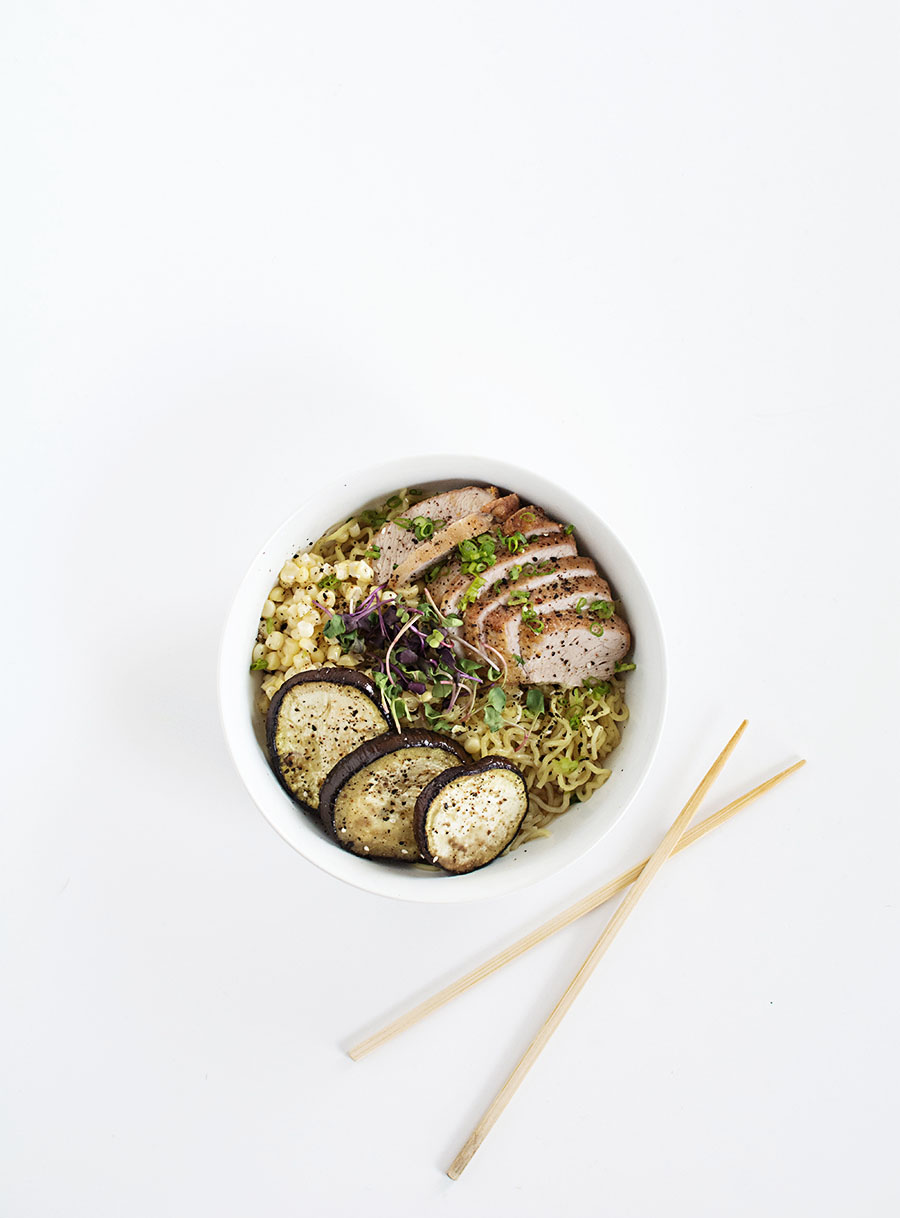
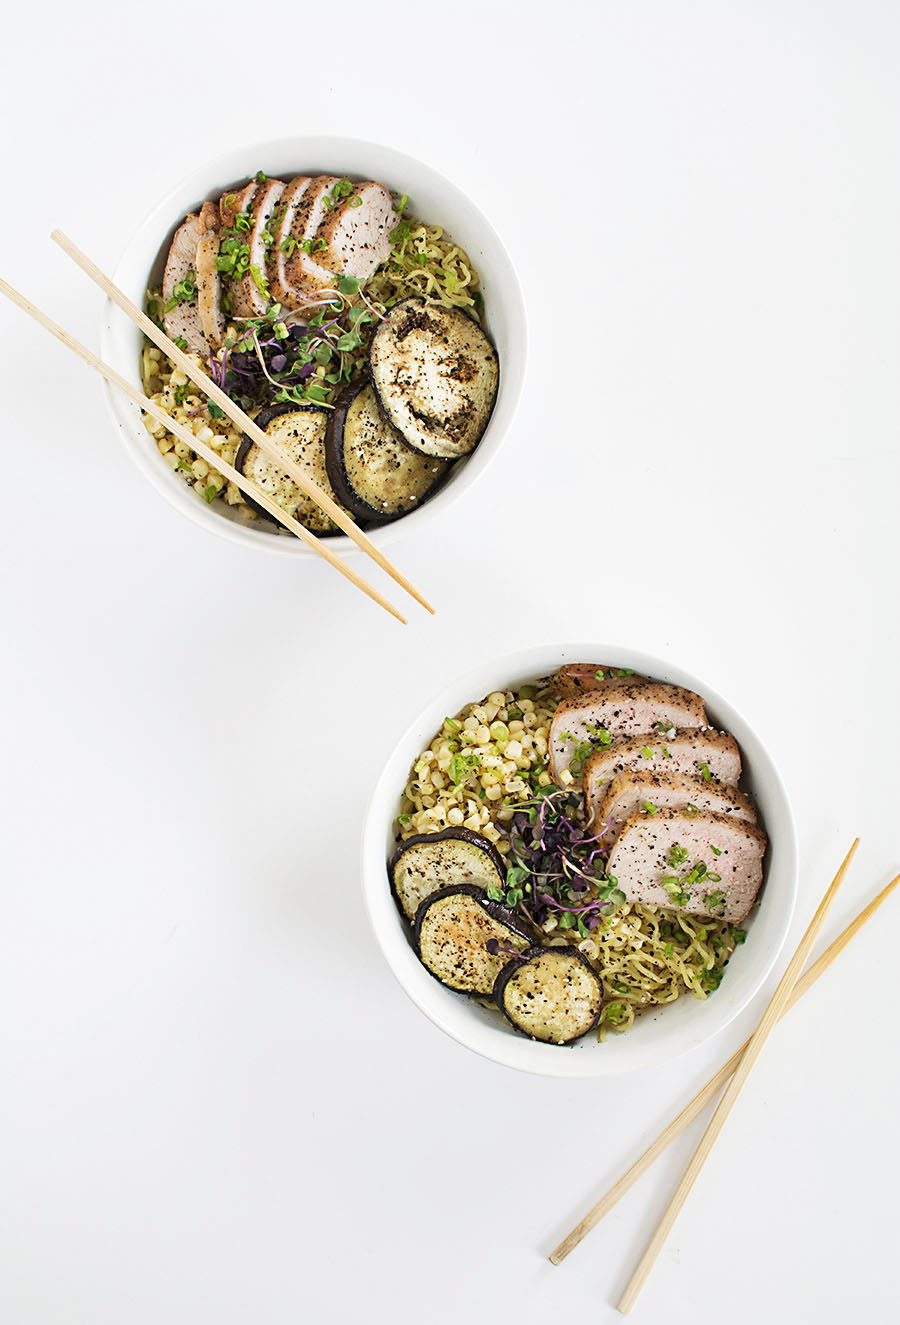
About the portion sizes. We were very full after this, but this one was particularly huge, maybe the largest portion size of all the meals I’ve tried. In general though, I’d say the portions are perfect for us, but I know a couple people who can pound back 10 tacos easy- a single serving of Blue Apron would not be enough for them.
 The ramen was SO good, but I could have done without the eggplant. I’m not hot on eggplant in general, but I like giving it a chance here and there. Other recipes I’m eyeing are the Southern-Style Shrimp Boil and the Chicken Pad Kee Mao.

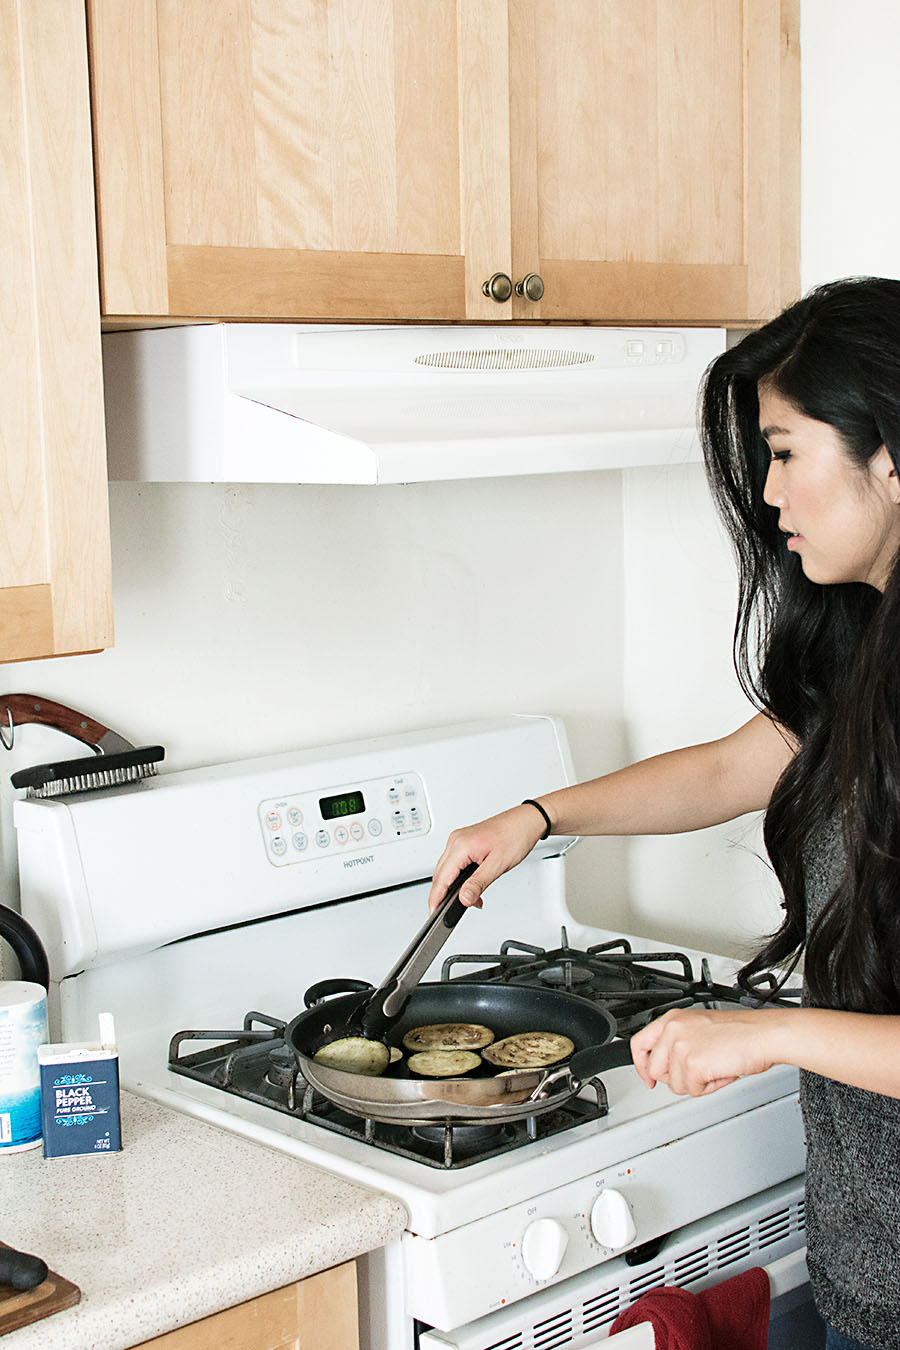
We kept laughing because we tried to pretend like it wasn’t 90 degrees that day. We only have A/C in one room of our apartment, and it’s not the kitchen. Ramen on a day that hot probably wasn’t a good idea. We’re agreeing with our sweaty faces.
Each meal is $9.99 for a 2-person plan and $8.74 for a four person family plan. I don’t consider this expensive, but I don’t consider it cheap either. Though from my experience they taste like restaurant quality meals, you still gotta do all the work and dishes, ha! It’s why we look at Blue Apron as more of a recreational thing, something fun for us to do where we can both learn something new and escape our boring dinner ruts once in a while, but it’s definitely not a frequent thing for us, and luckily the option to skip each week or cancel is available.
If you’re interested in trying it out, Blue Apron is offering the first 20 readers two free meals on their first order. You can sign up here for that offer!
This post is sponsored by Blue Apron. All words, enthusiasm, and laughs are my own. Thank you for supporting brands that keep the fun stuff coming.
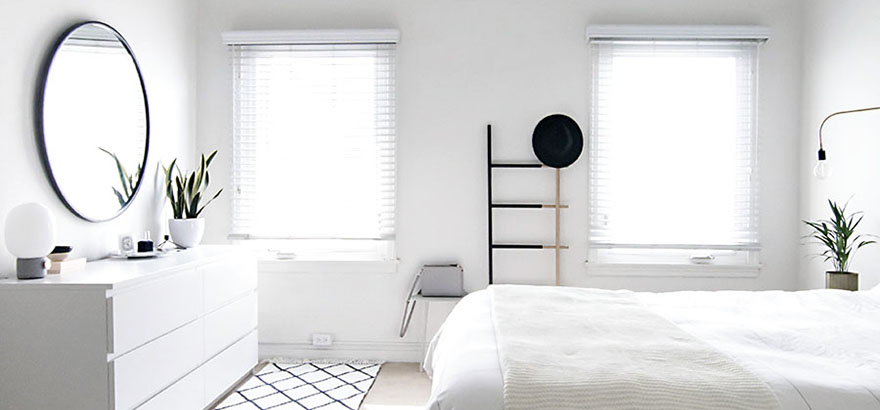
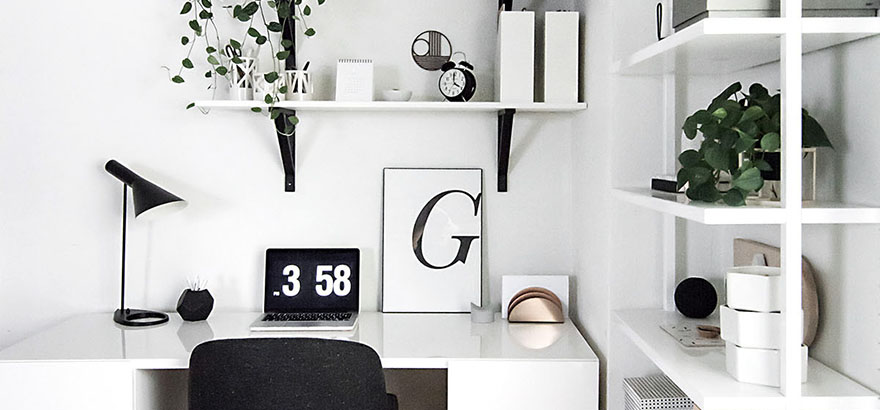
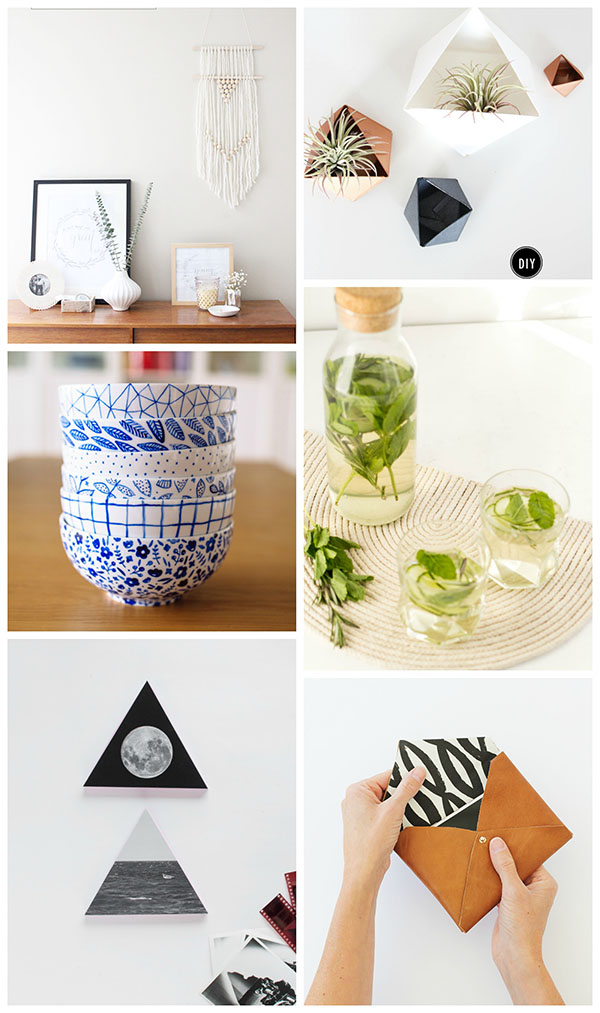 I was walking around the craft store a few days ago and out of nowhere my head was exploding with a million ideas (ok it was more like five). I’m actually not always in the mood to DIY. I go through bouts of not wanting to make anything, then suddenly wanting to make everything. I’d rather wait for inspiration than force it, and when it comes, it pours. So currently, I’m feeling pumped about making and just trying new ideas. Here are a few that I probably won’t get to but I still like a lot!
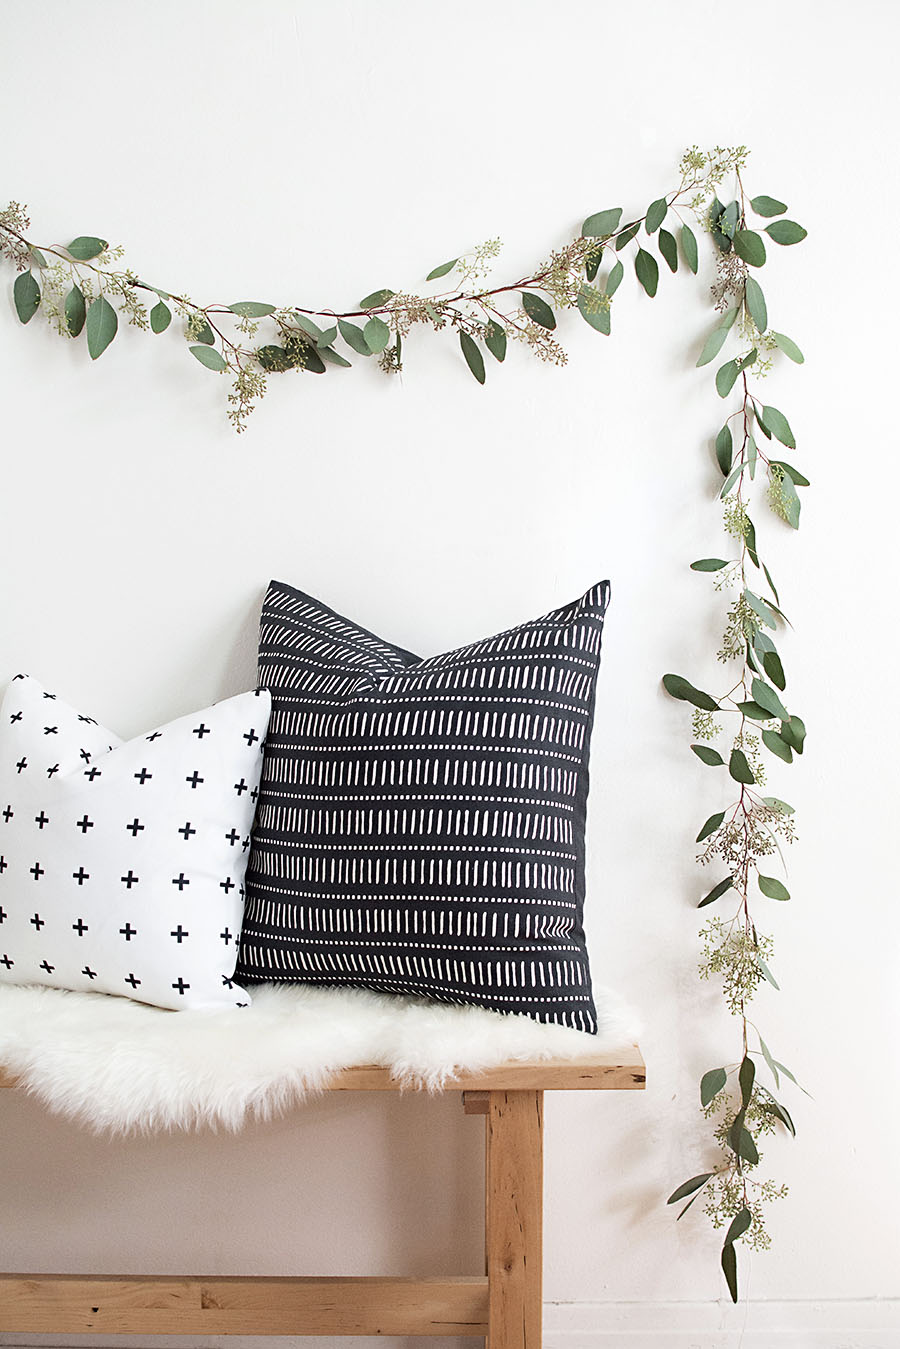
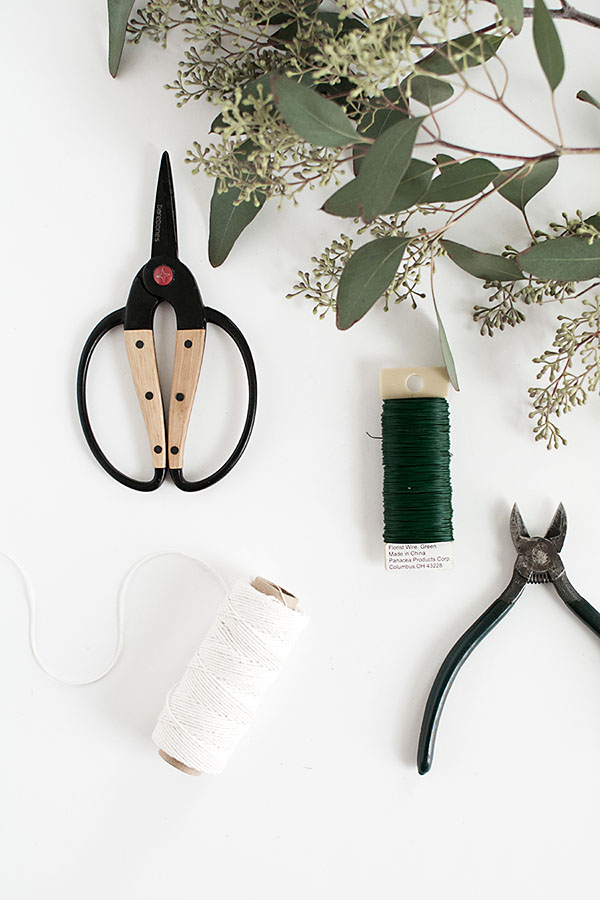
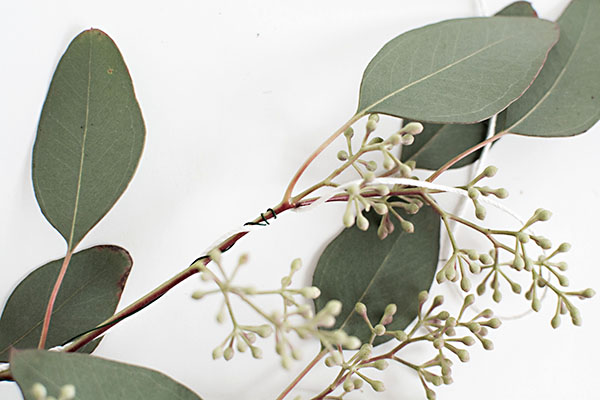
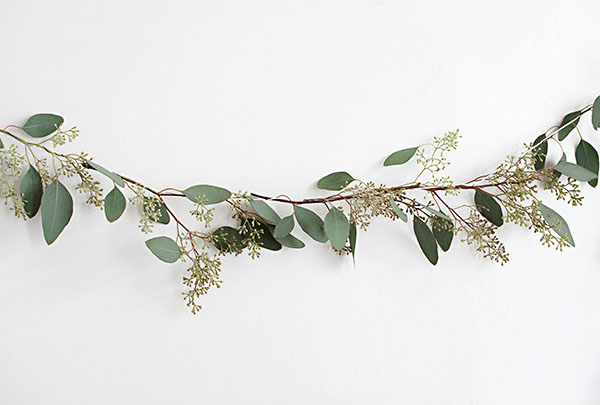
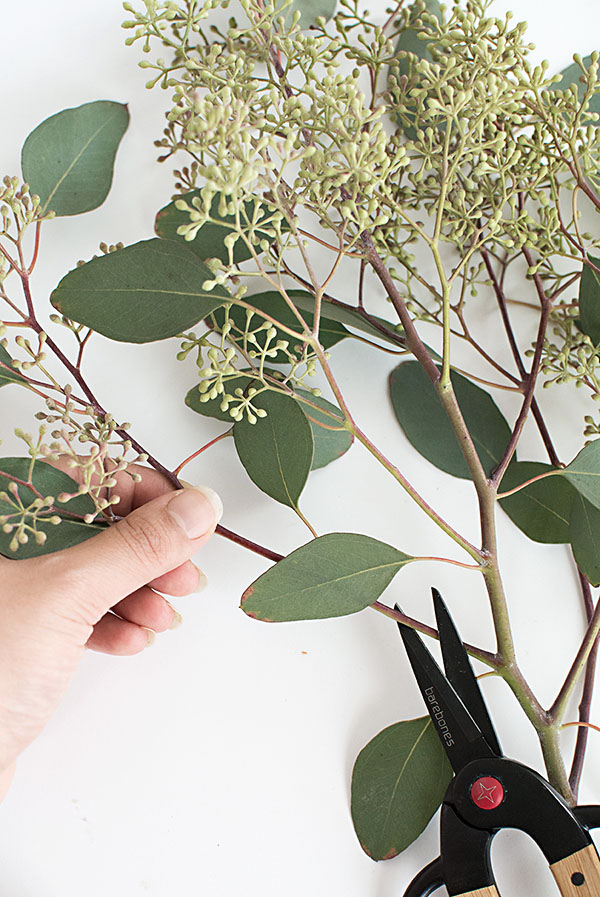 I started by cutting up the eucalyptus into its individual branches while also cutting off any bulky or crazy wayward looking pieces.
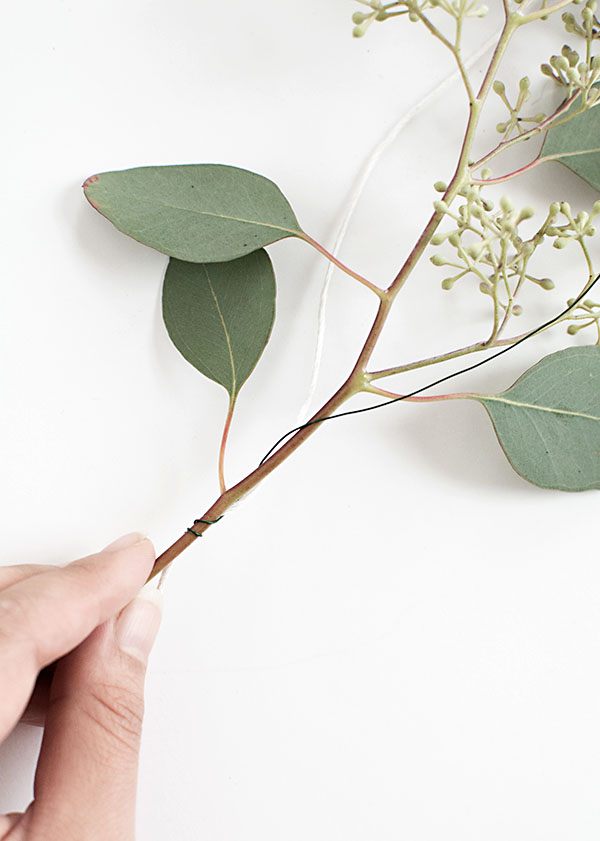 Next, I attached each branch to the string by wrapping wire all along the main stem.
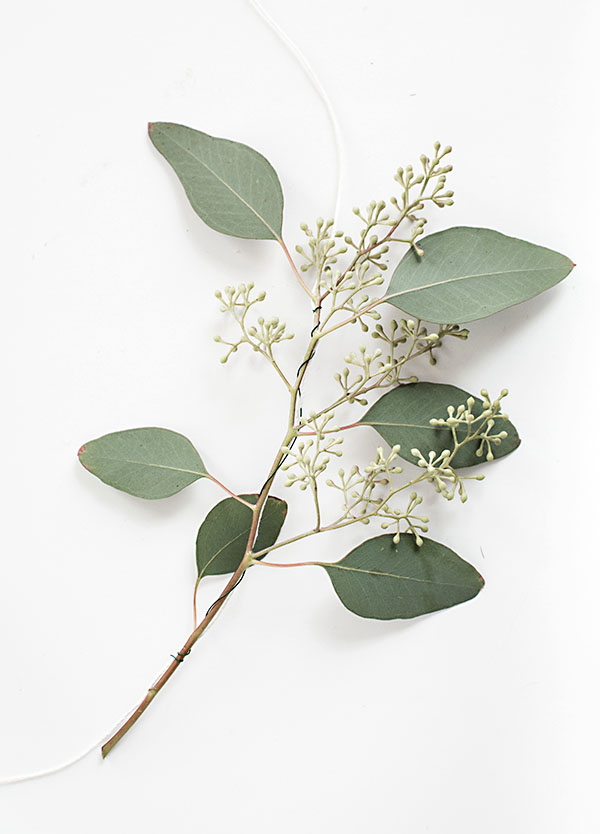


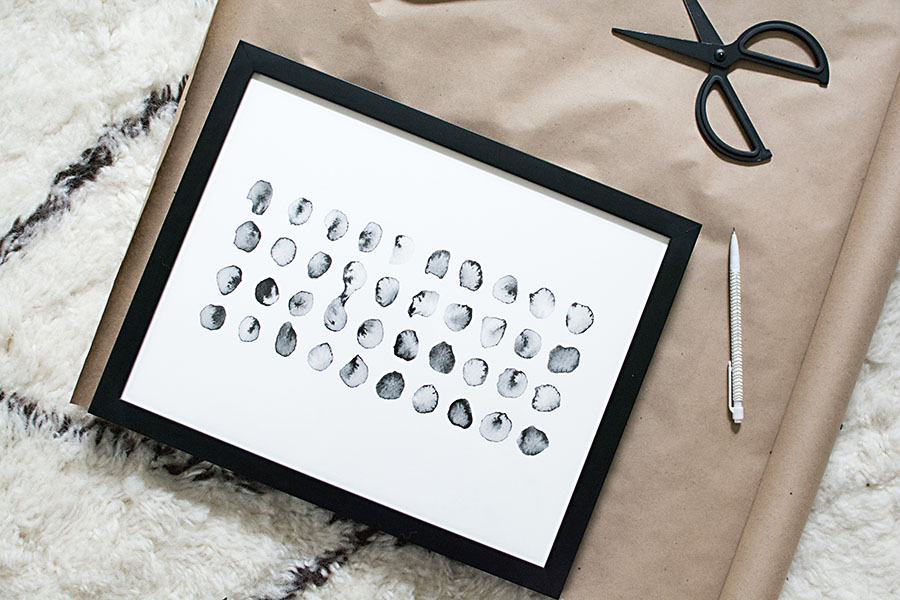
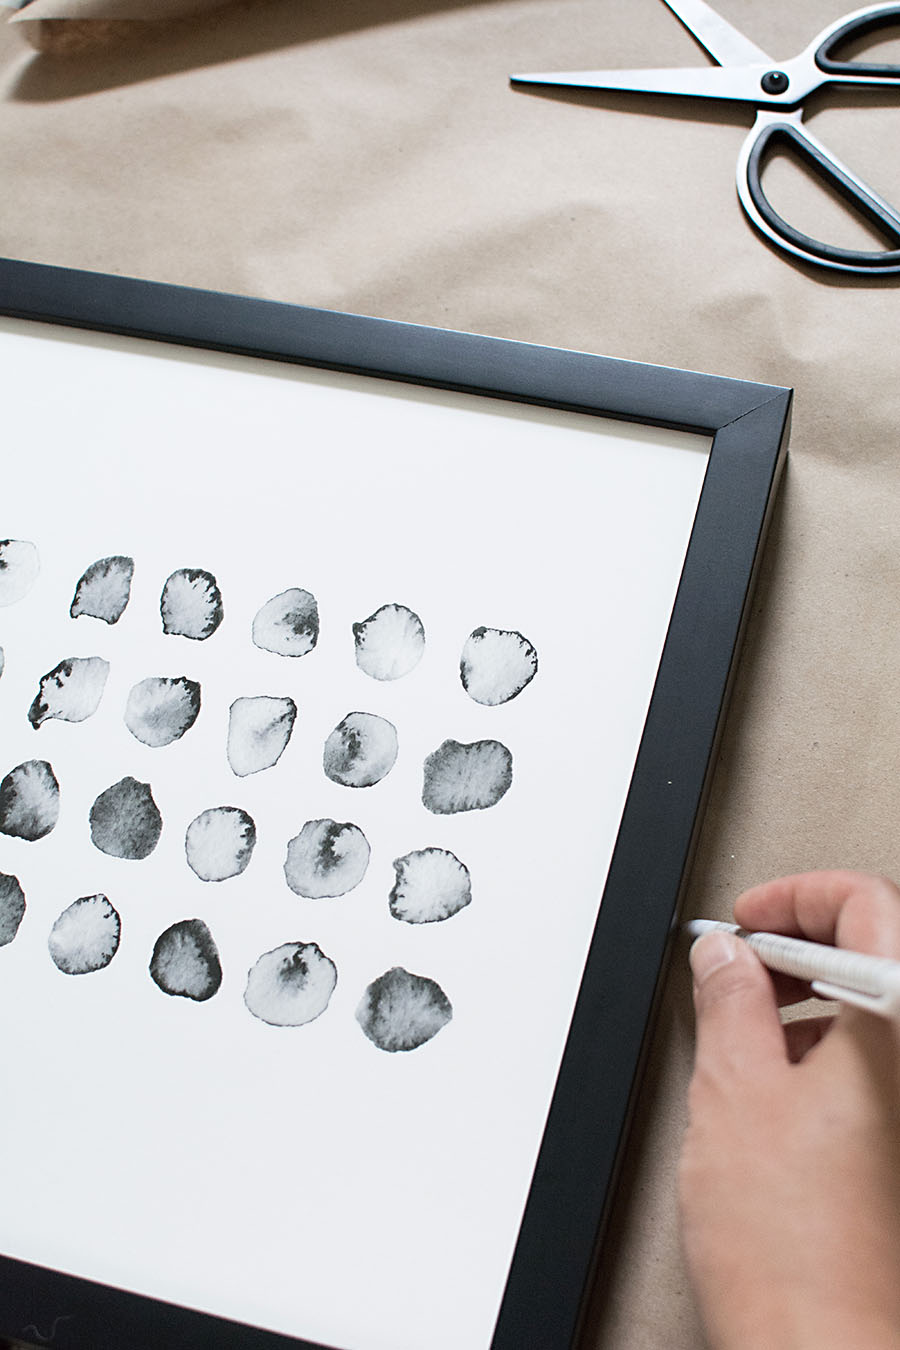
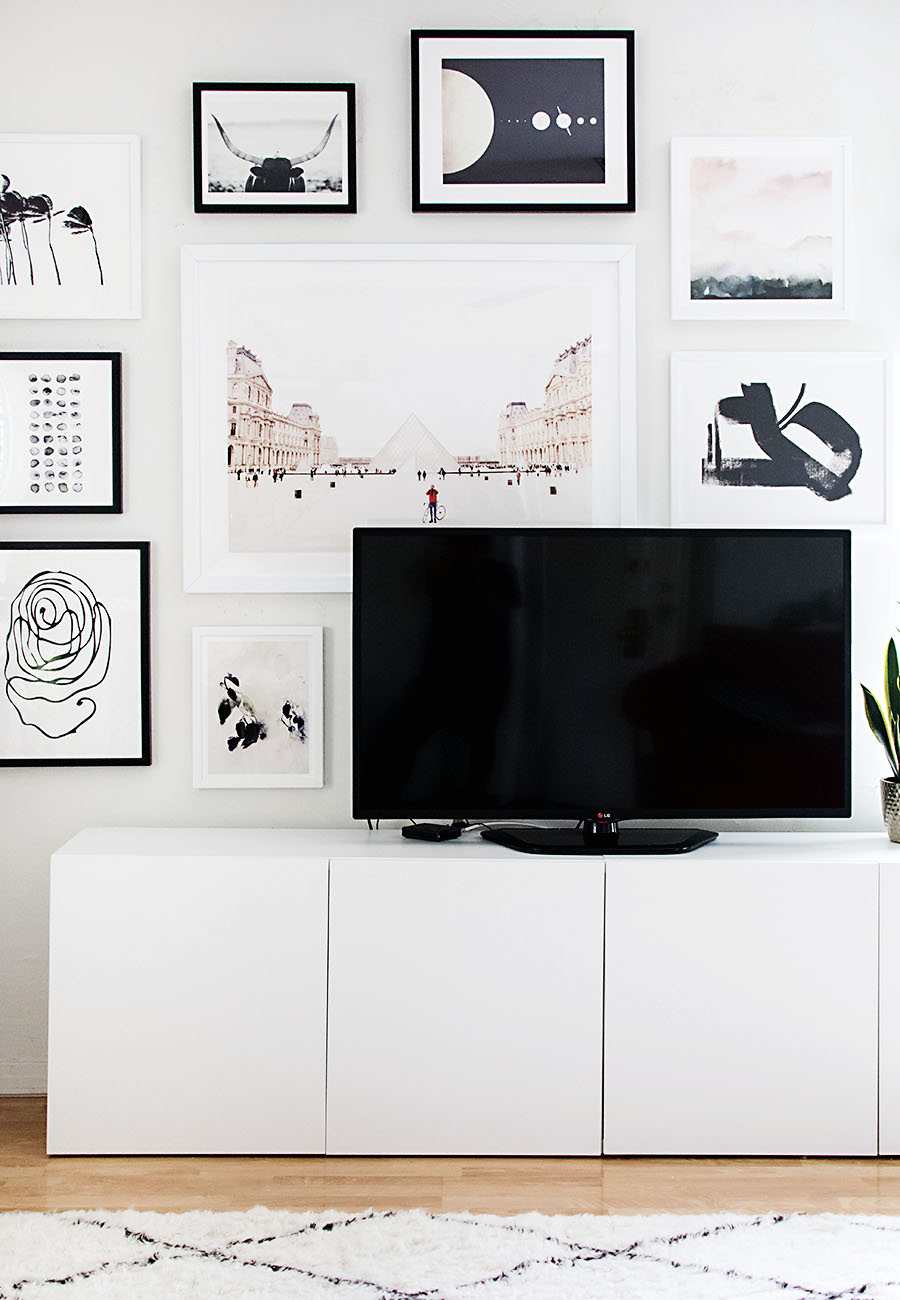
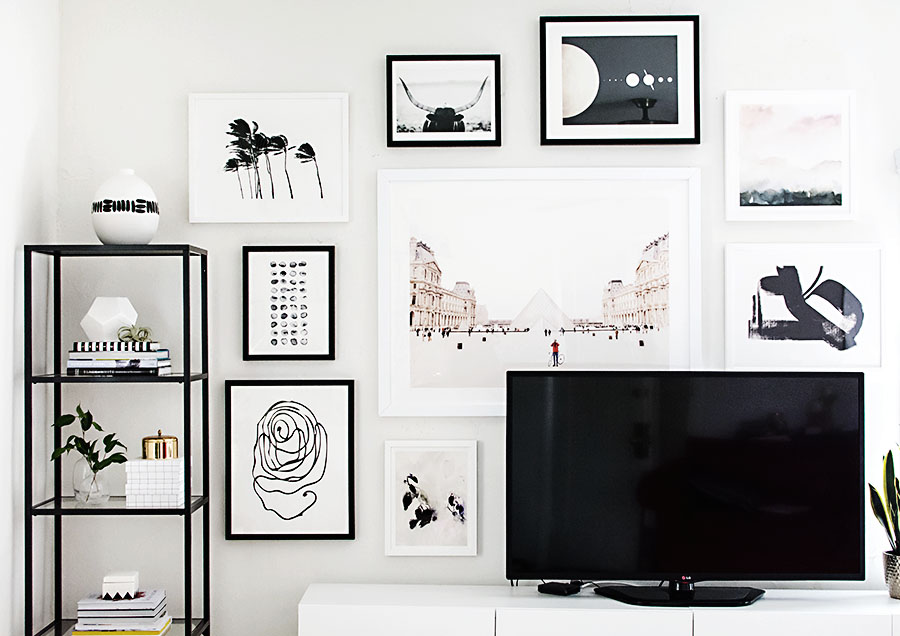
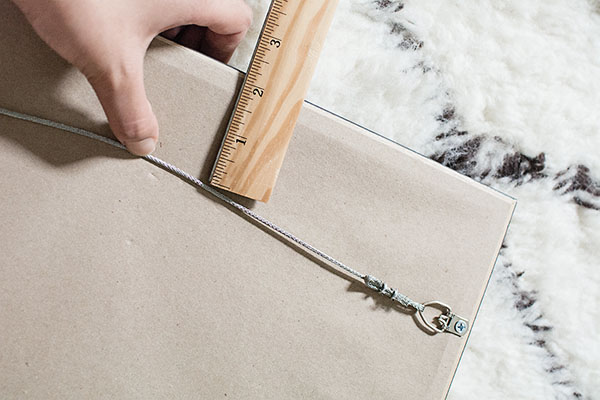 Pulling the wire up as tightly as possible, I measured the distance between the wire and the top of the frame, then marked that distance on the kraft paper, seen below as the horizontal line in pencil.
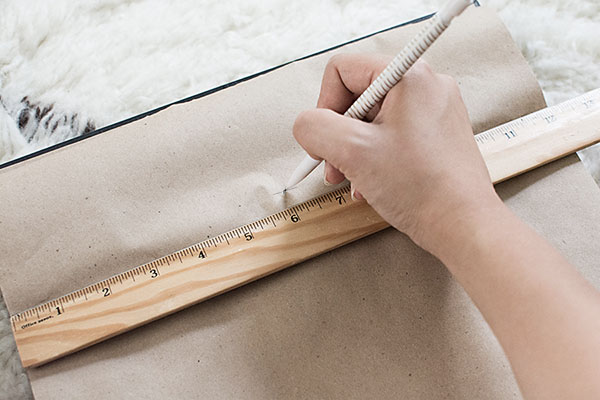 Using the ruler again, I marked the horizontal half way point of the frame on the previously drawn line by drawing a dot. This marks where the nail will go in the wall.
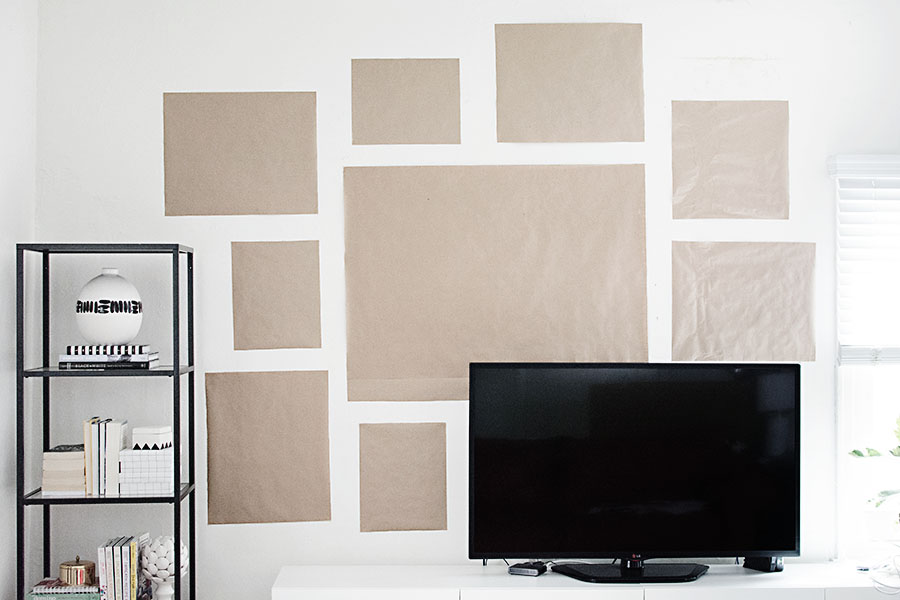 I taped all the paper up with double-sided tape to keep the edges clean, which is really helpful for clearly seeing the spacing between frames. I kept the spacing to at least three inches, a little more in some parts, but no less anywhere.