I learned about pinch pots in pottery class, which are an easy way to make clay bowls in the sense that they don’t require a lot of skill or materials, but to bring this craft home where most of us don’t have a kiln, air dry clay is the best option though it can be finicky. It has more of a putty texture and doesn’t smooth as easily, but this can be handled by frequently wetting your hands as you work with the clay to keep it moist, so keep that in mind for this DIY. It takes patience and a lot of love, but it’s equally cool and an easy first step in hand building clay projects!
Materials:
–air dry clay
–clay rib
-water
–paint
-paint brush
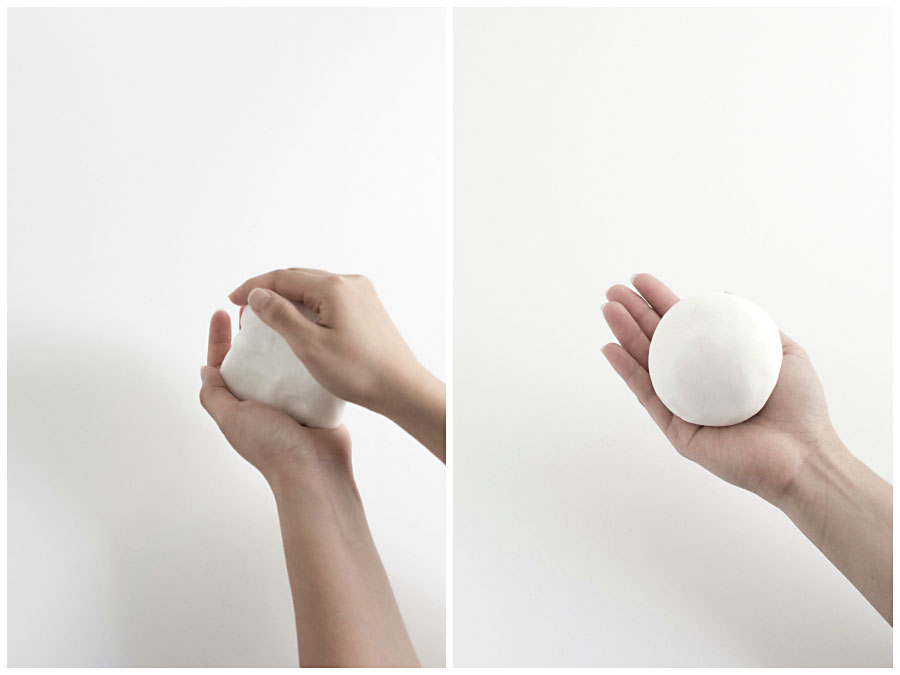
Use both hands to roll the clay into an orange sized ball.
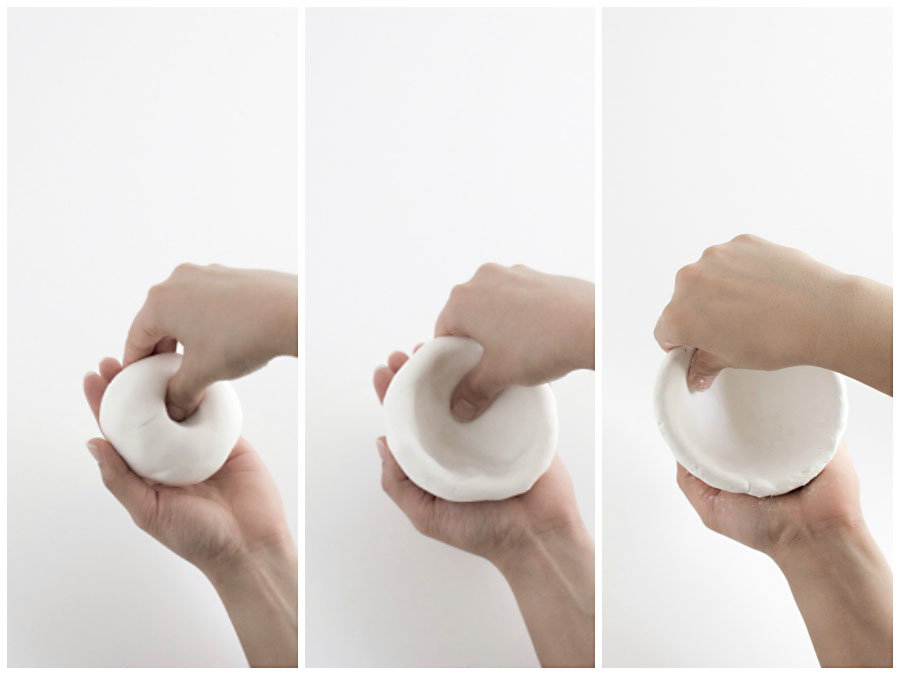
Press your thumb into the center of the ball and pinch the clay while rotating it with the other hand. Start near the bottom then work your way up with the pinching as you rotate. Pinch in a more upward pulling motion for added height to the bowl.
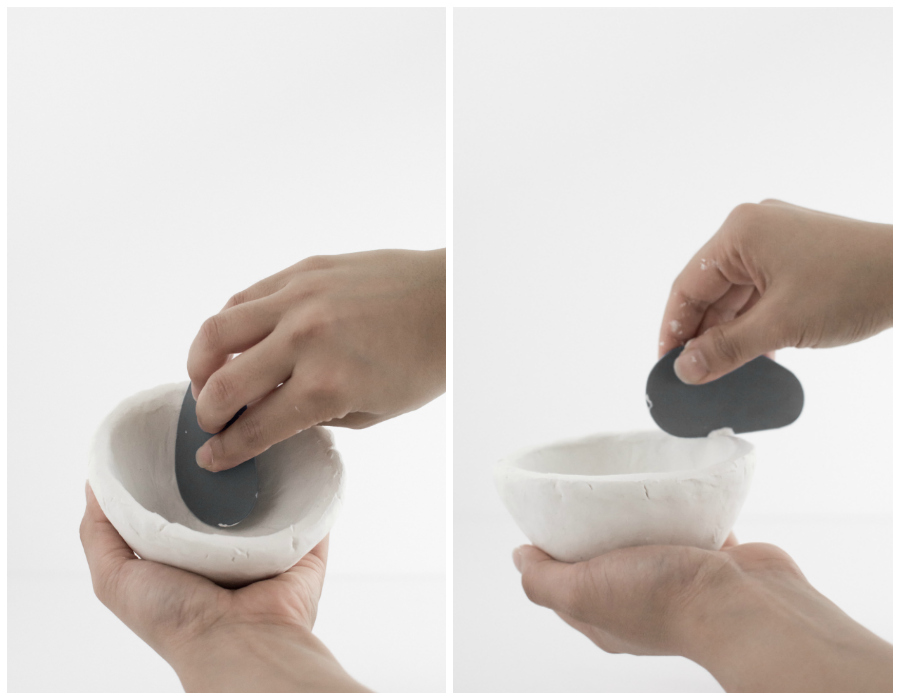
Use a clay rib to smooth out the inside and the edge of the bowl. You might also want to use it to remove excess clay in some parts that are thicker or come up higher than the rest of the bowl.
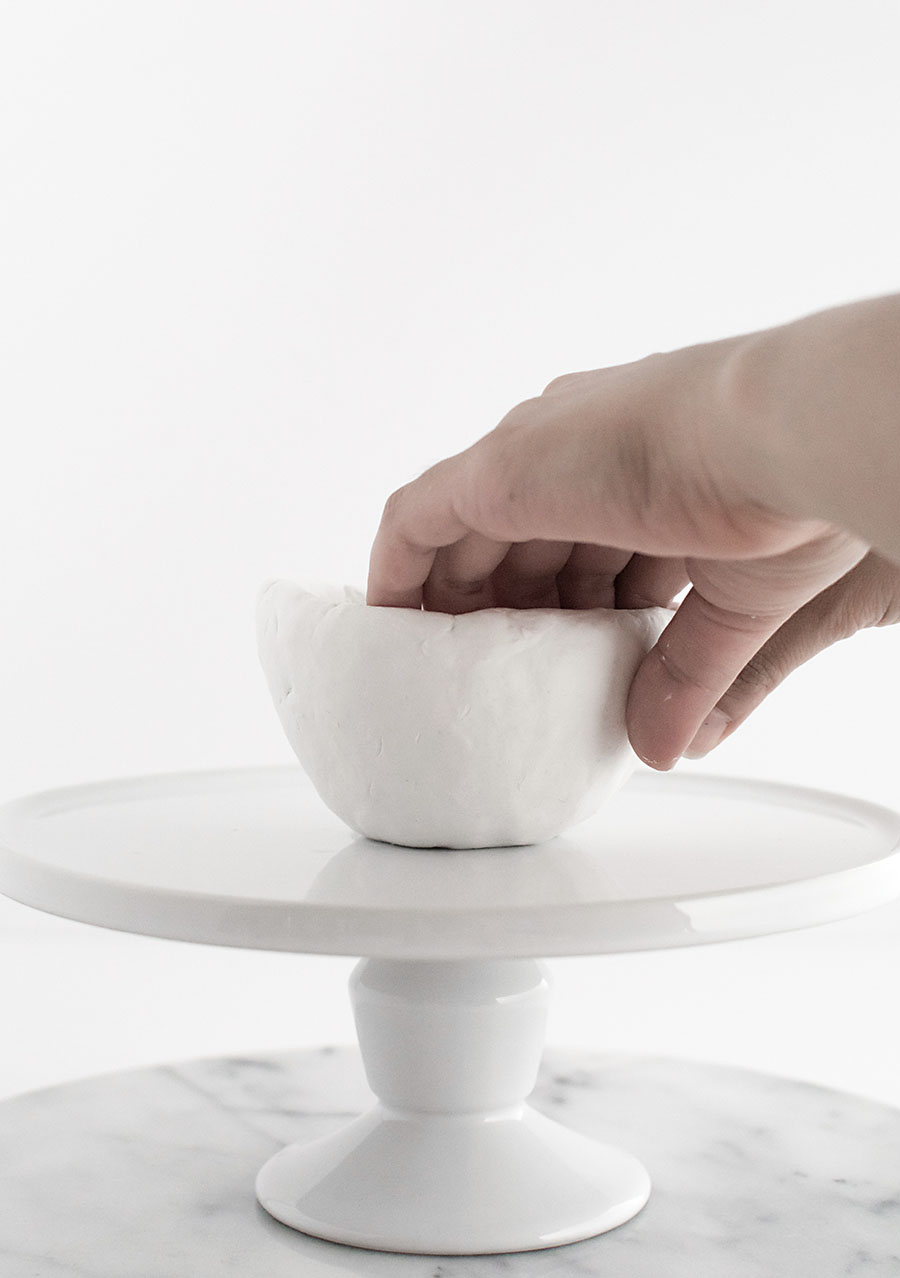
Set the bowl down on a flat surface to flatten the bottom. My set-up here is a cake stand on top of a lazy susan (resourceful!) Any surface that rotates will be the most helpful, though not entirely necessary if you can deal with manually rotating the surface when neeeded.
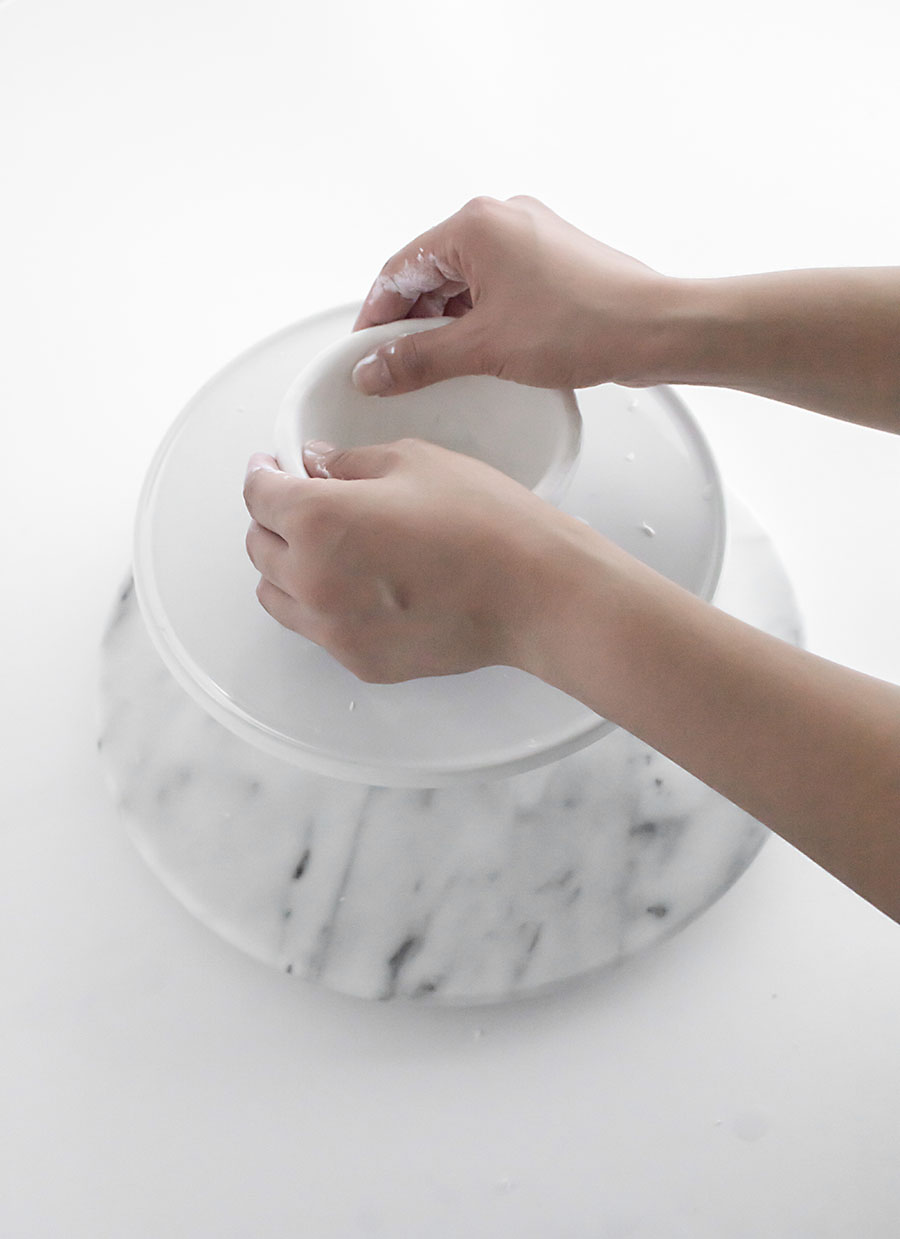
Continue smoothing out all the surfaces of the bowl with your fingers, making sure that your hands and the clay are especially wet for easier smoothing. Once smoothed, let the bowl dry completely for at least 24 hours.
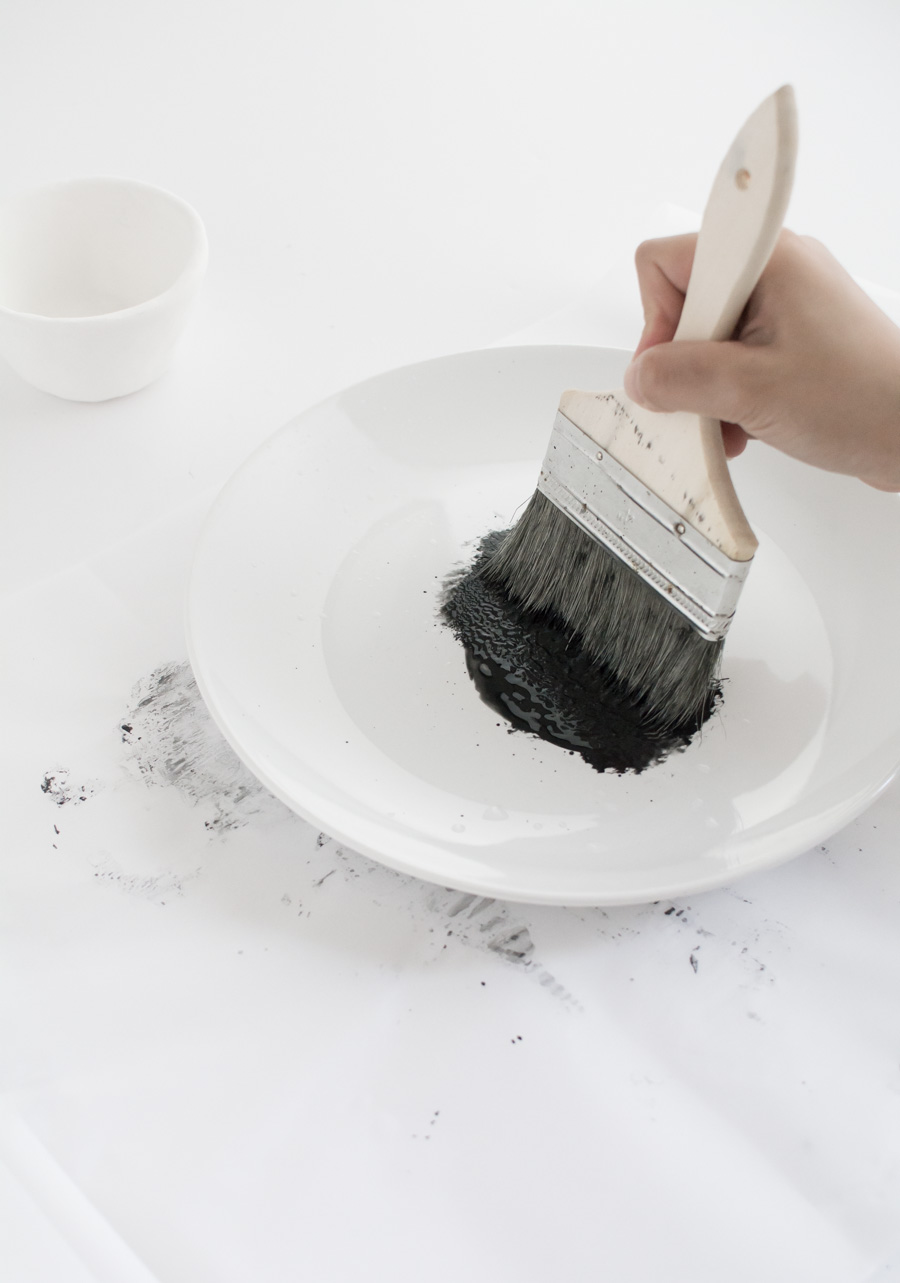
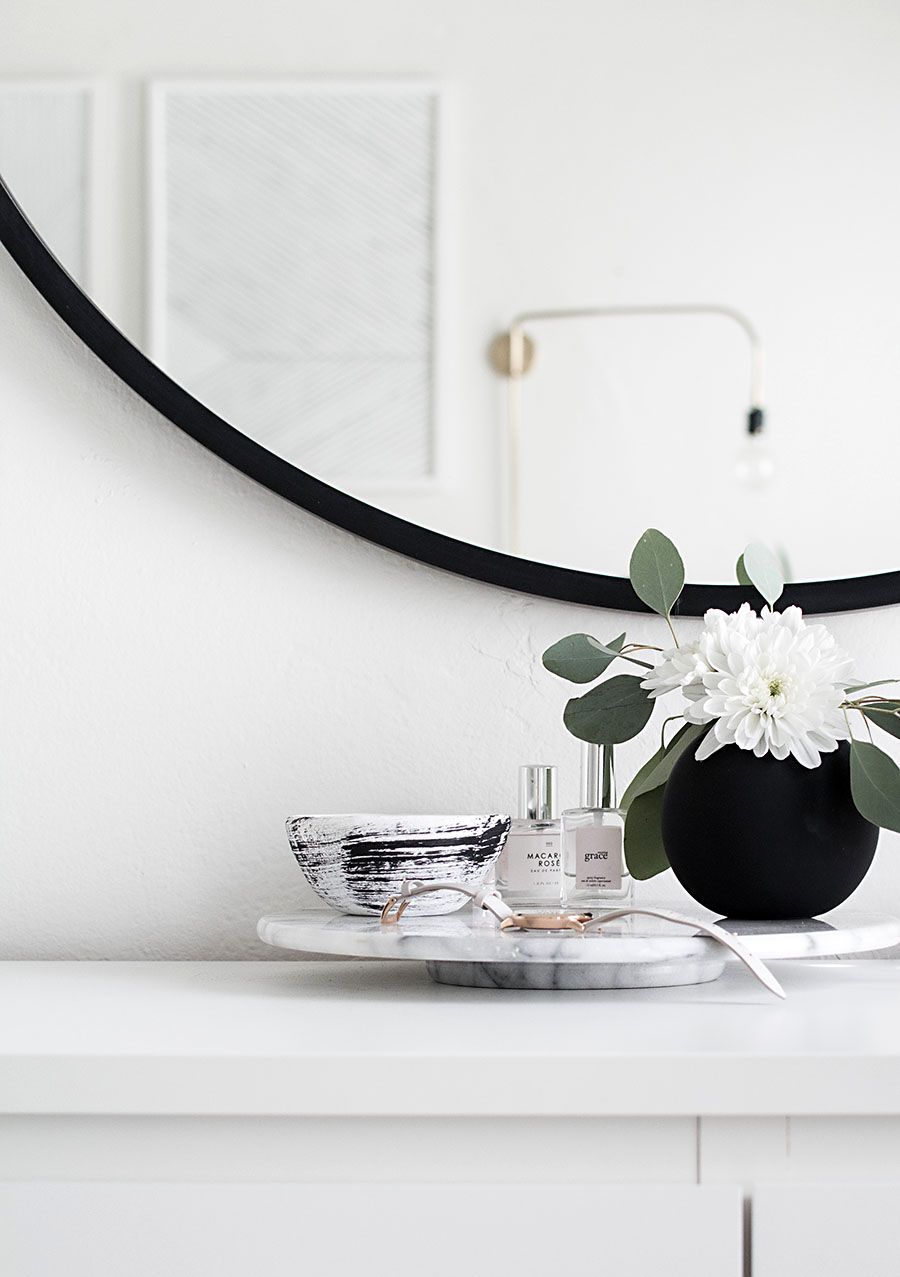
The fun part is always personalization, meaning paint that thing however you want. I used a dry-brush technique to make streaky brush strokes.
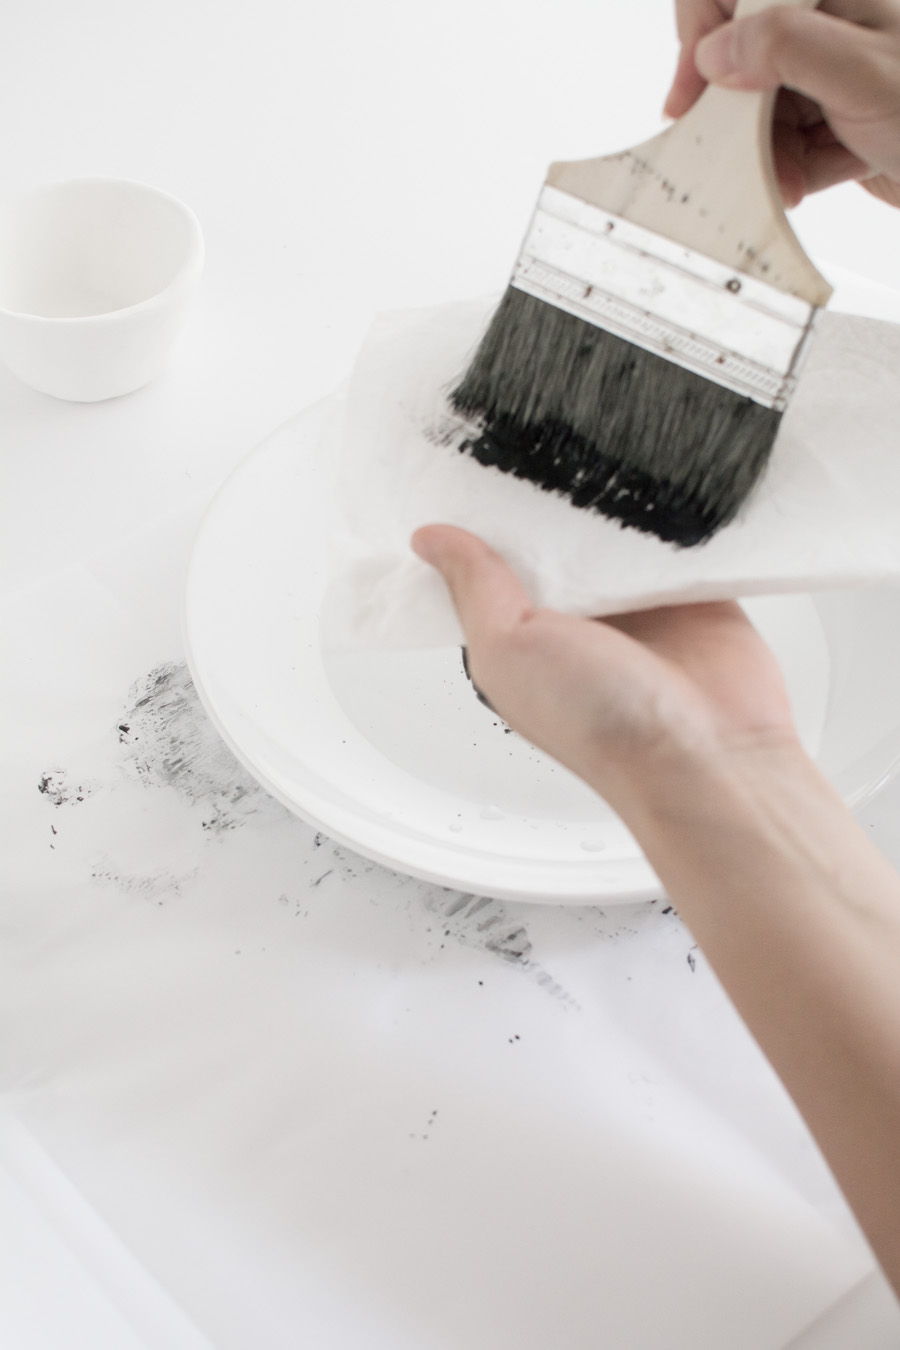
After dipping the brush into the paint, I wiped off the excess paint with a paper towel.
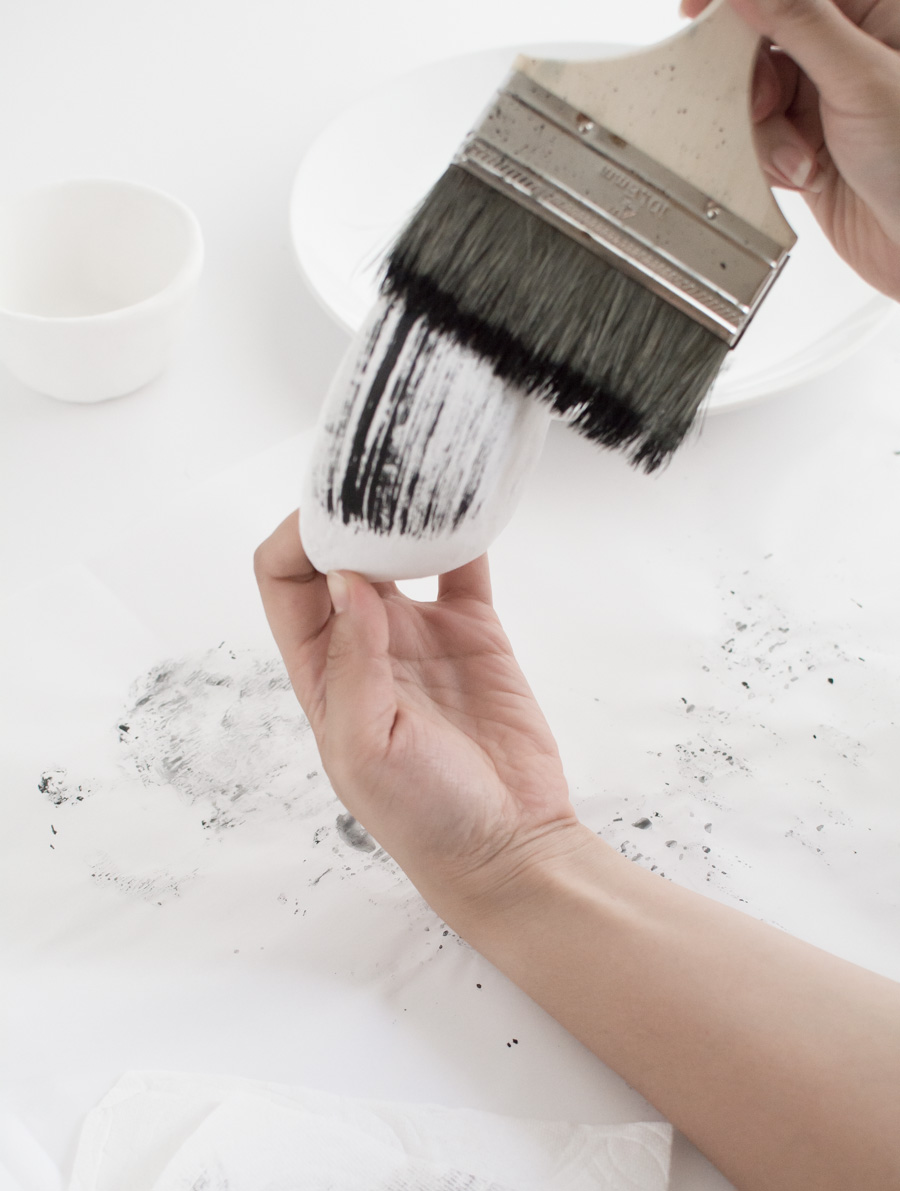
I brushed horizontal strokes onto the bowl all the way around without caring about being neat. I’m having a moment lately with that organic look and texture. It not only looks very cool but helps me get away with being messy on purpose, success!
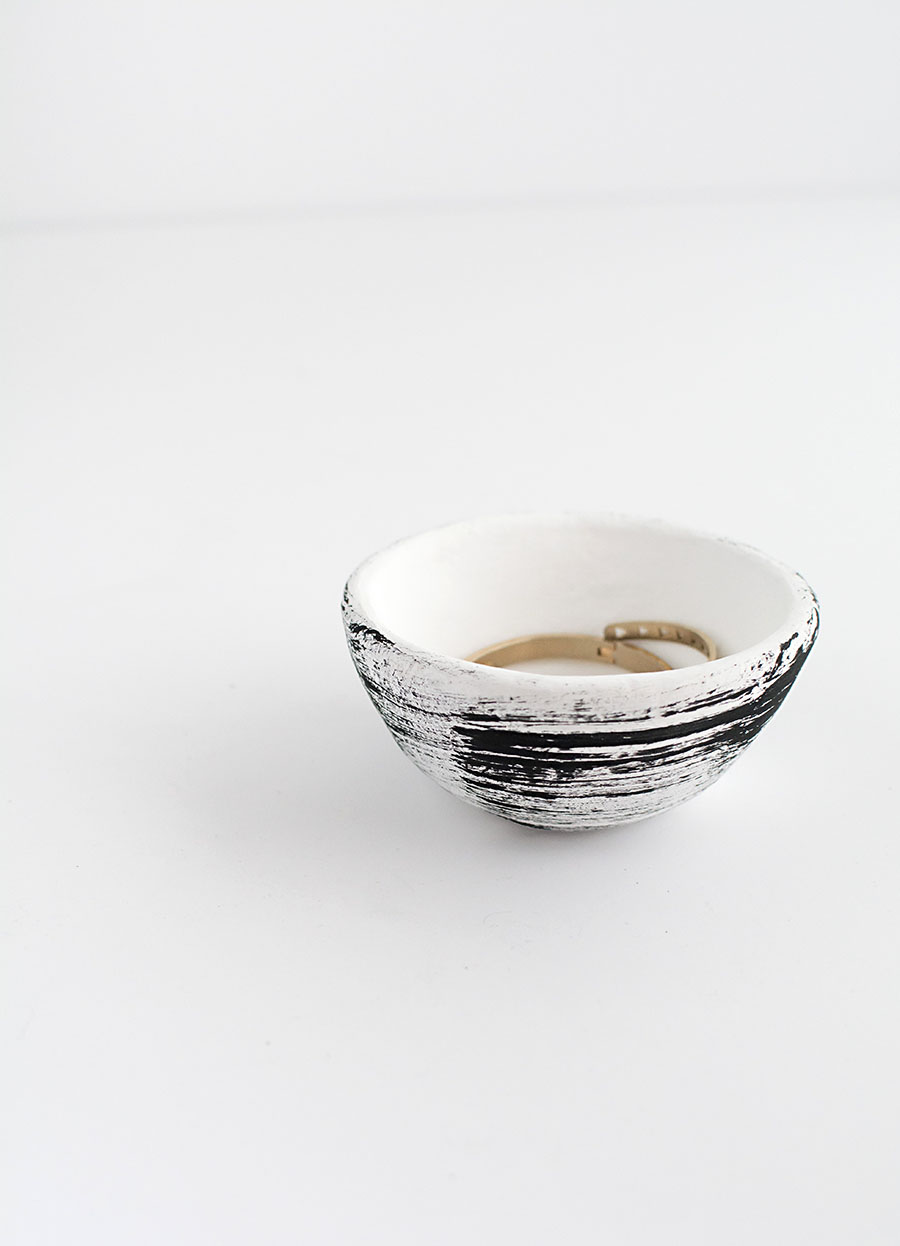
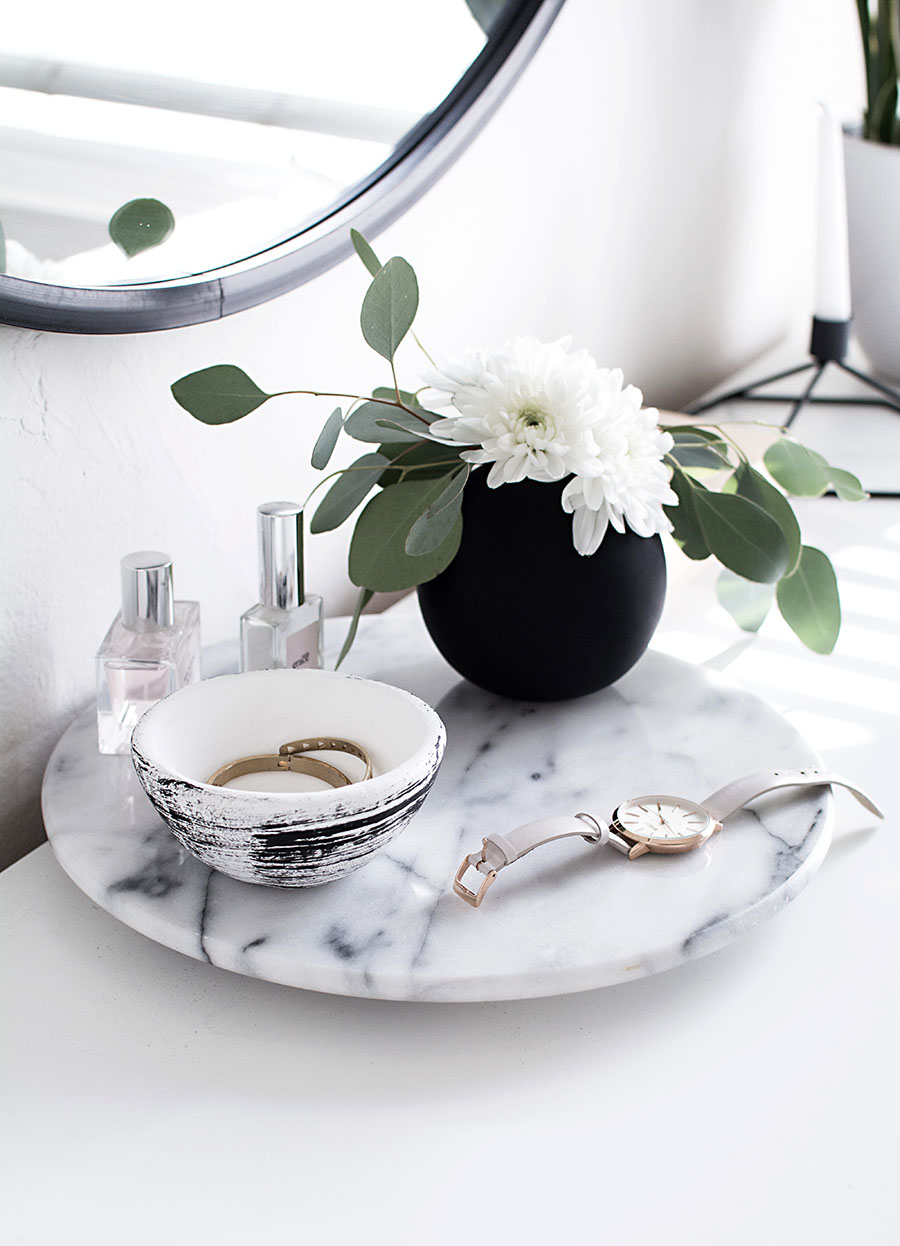
Clay trinket dishes and bowls have and always will be my jam. It’s no wonder I have an immense love for pottery, and while this DIY couldn’t replace the thrill of throwing on a wheel, it’s cool to be able to do this at home. Naturally the dream is to get a wheel at home… That’s more likely for whenever we get more space, my favorite solution for getting more stuff, ha.
Have you made pinch pots before? Do anything with clay in general? I think I’d say clay is my favorite material to work with!

I love this DIY! I would love to delve into pottery at some point, since I do love making things and this feels like such a manageable way to start getting into it!
x Maria
Pottery is so SO fun. Highly recommend getting into it!
Thanks, Maria!
I might have missed it , but is there a way to make these waterproof?
This turned out so fun! I took a ceramics class a few years ago where we did mostly hand molded stuff, I really should get back into it!
Kristina does the Internets
I agree, you should!! I’m entering my second round of pottery class and can’t recommend it enough.
Waw! I love how it looks! I will probably try it once. Thanks for sharing!
xx
Renaud – http://xxmuchlove.blogspot.com
Thanks, Renaud! Report back on how it goes ;)
I truly thank you for this post. I have wanted to try my hand at clay for a long, long time. You inspired me to have some fun with it. Also, thanks for being so detailed. Keep up the great blog!
YES, it’s all about having fun! I’m so happy this project speaks to you like that <3 Thanks, Linda!
This looks so pretty! I don’t know if mine would turn out as pretty if I tried it, haha. If you sold these, I’d definitely buy one :)
Nicole | The Glam Surge
You gotta just try! I made one before this that didn’t turn out so great but appreciated it for the practice ;)
Thanks so much, Nicole!
Super cute! You’ve inspired me to try it :)
:) Thank you, Collette!
This is such a simple and cool idea!
Thanks, Jessica!
Amy, this is a very pretty and minimalistic in terms of the overall look project! I’ve made clay coasters before using a similar technique – loved it! Still using the coasters and now I may just make a bowl :)
Lena
http://zoyaandme.com/
Thank you so much, Lena! Love making coasters out of clay, too ;)
This bowl is so cute Amy! I’ve been wanting to play with some clay. It looks like so much fun!
http://www.thebeautydojo.com
Playing with clay is the bessssst please do! Thanks, Andrea <3
Oh my!!! its amazing… gonna give it a try…btw i am new to blogging world… i want to invite you to my blog https://creativistics.wordpress.com/ … o would love if you follow:)
This looks super easy and very clever. I just tried using air dry clay for the first time the other day and it was a total failure, but I’m eager to try again soon!
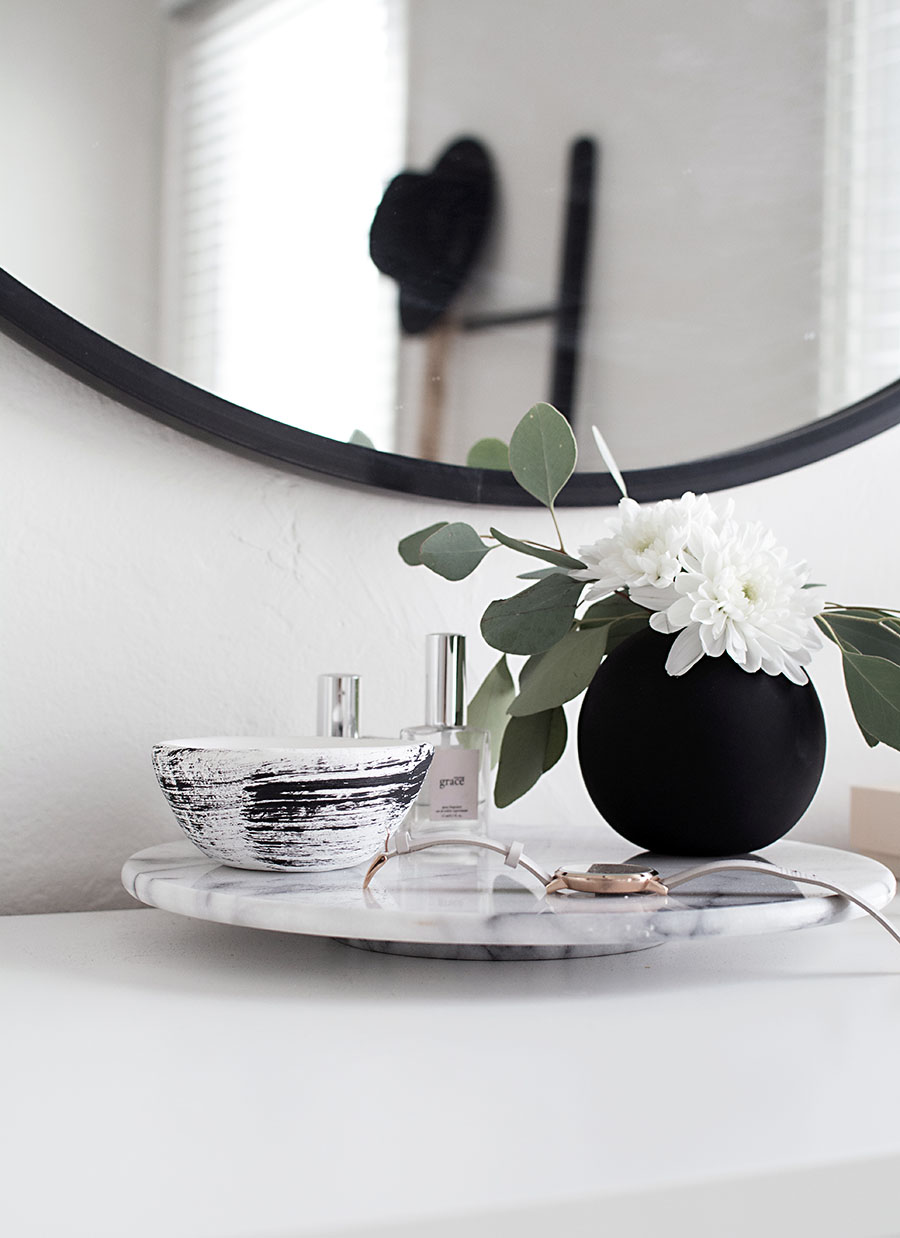
Fantastic! I may have to do this, though it has been a while since I’ve done anything at all with pottery (as in, when I was a little girl). Thank you for a lovely project. {By the way…can you tell me where the mirror in the pictures is from?}
Thank you, Christine! Really hope you give this a try, especially if you love pottery :) You can find the mirror here
Love this!
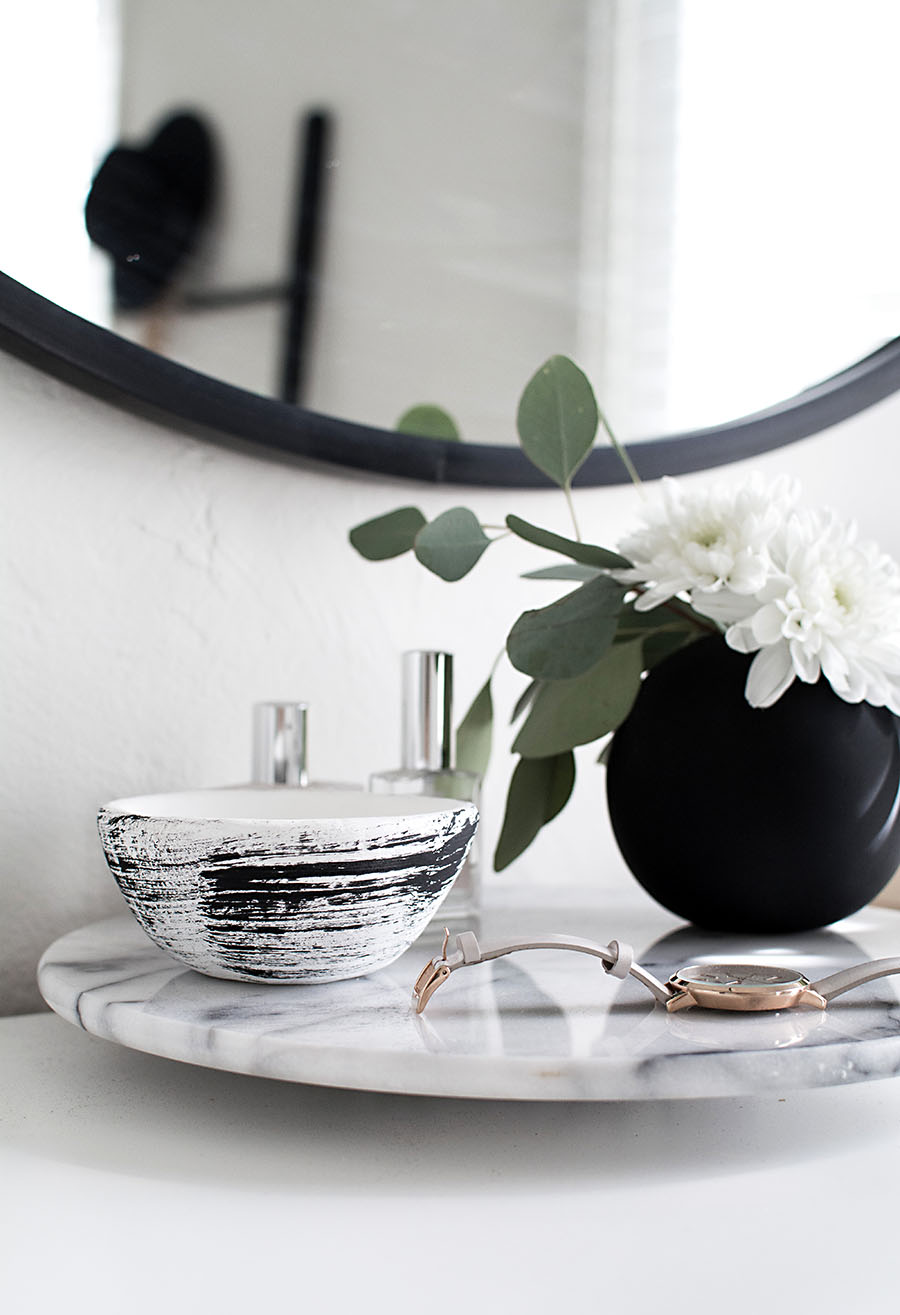
This looks like a fun project – with a really nice end product! Thanks for the inspiration. Can you please tell me what the greenery is in the black vase? Is it real or artificial? Thanks!
Thanks Karen! It’s silver dollar euclayptus, and it’s real.
How do you organize your jewelry? I have mine hanging on a jewelry tree from the container store, but I don’t like the visual clutter! Could you share how you keep yours organized and out of sight? I feel necklaces would get tangled in a box!
Thank you in advance :) Love your blog! My absolute favorite! :)
This is an excellent question, Jeni. I did a major (life changing) jewelry purge many months ago that has helped me a lot with organizing, so my answer might be a little boring when I say I don’t have to deal with tangling/clutter because I have a very minimal jewelry collection! Still, aside from little bowls and trays I keep on the dresser for the pieces I reach for often, I have a jewelry box with a pull out tray + another jewelry box on a shelf in my wardrobe filled with pieces I don’t wear as often. I might need to turn this into a blog post! Thanks for the idea, and thank you SO much for being a loyal reader <3.
I just finished reading the life changing magic of tidying up so I am also in the process of minimizing my life as well. :) A jewelry box is a great idea! Hope to see yours in a jewelry organizing post. :) Thank you!
Thank you so much🌸It was really helpful💗
This bowl is so nice! We love it and we have written about this on our blog :)
Lovely! I’m a little late to the party here but has anyone asked what you seal your pottery with? Or do you choose not to do this? I’m researching making some handmade bowls for our dinnerware knowing that they won’t necessarily be waterproof in that we shouldn’t microwave them.. but in an effort to keep them as sound as possible do you have any recommendations? Thanks!
Hi Rachael! Anything made with craft clay like this is not food safe and should be used for decorative purposes only. There is no seal that can make this kind of clay food safe.