01/20 DIY

DIY Copper Dipped Vases

DIY Copper dipped vases

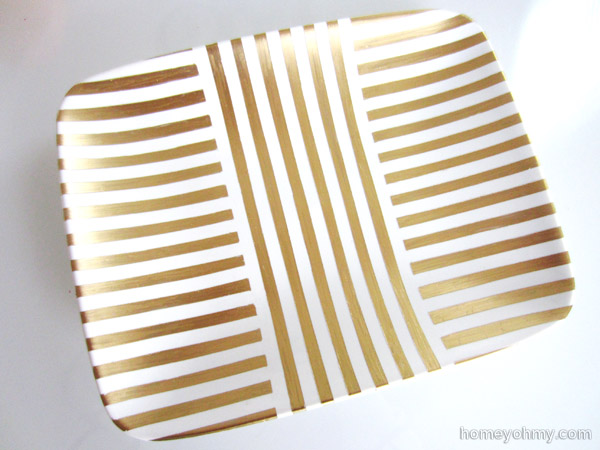
I was stoked to find these vases and the tray at Ross for a whopping total of $5, but that was almost a year ago, and they’ve been hidden in a drawer since.  How sad and shameful is it that I lose track of these things??  Especially if it’s a vase, because God only knows how many vases I have.  Thankfully, I was reminded of them when I saw this Etsy listing via Pinterest.  Beautiful, right?  I tried to think if I had any bud vases that I could do something similar with, and out of the drawer they came out.

Gold would have been the obvious choice, but I’ve been so eager to use this copper spray paint again after almost admitting that I liked it more than the gold one when I used it for my copper tin can planters.

Rustoleum Copper Metallic Spray Paint

Guys.  This stuff is incredible.  You might be wondering why the cap looks crappy and I’m wondering that too, because it is entirely misleading.  The color and finish are *stunning* and I am even closer now to considering it better than the gold.  You can find the spray paint here (affiliate link).

After wiping down the vases with rubbing alcohol, I applied painters tape about 1/3 of the way up from the bottom of each vase.  I reinforced the bottom edge of the tape by pressing and sliding my fingers over it since this is what will be creating the edge of the “dipped” paint and it should be as crisp as possible.

Vases taped
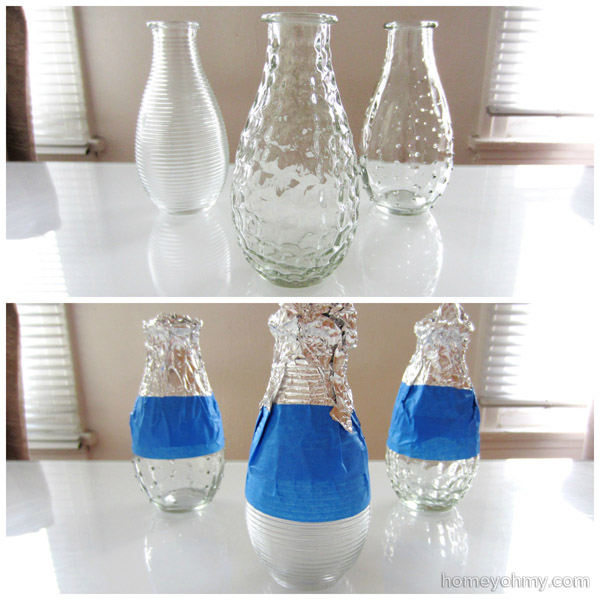
I covered the top portions of the vases with aluminum foil, taping it down at the bottom end while making sure it didn’t go below the first strip of tape I applied.

Now for the second funnest part.  I held each vase by the neck and sprayed the paint across from the neck to the bottom of the vase.  Going in this direction is extra insurance that the paint edge will be crisp, since the paint is moving in the direction from the tape to the glass.  I applied 3 light layers, waiting about 1 minute in between applications.

Finally the funnest part.  Removing the tape and admiring the paint.

Copper dipped vases up close

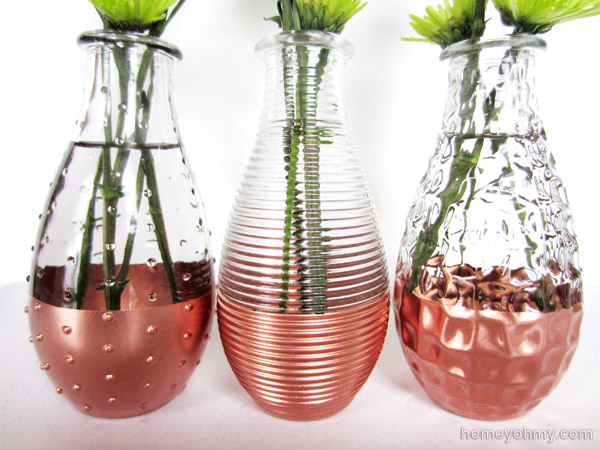
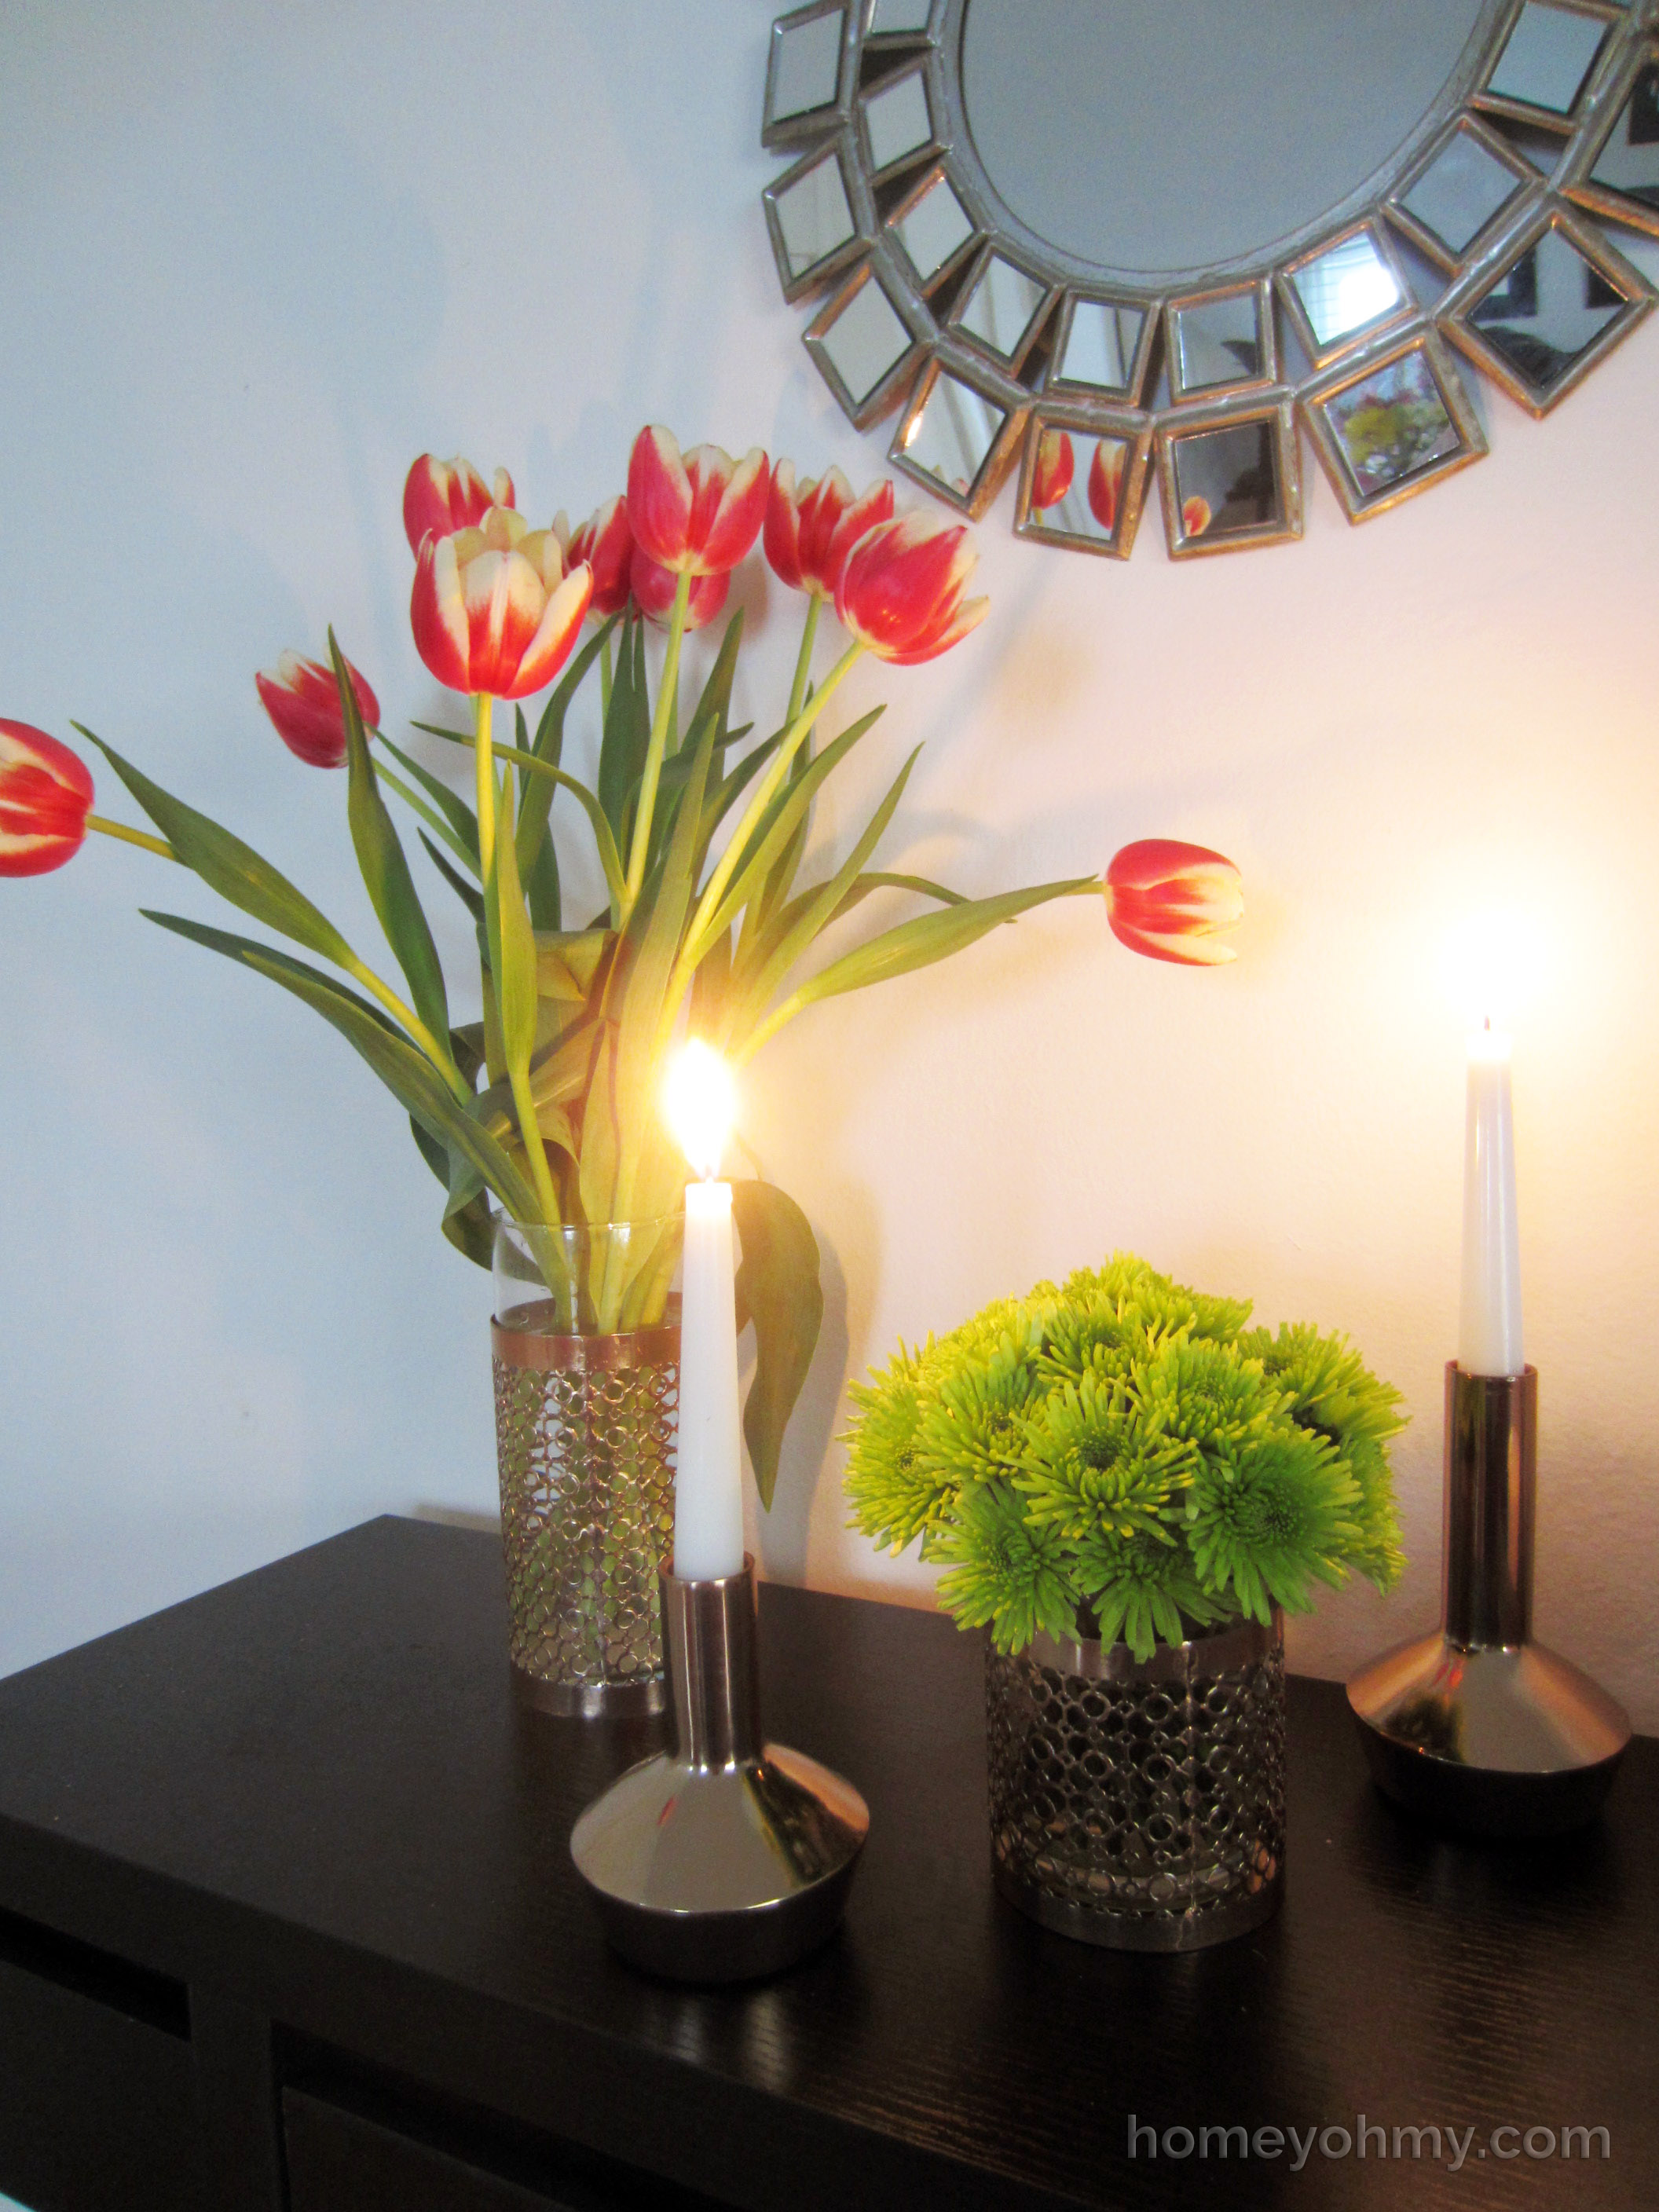
This color could even be considered rose gold, no?  Isn’t it gorgeous?!  I put in some of my favorite mini green mums and I think they complement the copper so well.

Copper dipped vases

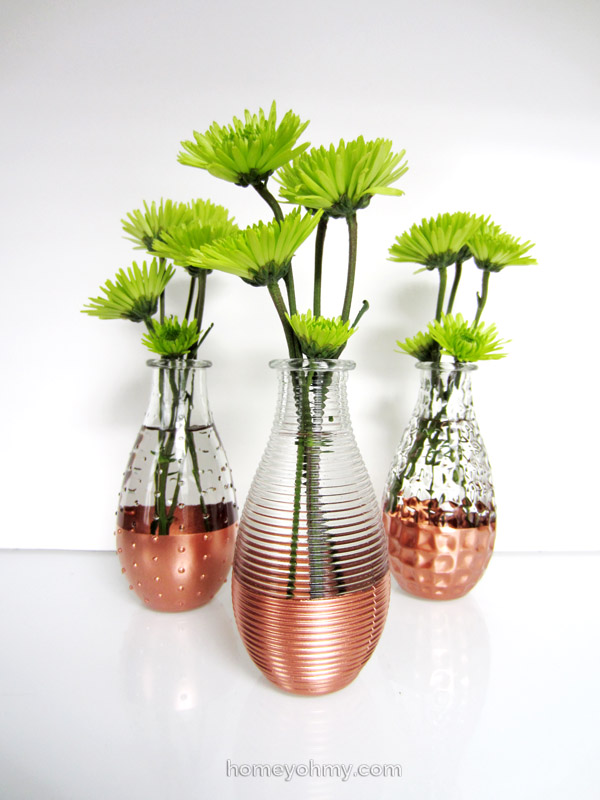
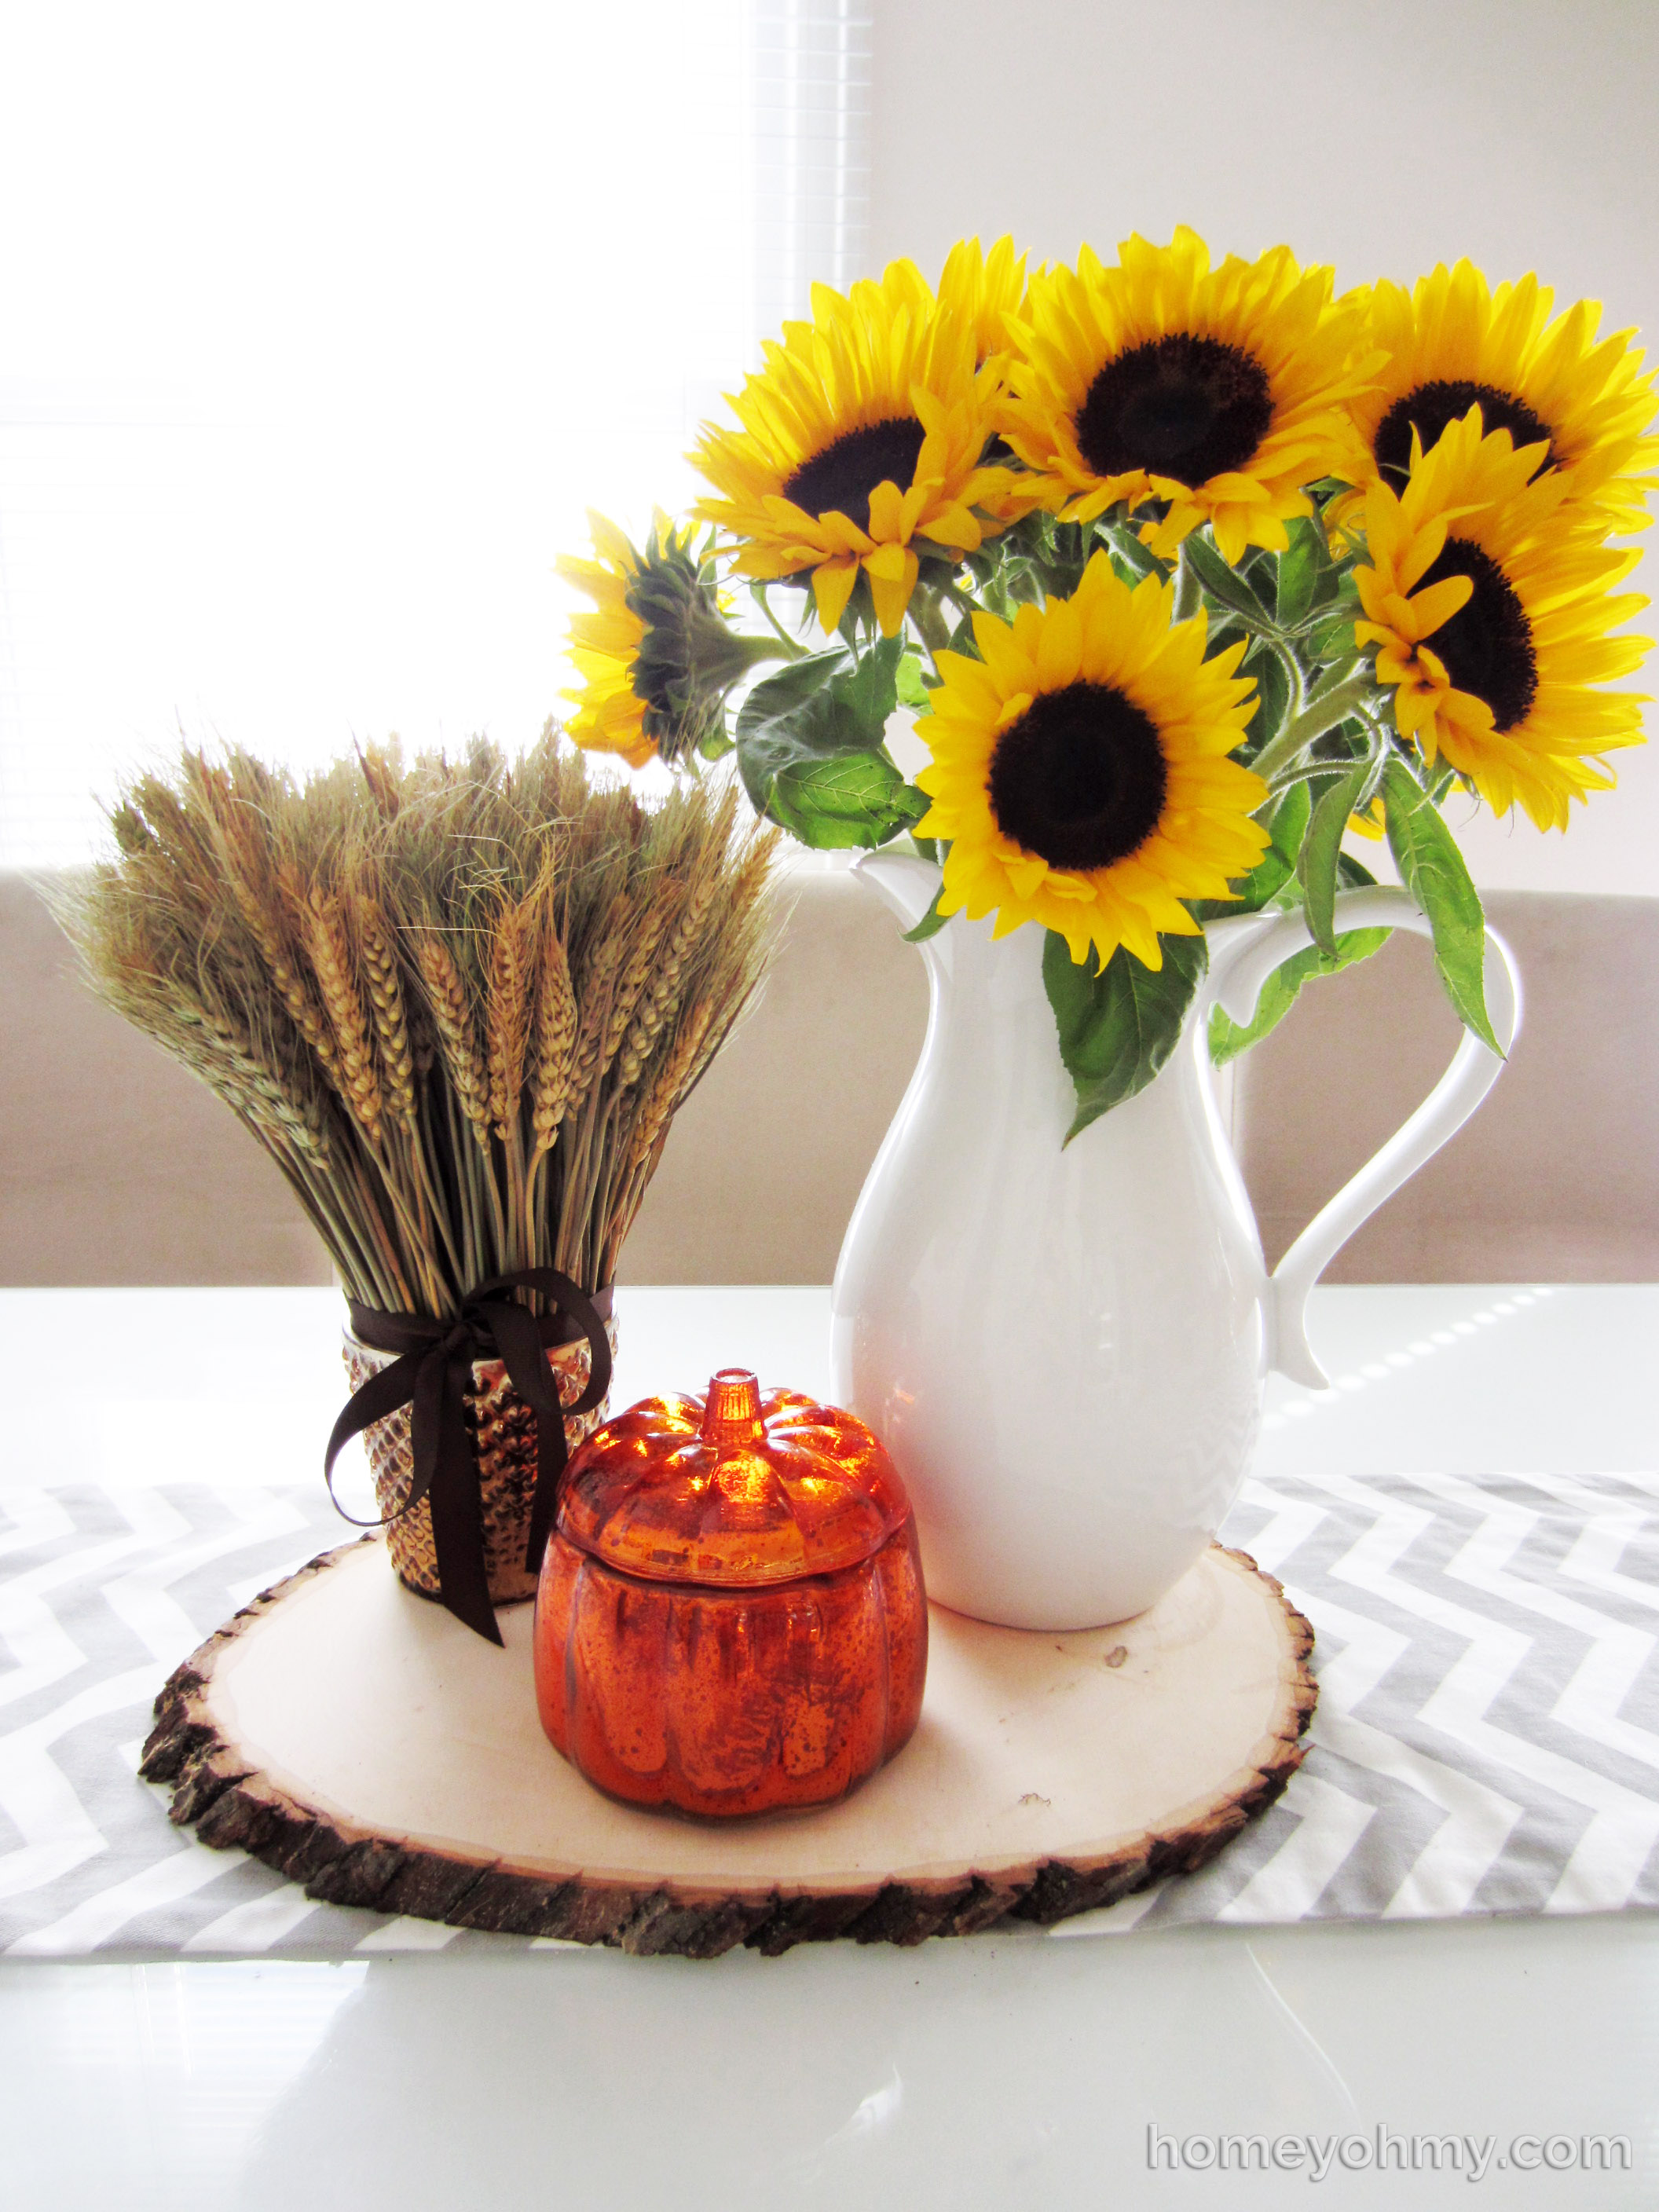
What I like about bud vases is they can really stretch your dollar with flowers.  Instead of buying or putting together a whole arrangement, you can just get a small bunch of one variety and spread them across a few vases to create a floral display for less ;).

And now I’m wondering… Do you like the vases displayed with or without the tray?  I can’t decide!


01/16 DIY

What to Do With Leftover Fabric

What to do with leftover fabric

Ok, so I STILL had leftover fabric after covering the magnet board I shared earlier this week.  I know.  I promise guys, this is the last you’ll be seeing of this fabric!  Just finishing it off with a quick post showing you what I did with the rest of it.

First, this boring pencil cup was something I’ve been wanting to cover up for while.

Pencil cup

All I did was apply Mod Podge on the outer surface, wrap the pre-measured and pre-cut fabric around the cup, and wipe off any Mod Podge on the inside that seeped through the holes in the cup.

Fabric covered pencil cup

I’m going to be using it to hold my scissors (why I have multiple I don’t know except for the Fiskars, which are bomb) and it’ll now match nicely with my fabric lid boxes, which made a cameo appearance in the photo above ;).

DIY pillow cover

This here is my first ever DIY pillow cover!  It was so easy, and I’m holding myself back from making a bajillion more.  I followed the no sew tutorial at Live Love DIY and I think this is such a great way to use up leftover fabric, especially if you really love the pattern.

Finally, let’s take one last look at the magnet board I shared previously, especially if you missed it!

DIY Fabric covered magnet board

You can see how I did it here.

What do you do with your leftover fabric?  I’d love to know in case I end up in this same surplus of fabric again, which I probably will ;).

01/13 DIY

DIY Fabric Covered Magnet Board

DIY Fabric covered magnet board

Does this fabric pattern look familiar to anyone?

I got WAY too much fabric for my fabric lid boxes, specifically 2.5 yards when I only ended up needing 1/4 of a yard.  I might suggest poor planning, but I’d rather think I had foreseen wanting to use the fabric again for other projects since I liked the pattern so much.

Yay for using left over fabric!

For this project, I basically did the same exact thing I did with my fabric lid boxes, only this time I used the Spontan magnet board from IKEA.  I got it in college but since moving have kept it hidden in my closet because I felt it no longer matched with my current decor, but this fabric makeover has brought it some new life!

IKEA Spontan magnet board

I cut the fabric along the red lines shown above, and circled in green are the corner flaps that will wrap around the corners.  The photo shows the magnet board face up, but it should be face down for the next steps (the magnet board basically looks like a big magnetic lid).

All I did was apply Mod Podge on these fabric flaps and wrapped them over the magnet board edges.  I started first with the two shorter sides since the corner flaps needed to be glued over the corners before folding over the longer fabric flaps. The fabric didn’t initially stay folded over so I had to hold it down until the glue dried a little bit. (Sorry I didn’t take pictures on these steps!  You can refer to my fabric lid boxes for some images on these details.)

Fabric covered magnet board

The board is sitting on my desk and I threw on some photos and other random things with some small, strong magnets I got from Office Depot (they work SO well and I will surely be getting more).  And that mini tree is no longer a Christmas tree, but just a gold tree ;).  Anyone recognize where the fabric swatches are from??

ALSO, I just found out my friend Alexis at Persia Lou did this same exact project almost 2 years ago when she recently shared this printable on her blog. So I guess I’m a little late on this idea :P.  Nonetheless, I’m happy to feel like I have any creativity remotely similar to hers!

Do you like the idea of having a magnet board instead of a cork board?  I personally prefer a magnet board MUCH more.

01/10 DIY

DIY Gold Leaf Jewelry Tray

Gold Leaf Jewelry Tray with Jewelry

I love gold, and I love jewelry, so the idea to decorate this tray was an easy choice.  Stripes are also a huge favorite of mine, so you’re seeing a lot of what I love through this DIY!

DIY Jewelry Tray Steps

The tray is actually a ceramic “salad plate” I got from Target, though that should not suggest this project is food safe (it’s not!).  I taped the design with 1/4″ 3M blue tape, then applied a gold leaf pen in between the tape.  This took a few strokes on some parts and I also needed to apply a second coat on little areas after the first layer dried.  That means the overall look is not a factory finish but a more organic texture that shows the gold leaf strokes, which I like!  This could also easily be done with a gold Sharpie, followed by curing in the oven (ask me how if you want to know).

After removing the tape, I took a Q-tip dipped in rubbing alcohol and cleaned up any imperfect edges.

Gold Leaf Jewelry Tray

I applied a few layers of clear acrylic spray on top to protect the design.  Mod Podge or another similar sealant would work as well.  The protective coat can be skipped all together, but I figured with all the jewelry traffic this tray will be seeing, the protective layer would be best to have.

Jewelry Tray Display

I’m in love with how it turned out!  Organizing my accessories is something I’ve been needing to work on and plan on doing soon, but for now what I needed most was a place where I could just throw off my jewelry at the end of the day.  That still counts as organization, right?

What do you think of my jewelry tray?  Would you have a use for one of these as well?

01/06 Tips

5 Ways to Make Your Place More Homey

5 Ways to Make Your Place More Homey

2014!  What?!

I was vacationing in Chicago last week and let me tell ya… I’m SO thankful to be back in LA.  I do think Chicago is one of the greatest cities, but there’s just no way I could ever get used to the cold again.  I much prefer sitting here, writing this post, wearing a t-shirt and shorts in this most excellent LA weather.

So I’m a tad bit behind… but in the spirit of the new year, I wanted to do something that would involve looking back at some of the blog posts I’ve put up last year (well, last year from September since that’s when I started this blog!) and I thought a fun way to do it would be to recap some of the ways I’ve made my apartment more homey.  “Homey” is, after all, in the name of my blog ;).

The only new photo in this post is the one in the title, which starts us off with the first point.

1) Hang up pictures and art.

Photo Gallery Wall

Hanging up pictures in my apartment was the last thing I did after moving in, though I think it is the best way to make a place feel like home.  I also think the act of drilling holes and hammering nails brings a greater sense of permanence, like staking down a sign that says “Hey, we live here!”

My boyfriend and I jokingly call this wall our “relationship shrine”, though a few of the photos are of our families (oops!).  We have a hallway that is yet to be filled with more photos and art, and I anticipate that will be something I share on the blog in the future :).

2)  Have flowers and plants.

Succulent Box Display

[From DIY Succulent Box]

I refer to this little area near the living room window as our mini garden.  We’ve had a lot of losses since this photo was taken (succulents CAN die, guys), but also many additions to our family of green friends.  I think especially with apartment living, it can feel really disconnected from the outdoors, so plants and flowers bring in some much needed life, literally.

3) Decorate for seasons and holidays.

Fall Centerpiece 2

[From Fall Centerpiece]

I used to have this misconception that decorating for holidays is more elaborate and expensive than it’s worth, but that is not true at ALL.  Being festive can be as simple as bringing in the season’s colors, like with the warm yellow sunflowers that got me excited for last fall.  I’ve learned that whatever makes you feel spirited or look forward to the season and holidays ahead is always worth spending some time embracing in your home.

4) Display books.

Books in vanity tray

[From Mirrored Vanity Trays]

I’m new to seeing how books add a lot of personality to the home, and as I’ve mentioned before, this has encouraged me to ditch the e-books and go back to good old-fashioned paper books.  This isn’t to say you should only get books just to display them (though I’ll be real… I’m tempted a lot to buy a book because it’s pretty), but display the ones you have and play around with arranging them, like I did with the vanity tray above.   Infusing your place with your interests will always help you feel more at home.

5) Play with lighting.

H&M Candle Holders with Flowers Lit Up

[From H&M Candle Holders]

Ok, so I’m still working on this one.  The lighting in my apartment is, simply put, bad, and with fixture changes not being an option, I’ve found that the easiest and most economical way to change up lighting in terms of setting a mood is with candles.  We all know how cozy it feels to be sitting by candlelight, right?  I love how something so little can make such a big difference on the way I feel.  I’m maybe addicted to candles.

It’s fun to look back on little bits of what I’ve done so far and see the progress I’ve made not only with my apartment, but with this blog!  I’m looking forward to stepping up the homey this year, and maybe even add more tips to this series as I learn them myself.

What do you do to make your place more homey, whether it’s something I have or haven’t mentioned?  I’d love to know and pick up some tips from you guys!

Like what you see? Stay connected with me:

FacebookGoogle +InstagramPinterestRSSTwitter

01/03 DIY

DIY Gold Leaf Jewelry Tray- Guest Post at meganquint.com

Gold Leaf Jewelry Tray with Jewelry

Hi, guys!  Today’s post is over at meganquint.com.  Megan invited me to do a guest post at her fashion and lifestyle blog and I thought this jewelry tray would be something both fashion lovers and DIY’ers would enjoy :).  Head on over to see the tutorial and make sure to look around and see why I love Megan’s style!


Like what you see? Stay connected with me:

FacebookGoogle +InstagramPinterestRSSTwitter