
I often find myself wanting to share with you all some of the inspiring things I come across while procrastinating from writing a blog post. Seriously, it’s when I need to get work done that I get the most lost in link after link of “Man I wish I had time to make that” or “I need those pillows now.”
Thing is, not all of these finds conveniently fit a common theme or idea most of the time. They’re random, which is usually how I browse. SO, I’m thinking I’ll occasionally just lump these finds in a casual, Friday post where we can chat about what’s currently swoon-tastic. Shall we?
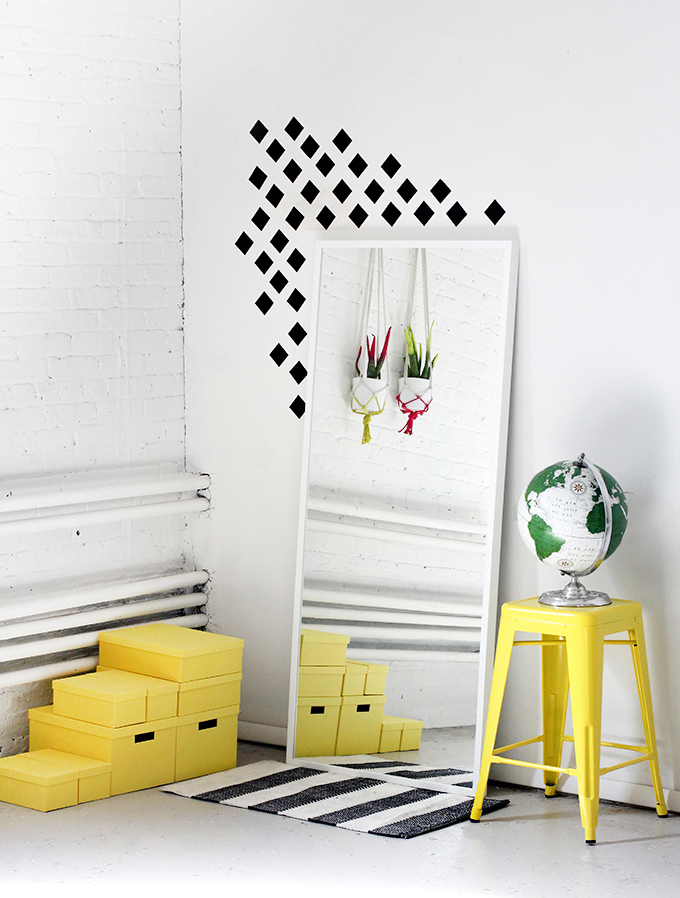 This diamond wall art from I Spy DIY is so simple and striking, and in my favorite color palette. And just look at how beautifully this shot is styled!! Even the reflection in the mirror was so thoughtfully calculated.
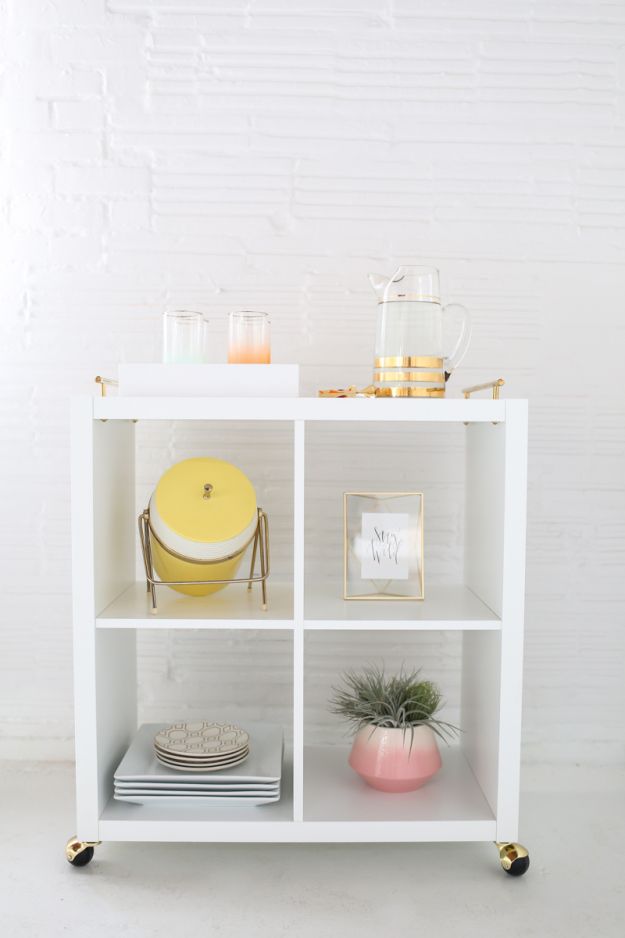 So I think I’m going to have to do something like this in order to finally have myself a bar cart (who else feels left out from the bar cart party?). I love how this IKEA hack bar cart from Sugar and Cloth is simple and chic. Really, you could do this DIY with any free-standing bookshelf or table, and the possibilities for customization are endless!
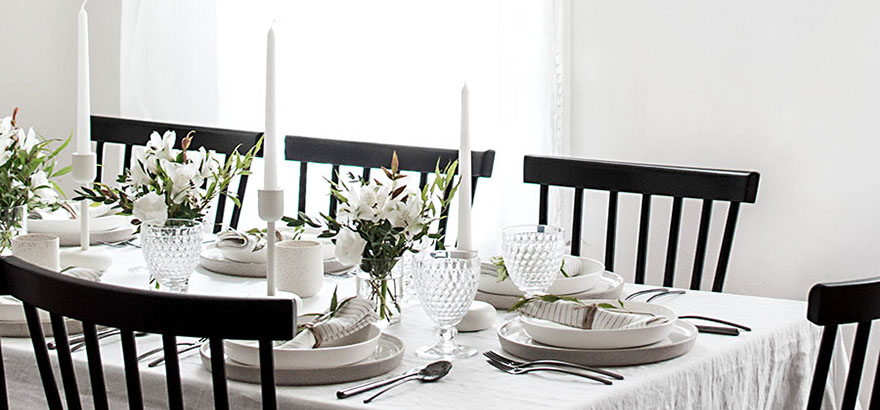
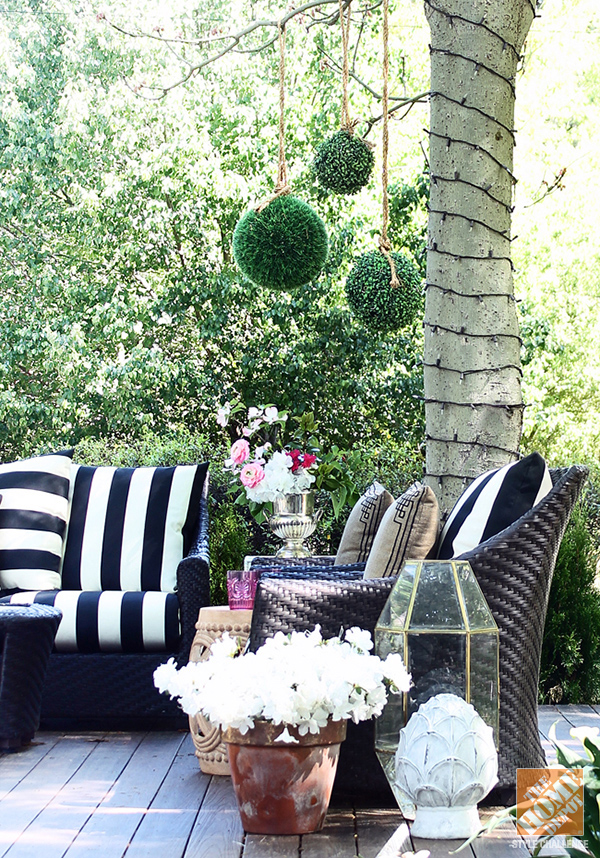
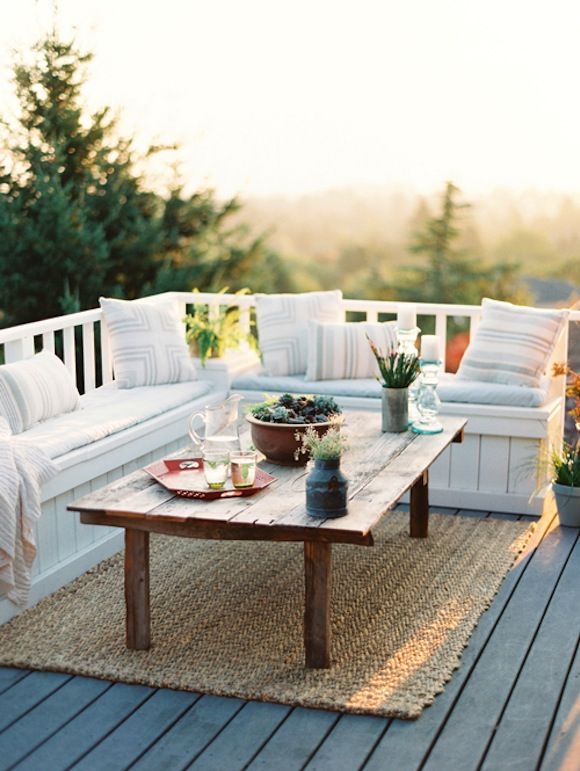
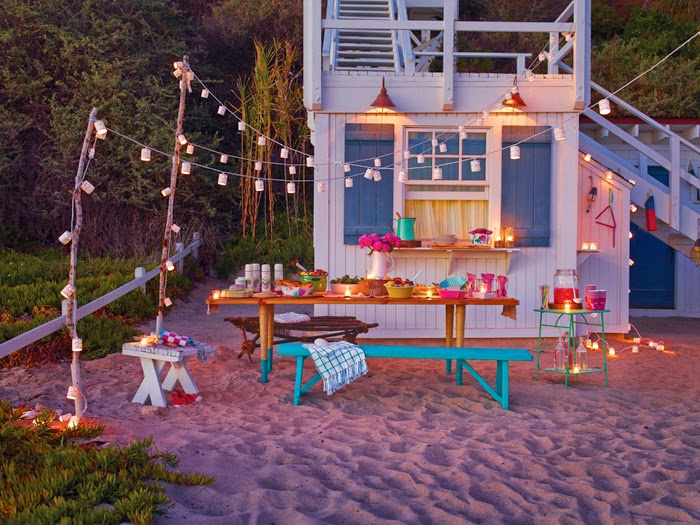 Oh, summer. Isn’t this scene dreamy? Poppytalk shared this sneak peek of their upcoming Target collaboration launching June 22nd. So far I love everything I’m seeing!
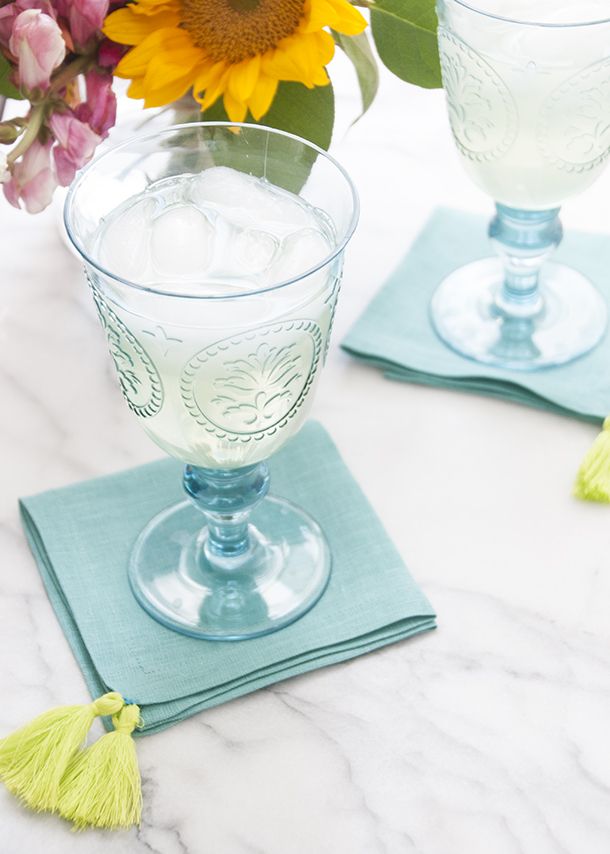 I have yet to own cocktail napkins or find a use for them anytime soon, but these… I very much want these. I can’t get over how adorable the tassel embellishments are. See the DIY tutorial at House of Earnest.
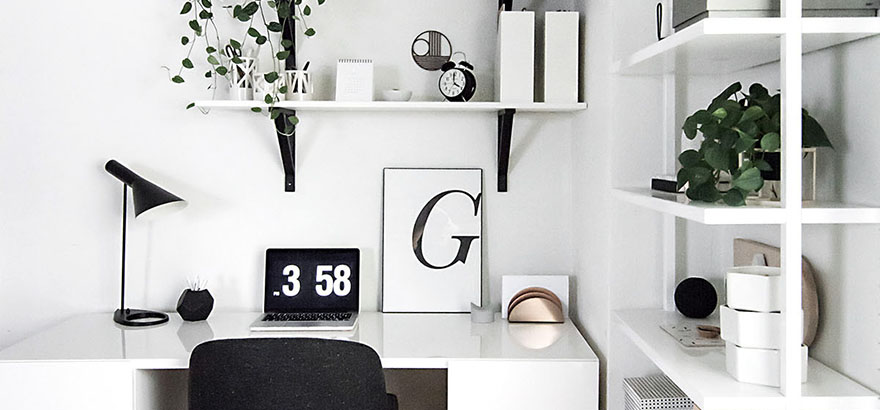
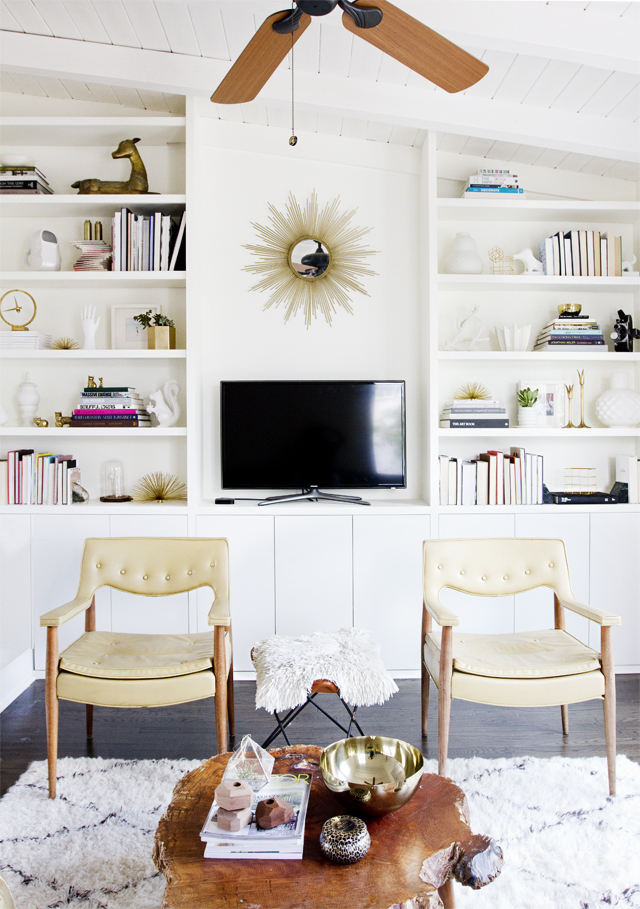 Smitten Studio shared this DIY built-in shelving, but lets spend a moment here to take it all in… isn’t Sarah’s style amazing?? I absolutely love everything she does.
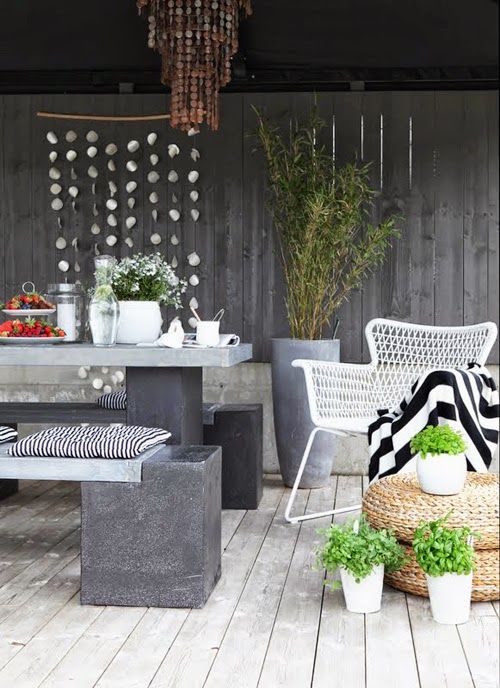
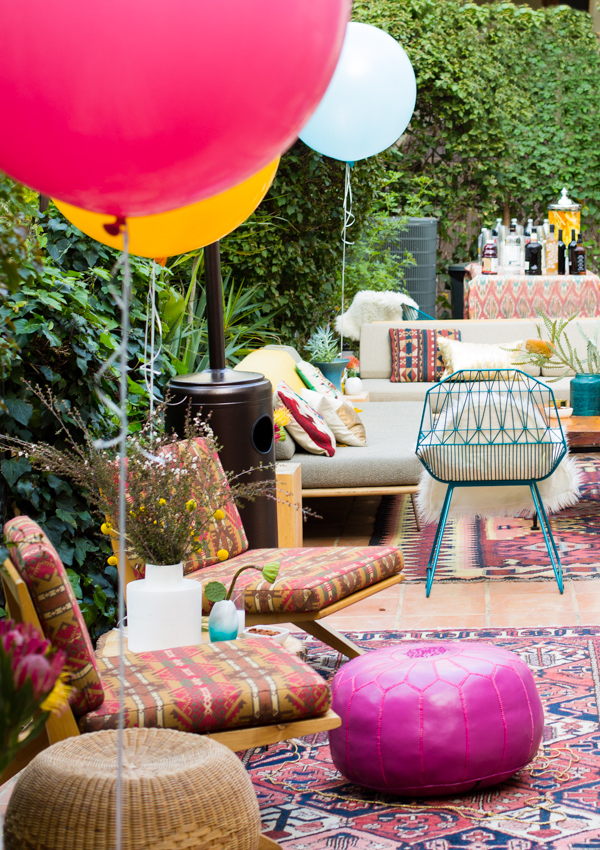
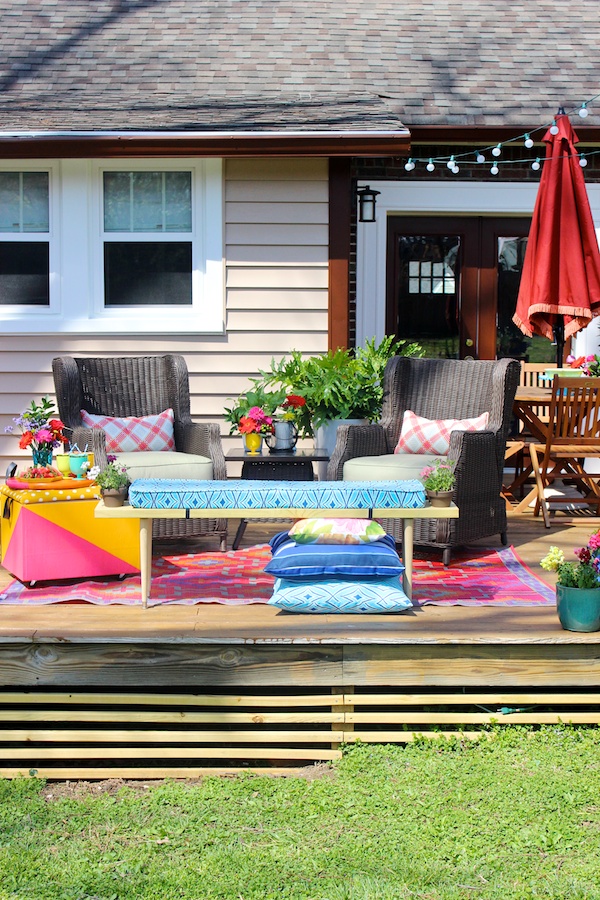
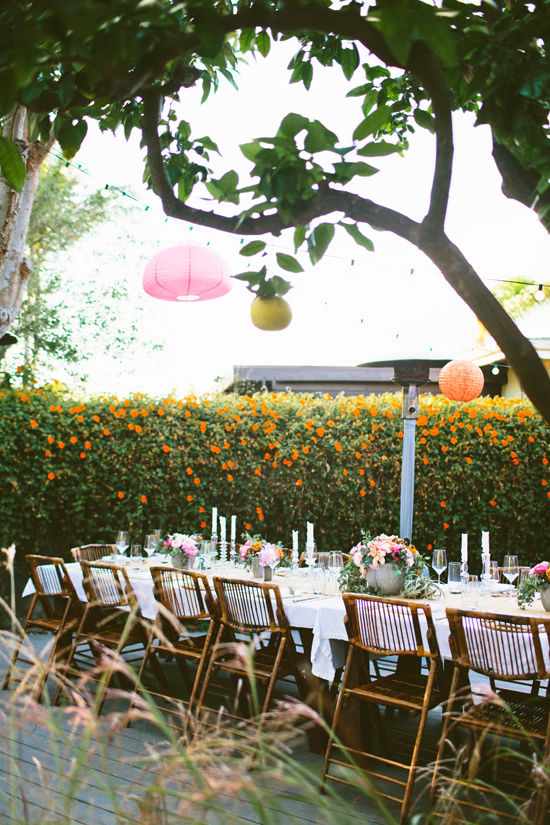 My backyard envy continues to grow. designlovefest pretty much threw the perfect backyard dinner party, or at least this is how I’d imagine the perfect party would go down. There are so many gorgeous details!
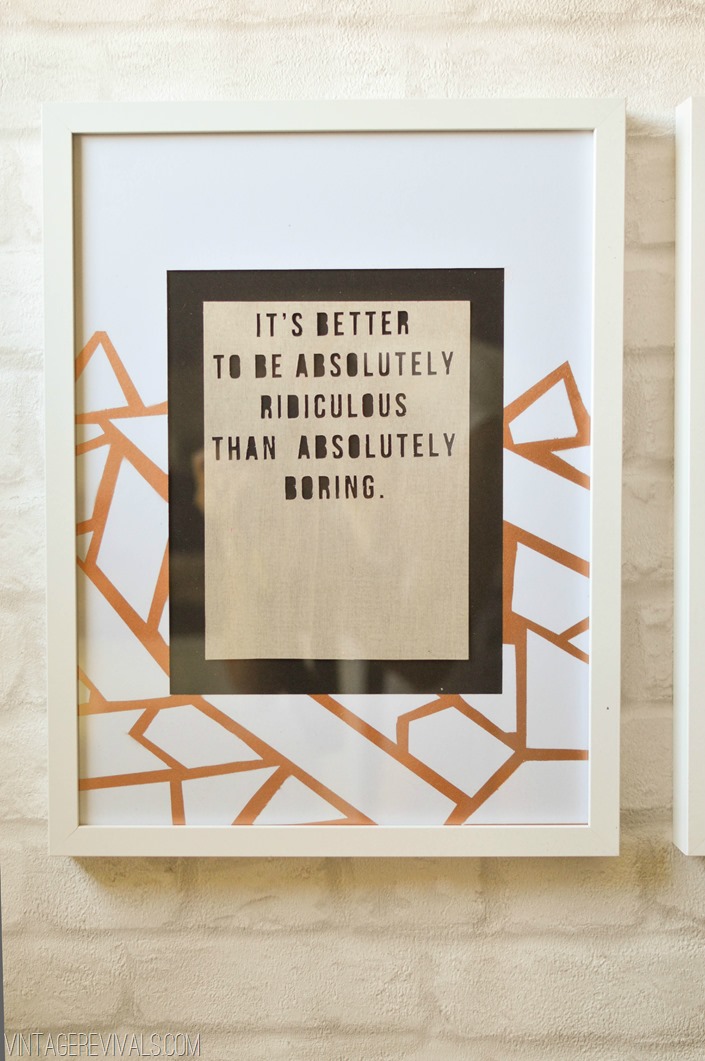 I’m really digging the geometric copper design that Mandi from Vintage Revivals created on her photo frame mat, but what’s more is that quote. It so perfectly fits her personality, and I also have to agree with it ;) as long as I don’t think too hard about it… ha!! (Did I just admit that I’m boring?)
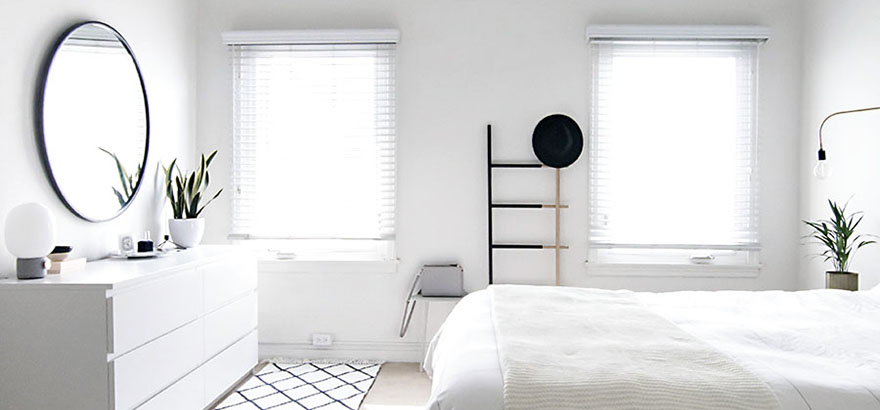
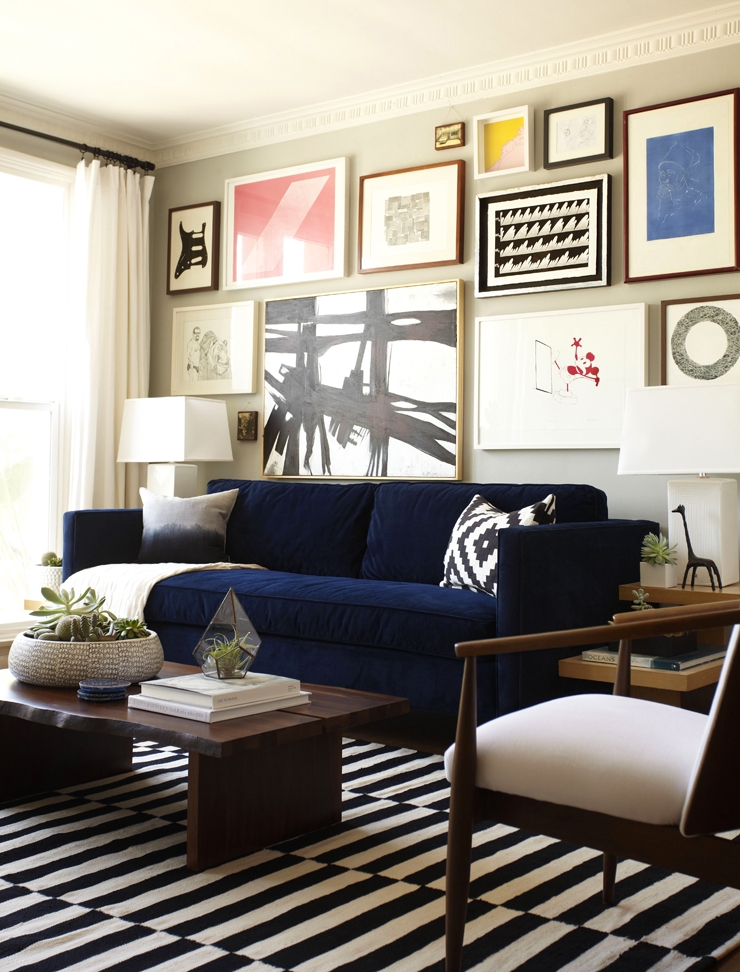
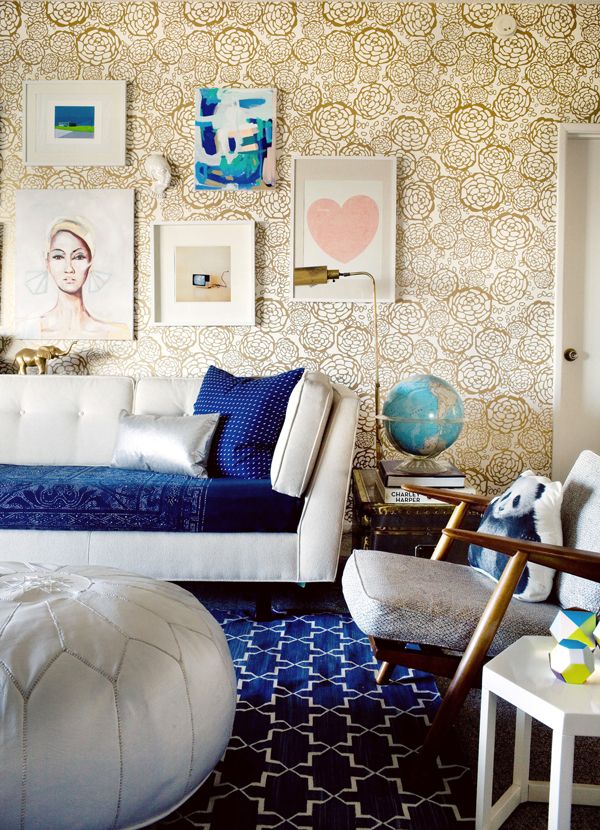
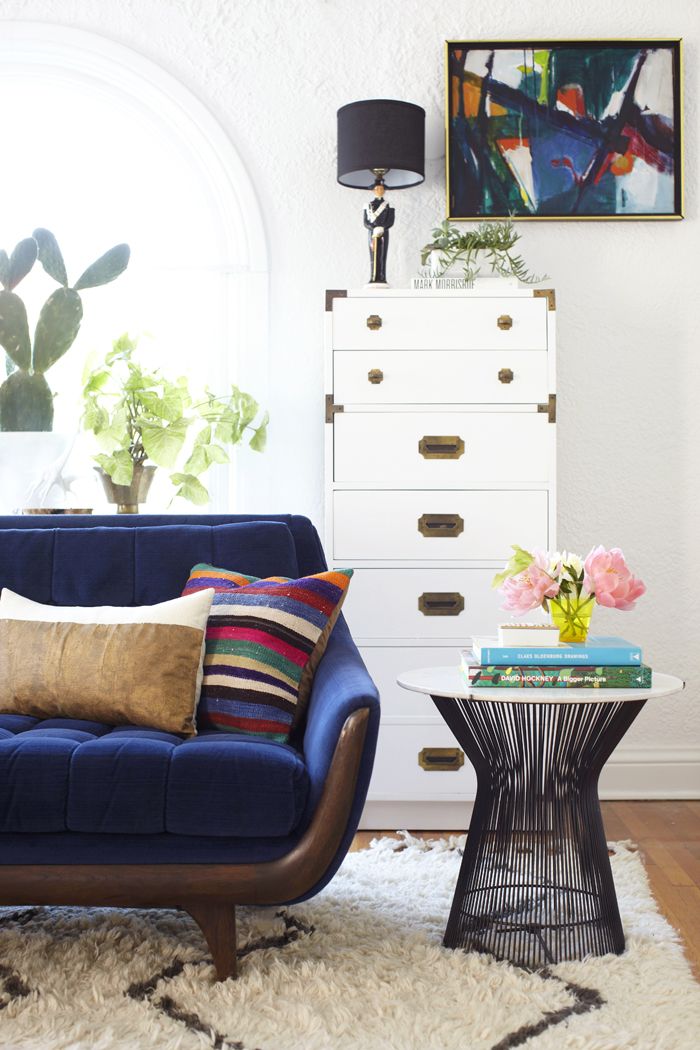
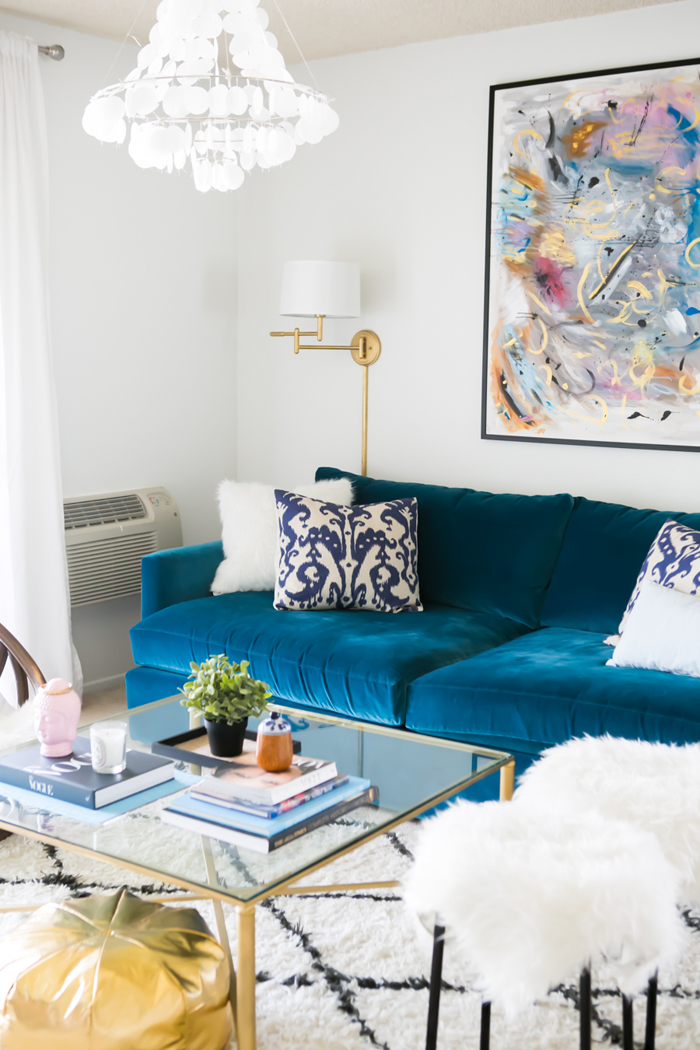 Guys… this is probably my favorite home tour yet. Katherine Vo’s home is the perfect mix of chic and cozy. I can easily see myself living in a space like this. Oh and what’s that? A blue velvet couch?? You guys know how I feel about blue velvet couches, right?
Hope this was an inspirational weekend send-off! Which of these inspires you the most? Will you be DIY’ing anything this weekend or throwing a perfect backyard party?
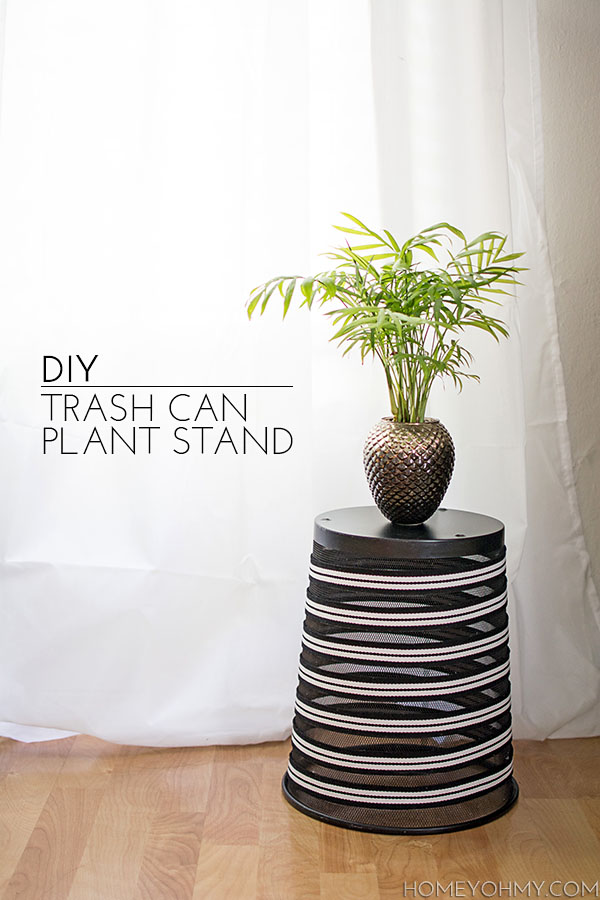
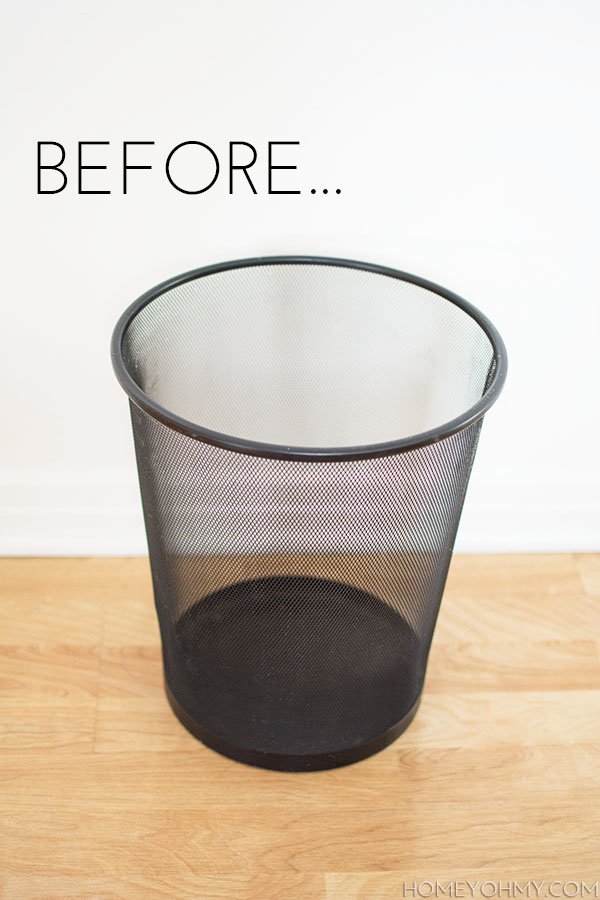 I first tried applying fabric around the outside with Mod Podge, which was a complete fail. I think the mesh, combined with the can not being uniform in diameter, were the factors to blame (it couldn’t have been me, right?!). So, I shoved it in a corner and kept dumping trash in it, until I came across some trim on clearance at Joann Fabrics.
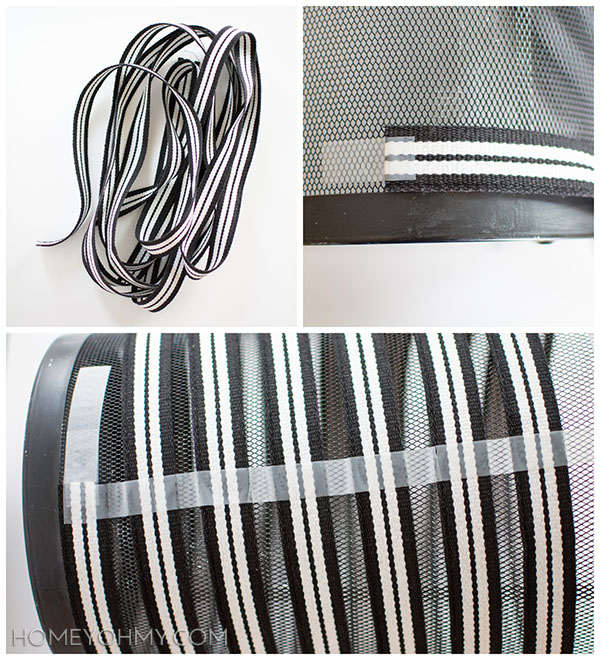 Black and white stripes- so very me! I love how ideas will just hit me when I come across something random, like trim. I got 6 yards of it and spiraled it around the trash can, using tape to hold it in place.
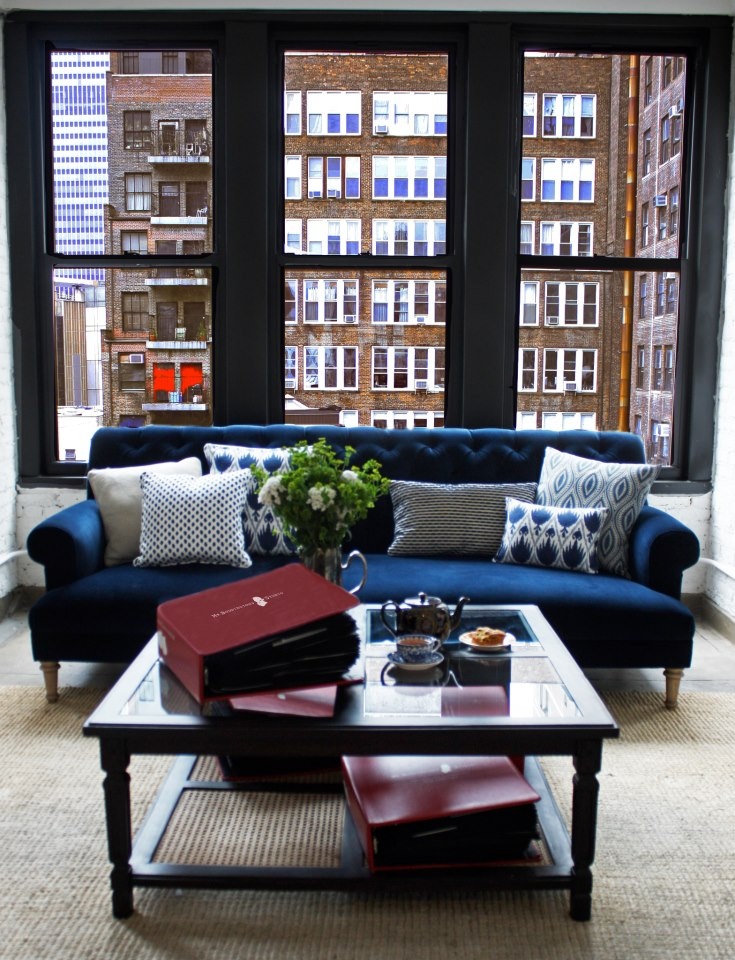
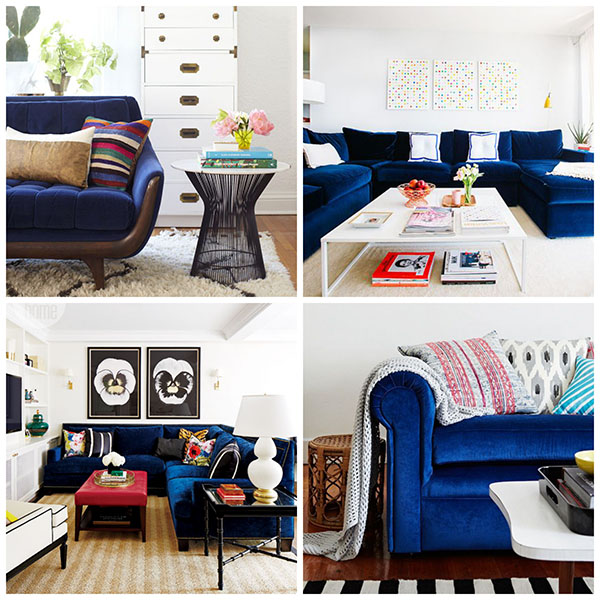 I recently discovered that I LOVE blue velvet couches. Not only did I notice I’ve been
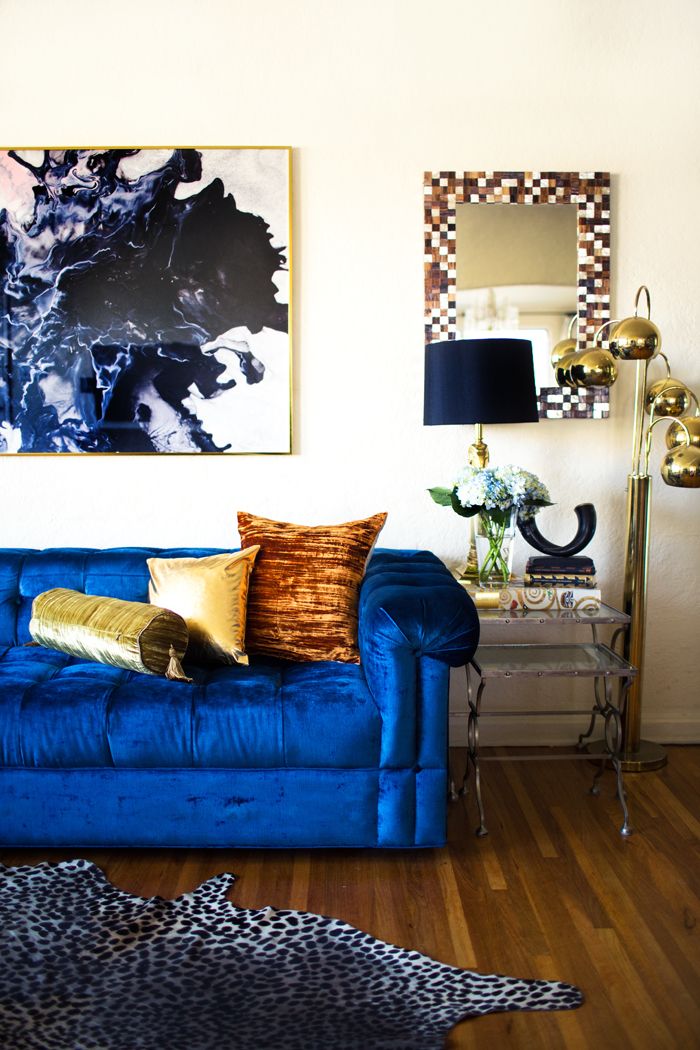
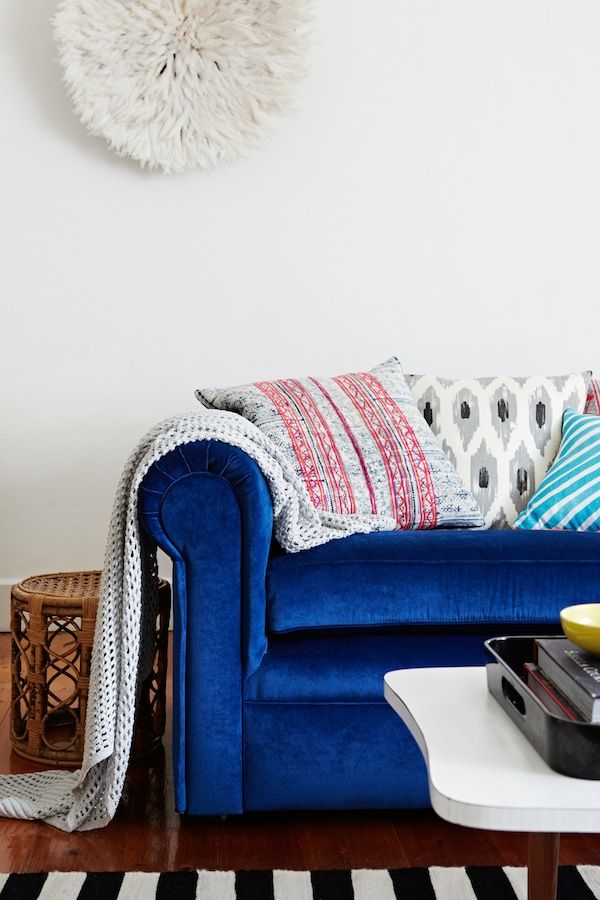
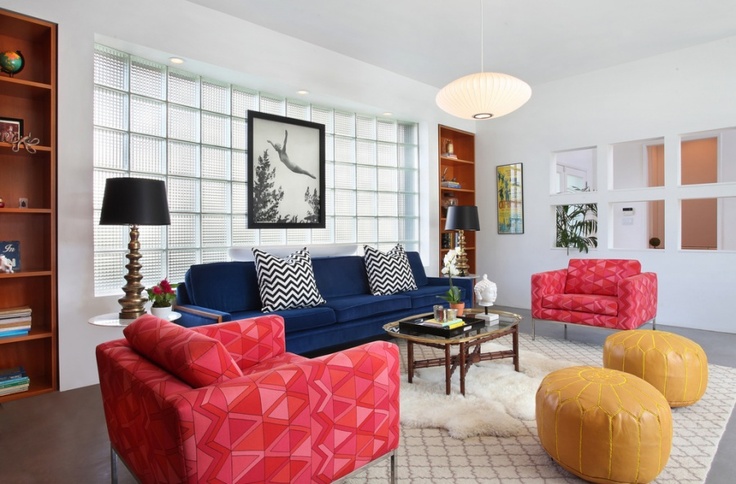
 Not sure what’s going on with the two tone couch here, but I dig it, especially how it looks with that amazing blue rug.
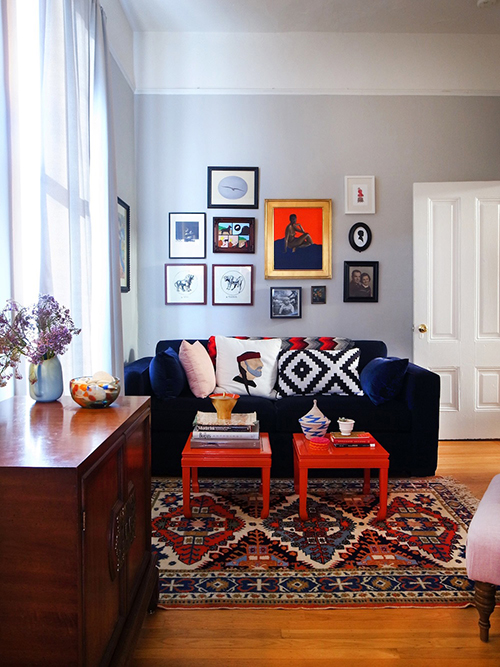
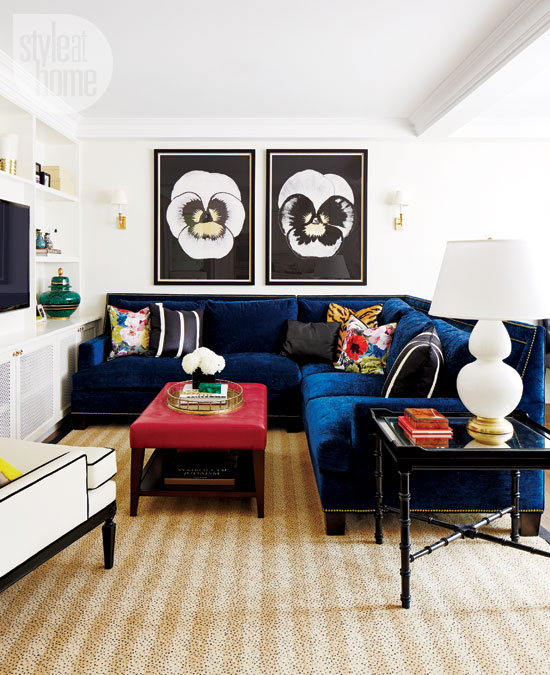
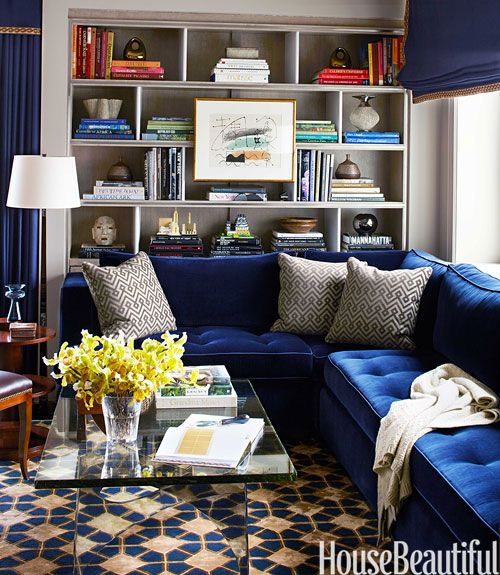
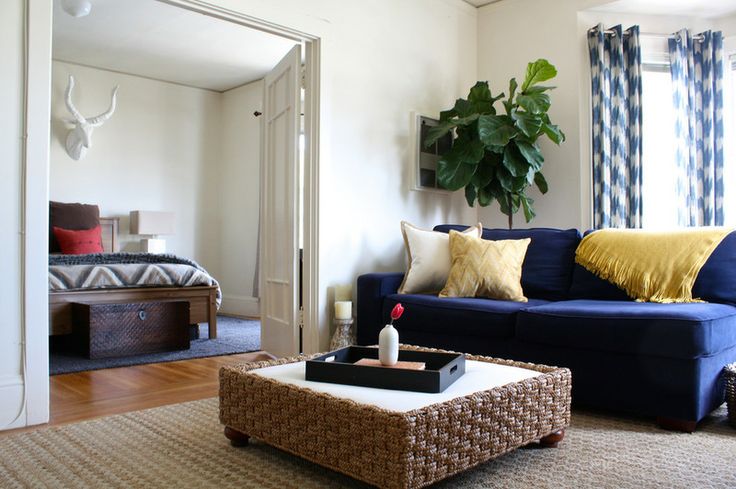
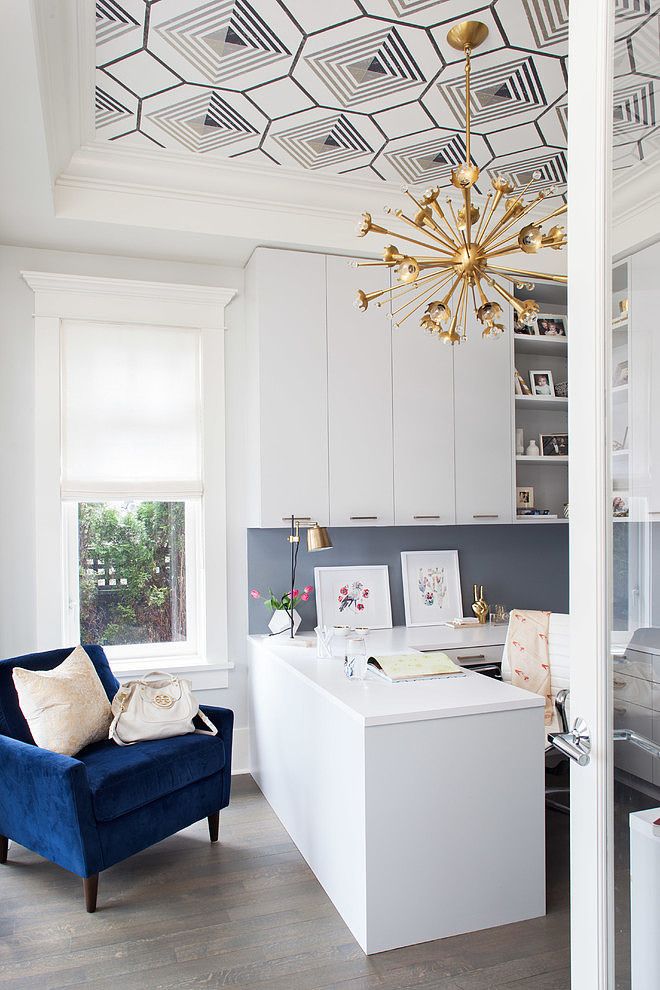 I’m down for taking a baby step by starting with a blue velvet chair.
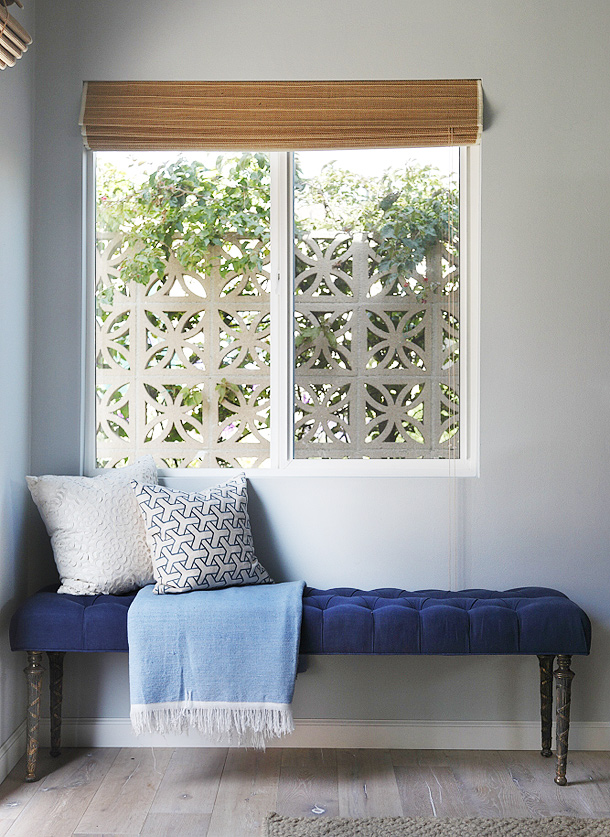 Or a bench!
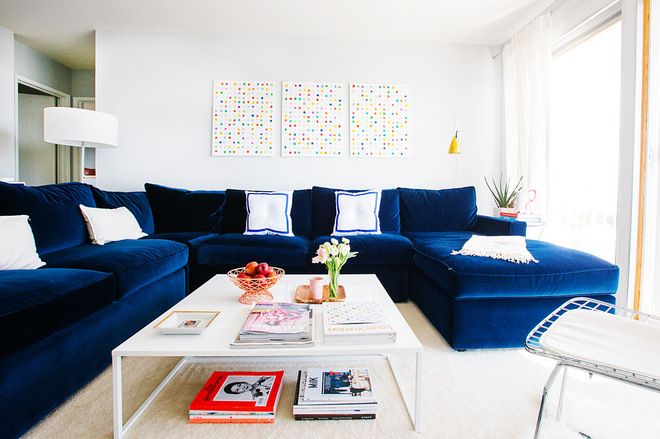
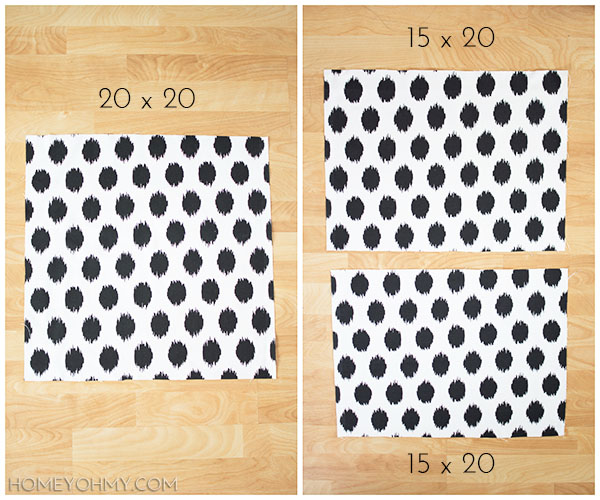 For the ikat polka dot pillows, the pillow inserts are 20 x 20 in., so I measured and cut out a 20 x 20 in. piece and two 15 x 20 inch pieces after ironing the fabric. This will be an envelope style pillow, which is the easiest way to go for no sew.
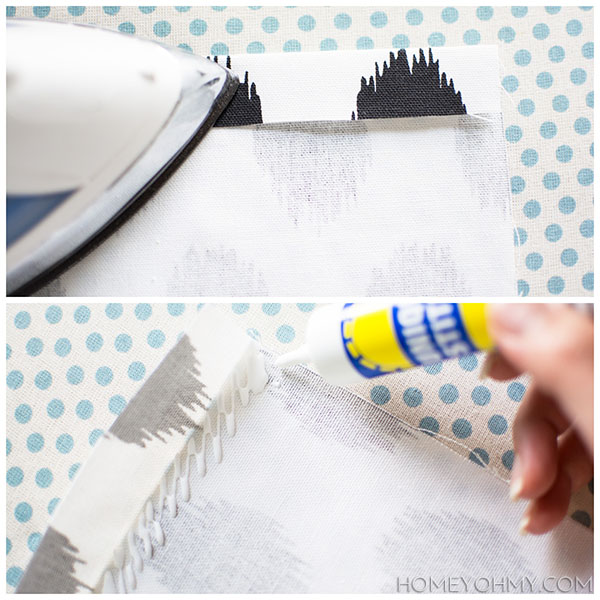 Starting with the 15 x 20 in. pieces, I folded back about an inch on one of the 20 in. sides of each piece and ironed it down. Then I applied the Unique Stitch under the fold to glue it down. This glue is my secret weapon to no sew projects because it holds SO well. I’ve found that the key is to apply enough so that it lightly soaks through the layers of fabric. If I can feel the stickiness of the glue on my fingers as I press down on the fabric after, I know the job is done.
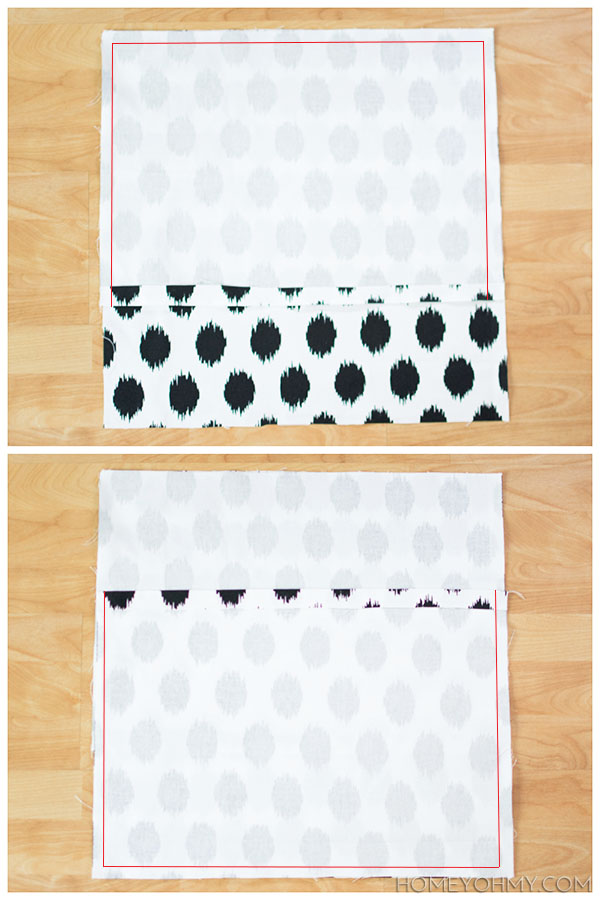 I lined up a 15 x 20 in piece with the top edge of the 20 x 20 in. piece with the fabric faces facing each other. I glued the fabric pieces together where the red lines are in the photo above, which are supposed to be about a quarter inch away from the edges. Then I glued on the other 15 x 20 in. piece lined up with the bottom of the 20 x 20 in. piece. The folded edges of the 15 x 20 in. pieces should be overlapped.
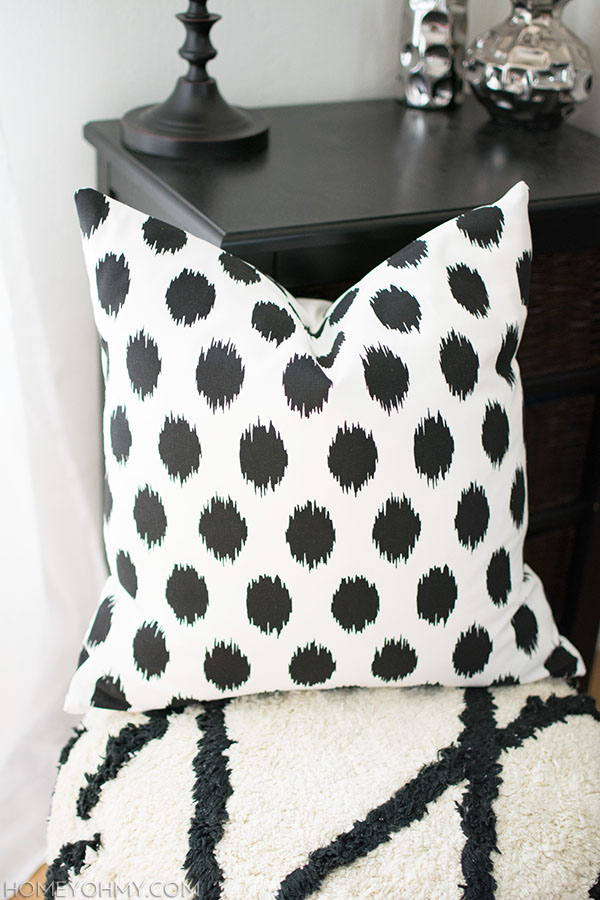 Karate chop that pillow and it’s done!
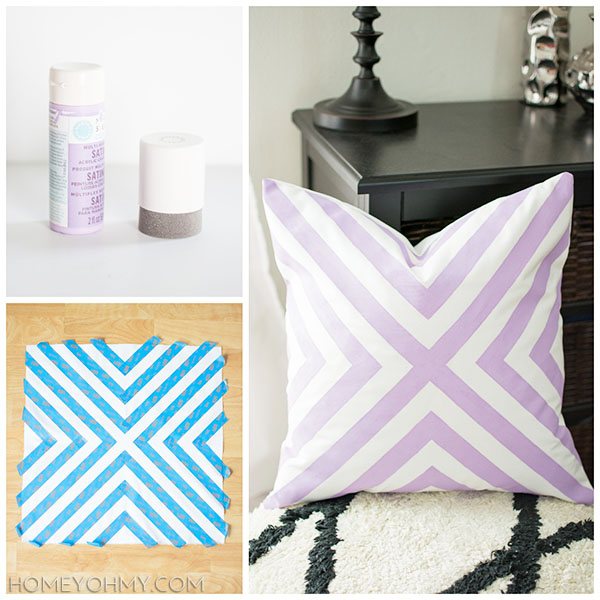
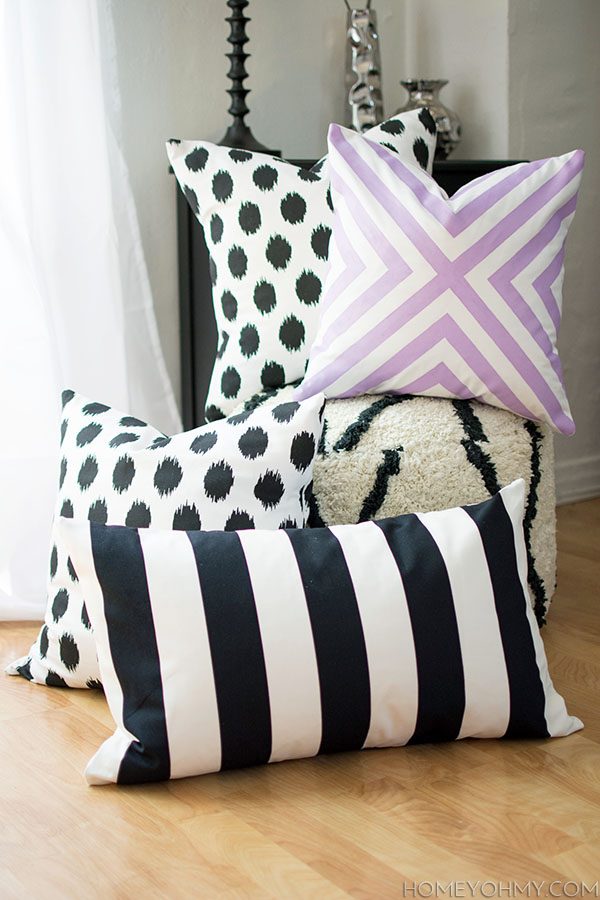
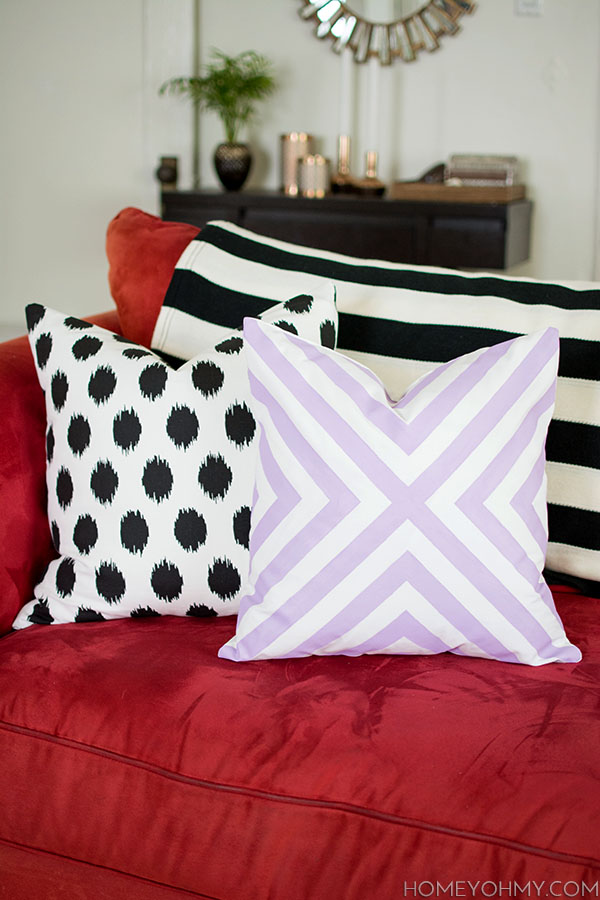 I’m really liking the way the purple looks on my red couch, and of course the black and white never fails to please me. If you feel like the ikat polka dot pillow looks familiar, it might be because you saw the pattern in the background of
 Another addition to my
 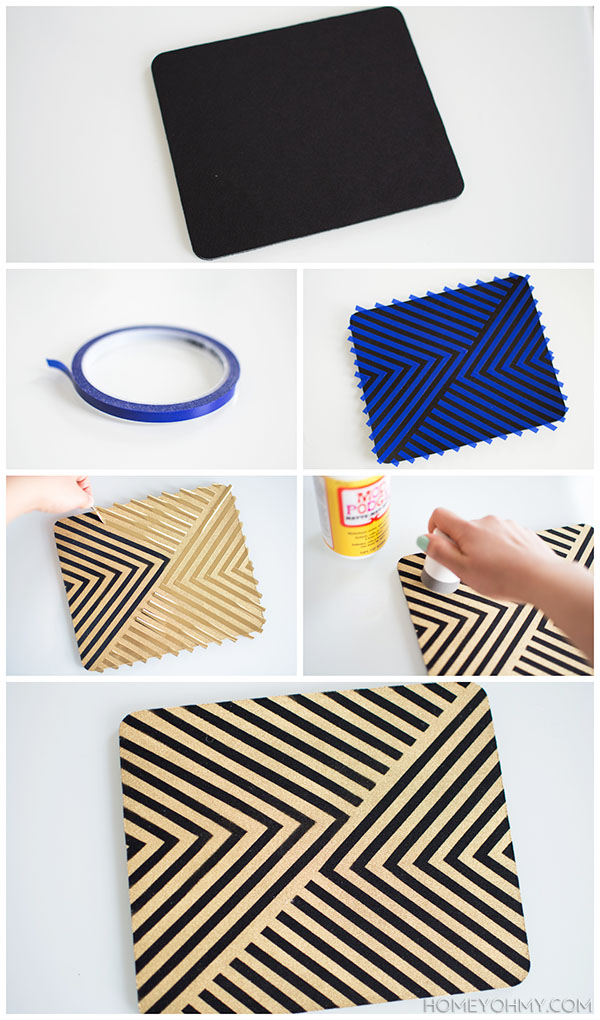 I taped my design on the
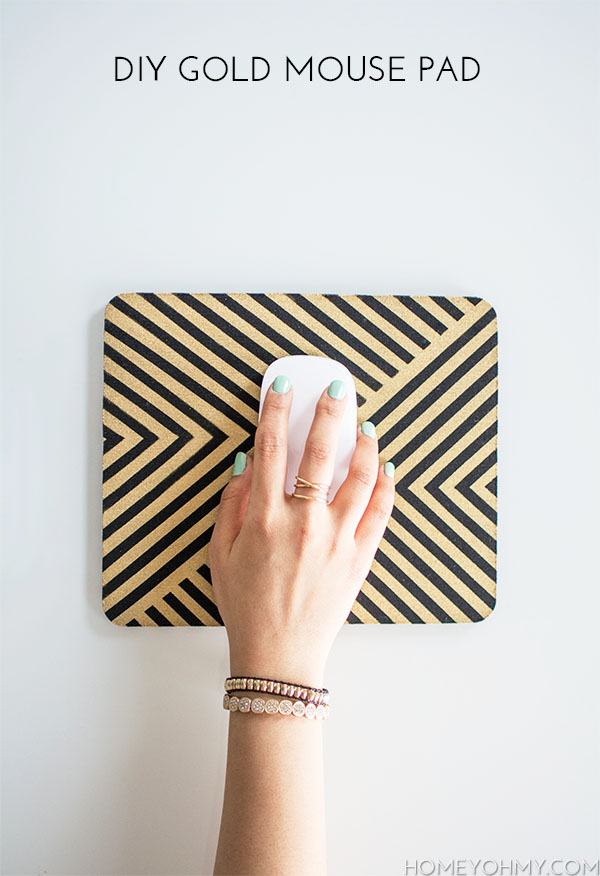
 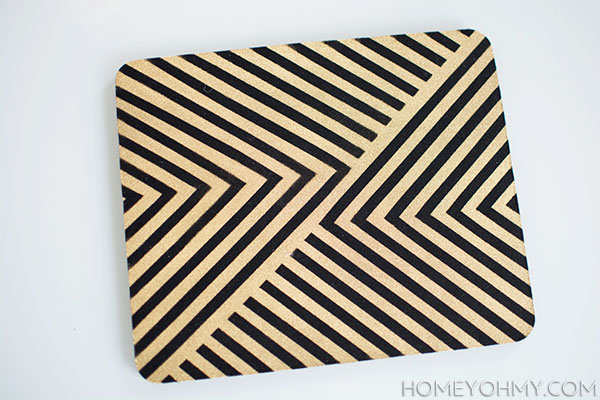 That’s it! Pretty simple, but makes a huge statement, and definitely much better than keeping the mouse pad plain like it was before, don’t cha think?
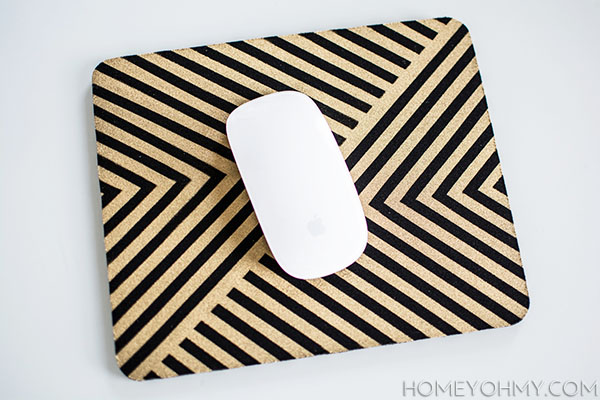
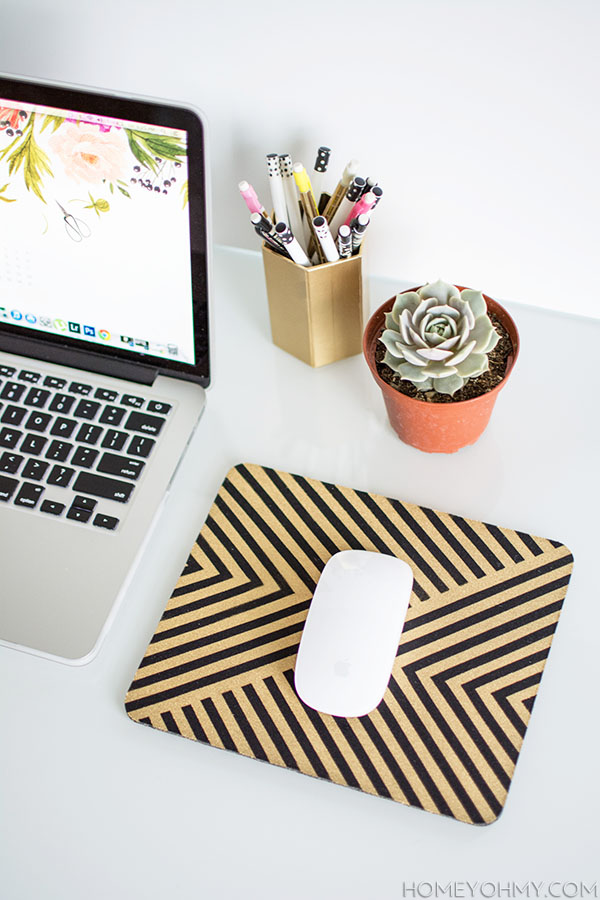
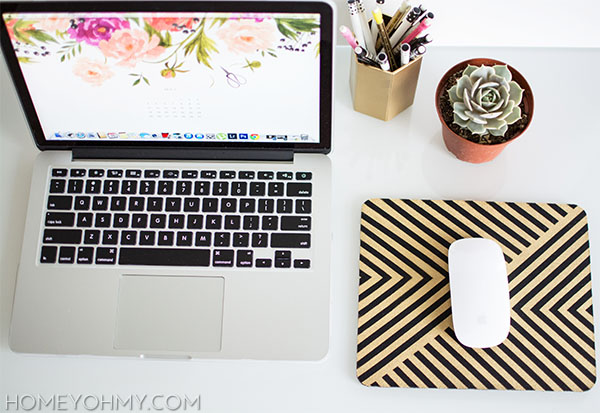 My favorite mouse pad EVER, and I couldn’t be happier with it. This is actually pretty similar to my