 As much as I love feeding you eye candy with DIYs or inspiring spaces, today’s post is focusing on the writing and getting more personal instead. In case you didn’t know, I’m not very good at this, so much that I really only do this when I’m prompted by an external force. That’s why when my friends Fran from Fall for DIY (jewelry and textile extraordinaire) and Carmody from Paper and Fox (clever crafter and stylish decorator) asked me to join in on this Blog Hop to show a more personal side of my blogging, I said heck yes, because I really do want to get better at showing more of who I am, so here goes:
Why do I write?
I’m going to go a bit deeper with this question, back to the time right before I started this blog. Last year, I went through a period of months looking for a new job to break into a more creative career. My biggest obstacle was lack of experience, because my work background is solely in healthcare. Interview after interview of companies describing that they were looking for “creative” and “driven” candidates, I found myself struggling to get people to look beyond my resume full of unrelated experiences. I am creative, I am driven, but truthfully, I didn’t have much to show for it. When I did finally get an offer, it just didn’t feel right, and it really wasn’t what I wanted.
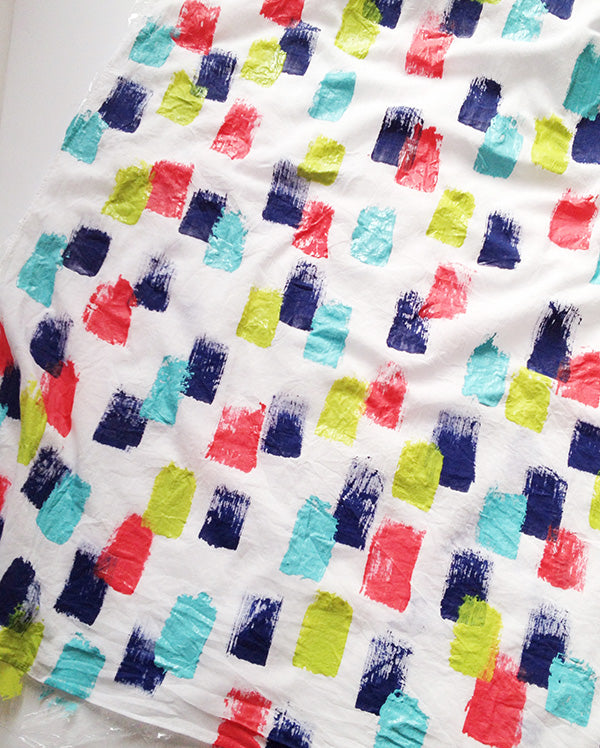
What I wanted was a voice, because for a long time I felt like I had lost it, and after going through that series of job hunting fails, I felt like I wasn’t being heard either, or at least not in the way that I wanted to be. I had a lot to show and prove, to find my own definition of success, and I found it through writing this blog. I write because it helps me know who I am and what I love, which in turn connects me with amazing people I never would have known existed if it weren’t for the miracle that is the internet. I write to inspire, with the hopes that I can encourage someone to try something new and take a risk, whether it’s starting a blog of their own or going with a fabric pattern they wouldn’t normally choose :P. I write for fun, passion, and feeding my soul. It’s been a blast.
What am I working on?

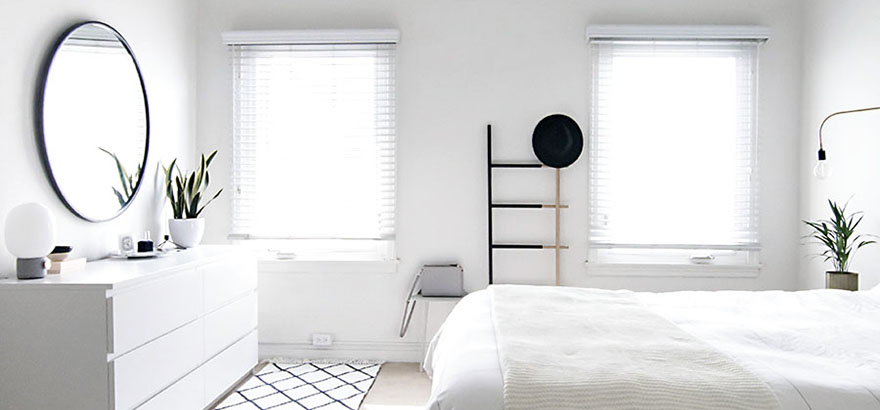
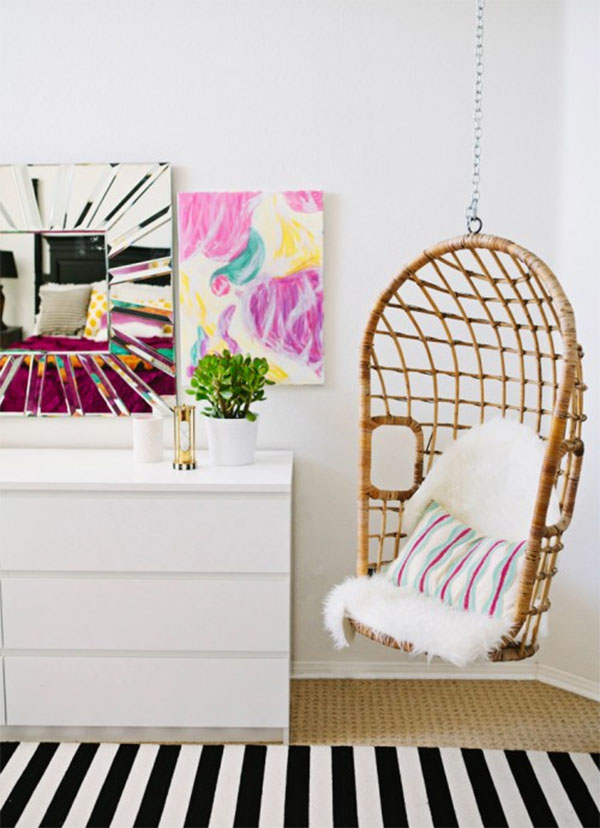
Ah, here’s a chance for me to show you something not so pretty. I’m currently working on putting up an art gallery around our TV. It’s something I’ve wanted to do since day one of moving in over a year ago, and I’ve made zero progress on it. We went with a quick and inexpensive alternative to fill up the glaring, white space with the Malma mirrors from IKEA since I knew it would take time to gather art to put up, and as you can see, they’re starting to fall off (the Command strips aren’t unsticking- it’s the paint on the wall that’s coming off!) I was positive I’d just gradually collect art and transition these mirrors out, and like I said, that has not been happening at all. SO, I’ve planned some DIY wall art ideas that are soon to come and will of course be showing the gallery wall once it’s all hung up. Fingers crossed. *update* See the completed gallery wall here.
In terms of the blog, I’m working on diversifying the content a little bit and trying out a new column or two, all while making this a more personal space where I won’t always chicken out on sharing the “behind the scenes.”
How does my work differ from others of its genre?
Can anyone help me answer this question? Please?? I’m still figuring this one out. All the advice written about starting a blog stresses the importance of pinpointing a specific niche or having a painstakingly unique point of view, and I didn’t figure much of this out before starting. I ran the red light and went on because I just wasn’t sure what my style was back then and felt like once I started, all of that would naturally unfold along the way. Here, this quote says it beautifully:
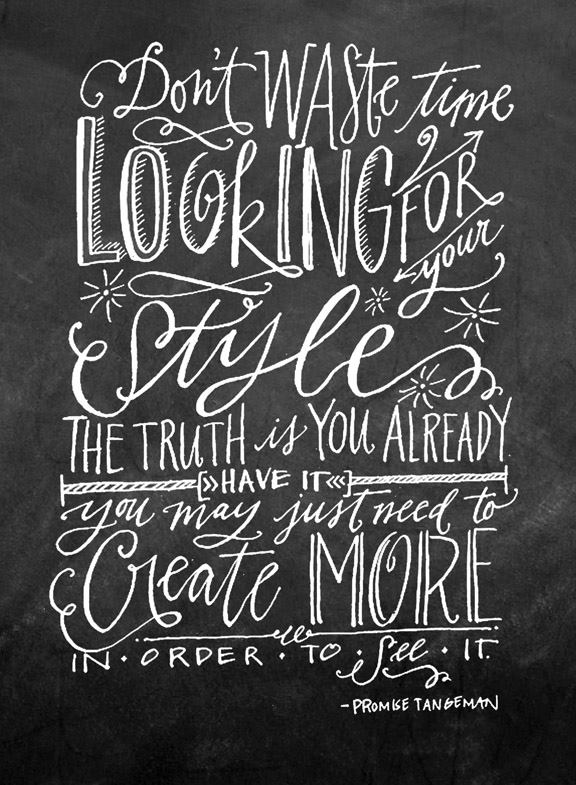
100000% on point with my perspective on starting this blog. I definitely think my work and style have evolved in these few short months, and I hope it continues to do so.
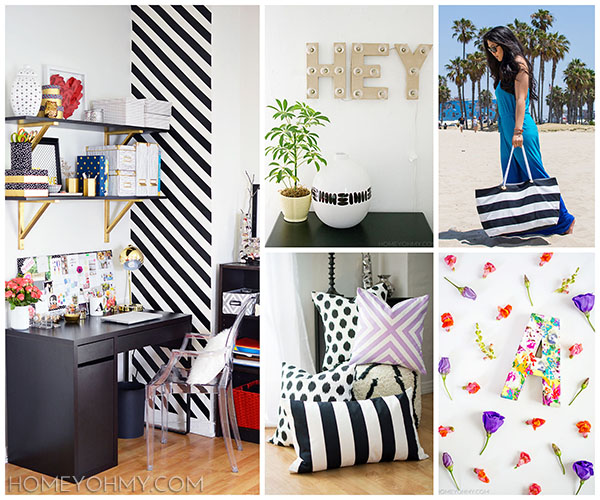
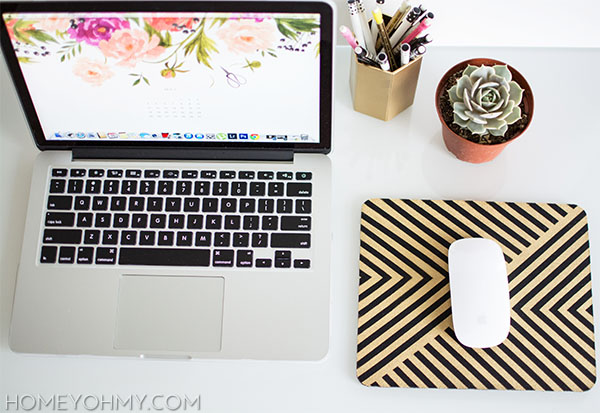
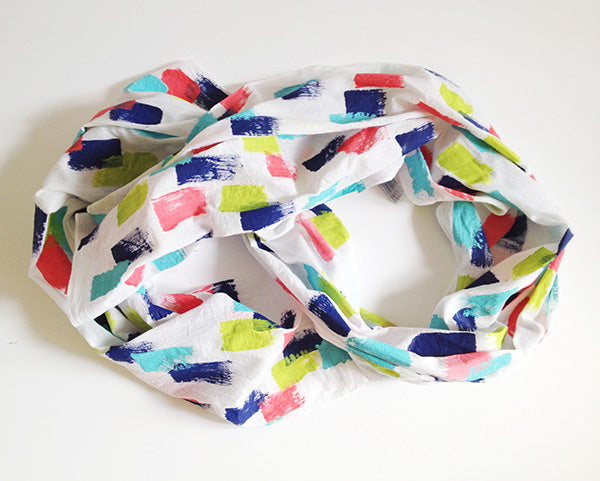
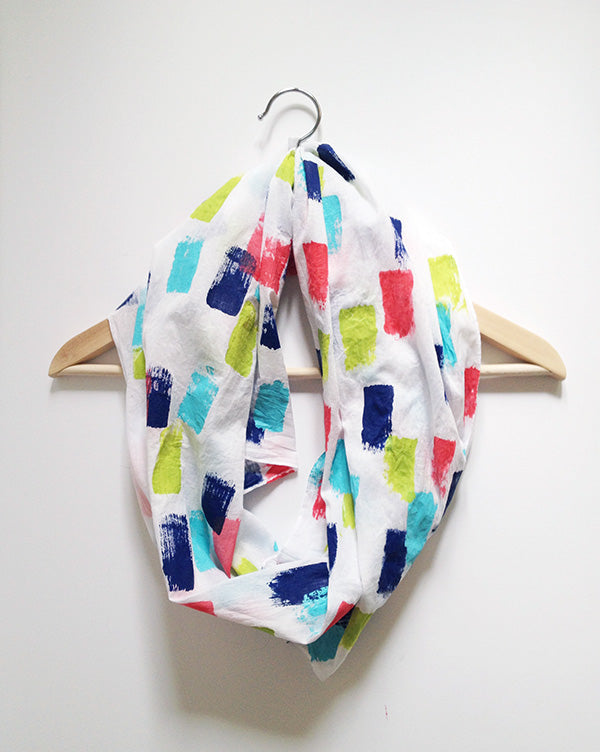
Ok, but REALLY trying to answer this question… I’d like to say everything I make has an element of chic while still being easy to do. I like clean lines and simple designs, traditional styles with modern touches. I’m big on metallics and neutral or monochromatic palettes, though this summer I really tried to challenge myself with using color and am feeling more confident about that ability. I try to do everything from the perspective of using easily accessible materials and applying simple techniques. It’s hard to say how I’m doing it all completely differently from anyone else, but what makes any work unique is the person behind it, so hey, I guess that goes back to my goal of trying to incorporate more of who I am into this blog!
How does my writing process work?
I don’t have one. Bam. I like to just write on the fly and be as casual as possible. It’s commonly advised to let your writing marinate and edit over days, which I do sometimes, but there’s something about spontaneity (if I’m being real, that word could be replaced with “the last minute”) that gets me flowing. It’s important to note that I don’t always place the highest priority on my writing, which I want to work on. I would love it if everything I wrote was beautifully composed and riveting, but I can admit that I’ll just let the DIYs and photos take the stage a lot of the time.
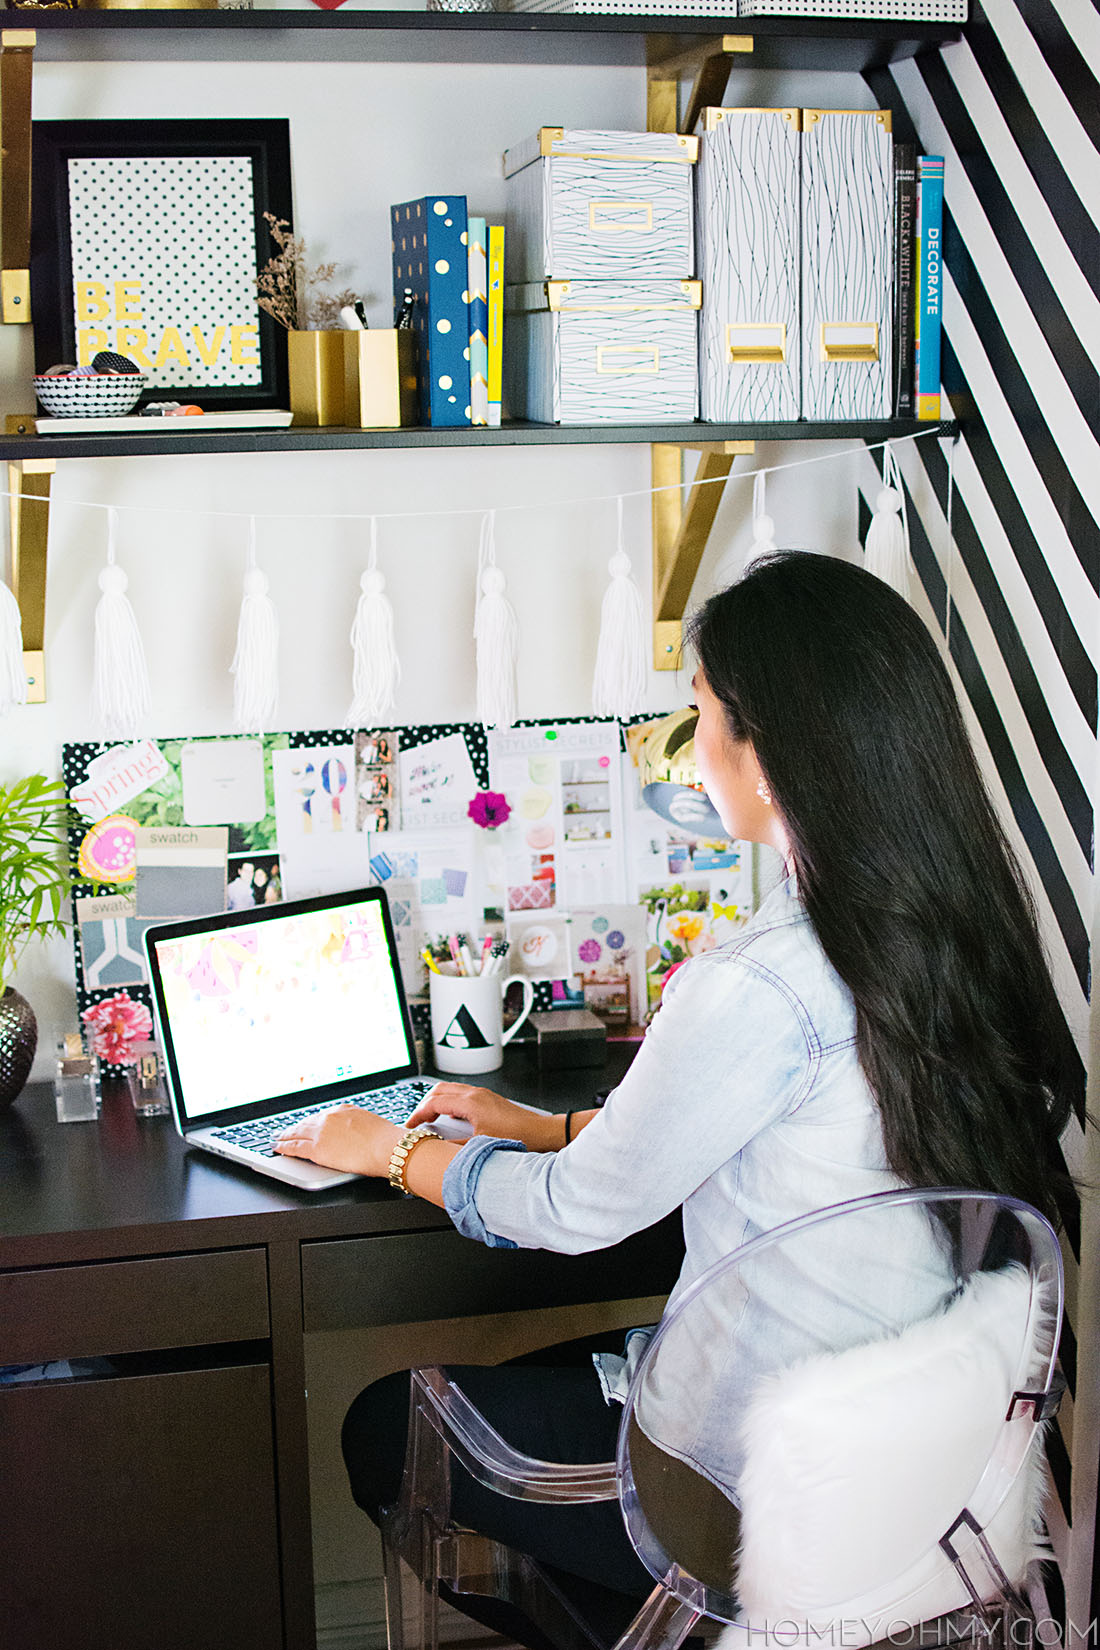
The way my writing and DIY process works has a lot to do with my limited free time. I work a full time job and usually all I have is a weekend day or weeknight to give it all in one go, so I do. There is definitely a lot to improve about my writing and creative process, but what it comes down to is what fits with my schedule and lifestyle, and so far this is what’s been working for me!
While we’re at it, a little update on things lately… I recently came back from vacay in Chicago (you probably already know this if you follow me on Instagram) and am feeling exhausted and soooooo behind on blogging. Unplugging is both refreshing and stressful. It was great to getaway and relax, but now I’m fighting to get back into the grind and catch up on all the stuff I missed. I know, there’s been a lack of projects around here lately and there won’t be any this week :( but those will start back up again next week! I promise! You’re gonna love it!!!
Back to the blog hop… Now it’s my turn to tag a couple other bloggers to join in on the hop!
Laurel from A Bubbly Life is exactly who you’d think she is just from her blog name. She’s a bubbly sweetheart and shares ultra cute DIY’s and party ideas. She’s also a fellow PBteen DIY contributor! I love her fun and girly style, and we share a love for hearts and gold <3.
Anu from Nalle’s House writes a crazy inspiring blog full of Scandinavian decor and DIY’s. From the second I first saw her blog, I was instantly a fan of her simple and modern style. She is also a mega sweetheart, and gave me helpful info on photography when I reached out to her after starting my blog (do you remember that, Anu??)
Both of these talented ladies will be putting up their Blog Hop posts next Monday, so you know what to do —–> follow them if you aren’t already!
*Image of quote from Promise Tangeman


 I get a lot of inspiration from window shopping for home decor and accessories. During this activity, I very often find myself saying hey I could make that, and then another voice in my head says “You should.” Then it becomes the thrill of the challenge. Sometimes it isn’t only about the thriftiest and easiest way to make something. Sometimes it’s about seeing if I can do it myself, and with that comes the addictive power to make my own customizations, which can make all that extra work worth it.
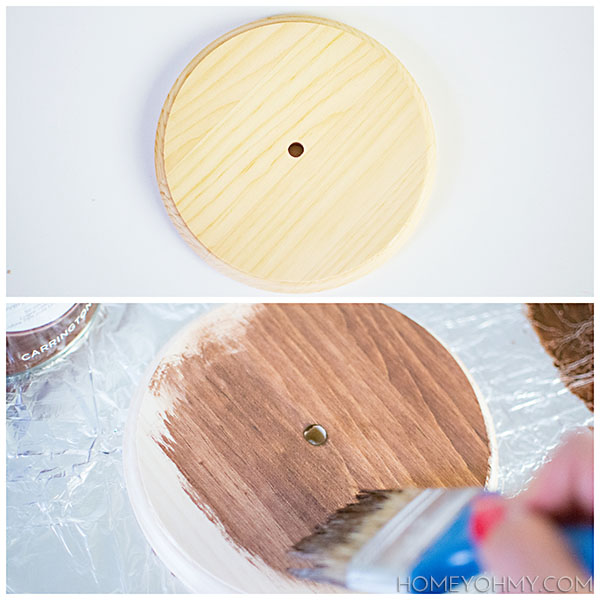
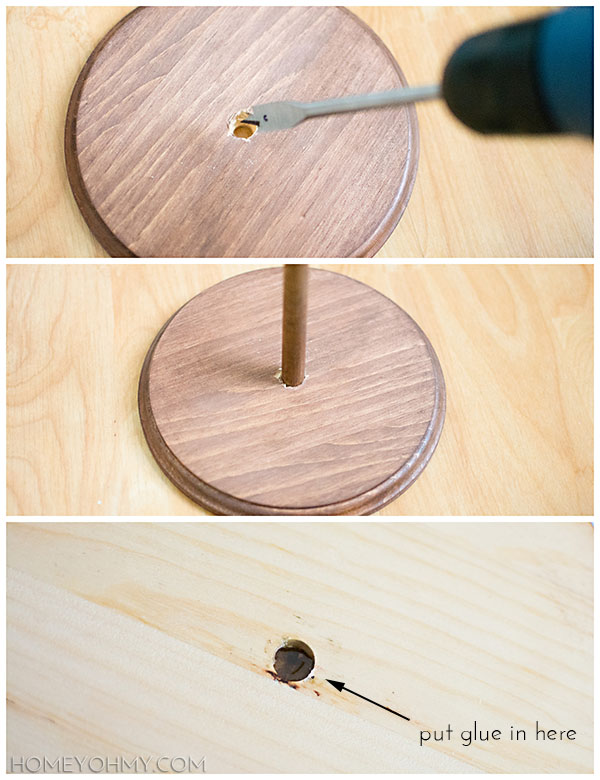
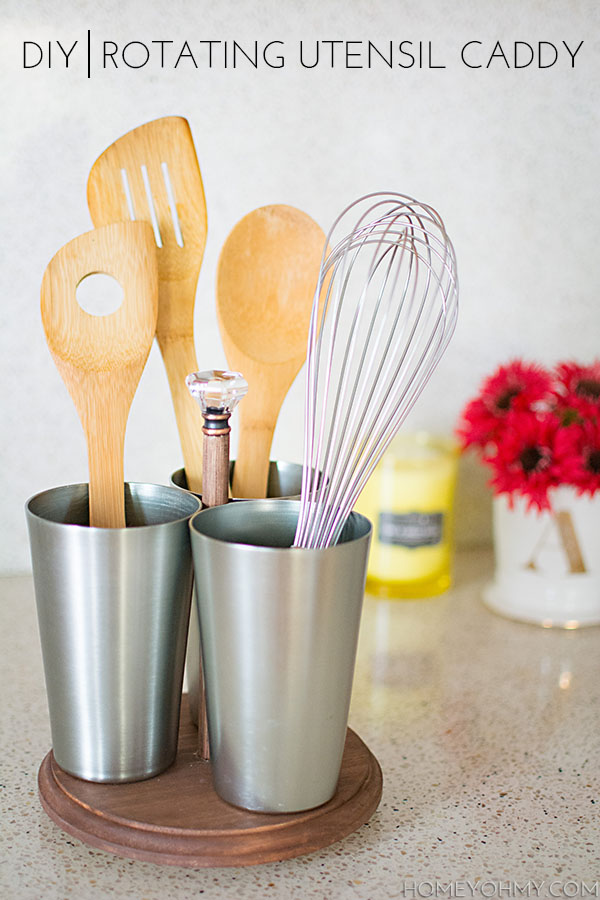
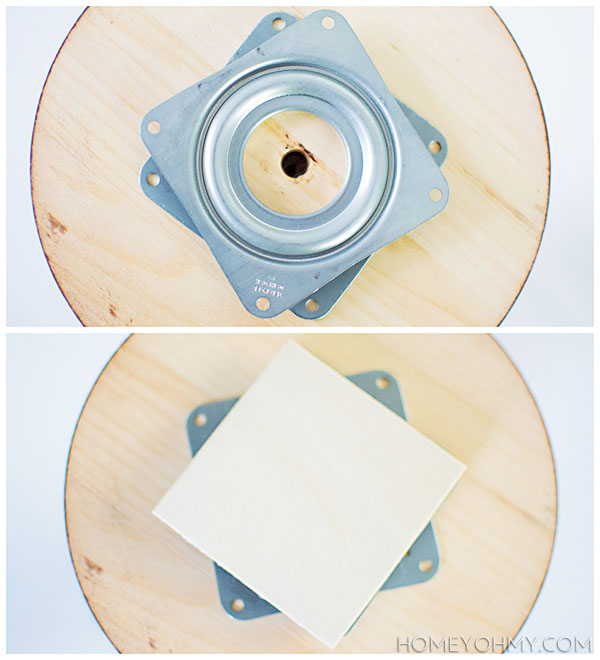 Next, I glued on the lazy susan to the bottom of the wood, then glued a 3in square piece of wood to the bottom part of the lazy susan to provide an even base for the caddy. There are holes for drilling in screws, but if I have a choice between drilling and gluing, I always go with gluing if the connecting surfaces aren’t going to endure opposing forces, which in this case there would be none. Plus, E6000 has amazing holding power. Gluing is just easier too, right?
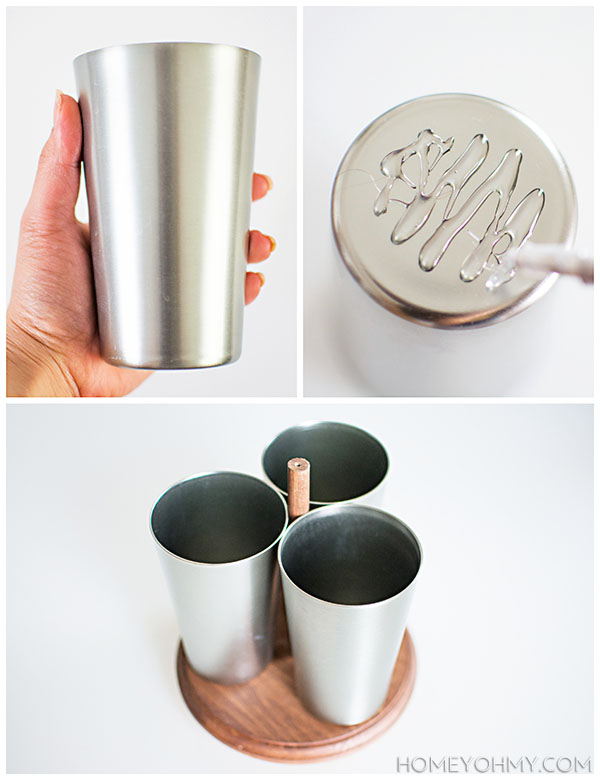 I found these aluminum cups on clearance at JoAnn’s (I go there a lot, guys. There’s one very close to me that opened up this year and it has saved me so much time!) and simply glued them onto the wood, making sure they set so that all the rims of the cups were touching each other and the dowel.
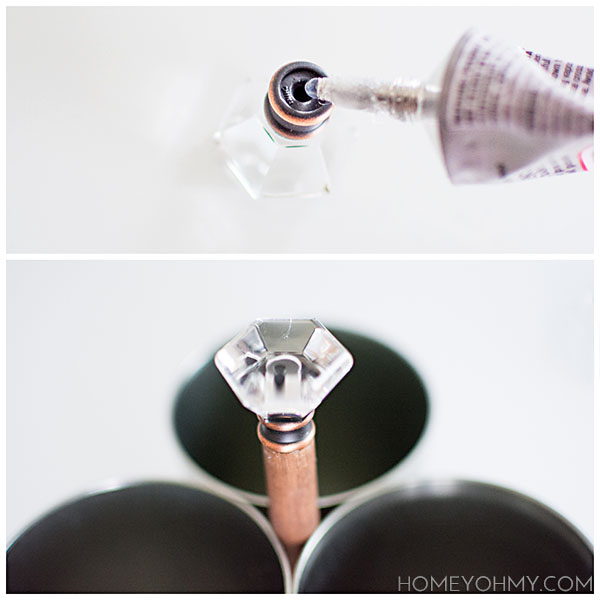 Does the knob look familiar at all? It’s the same one I used for my
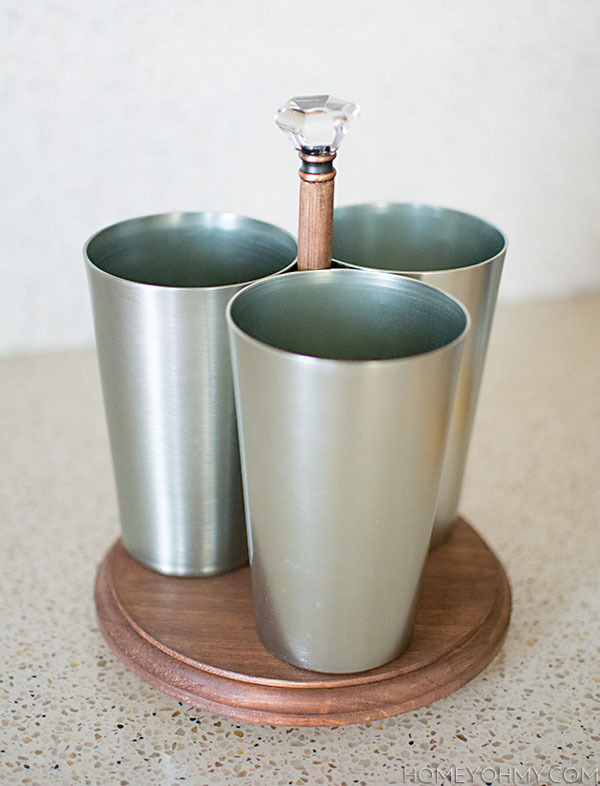


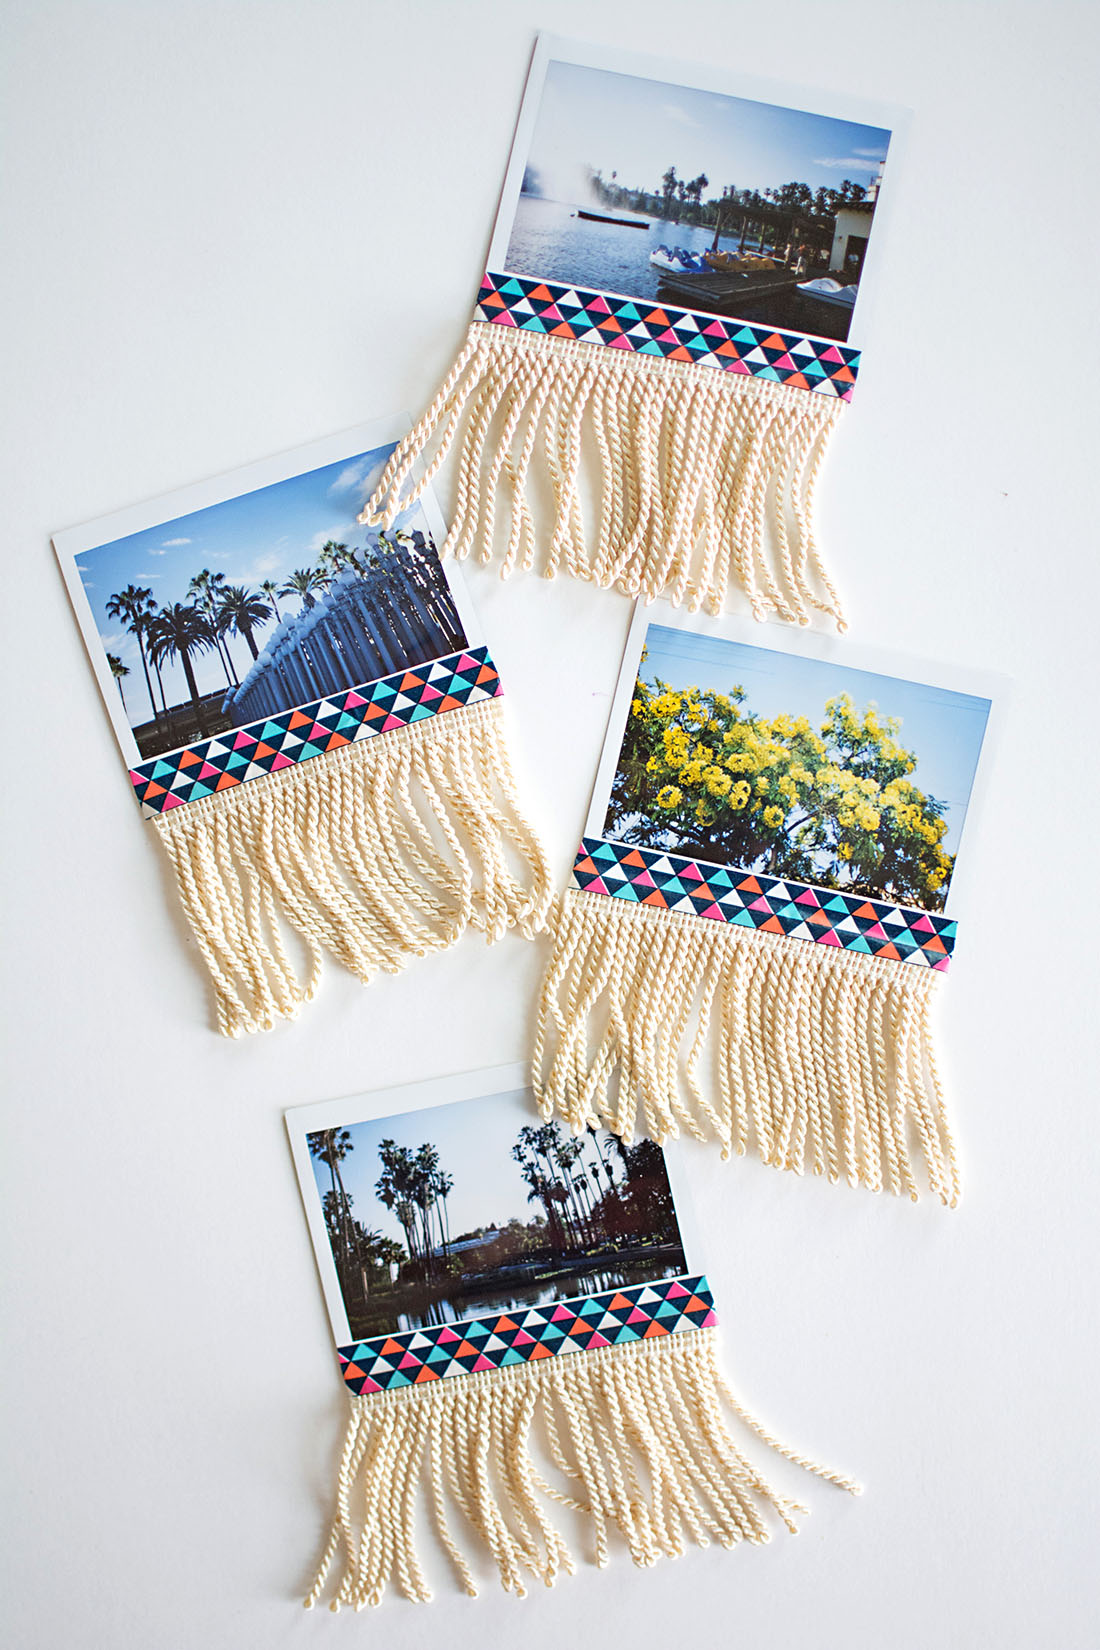
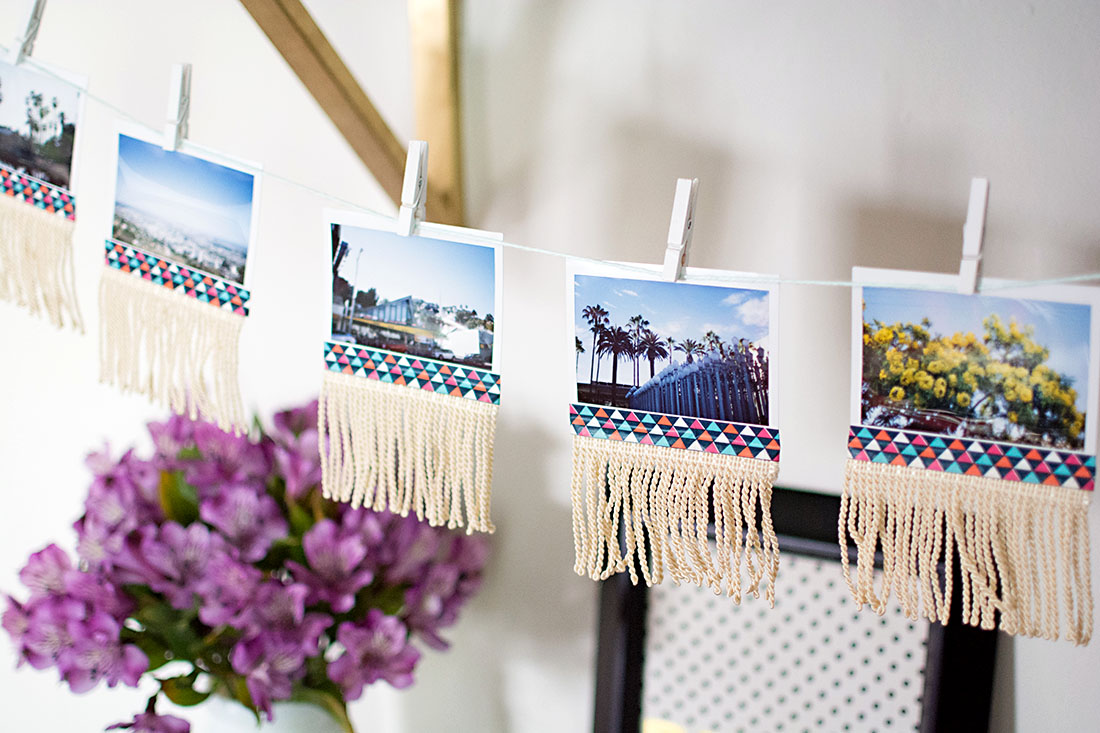 Shout-out to my friend Hanh for letting me borrow his polaroid camera!