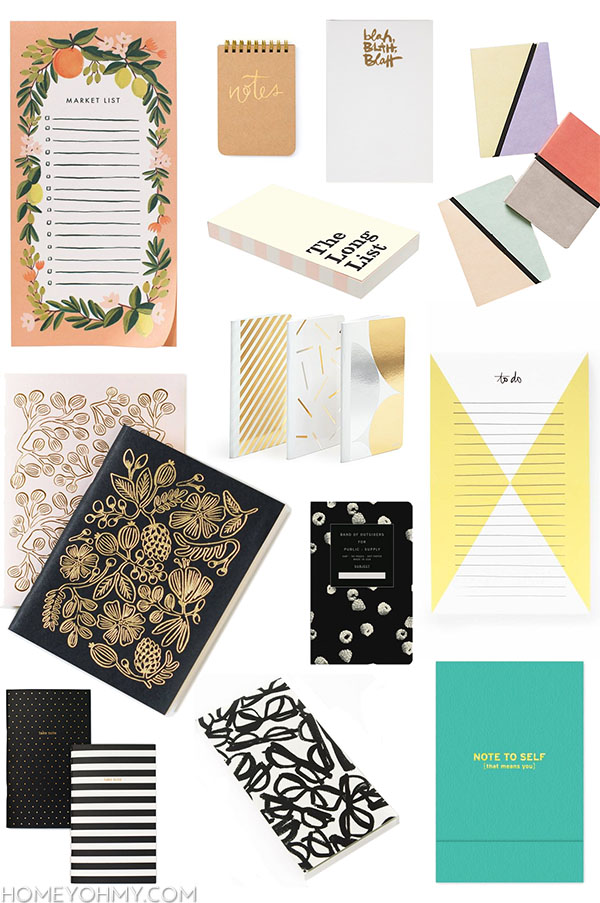
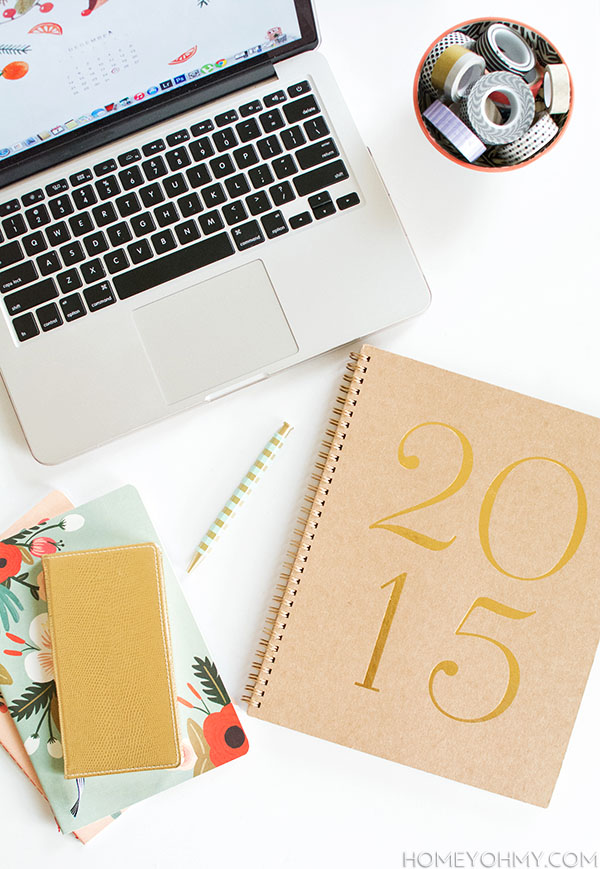
‘Tis the season of planning and organizing, and to someone who loves making lists and good-looking paper, notebook browsing is always a good idea.
Whatever the new organizing and note-taking gadget or program is, I always come back to pen and paper. I prefer the scribbles and smears that make it all seem more real, and the option to draw a doodle or two. Plus, everyone knows that few things are more satisfying than crossing off items on a to-do list by hand. Looking forward to that practice is a big reason why we even make lists in the first place, right??
So here are some mad cute notebooks and note pads I’d get if I didn’t already have a bajillion. I actually do have that Market List, and I love that boyfriend uses it more than I do!
Well guys, I had this New Year post drafted for a month, but tossed around on what I wanted to say and it started getting stressful, to the point where I had thrown the idea out all together, until now.
Something that was meant to be positive quickly turned burdensome, and that’s why we all hate making resolutions, or at least that’s what the internet is telling me.
I figured out my problem this time, though.
I was coming up with goals I thought others might expect of me and this blog, and I was getting too critical of whether they were unique or ambitious enough. I was putting pressure on myself to go really big and specific, which I couldn’t do, because I simply don’t know what that all is, at least not right now. So screw it.
Glad I got that figured out!
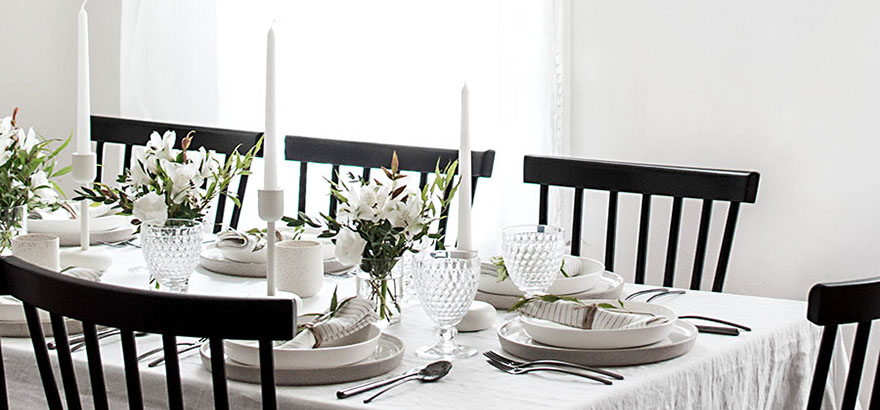
Instead, a New Year tradition I like a lot is picking a focus word, and mine this year is enjoy. I want to get better at focusing on the joy in everything, because that’s way more fun than focusing on all the what if’s for what could go wrong, which is what I do constantly, especially with this blog. That, mixed with the frustrations I feel about my day job, my dreams for switching that job to blogging full-time, and how I want to be better for the people most important in my life, made it clear that I needed to take a more simple approach and start with myself first, with personal goals focused on enjoying the day-to-day.
So we’re going to call this things I’m looking forward to enjoying in 2015. They’re basically resolutions, but it’s a lot more motivating to think of these as events to look forward to. All about those mind tricks, y’all.
TRAVEL
(I swear I didn’t just copy an article on top resolutions to have this year. I’ve got some more cliche things coming, but let me just explain and talk about them.)
Boyfriend and I talk about how we’re fast approaching a chapter in our lives where it will be even easier to make excuses not to travel, so the urgency to travel is high right now, and I’m really excited for it. I have no idea where my passport is. I don’t think I’ve seen it in over a decade. I’m going to renew it (get a new one?), and I’m going to travel. We’ve been talking about Spain towards the end of the year, maybe a cruise, and surely somewhere new in the US.
DE-CLUTTER The clutter reached a new, maddening extreme last year. It’s the challenge of trying to work and live in the same, small space, combined with my need to leave out projects in progress because putting them away mid-progress means they won’t get finished. I’m not entirely sure how to go about that differently, but what I can do is regulate our storage space better, so I’m going to try the same thing I do with my closet- no more adding stuff, only replacing items, or getting rid of things. If something comes in, then something needs to go out, because there is literally no room. This is a big deal for me, because I have a hard time letting go of stuff. It encouraged me to get this book, which is currently on its way, and I’ve heard nothing short of it being life-changing (it’s in the title so it must be true, ha) so we’ll see. That leads to the next thing…
READ We recently got library cards at our local public library. I can’t remember the last time I genuinely enjoyed being at a library. I wasn’t always big on reading, but now it’s one of the things I enjoy most these days, and I want to make more time for it. Here’s a shot of my unsuspecting boyfriend in awe of all the possibilities.
We were in sweats and sneaks because we walked here. It’s (on the longer side of) walking distance! How did this not happen sooner? We spent the walk there and back listening to Serial together (I think Adnan did it, but I also think he didn’t.) That also transitions nicely into the next thing.
WALK I don’t exercise. At all. It’s awful. We were doing P90X3 for a while, but all the intense stomping and jumping around in the workouts made us feel horrible for the people living in the unit below us, so we always felt like we couldn’t go full-out (excuses excuses). Also, I hate the gym. I think it’s the most boring place in the world and have zero motivation to get a membership. While I look for an alternative, I want to do something that breaks up all the sitting I do in a day, and walking is something I enjoy, especially with my guy. I’m looking forward to taking more walks together in the evenings during the week. It also gives us quality time to just talk and catch up, which is my favorite. Killing two birds with one stone, also my favorite.
LEARN STUFF One of the best things about this blogging journey is how much I’ve learned. I have to wear every hat for this operation and it has stretched me in ways like nothing else has. Most of all, it makes me want to keep learning new things, and I’m starting this year with calligraphy, which I already shared on Instagram. I was really surprised at the response to this. Turns out there are so many of you wanting to learn too, so do it!!! This is the LHCalligraphy starter kit, and I love it. Of course, I very quickly saw that I’m going to need many more hours of practice. Are you guys interested in seeing the progress on that?
ABOUT PAGE Putting in one specific thing here for the blog. My goal last year was to update my About page. Didn’t happen. More than just taking the right photo for it (really hard, I’m the awkwardest bird in the world in front of the camera) and making it more detailed, it represents really getting my mission statement/vision down, which I feel like I’m still ironing out, or rather haven’t given enough thought to. And maybe like the sentiment of this post, I’m trying to go too big and specific with it and need to simplify and chill out. I also see it as a step towards getting more personal on here, which I’ve said so many times that I’m going to do! I see myself giving more space in this blog to documenting what’s going on in my life, although guys, tell me, isn’t it hard trying to both experience moments and record them at the same time?? The past few attempts I made at taking my camera around, I quickly forgot to take pictures because I just wanted to be in the moment. Where’s that robot photographer that can follow me around when I need one…
I’m feeing really good about all this, and that’s an excellent start I say. Are you looking forward to any of the same things in your 2015? Did you make any resolutions or goals? For those of you who stay physically active, got any tips or suggestions on how or where to get a workout other than the gym?
I believe in two things: 1) beautiful storage is exciting and 2) a good, sturdy box should never be tossed. I was reminded of this after receiving a couple gifts this past Christmas that came in some nice boxes, and I was almost more excited about how I was going to re-use the boxes for storage. Call it weird, because it kind of is, but it’s also fun (and useful!), and maybe you kept some boxes from this past holiday season too and need a simple idea on how to make them prettier. Try this one out!
I already liked that the boxes were all white, but I had this marble contact paper hanging around for a while and it was shouting at me to use it already, so I did.
Trace the lid of the box on the contact paper, then measure around the box about twice the height of the side of the lid.
So for example, the height of my box lid is 3cm, so I measured and cut the contact paper about 6cm further out from the lid on each side, as shown in the photo above. Since the lid is shallow, twice the height was appropriate, but for something deeper, like the bottom of my box, I measured out the height of the box + 6cm. Twice the height of the box would’ve been unnecessarily long, so keep that in mind for your box.
Use a pencil to draw three lines at each corner of the contact paper as shown above- a diagonal line, a horizontal line, and a vertical line. This creates a tab to wrap around the corner of the lid, which I’ll show you in a little bit.
Once cut along the lines, each corner should look like this.
Make sure that the opposite ends of the contact paper are mirror images of each other, meaning that the tabs are on opposite ends of the paper, as shown above.
The fun part. Peel the backing off the paper and lay it face down. Press the top of the lid onto the center of the adhesive, making sure the corners of the lid line up with the inner corners of the paper. Fold the sides of adhesive with the tabs straight up and smooth it over to stick firmly onto the side of the lid, then fold the tabs over each corner. Next, fold the other sides up, which will effectively cover the tabs and give you nice, clean corners.
To fold the the adhesive over the edges (that extra 6cm I measured out), cut a slit down each corner, then fold each side over.
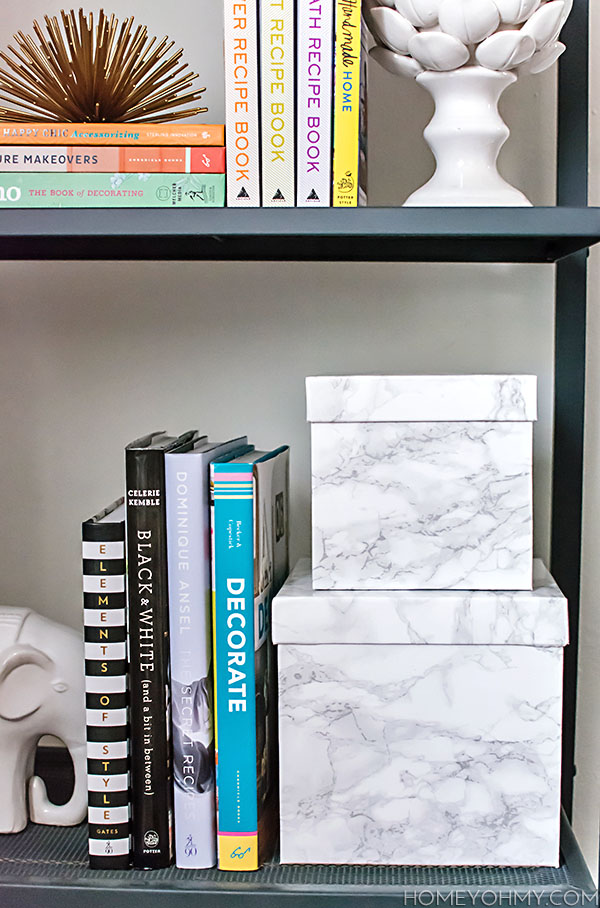
Lid complete. Repeat with the bottom of the box and the transformation is done.
This could absolutely be done with fabric and Mod Podge as well, which I did a long time ago with the lids on these boxes. The design options are a lot more diverse with fabric, but contact paper is definitely less messy. Have you crafted with this stuff before? Are you as obsessed with boxes as I am?
I remember seeing all the 2013 blog recaps last year and noting to myself that I’ll have to wait a year to do a 2014 recap, because by then I’ll actually have a full year of projects to look back on! And now we’re finally here!! Crazy!!! I’m yet another person who will incredulously shout about how 2014 went by too fast.
I’m the type to rush into thinking about things I want to change, improve, or reach for, with everything, always chasing after how to shorten the gap between how things look in my head and how they actually are. Naturally, this activity comes to the forefront with the New Year wave of resolution-making, but I’m recognizing more than ever how it’s just as important to look back on past successes and soak them in.
I always need a reminder on how far I’ve come, because when I’m so engrossed in the day-by-day workings, it feels impossible to take a step back and look at the overall progress, and when we’re talking about how to stay motivated and push through the inevitable lulls and burnouts, THIS, my friends, is the activity to do. Plus, it’s just fun, no?
So before blasting into 2015, let’s take a look at what you guys loved last year, which also happen to be some of my favorites as well.
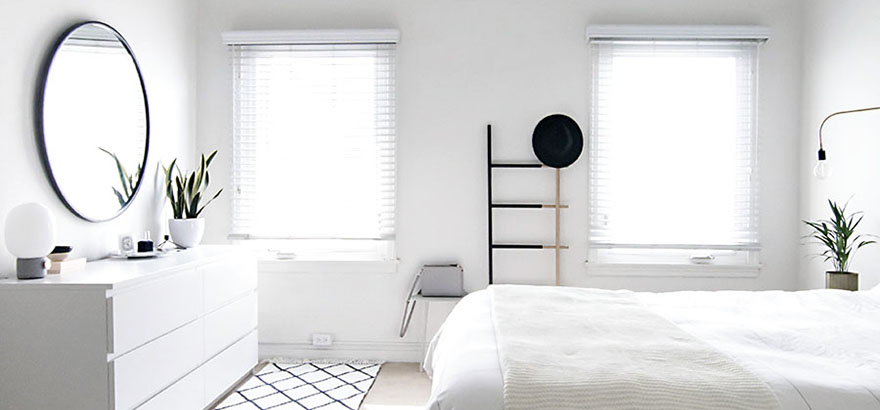
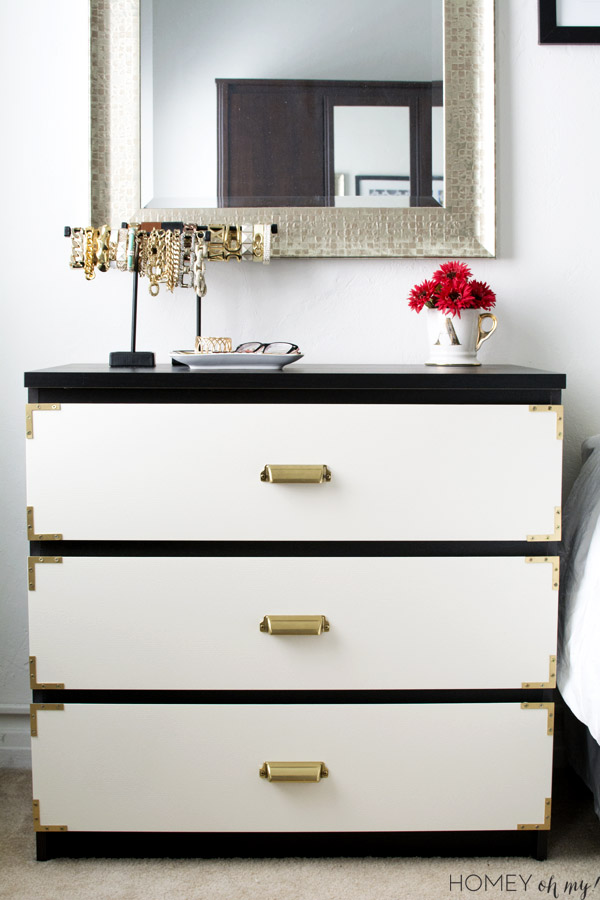
10. IKEA Malm Dresser- Campaign Style Makeover: This was a huge project for me. The combination of severely limited work space and tools stretched this one out over days. I sweat hard, was light-headed from paint fumes, and had clothes strewn around all over the bedroom floor while these dressers were incapacitated during the time I was working on them, but it was SO. WORTH IT. These updated dressers made the single greatest improvement to our bedroom.
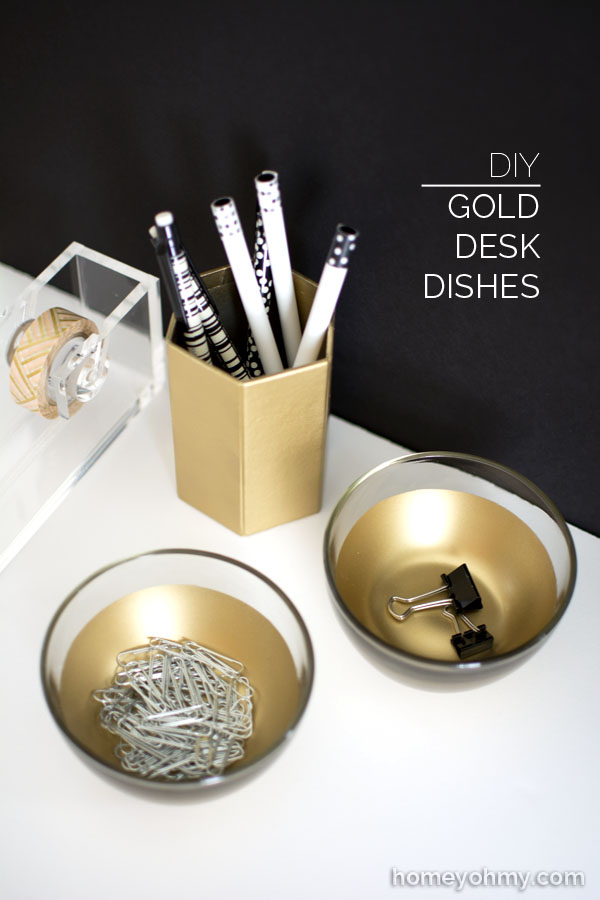
9. Gold Desk Dishes: The gold obsession between all of us became more clear to me with this one. I also noticed them being pinned more and more towards the end of last year as they’d randomly show up in my Pinterest feed- that’s always exciting!
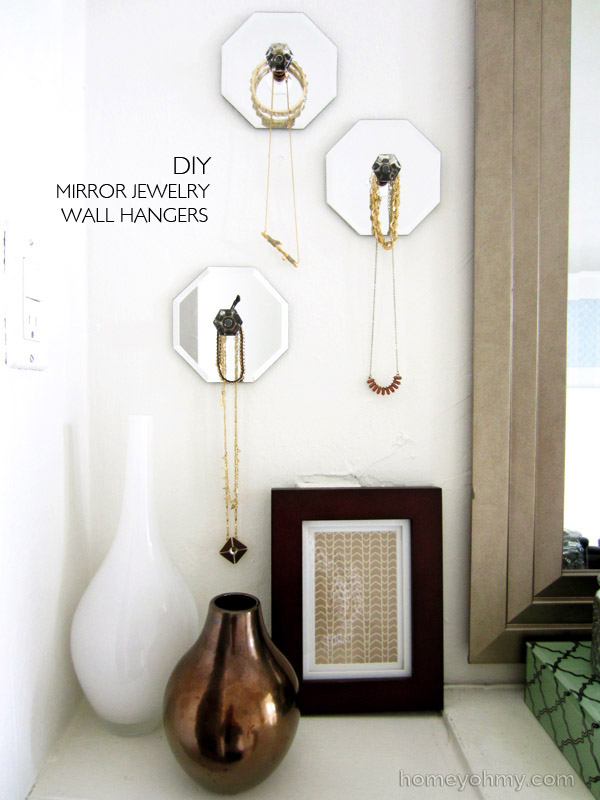
8. Mirror Jewelry Wall Hangers: I think it blew everyone’s minds that I found the mirrors at the Dollar Store. I had initially held on to them for weeks without a plan for how to use them, and I can’t remember at all how this idea came to me, but I do know that I always love a beautiful jewelry storage idea.
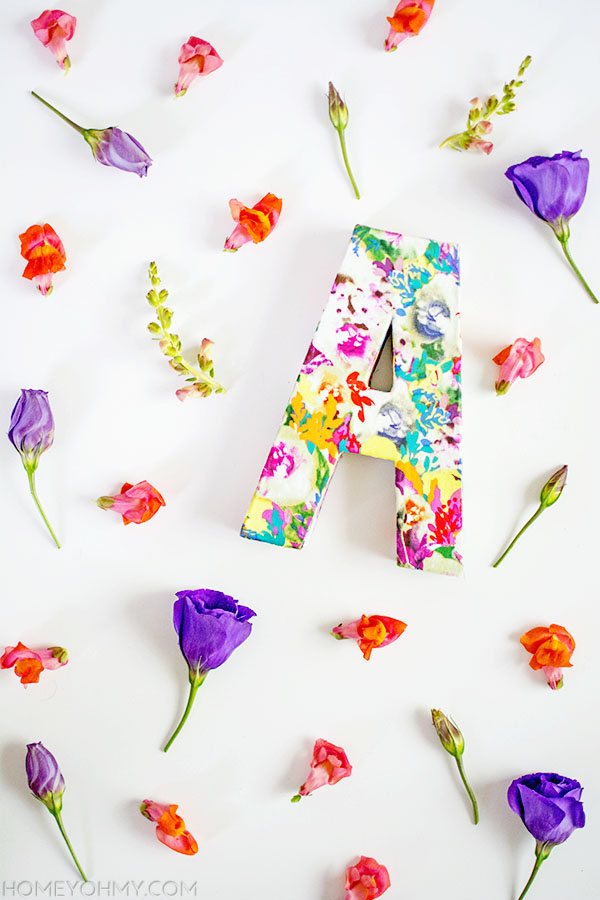
7. Floral Monogram: The response to this one was insane, and I didn’t expect that at all. It was such a spontaneous and simple idea, but it somehow struck a cord with so many people. This was also the first time I can remember really starting to understand the power of product styling.
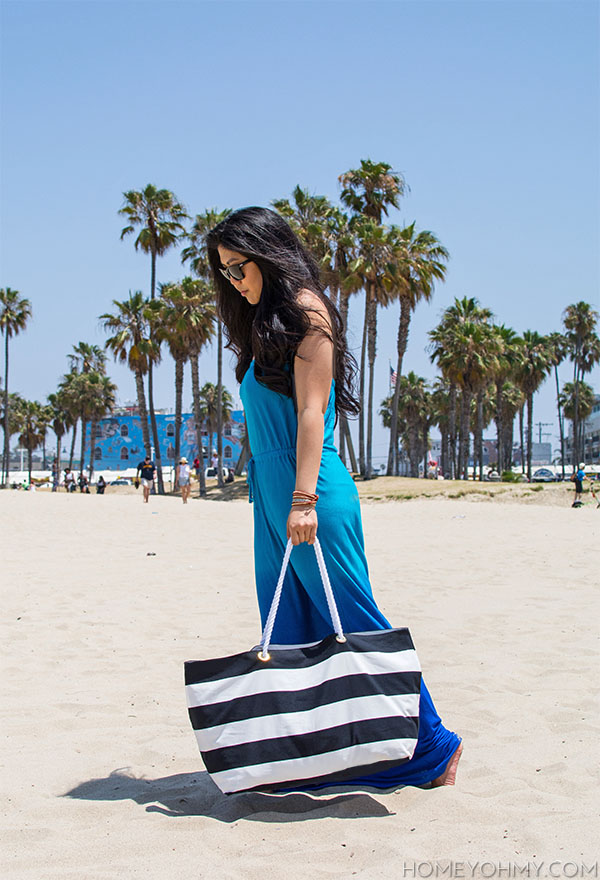
6. No Sew Beach Tote: I still love this one and took it with me to the beach all summer. I also hold this project high in my memory since it was my first time really in front of the camera with a DIY (very awkward for me), and also my first time shooting outside of my apartment. Big learning experience!
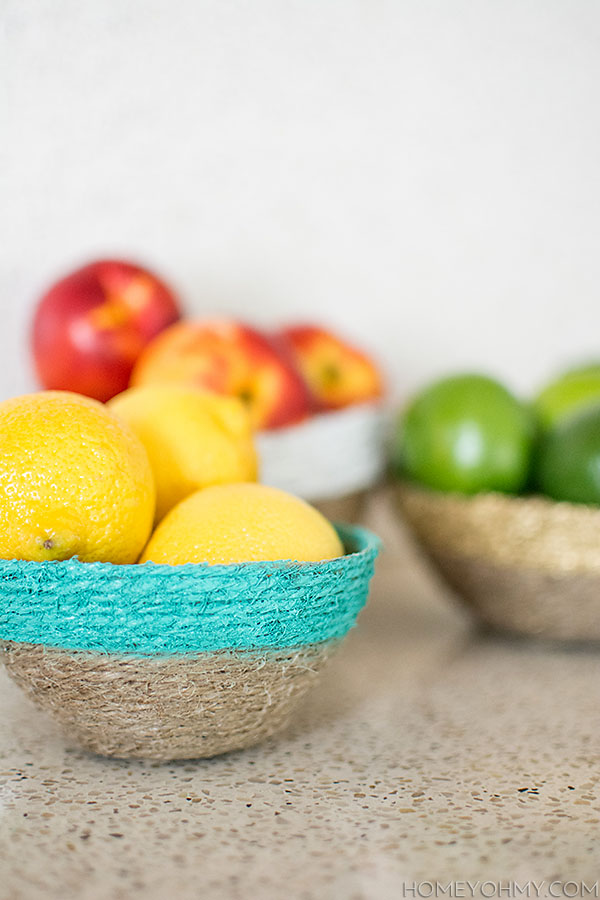
5. String Bowls: Another surprising one that made this list, and it was the most colorful thing I had done up until that point (I don’t consider most of what I do to be colorful!) If nothing else, these were a lot of fun to make, and I think that’s something everyone liked about it. I recall comments about people wanting to try this one with their kids- heartwarming to think about.
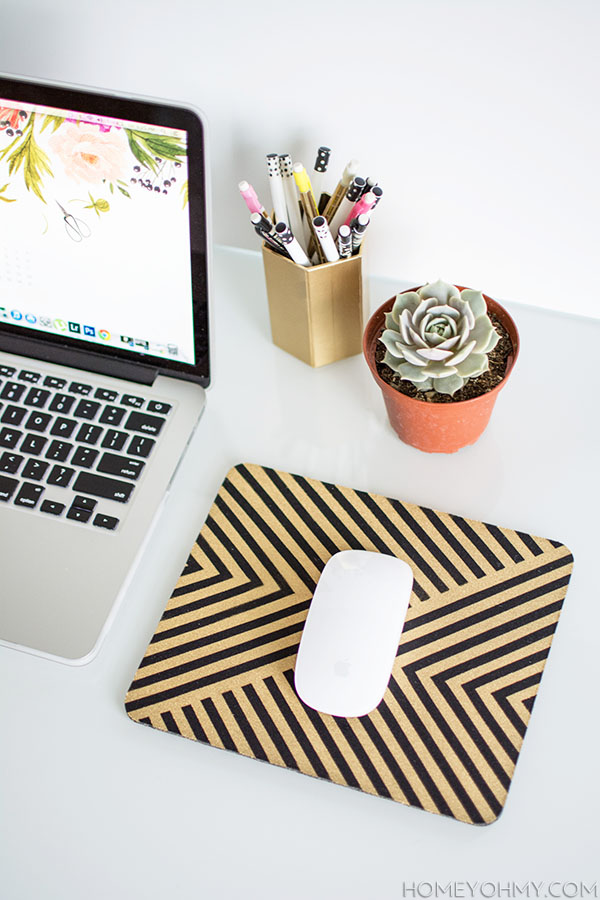
4. Gold Mouse Pad: If I were to point to one design of mine to represent my style, it would be this one, which I’ve also thought about as I daydreamed over designing a line of products (DREAM). I’m all about clean and simple lines.
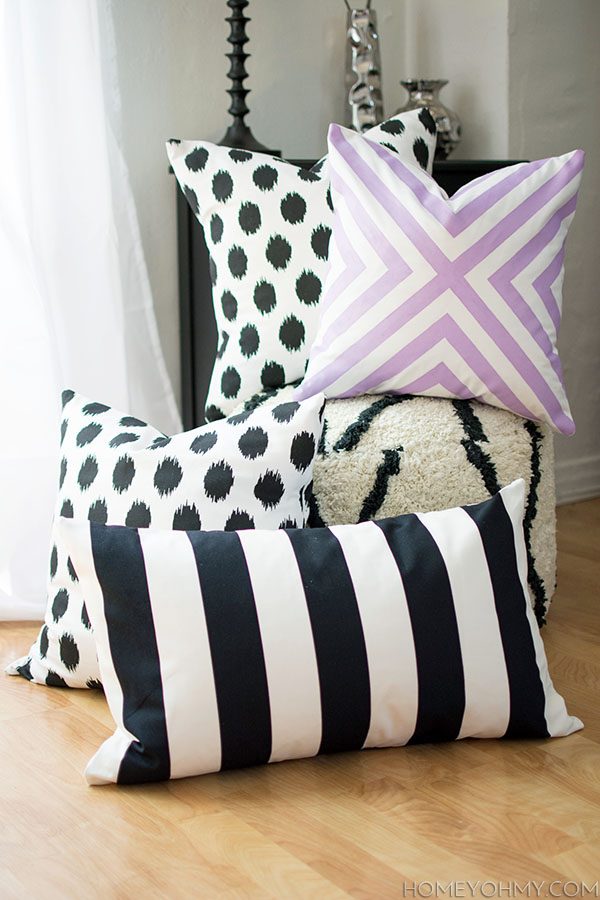
3. No Sew Pillow Covers: Guys… I’ve made so many pillow covers using this technique, and it’s awesome, especially for those of us without sewing machines. This has absolutely curbed my desire to get a sewing machine, but of course, I still want one!
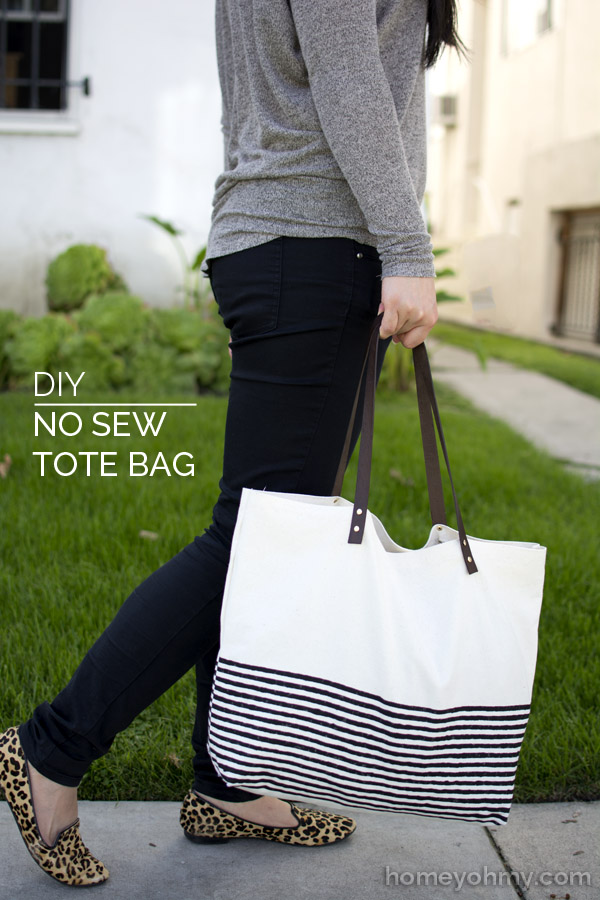
2. No Sew Tote Bag: My first “fashion” DIY, and the start of my obsession with rivets and then soon to be grommets. I had realized there was hardly anything out there for no-sew tote bags, so I took on the challenge, and so began my no-sew series.
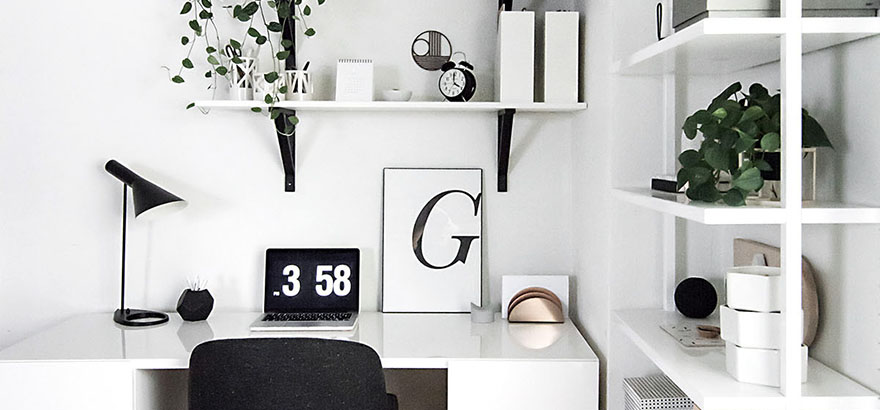
1. Work Space Reveal: It’s unexplainable how electrifying it was to watch this one go viral. To see how far it reached and to be acknowledges by big publications I thought would never know I even existed was such a game-changing experience. It was my favorite project ever, and still remains my favorite part of my apartment.
Were any of your favs on this list?
Man, I almost feel like an impostor looking at these projects- did I really do all of that? When?? Who came up with these ideas???
Out of all of this, the most amazing part is you. Your comments, our conversations, any bit of interaction, however big or small, even just you showing up at this little blog, has made all of this life-changing. The gratitude I have for you is too big to measure. Thank you for an amazing 2014!!
Hoping the holidays were relaxing and everything you wished for. I missed coming on here during that short break, but I also really, really enjoyed not having to stay up late every night to work on blog posts haha! I’ll be getting back into that soon enough!
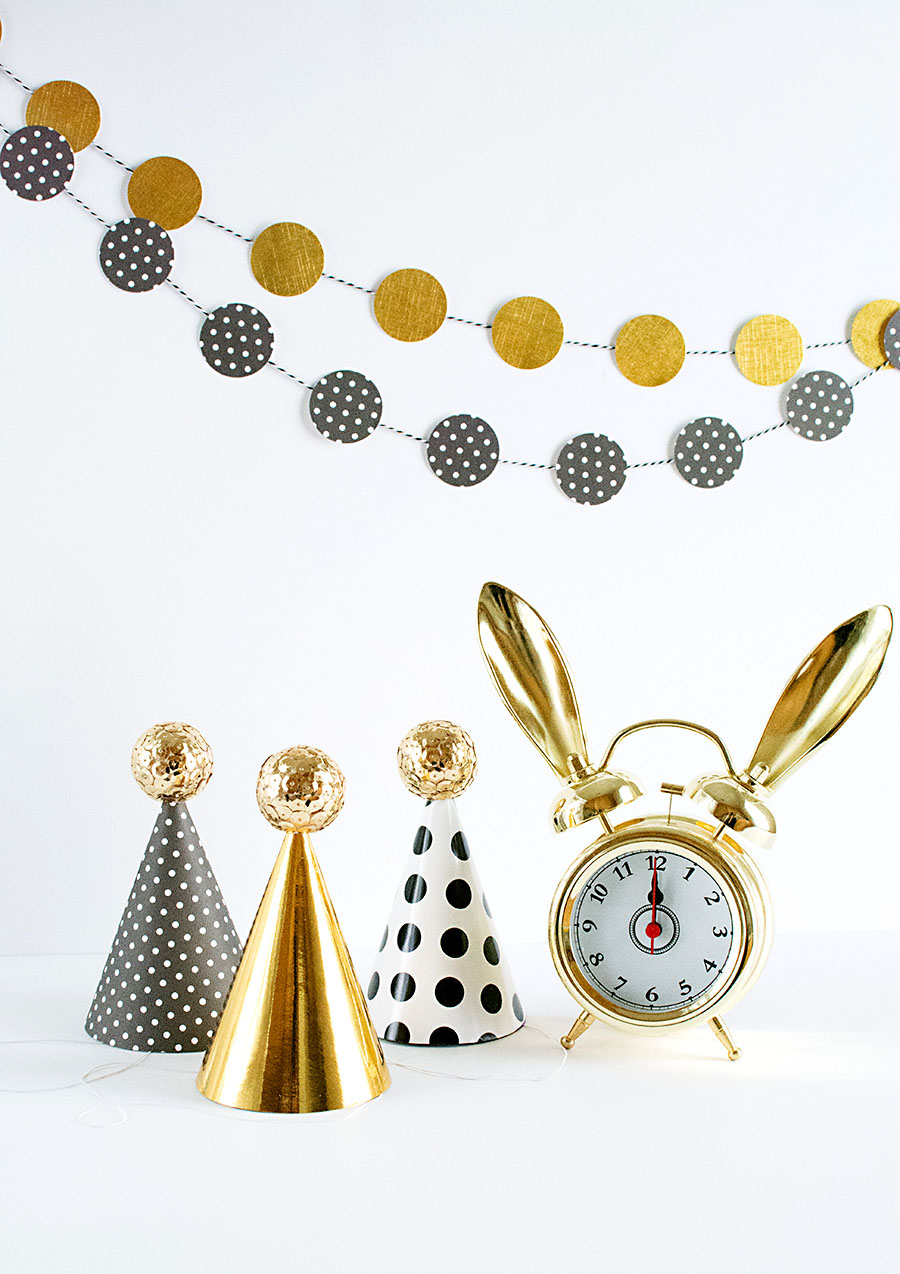
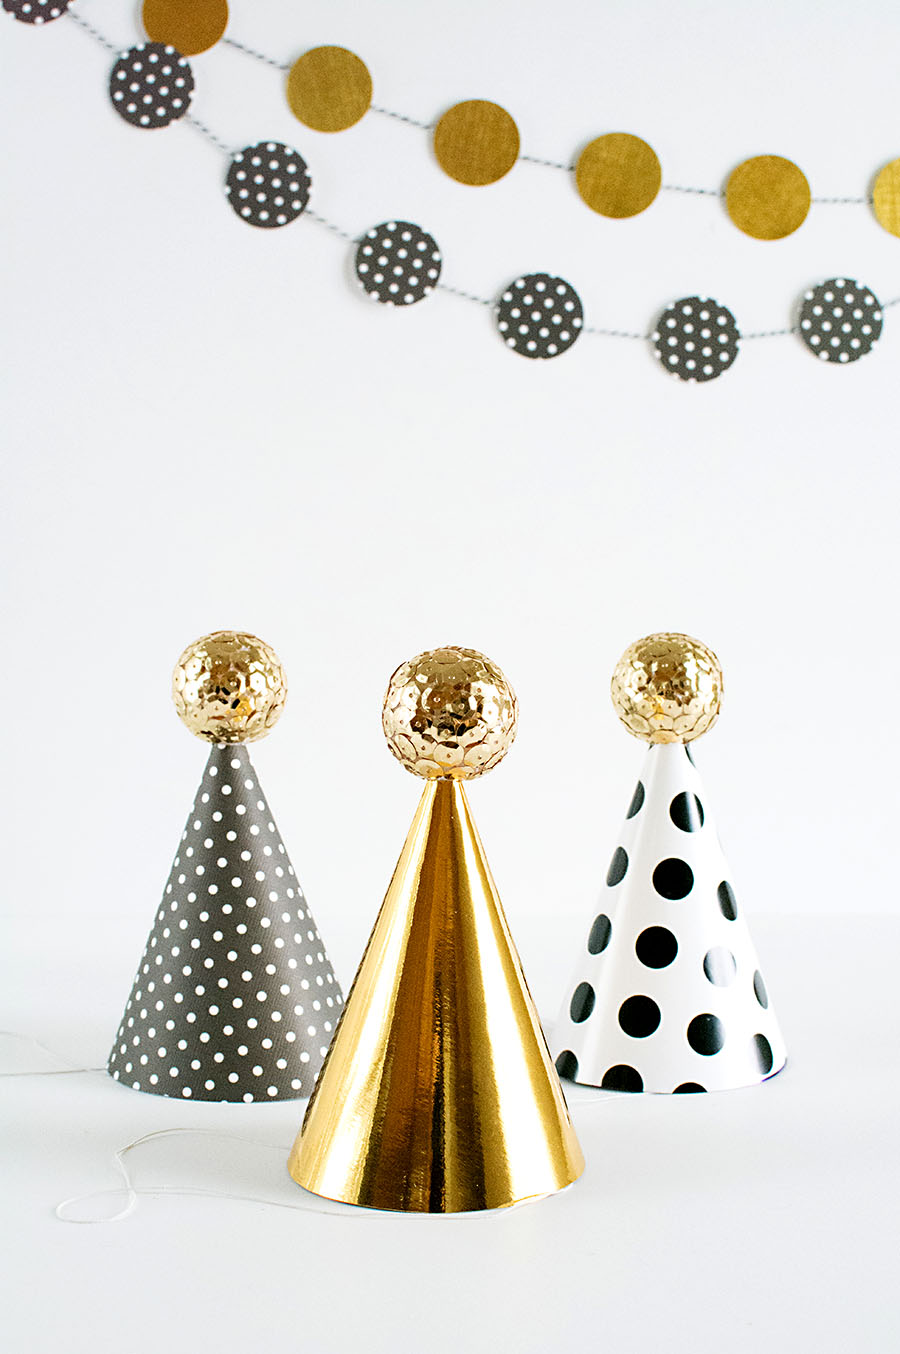
Yes, already, 2015 is upon us, and I’ve got a DIY to share for something ridiculous to wear on your head for New Year’s Eve. Now in all honesty, past experiences have taught me that NYE is over-hyped and that I’m usually incapable of staying up till midnight (I know I’m not the only one, right?), BUT, I love the sparkle and shine of the holiday and am always down to participate whenever those things are involved. So, I came up with something shiny, fun, and young at heart for an NYE celebration, PBteen style. Come on over to the PBteen blog for the tutorial on these sequin ball mini party hats!
Secret time- the main inspiration for this DIY was that I wanted to make a party hat for this bunny alarm clock. I couldn’t live without an idea so adorable, so it had to be done. No question about it.
If you missed the link, find the tutorial for these party hats at the PBteen blog! And if you’d like to indulge my curiosity, I’d love to know- what are your NYE plans? I feel like people tend to think everyone around them will be up to something wild and crazy, but then I also think that’s not true and for most of us this is a more casual event. What’s everyone’s feelings about NYE?? That’s really what I’m curious about!
Hi, guys! I toyed around with posting one final holiday project today, but with how fun it’s been riding the holiday rush lately, I decided I’d give myself a little break. Such a tough decision, I know!
Really though, this is the first time since starting my blog that I’m taking any sort of holiday break, and it feels weird. The workaholic in me says I can’t abandon my blog baby for a minute, but I want to prioritize being fully present with loved ones for the rest of this year, so that’s what I’m going to do.
I will be popping in next Monday for a fun DIY, but besides that, it’ll be quiet around here until 2015. I’ll be posting my shenanigans and whereabouts on Instagram in the meantime so long as my phone isn’t dead (It’s always dead. I’m working on this) so you can follow me there if you’d like! If you’re still itching for a little more holiday inspiration or just want to be entertained, check out this round-up of my Christmas projects from last year that I slightly updated the main image for. It’s always interesting to look back at where I was and see how much has changed, but also how some things haven’t ;).
Before I go, I want to say thank you for being here and for the excitement we share. I’m so so so excited for another year of fun with y’all and it means the world to me that we have that to look forward to together. Have a Merry Christmas, happy holidays, and enjoy savoring every moment with your family and friends. Love you all <3.
 Well guys, I had this New Year post drafted for a month, but tossed around on what I wanted to say and it started getting stressful, to the point where I had thrown the idea out all together, until now.
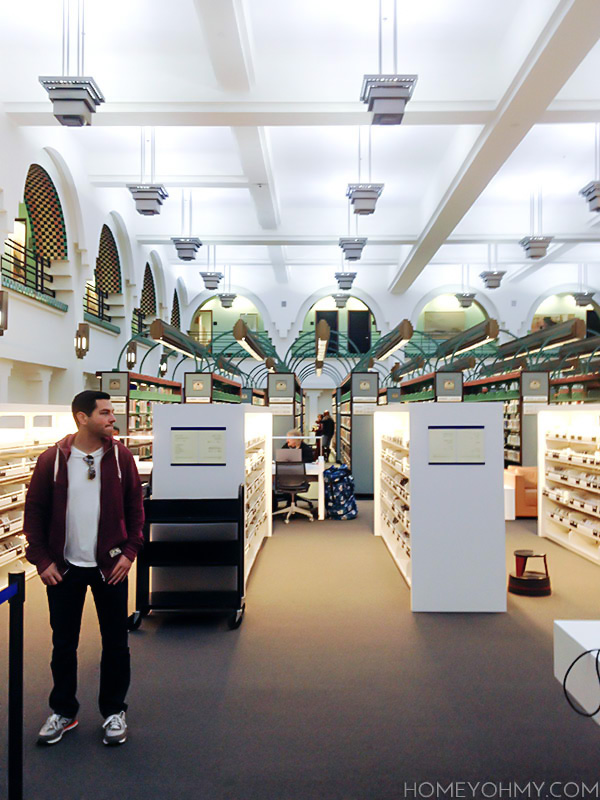 We were in sweats and sneaks because we walked here. It’s (on the longer side of) walking distance! How did this not happen sooner? We spent the walk there and back listening to Serial together (I think Adnan did it, but I also think he didn’t.) That also transitions nicely into the next thing.
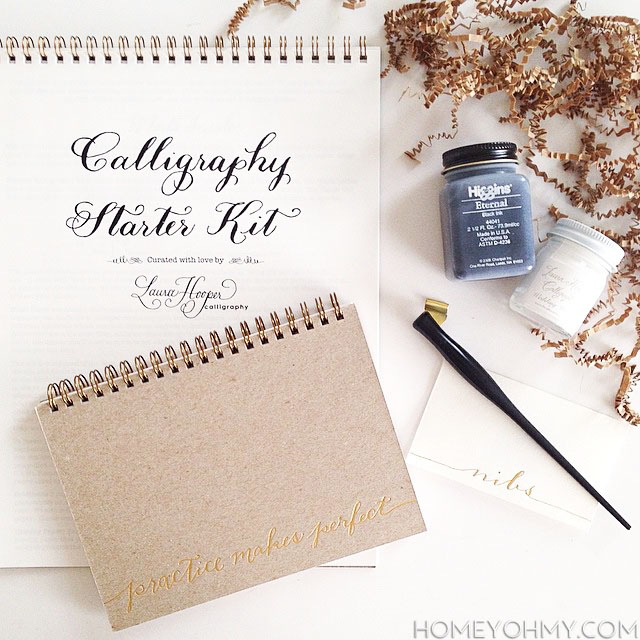 I was really surprised at the response to this. Turns out there are so many of you wanting to learn too, so do it!!! This is the
 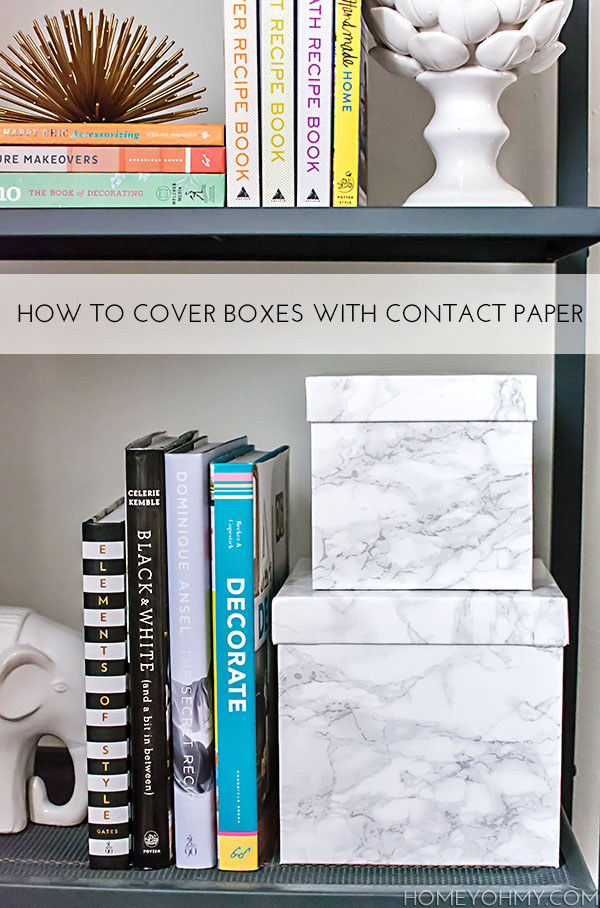 I believe in two things: 1) beautiful storage is exciting and 2) a good, sturdy box should never be tossed. I was reminded of this after receiving a couple gifts this past Christmas that came in some nice boxes, and I was almost more excited about how I was going to re-use the boxes for storage. Call it weird, because it kind of is, but it’s also fun (and useful!), and maybe you kept some boxes from this past holiday season too and need a simple idea on how to make them prettier. Try this one out!
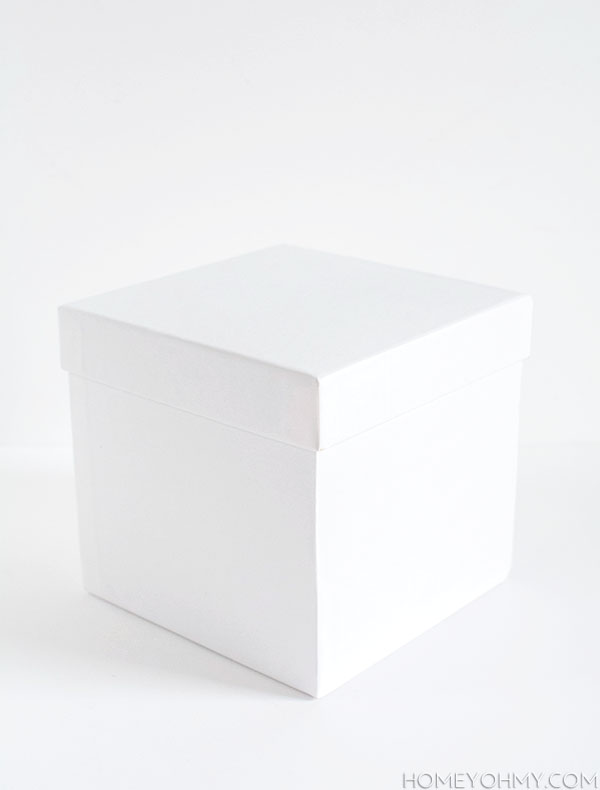 I already liked that the boxes were all white, but I had this
 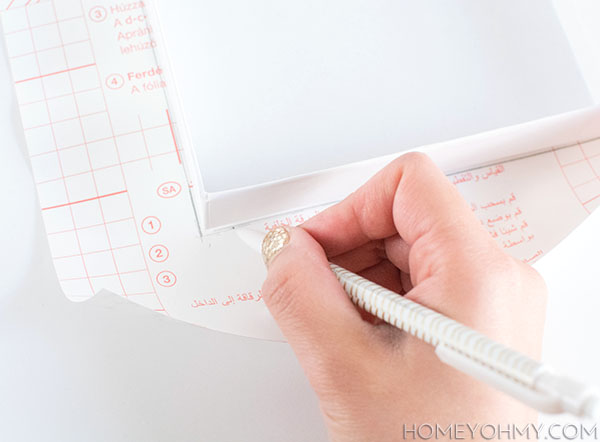 Trace the lid of the box on the contact paper, then measure around the box about twice the height of the side of the lid.
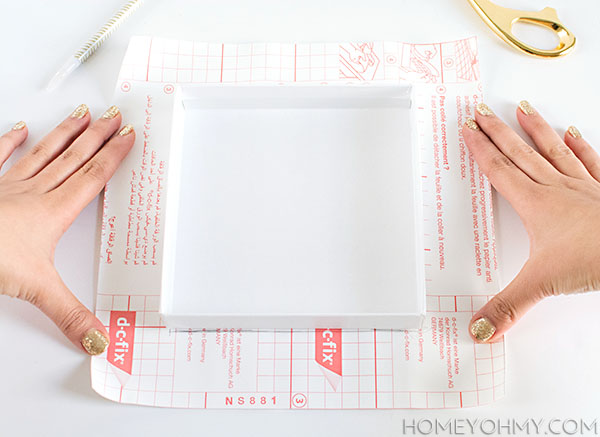 So for example, the height of my box lid is 3cm, so I measured and cut the contact paper about 6cm further out from the lid on each side, as shown in the photo above. Since the lid is shallow, twice the height was appropriate, but for something deeper, like the bottom of my box, I measured out the height of the box + 6cm. Twice the height of the box would’ve been unnecessarily long, so keep that in mind for your box.
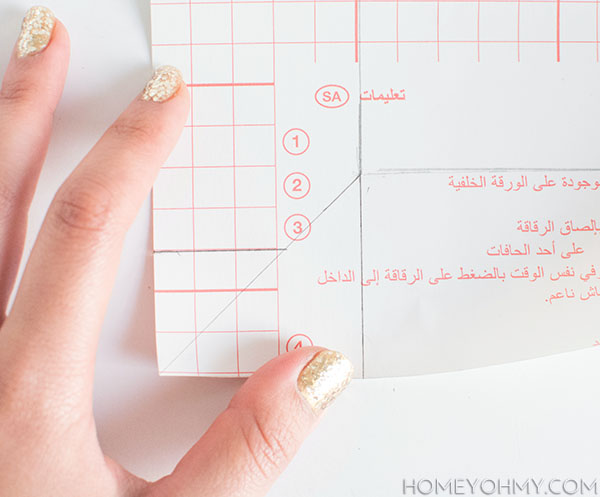 Use a pencil to draw three lines at each corner of the contact paper as shown above- a diagonal line, a horizontal line, and a vertical line. This creates a tab to wrap around the corner of the lid, which I’ll show you in a little bit.
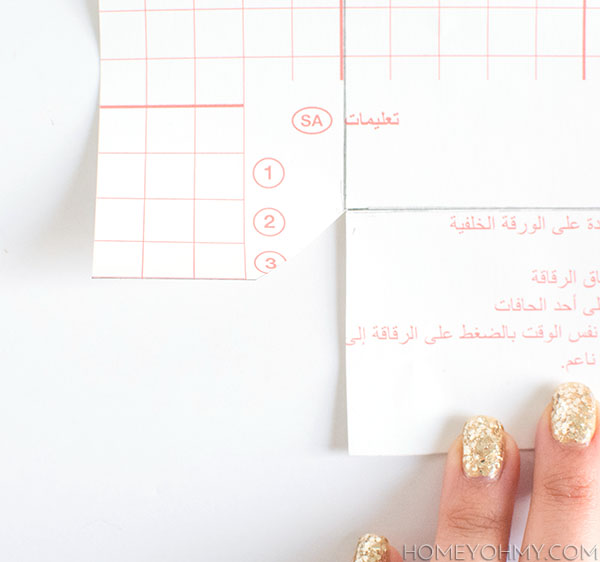 Once cut along the lines, each corner should look like this.
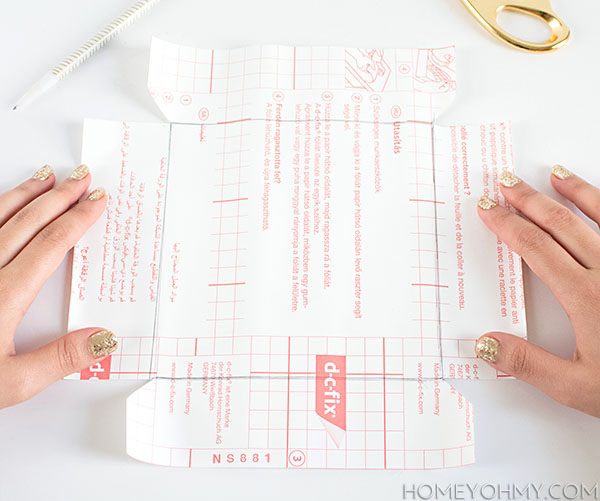 Make sure that the opposite ends of the contact paper are mirror images of each other, meaning that the tabs are on opposite ends of the paper, as shown above.
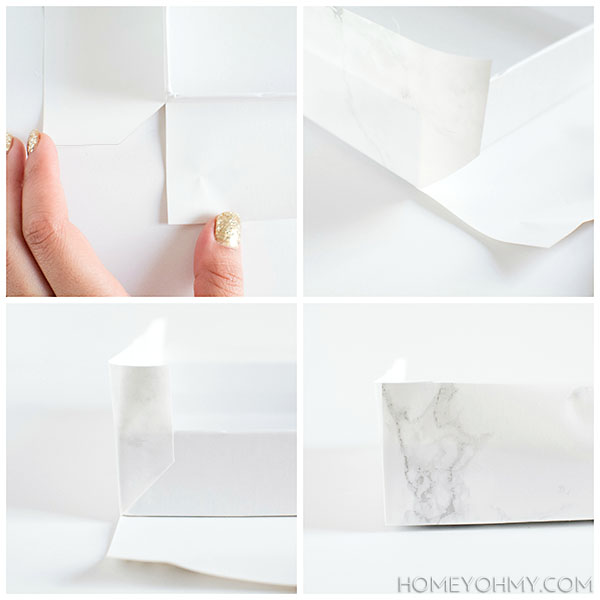 The fun part. Peel the backing off the paper and lay it face down. Press the top of the lid onto the center of the adhesive, making sure the corners of the lid line up with the inner corners of the paper. Fold the sides of adhesive with the tabs straight up and smooth it over to stick firmly onto the side of the lid, then fold the tabs over each corner. Next, fold the other sides up, which will effectively cover the tabs and give you nice, clean corners.
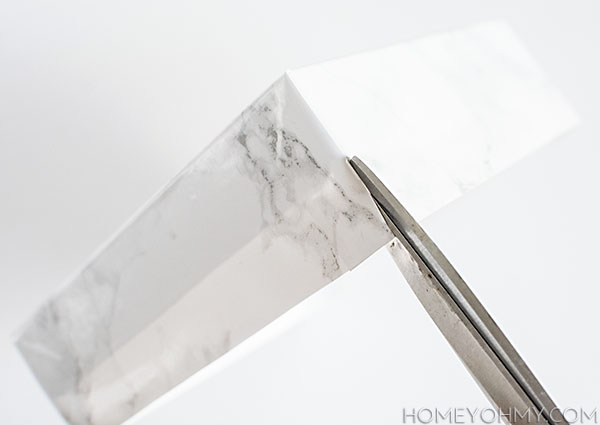 To fold the the adhesive over the edges (that extra 6cm I measured out), cut a slit down each corner, then fold each side over.
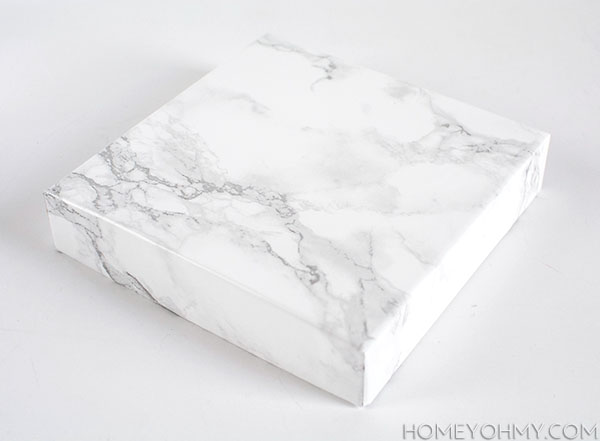 Lid complete. Repeat with the bottom of the box and the transformation is done.
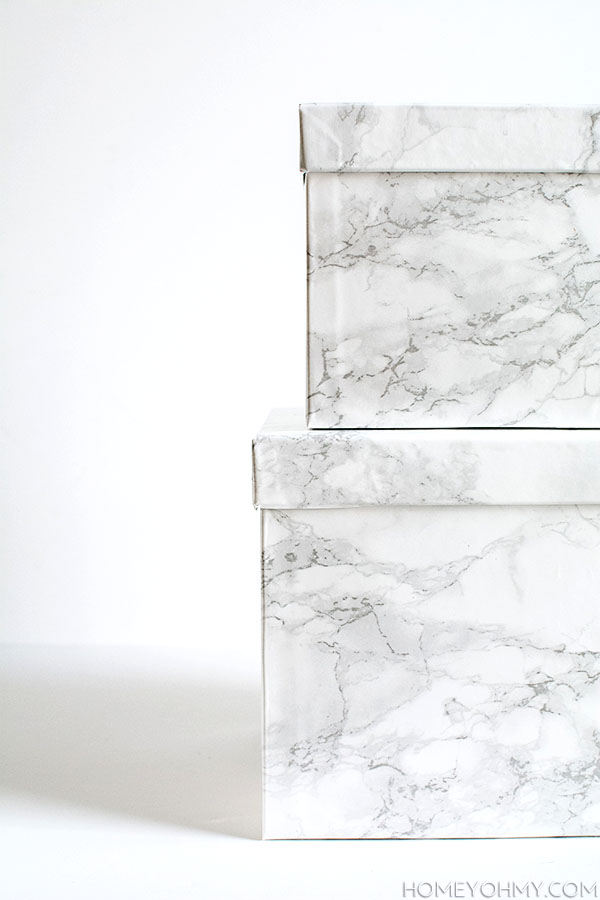
 10.
10.  9.
9.  8.
8.  7.
7.  6.
6.  5.
5.  4.
4.  3.
3.  2.
2.  1.
1.  Yes, already, 2015 is upon us, and I’ve got a DIY to share for something ridiculous to wear on your head for New Year’s Eve. Now in all honesty, past experiences have taught me that NYE is over-hyped and that I’m usually incapable of staying up till midnight (I know I’m not the only one, right?), BUT, I love the sparkle and shine of the holiday and am always down to participate whenever those things are involved. So, I came up with something shiny, fun, and young at heart for an NYE celebration, PBteen style. Come on over to the
 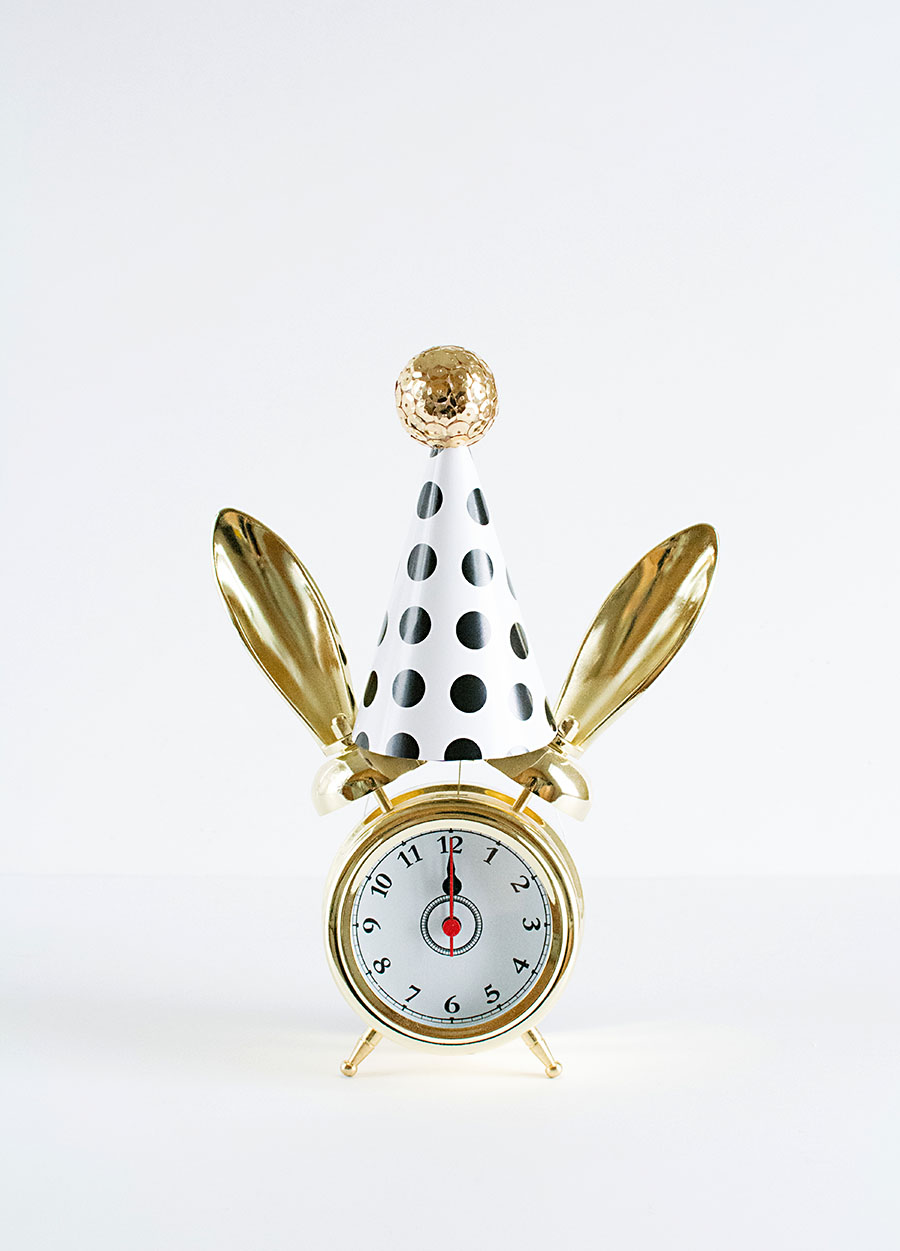 Secret time- the main inspiration for this DIY was that I wanted to make a party hat for this
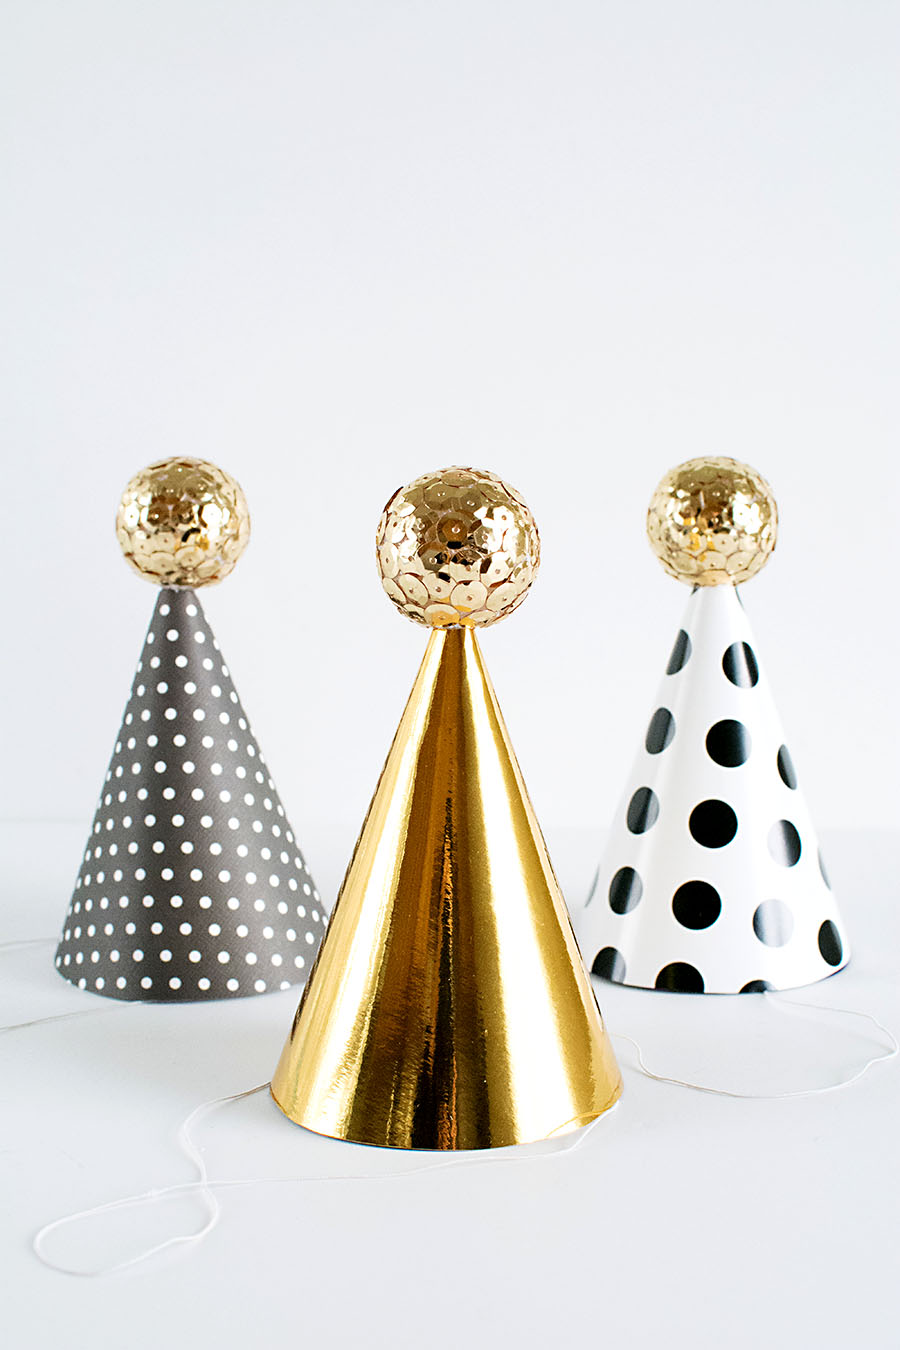
 If you missed the link, find the tutorial for these party hats at the
  Hi, guys! I toyed around with posting one final holiday project today, but with how fun it’s been riding the holiday rush lately, I decided I’d give myself a little break. Such a tough decision, I know!