I had no idea how incredibly easy it is to make bread at home. You don’t need a bread maker, any hard to find ingredients, or sophisticated kneading skills. All it takes is 4 ingredients and a dutch oven to make fresh, delicious, crusty bread that you won’t be able to stop eating. Partnering with Copper Chef to share this simple no-knead bread recipe, plus a giveaway for one winner to win a Wonder Cooker (link to enter is at the end of the post!)
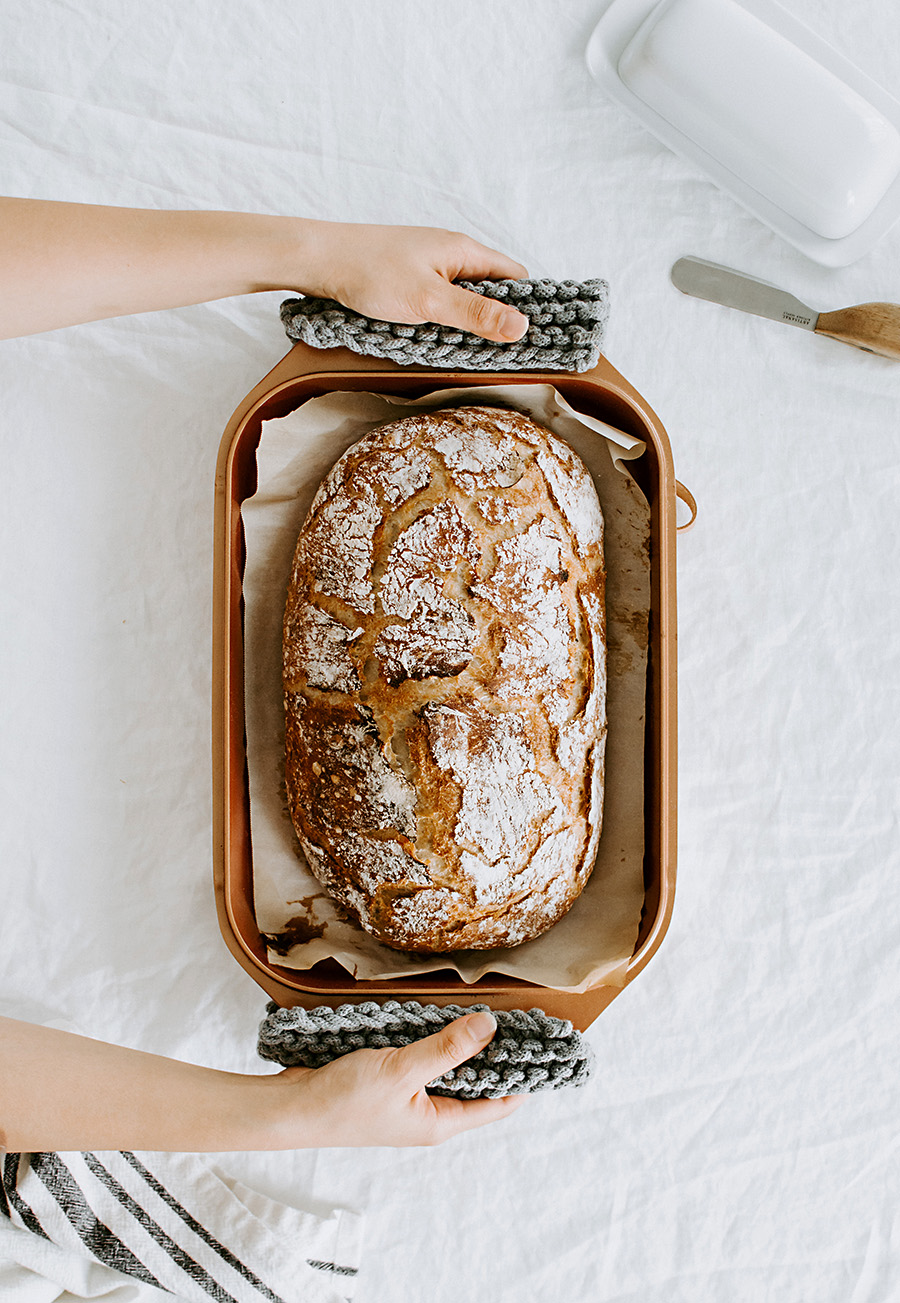
For this bread recipe, I used the Copper Chef Wonder Cooker which has fourteen different cooking functions but I used the Shallow Pan (above, which is also a grill pan) and the Casserole Pan as a lid to form a Dutch Oven. It’s lightweight and easy to move the whole thing in and out of the oven. Minus the few minutes it takes you to mix the ingredients and the time it takes for the dough to proof, the dutch oven does all the work and is what makes this recipe so easy.
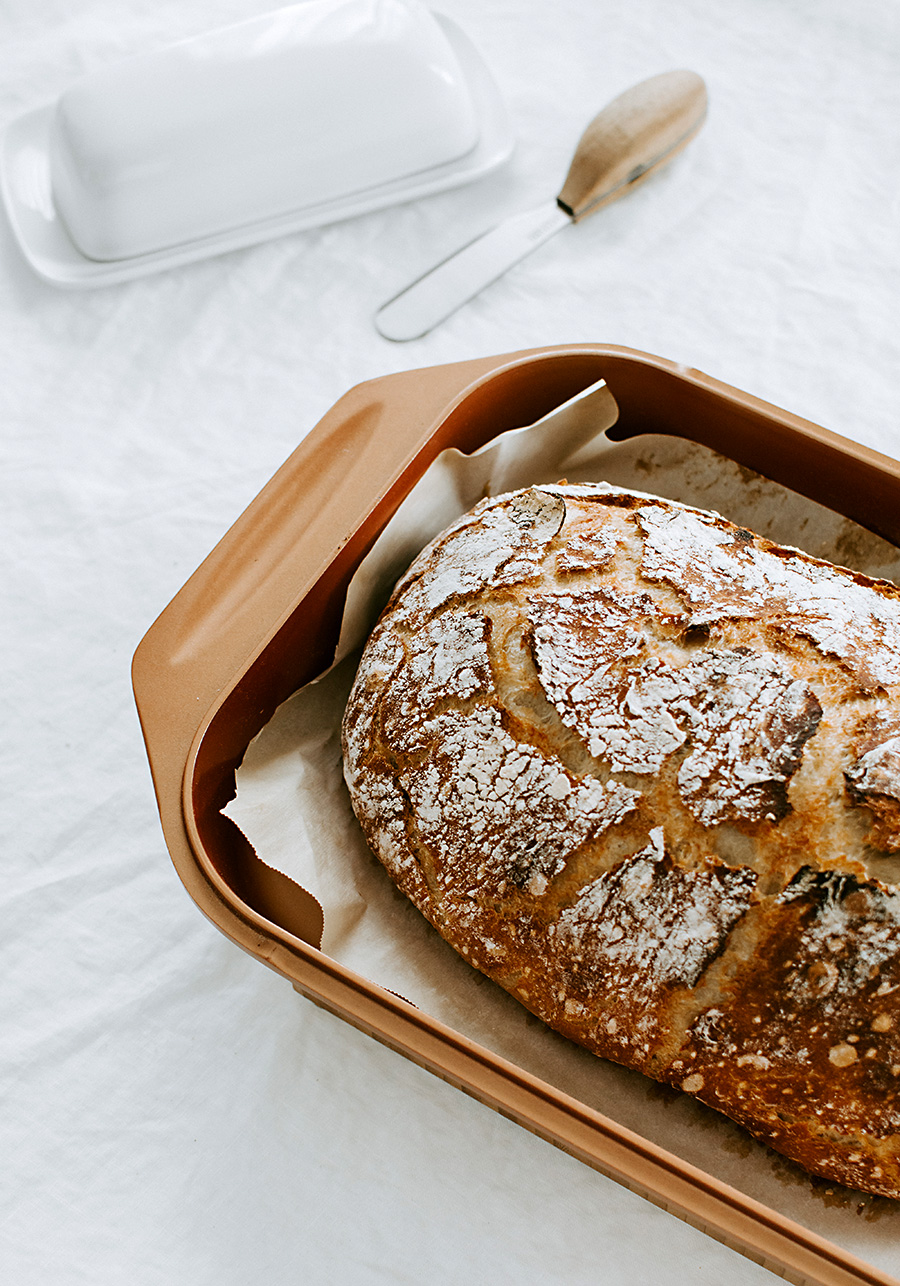
While the Wonder Cooker is non-stick and works beautifully if you place the dough directly on the surface, I found that handling the dough on top of parchment paper and transferring it onto the pan makes it easier to maintain the shape of the dough, especially when it’s a bigger size like this one. The parchment paper isn’t necessary and the bread will slide right off once it’s done baking, but I’d still recommend using the paper for a more easy transfer of the dough to the pan.

I tried this recipe from the Copper Chef Recipe Book multiple times, making my own tweaks and changes to end up at this adapted recipe. Remember, this is a no-knead bread so handle the dough gently and try not to over-work it. The hot water is what makes the dough only need 3-4 hours to proof, but still keep an eye on it to make sure you’ve given it enough time to double in size. Don’t let the dough proof too long either. You will know this happened if the dough looks deflated (avoid this).
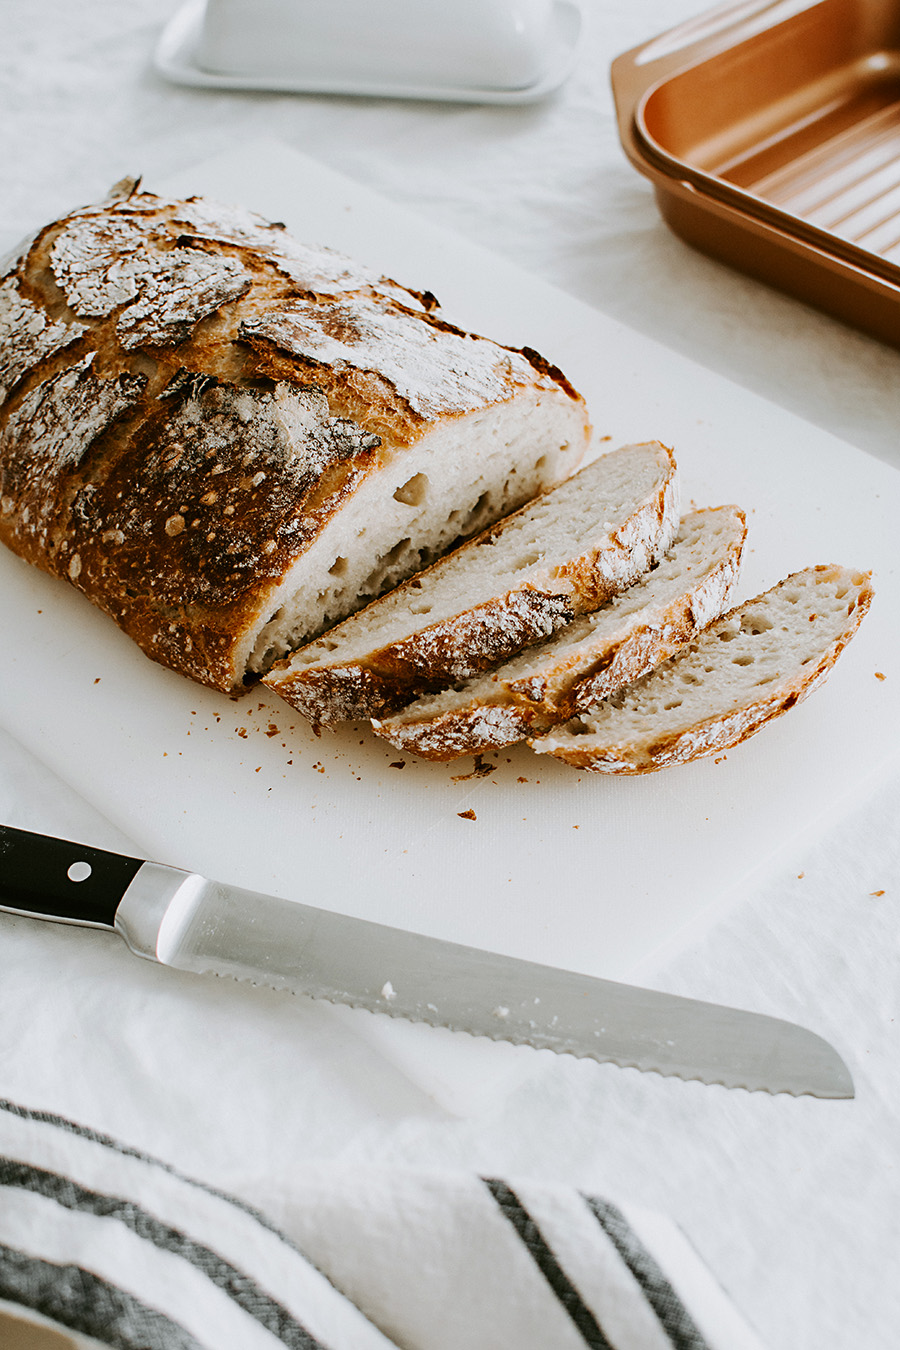
Enjoy!
No-Knead Bread
Ingredients
- 6 cups all-purpose flour
- 1 tbsp salt
- 1/2 tsp active dry yeast
- 3 cups hot water 130-140 F
- extra flour for shaping and handling dough
Instructions
- Combine the flour, salt, and yeast in a bowl and whisk well.
- Add the hot water to the bowl and mix until fully absorbed. The dough will be sticky.
- Cover the bowl with plastic wrap and let proof at room temperature for at least 3-4 hours or until dough has doubled in size.
- When ready to bake, preheat the oven to 450F
- Place the Wonder Cooker in the oven for 30 mins.
- While the Wonder Cooker heats up in the oven, turn out the dough onto parchment paper generously coated with flour (the dough will still be pretty sticky).
- Roll and shape the dough into an oval loaf. Use a scraper to help fold over the dough and add more flour as needed. Handle the dough as minimally as possible.
- Carefully remove the Wonder Cooker from the oven.
- Place the loaf onto the Shallow Pan with the parchment paper and cover with the Casserole Pan to form the Dutch Oven
- Place the Dutch Oven in the oven and bake at 450 F for 45 minutes.
- Remove the Casserole Pan and bake at 460F for an additional 10-15 minutes or until crust has browned to your desire.
- Cool before serving.
Notes
Click here to enter the giveaway for a Copper Chef Wonder Cooker. Giveaway runs from 9/14-9/21. For 20% off a Wonder Cooker use code WC20F.
*EDIT* Giveaway is closed. Thanks to everyone who entered!
This post is sponsored by Copper Chef. Thank you for supporting partners that help HOM create and share original content.


The bread turned out beautifully Amy! There’s nothing better than fresh homemade bread!
Nice Post Amy. It’s Yummy. And it’s is great to prepare by own and taste it. It’s all about fresh, hygienic, and no preservatives mixed. Thanks for the recipe as well as your recommendations about Wonder Cooker.
I love that there’s no need to knead no-knead bread! See what I did there?
Good job girl!
I’m trying out your recipe for my 3rd attempt. I wish you had a video showing how you shape the load. That seems to be my biggest challenge. Thank you for all your testing.