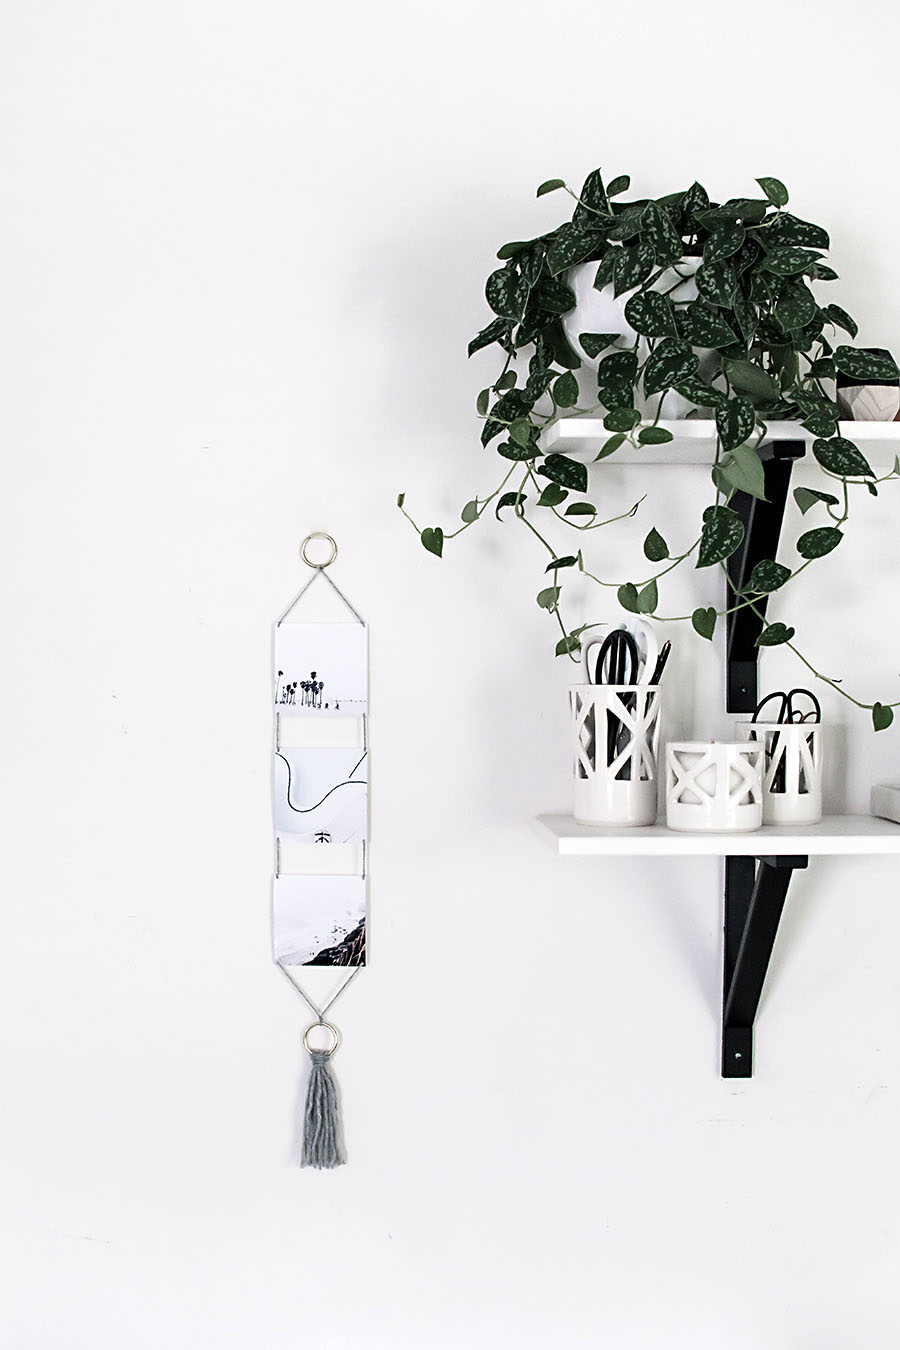
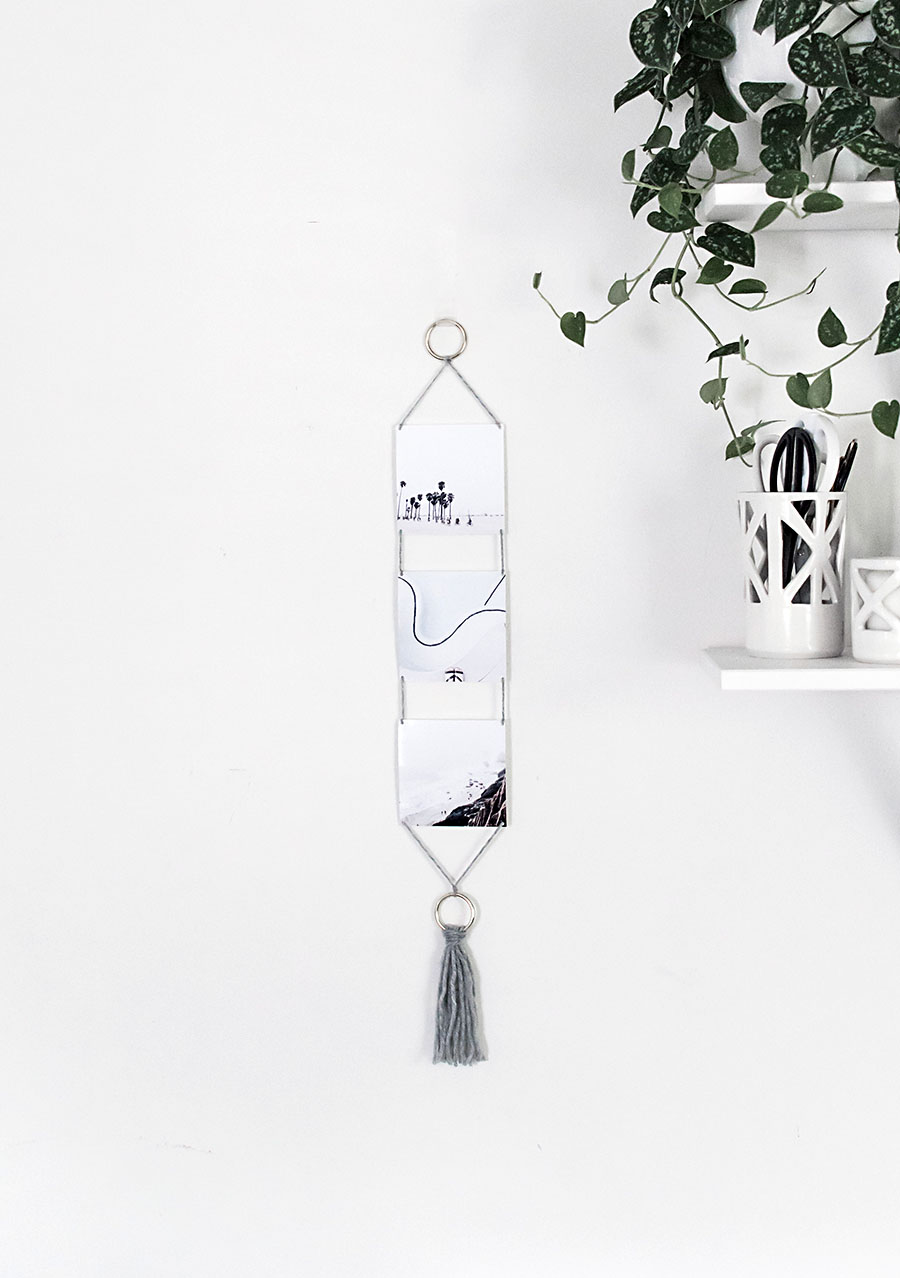
As you already know and as I’m now telling you for the hundredth time, wall hangings are a favorite thing around here, and being able to incorporate photos makes it so much more fun and personalized. While I’m definitely a fan of simply hanging up photos, whether in a frame or even just with tape, I love exploring simple ways to get more decorative with photo displays. It’s both function and design with this modern photo wall hanging, brought to you in partnership with Canon making it very, super, crazy easy to print photos from home.
Materials:
–PIXMA MG7720 Wireless Photo All-In-One Printer
–photo paper
–hole punch
-yarn
-2 1.5″ gold rings
-scissors
–glue
–rotary cutter
–ruler
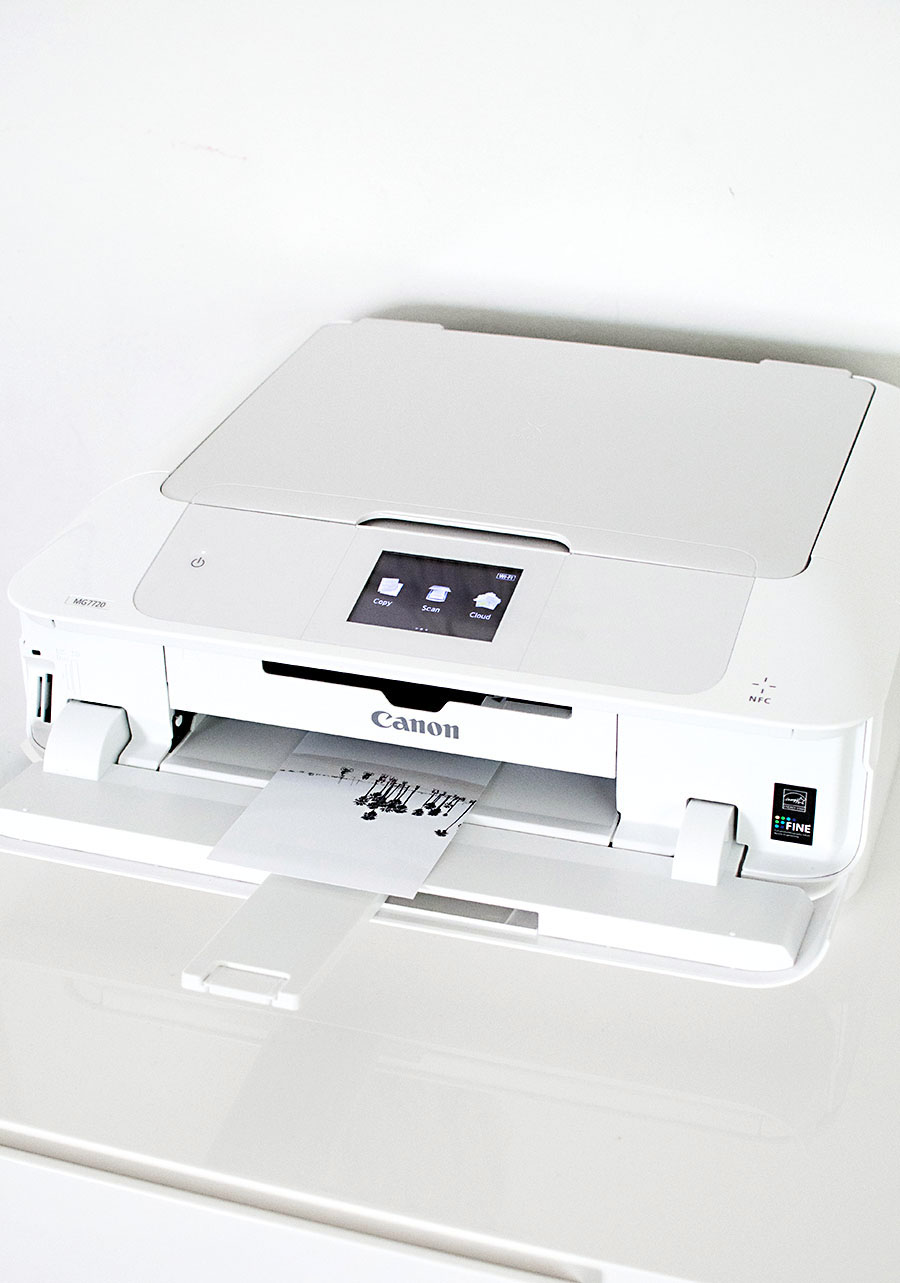 I uploaded my Instagram photos into Photoshop and saved them to a 4×6 canvas size, then printed the photos on 4×6 photo paper. Remember when I said I never print my photos? That’s completely changing after seeing what a bang up job my Canon PIXMA MG7720 does at printing them. I finally have zero excuses!
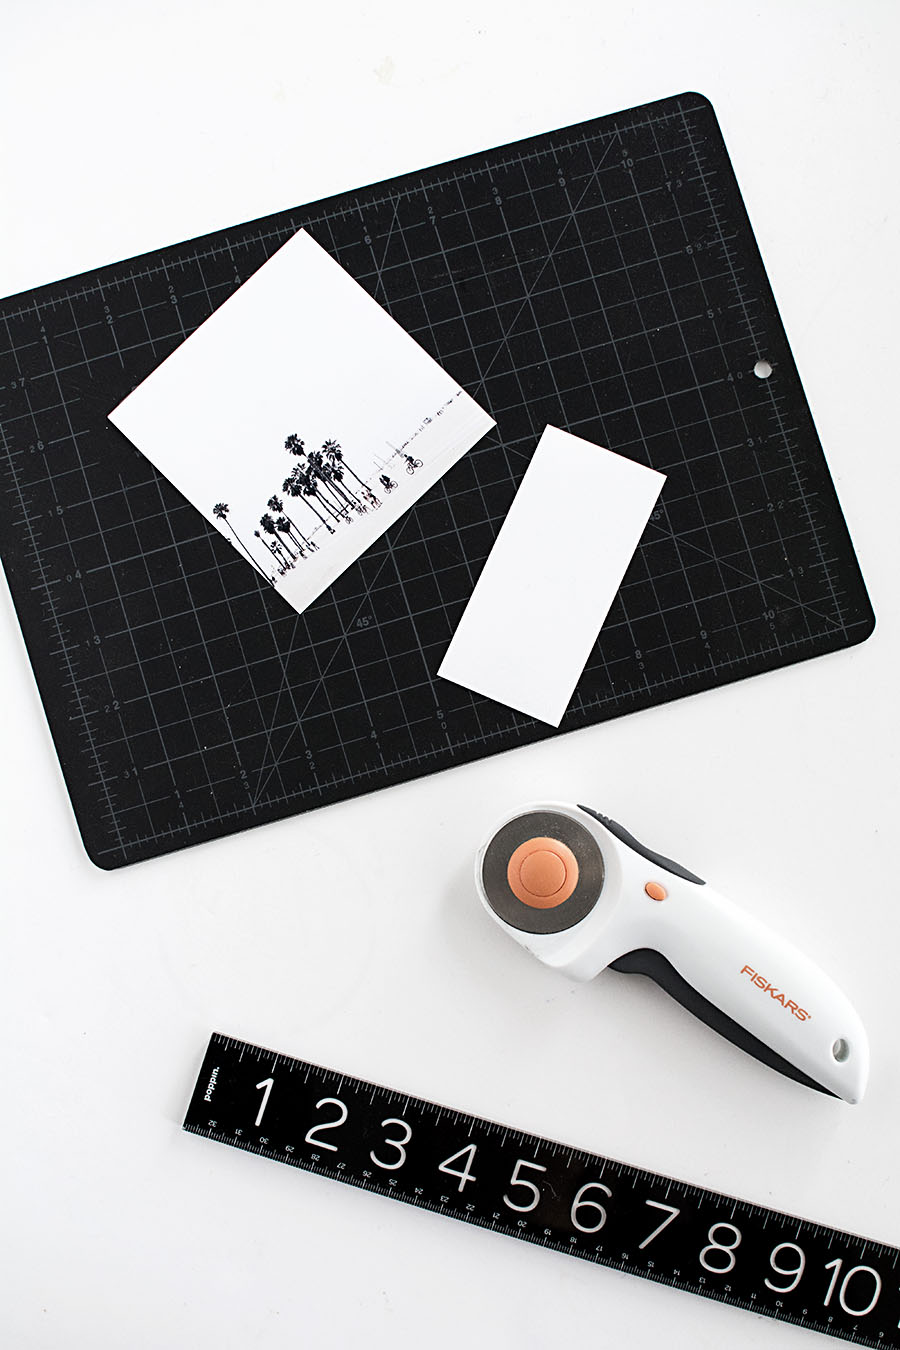
Since there was extra blank space on the photo paper, I cut that off with a rotary cutter and ruler to get 4×4 square photos.
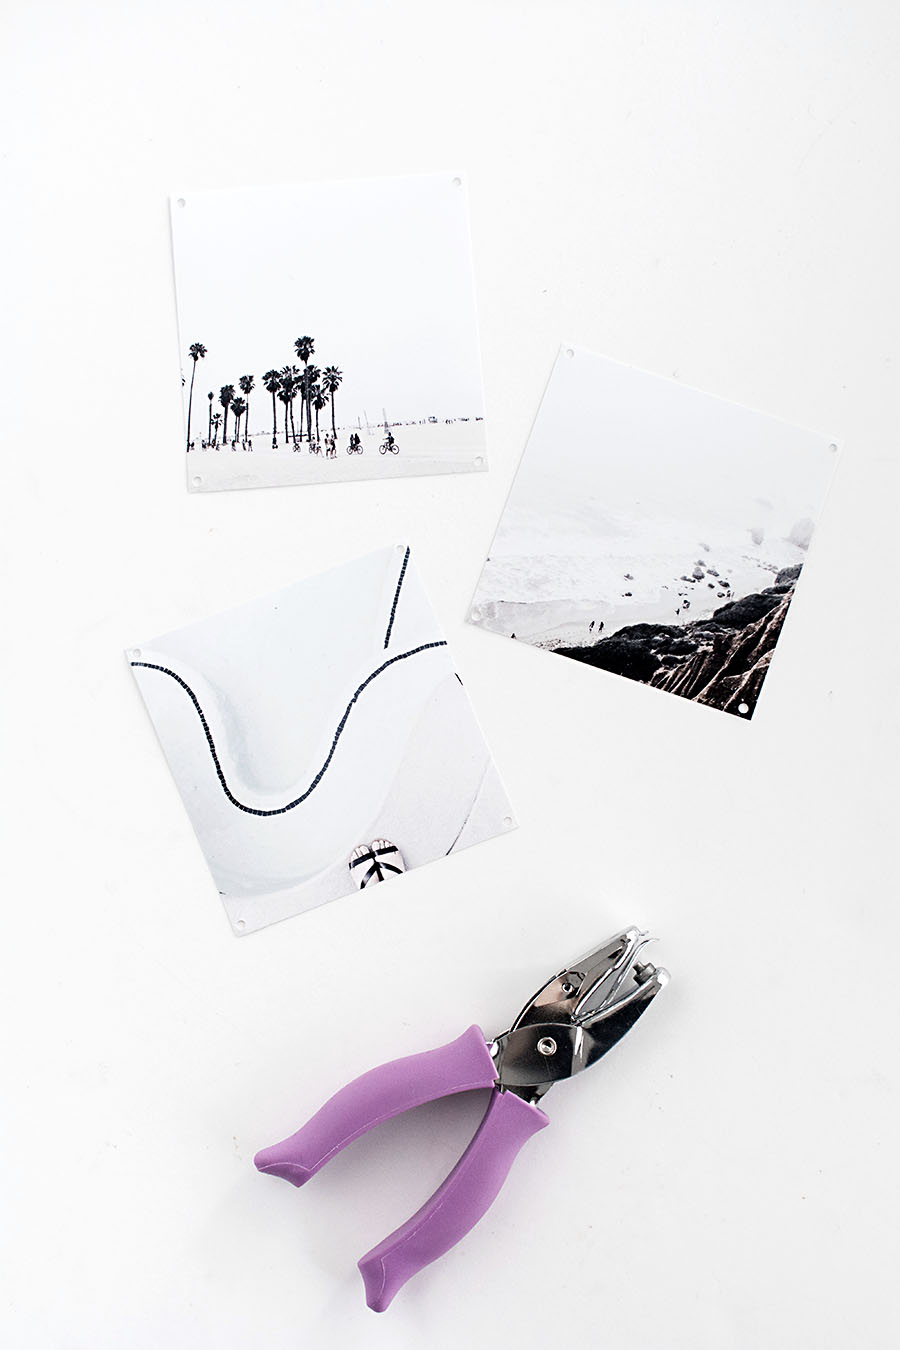
Next I used a hole puncher to cut a hole in each corner of each photo.
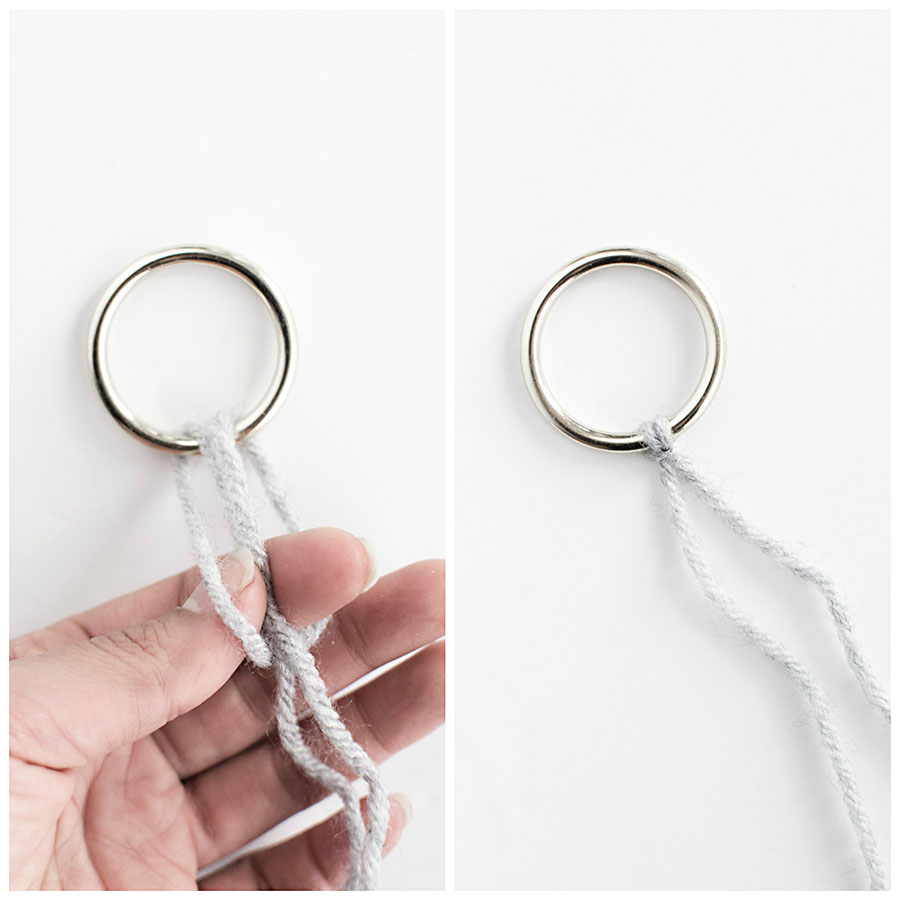
Now for the hanging part. Cut about and 85″ piece of yarn and fold it in half. Take the folded loop and pull it through a gold ring, then reach your fingers through the loop to pull the rest of the yarn through. This is called a lark’s head knot and we’ll do it again later.
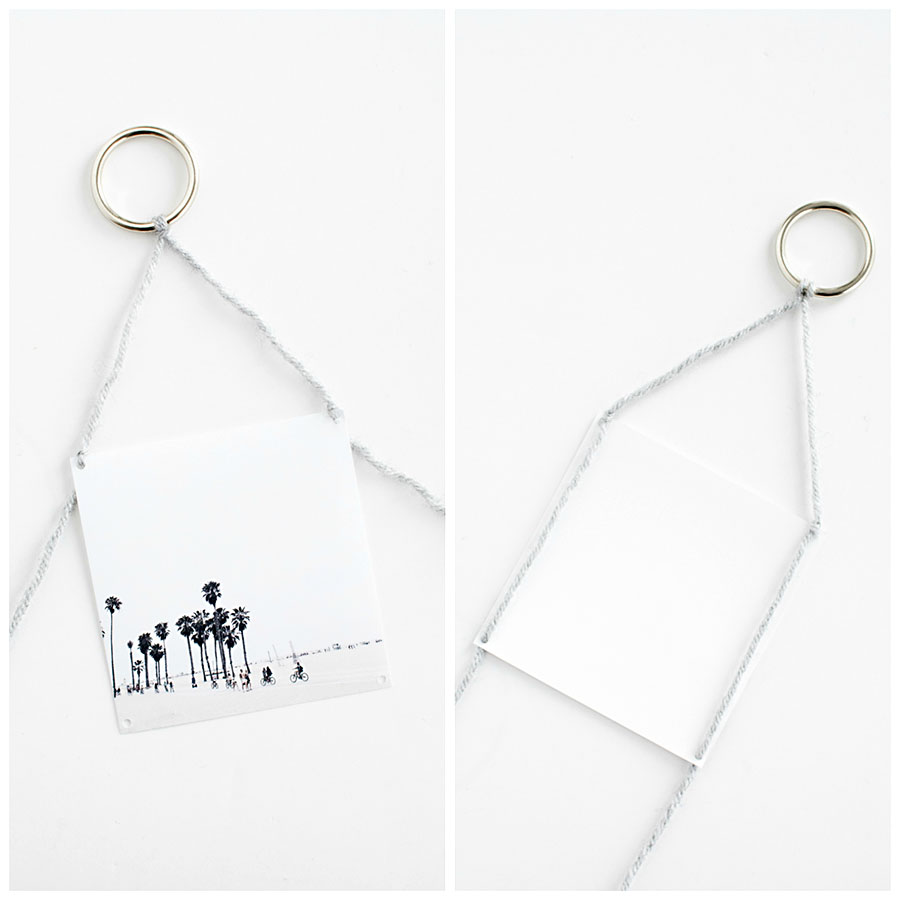
String each end of the yarn through the front side of the top two holes of the first photo and tie the yarn at each hole. Next, string the yarn through the back side of the bottom two holes of the photo. Repeat these two steps to add on as many photos as you’d like.
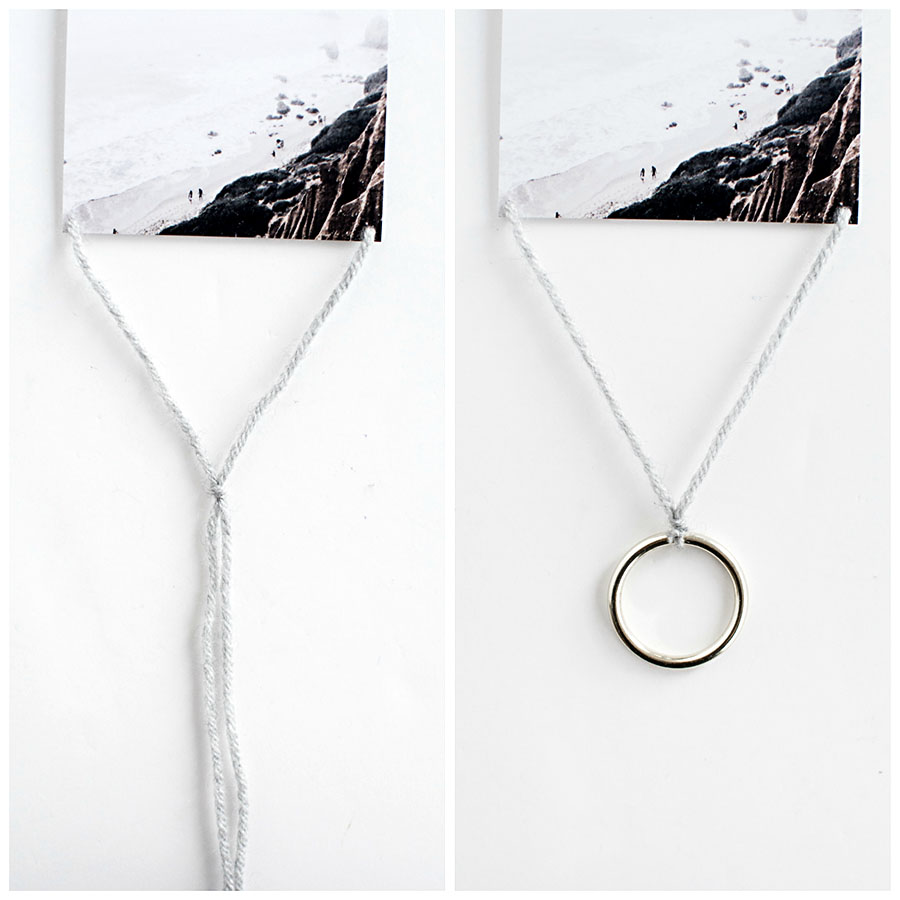
At the bottom, tie the yarn into a knot, then double knot the yarn around the second gold ring. After cutting off the excess yarn, dab some glue at the knot to reinforce it.
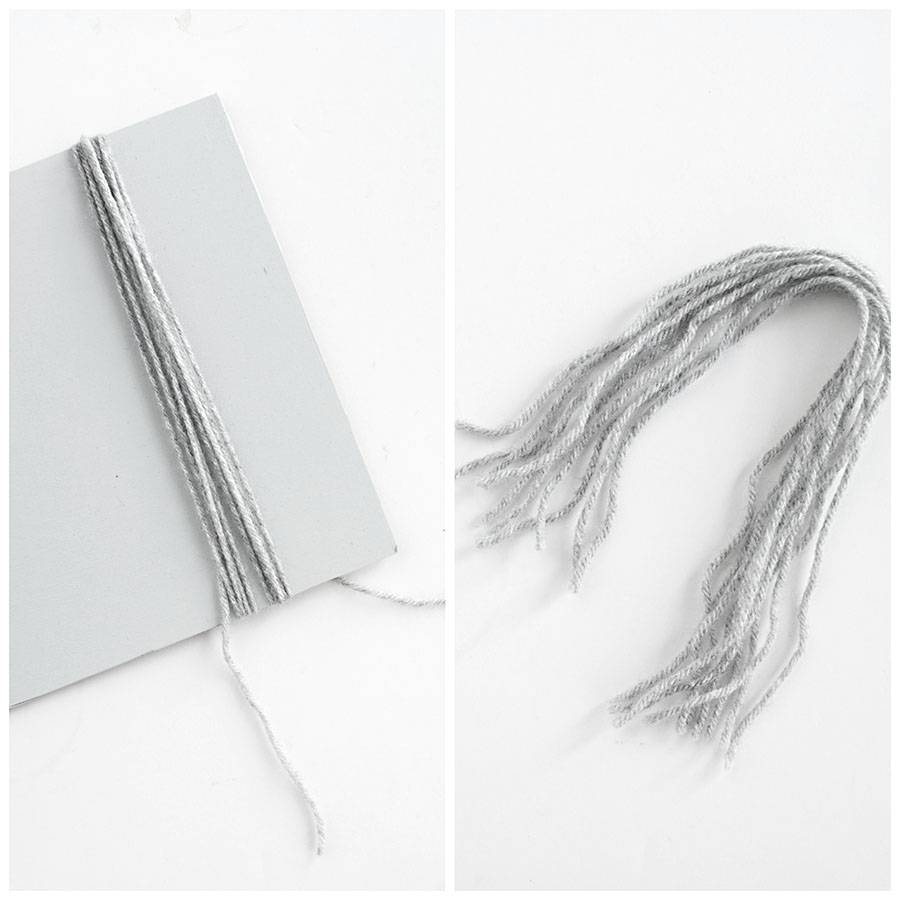
For the tassel at the bottom, wrap yarn around a board or book about 10 times (my board is about 9 inches long) then cut the yarn down one end.
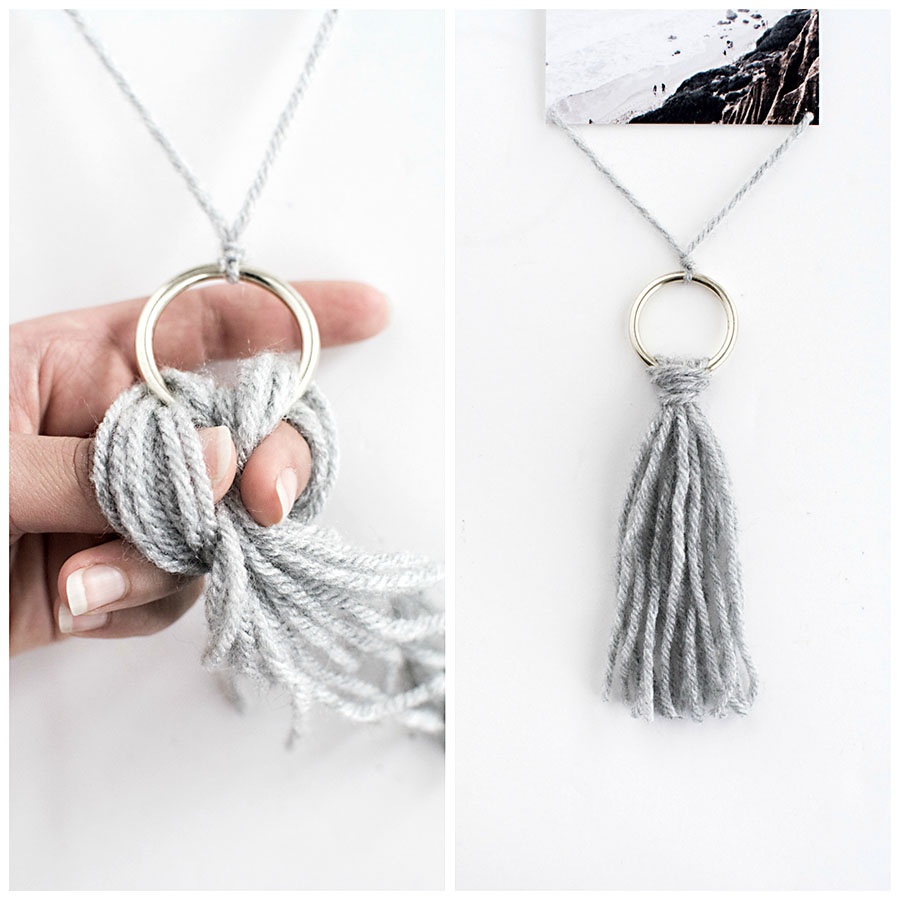
Make one big lark’s head knot with all the pieces of yarn together, then cut any scraggly ends off from the bottom.
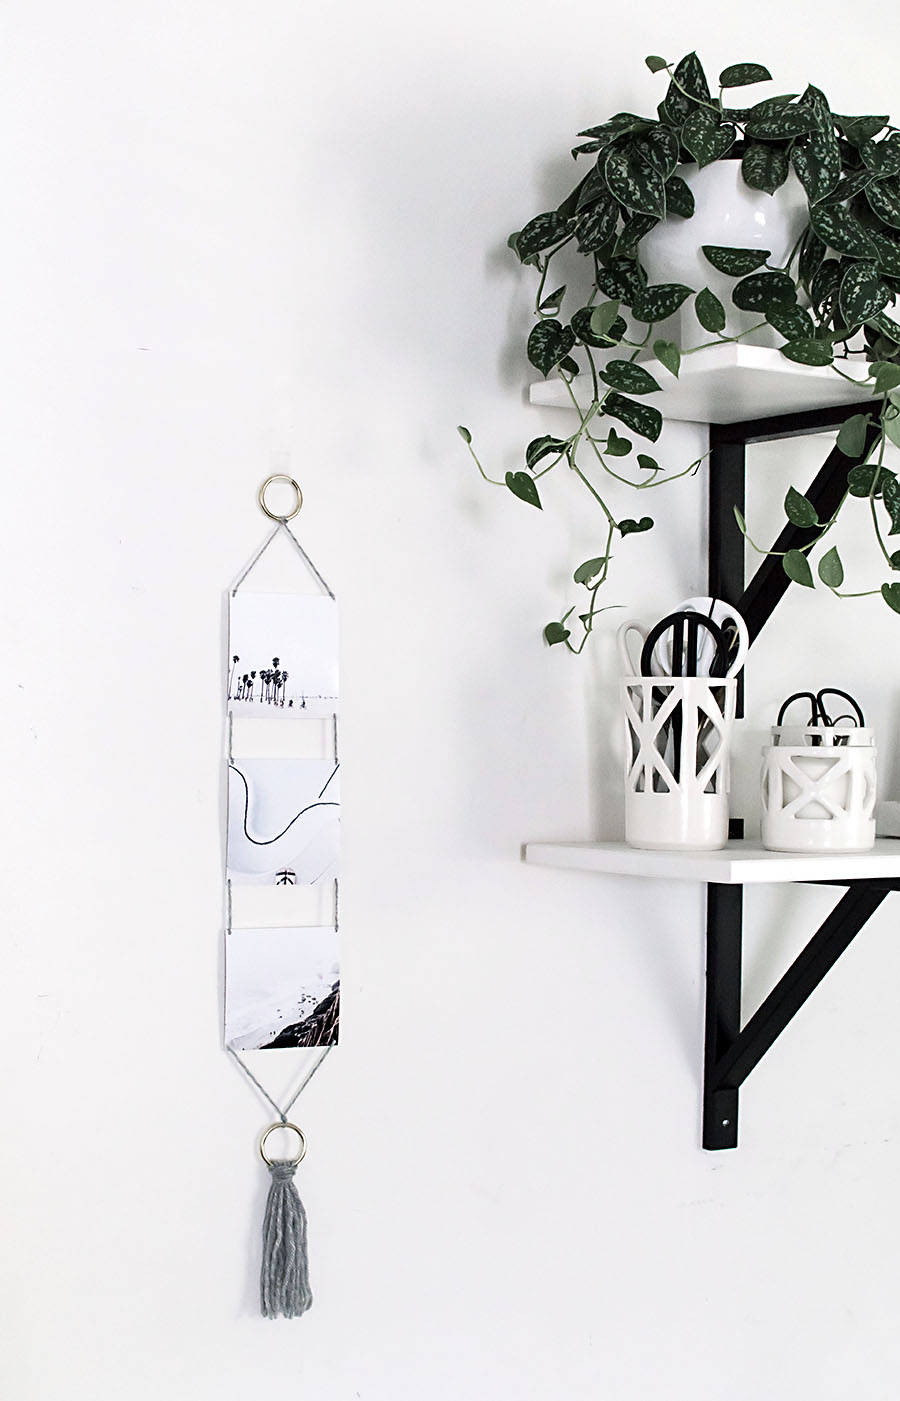
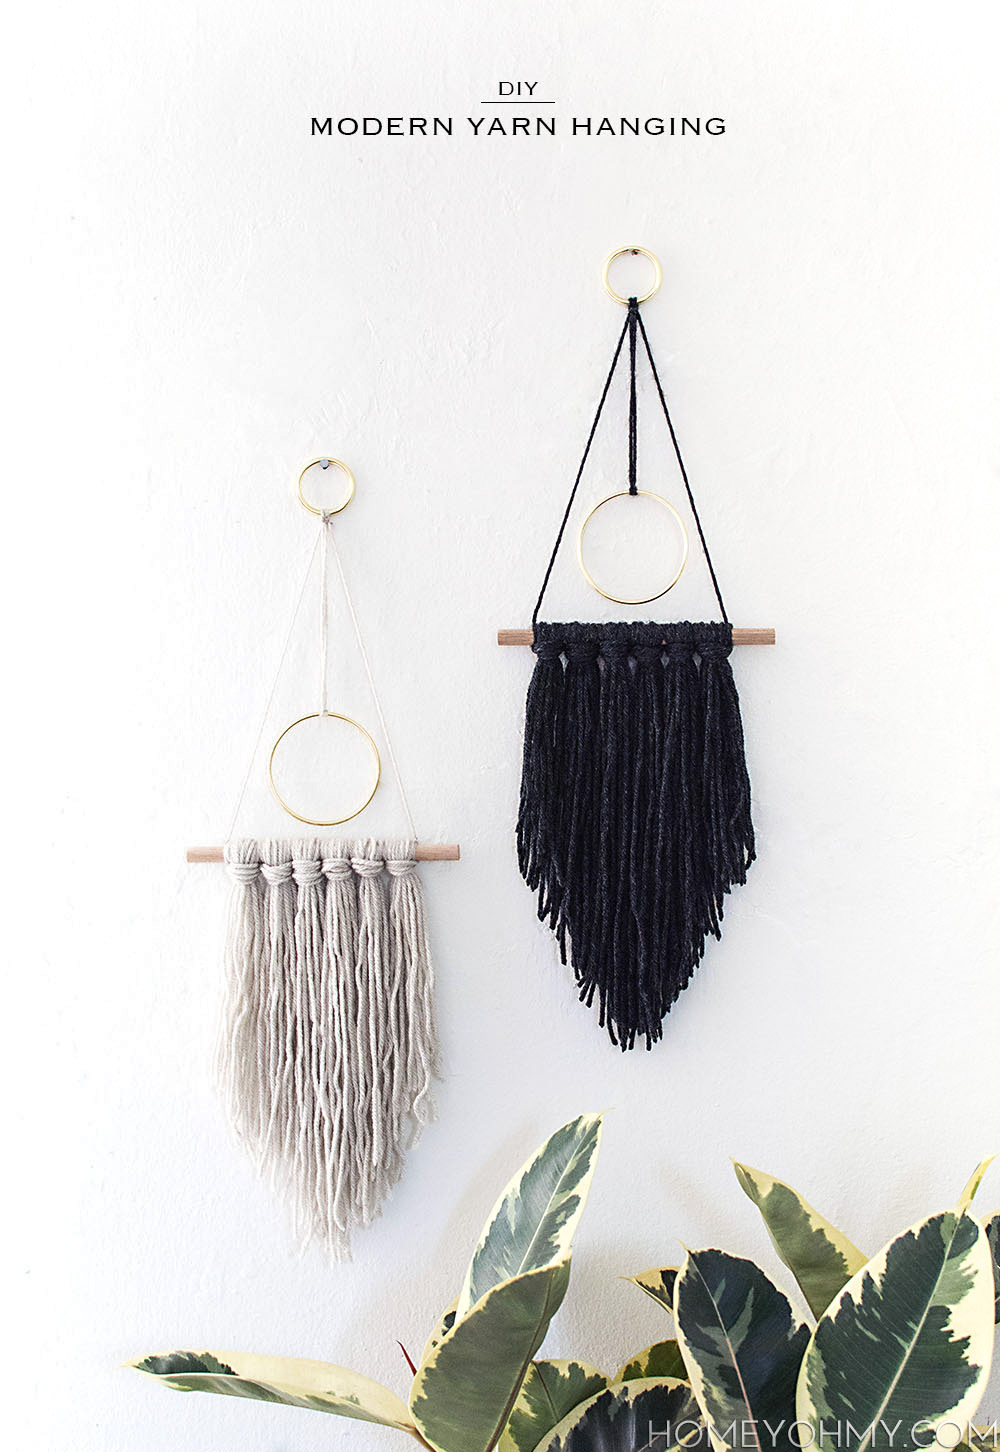
This was definitely inspired by the modern yarn hanging I shared last year, which so many of you have made your own and shared with me (thank you!!) so I thought it’d be fun to do a twist on that with photos. If you give this one a try, PLEASE let me know and send or tag me in a photo of it!
 This post is in partnership with Canon. Thank you for supporting brands that help bring fun ideas for you to discover and try!
This is such a cool idea, sometimes I wish I had my Instagram pics up on my wall. If I do get time I would like to try your idea.
Thanks, Marwa! You should totally put your Instagrams on the wall. Most of my printed photos are from Instagram!
Love all the cute ideas you have for hanging up beautiful photos. This is so cute.
http://tealattewithstyle.com/
Thanks, Emma!!
great idea! will try to make a little IG wall gallery with this. :)
I like that idea. Thanks, Yamini!